Hey wonderful you !! : D
Since we have changed last name, Miska and I fixed a new passport last week.
Then I realized that mine posts I wrote in 2014 (haha a long time ago now) if "makeup for pass / leg / driver's license" is still one of the posts that has the most views in the entire blog thanks to so many googling on just this, I thought it would be fun to do a remake !
So here are my best tips that you can keep in mind when you put on make-up for all types of black and white images, but above all make-up for passports, driving licenses or other ID documents.
Hope the tips are helpful! :)

Here you have my make-up handy!
The passport picture turned out pretty good actually. Much better than mine before anyway! For the driver's license, you can send in your own picture and then I sent in this particular picture and it was approved. So exactly like this I actually look at my driver's license! :)
BASE & LIPS:
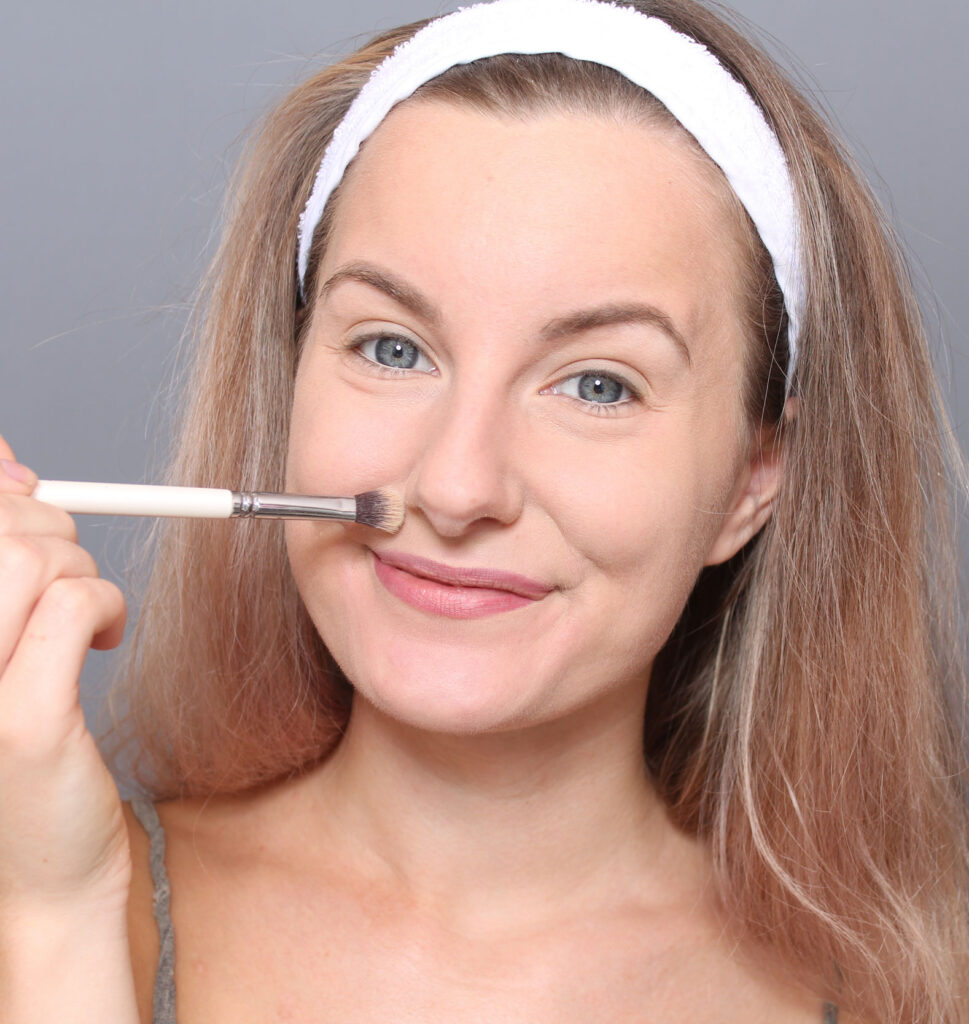
1. Neutralize redness
The degree of coverage and the brows (which are already made in the picture) I do as usual - but what I think extra about is to neutralize redness and blemishes a little extra. Red is often darker than your own skin tone, which can look like a stain on black and white images.
I use glo Skin Beauty Redness Relief Powder (adlink) and apply it with a small and soft brush for more precision (Nanshy Eye Crease Brush) because I only apply the powder on selected areas, not the whole face. I am mostly red around the nose and on blemishes.
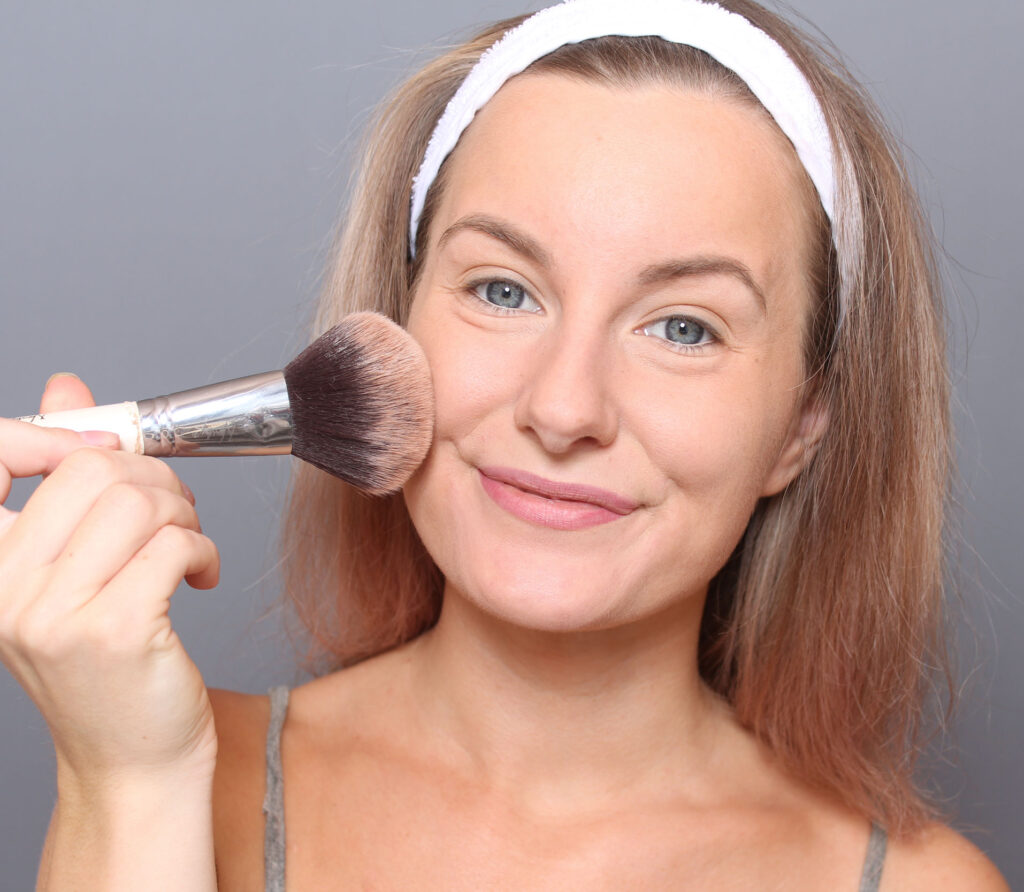
2. Bronzer
Before the contouring, I sweep on a little discreet bronzer, almost all over the face but mostly on the sides (not the middle of the nose, the highest point on the cheekbones and chin).
This is not a step for everyone, the reason for me is that I am so heavenly pale pale so the bronzer becomes like a little extra "soft contouring" before the real contouring then.
A little premium maybe, but a bronzer is a little warmer in tone than my contouring shadow, so I prefer to apply a little bronzer first in larger parts of the face and then the contouring shadow with more precision.
One of my favorite bronzers is Indy Beauty Bring on the sun! Bronzing Sculpting Powder (adlink).

3. Gladare mungipor
Another premium step and a bit quirky (?) Step maybe as I do just because I'm a makeup nerd and think it's fun :) it's to put a little contouring shadow in the mouth pores!
You have to be relaxed on the passport picture and then I look so heavenly sour. I probably do that anyway because you do not want to make the worst joker smile either haha. But a little difference, I imagine it does anyway! :)

4. Sharp lip contour & ombre effect
Regardless of whether you want neutral lips in the same light / dark position as your skin tone, or if you want a little darker, I like to mark the contours with a pencil! Marked lips in a black and white picture are so heavenly nice, I think. Everything that provides a little contrast!
A strong color on the lips can be a bit unnecessary, it is difficult to judge how dark it will be in black and white and it will still only be gray. A dark red lipstick can look almost black on passport photos. I therefore chose a neutral mlbb color (my lips but better).
In addition, I made an ombre effect with a darker lip pencil, because it's so nice in black and white when the lips get a little lighter in the middle!
Lip pencil: glo Skin Beauty Lip Liner (adlink) in the shade Vino.
Lipstick: glo Skin Beauty Suede Matte Crayon (adlink) in the shade Monogram.
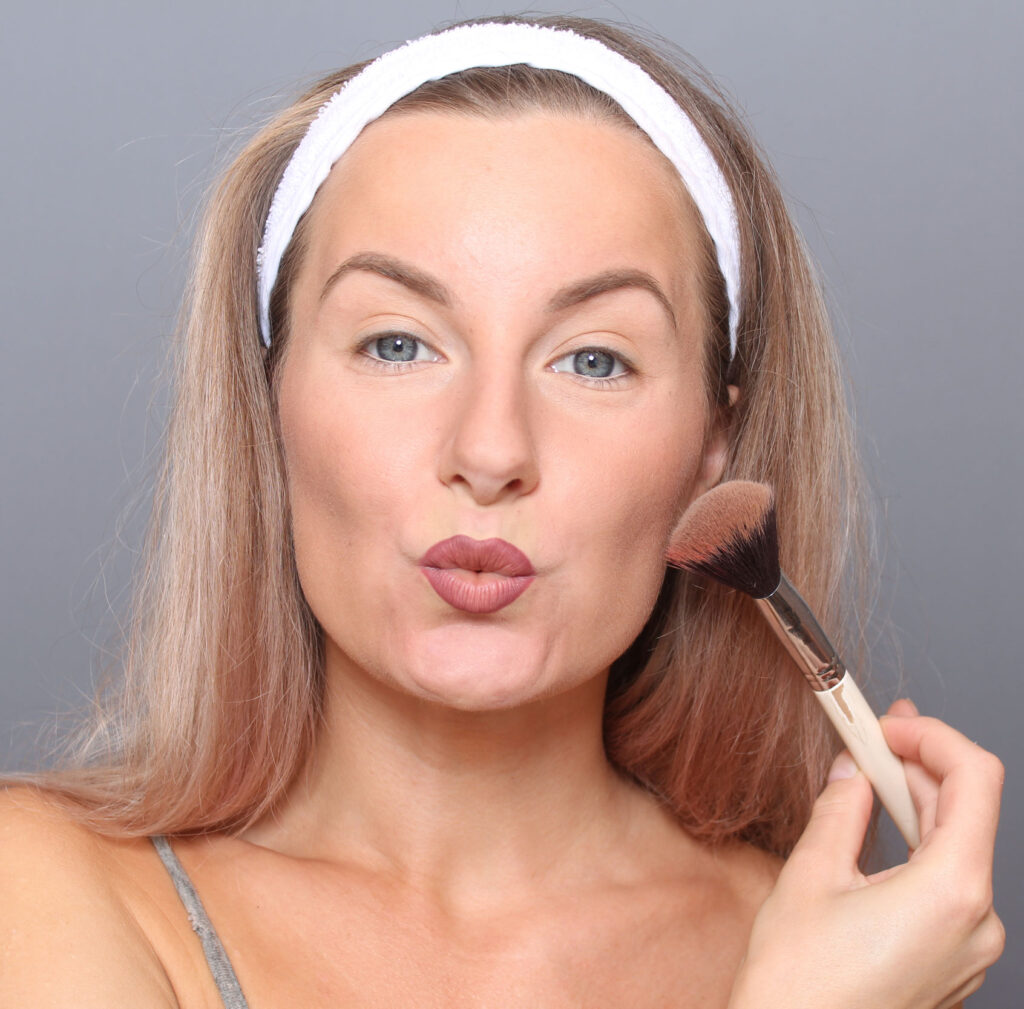
5. Contouring
Then contouring with light and dark shadows!
A favorite both of me and the rest of the world;) is Anastasia Beverly Hills Contour Kit (adlink).
The brush in the picture is Nanshy Contouring Brush. I think a skewed is easiest, but it's a matter of taste!
Skip red?
I usually put the blush in the middle of the cheekbones, but in black and white pictures it becomes a shadow which can make the cheeks look a bit depressed. Rather lay a little further down or skip the blush completely! By further down I mean the lower part of the cheekbone, not so far down that it is down on the jawbones :)
EYES:
Step by step the eyes come further down, but first some tips to keep in mind!
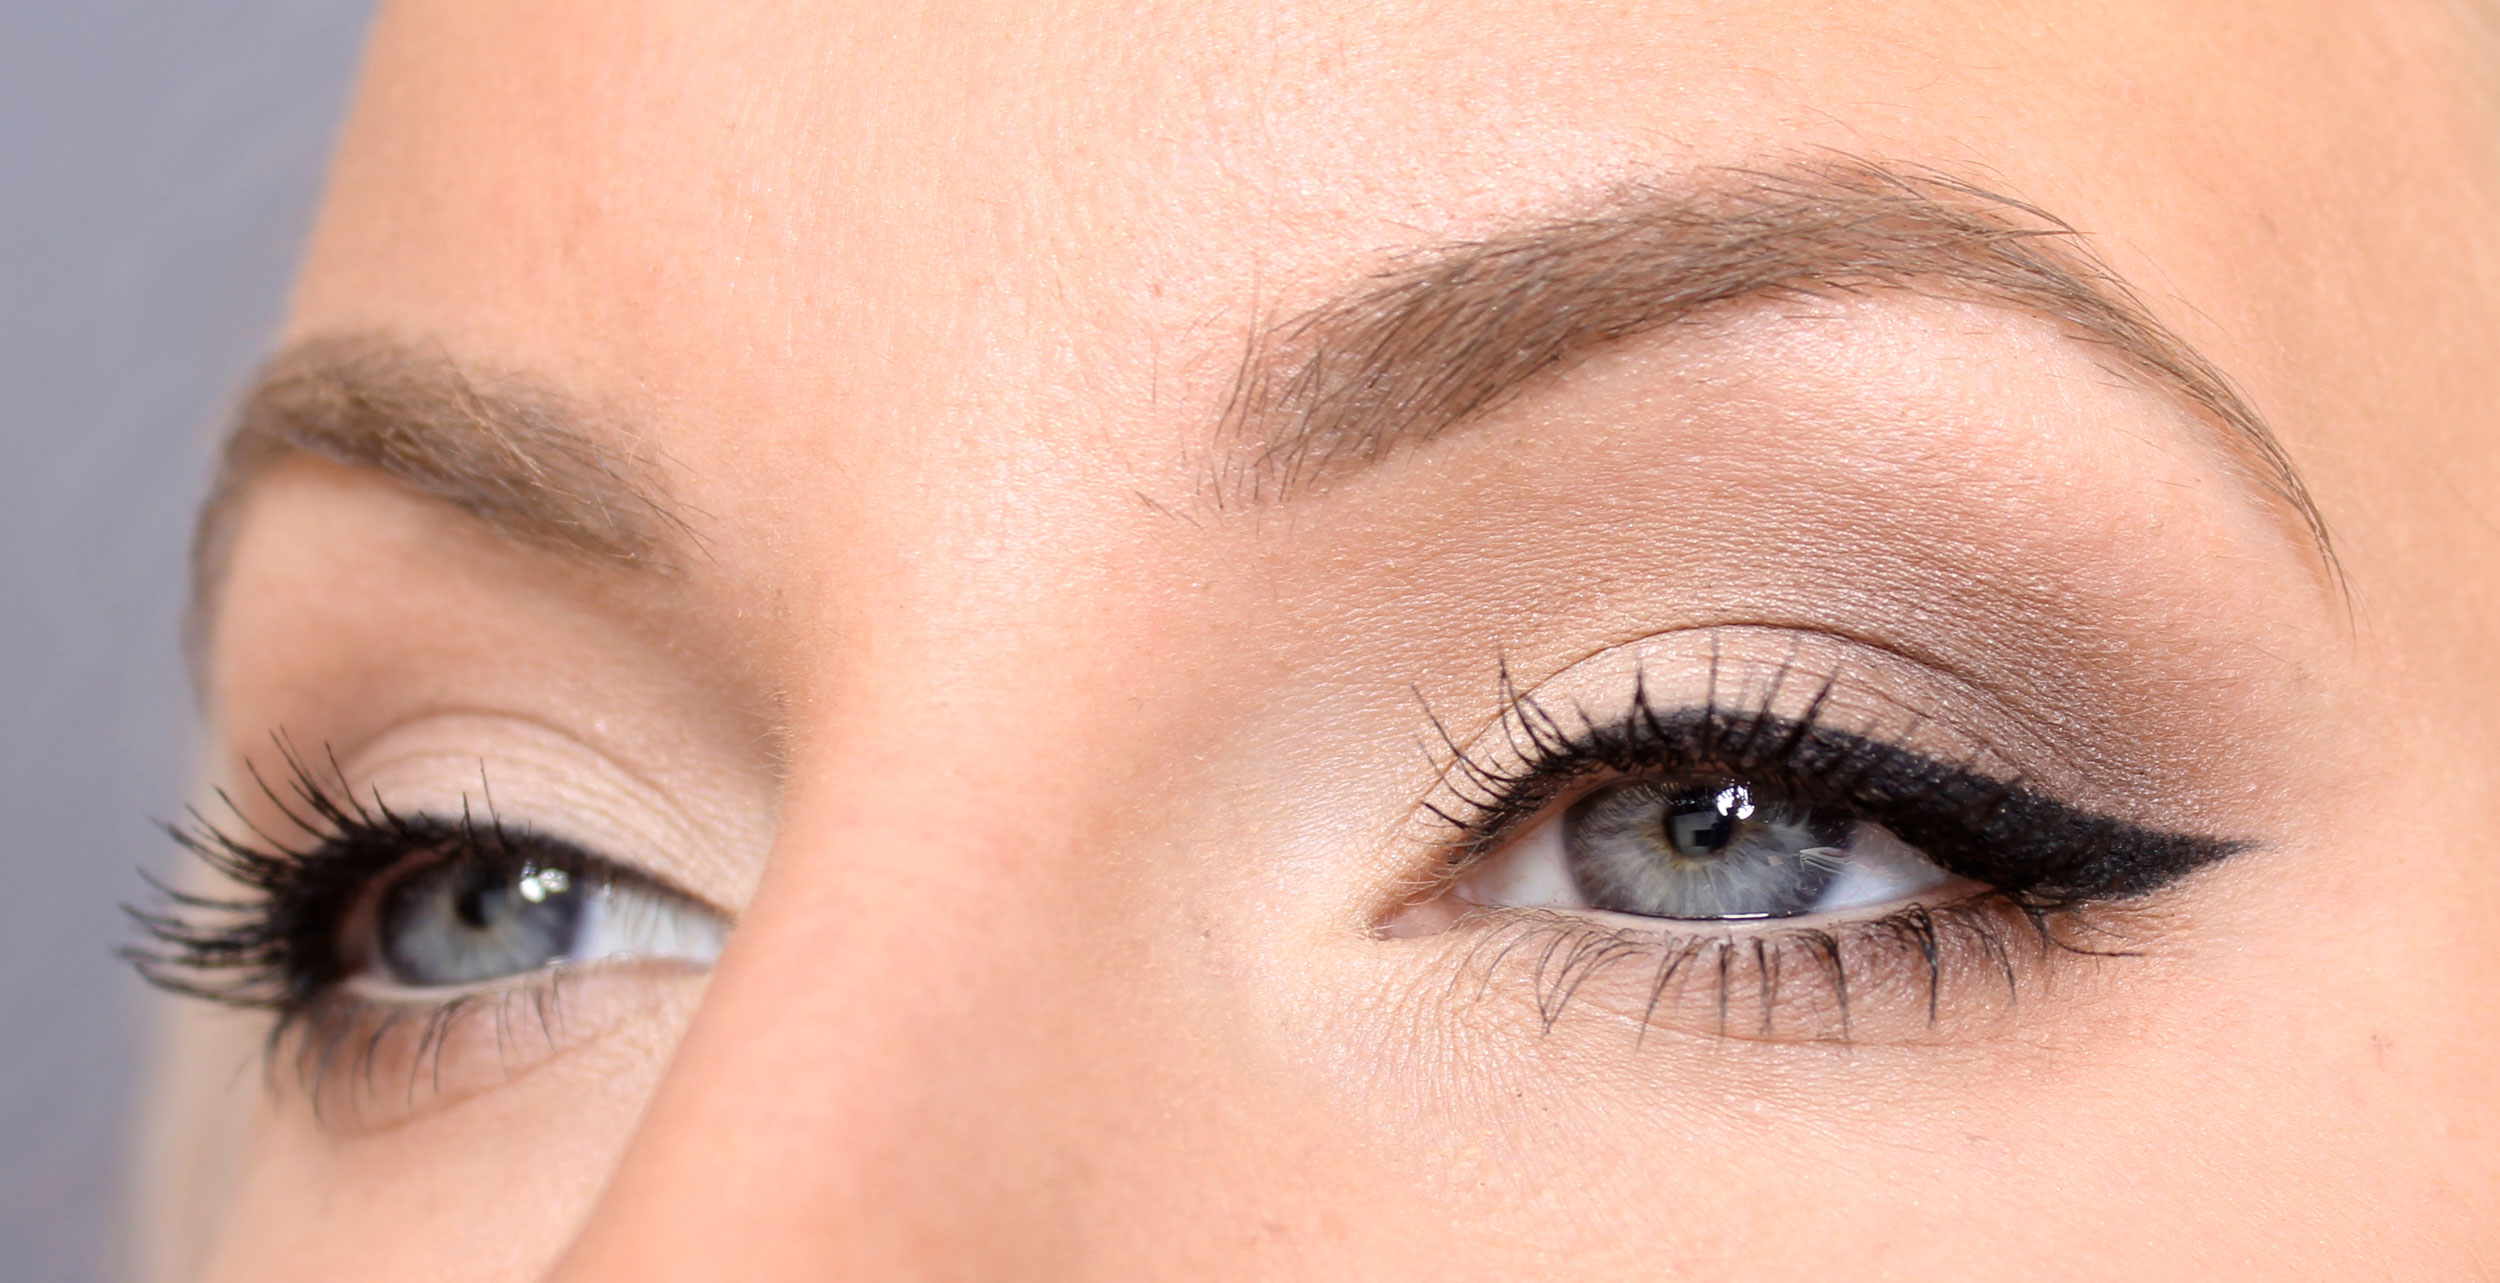
Eye shadow
I like to open my eyes a little with a darker color above the globe line (high enough to be seen when looking straight ahead) and otherwise keep the eyeshadow makeup soft and most of the eyelid bright.
Feel free to choose eye shadows in neutral tones such as beige, brown, white, black, gray. Namely, it can be difficult to predict e.g. how dark a green eye shadow becomes in black and white.
Examples of a superb and useful palette are Pixi Eye Effect Shadow Palette (adlink) in the shade Hazelnut Haze. So nice!
Once I went spontaneously and fixed workouts (so did not have this in mind when I put on makeup that morning) and had a bright blue eye shadow on the entire eyelid. In black and white, it suddenly looked like a really uneven smokey eye! And not in such a nice Kate Moss way, but rather criminal with blue eyes on both eyes. That mistake is not repeated! :)
Marked gaze
The eyes can easily disappear a bit on black and white pictures, so I frame them with eyeliner without skimping! Feel free to place a light eyeliner along the waterline as well.
Really good products that I like:
- Light eyeliner - Glo Skin Beauty Precision Eye Pencil (adlink) in the shade Peach.
- Black eyeliner - BareMinerals Lash Domination Liquid Ink Liner (adlink)
- Mascara - Sensai Mascara 38 ° (adlink)
I applied mascara normally / sparingly but it's nice to apply a little extra mascara and maybe even false eyelashes too! :)
Examples of make-up for workouts:

Gradually:
- Eye primer on the eyelid
Light eye shadow on the inside of the eyelid and in the corner of the eye. - Light brown eye shadow in the middle of the eyelid
- Brown eyeshadow at the end of the eyelid and along the globe line
- Black eyeliner with wing
- Brown eye shadow under the eye as well
Black mascara on all lashes
Clear!
Here is my entire make-up fit:
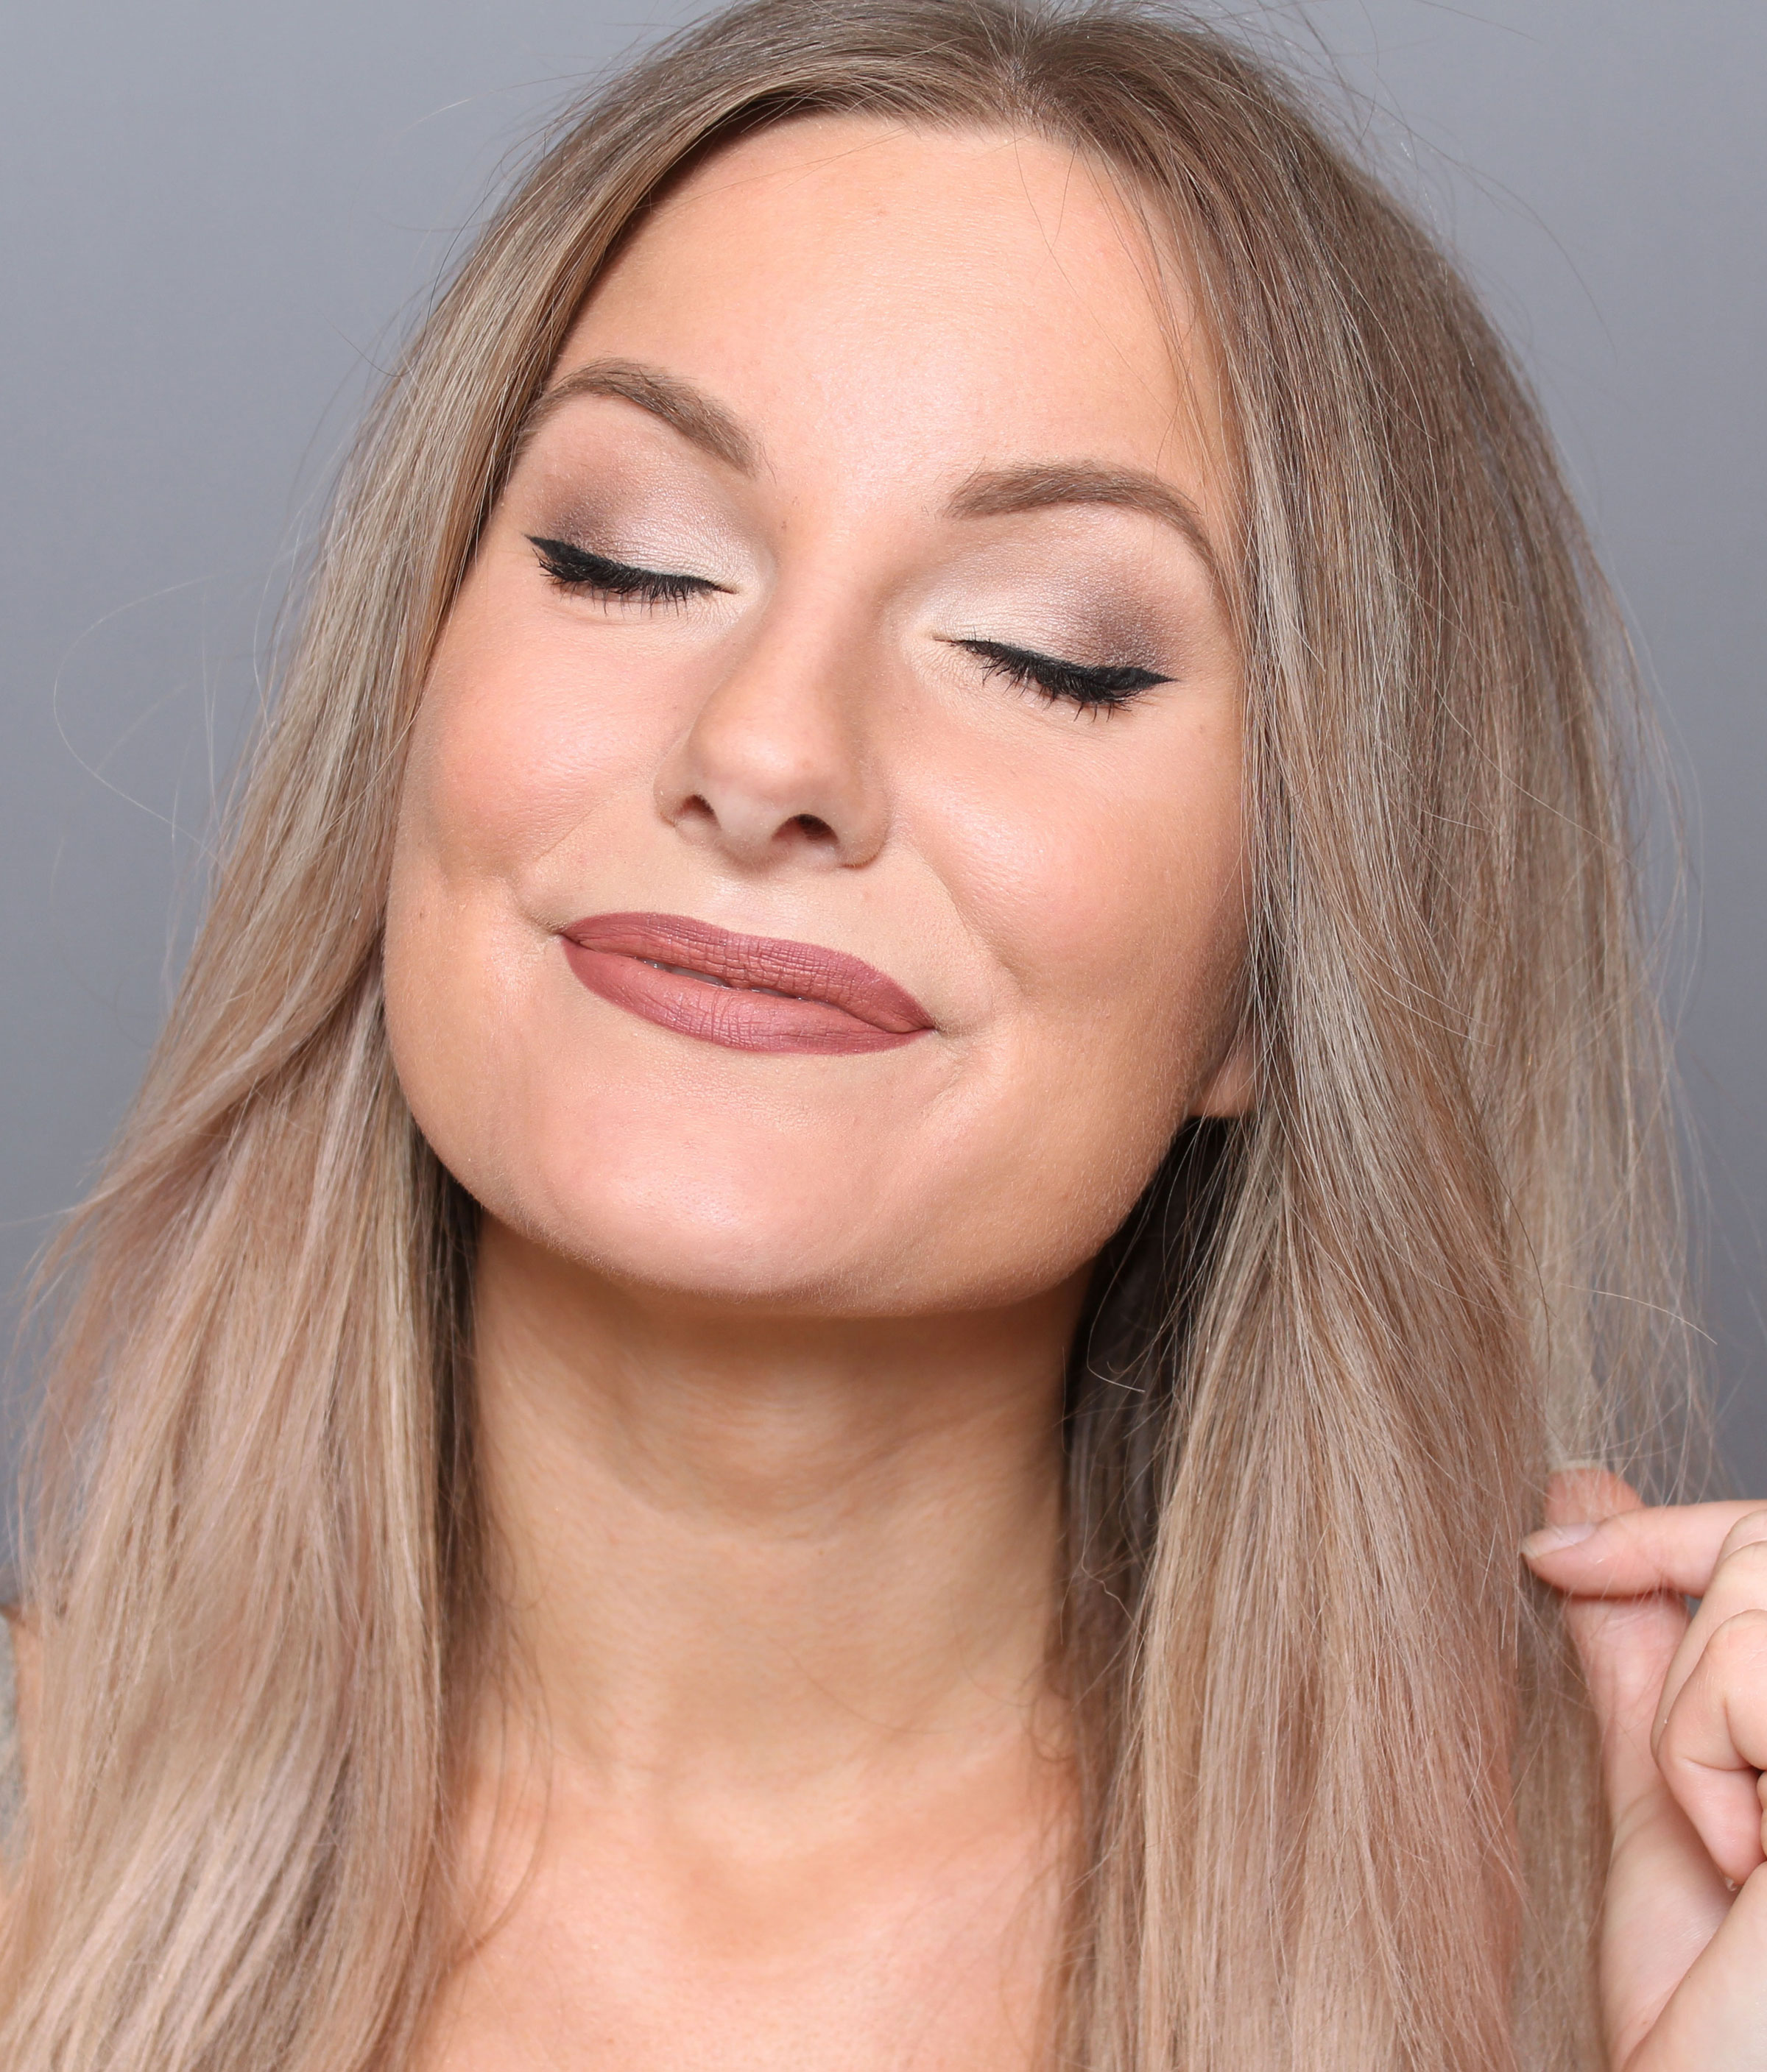
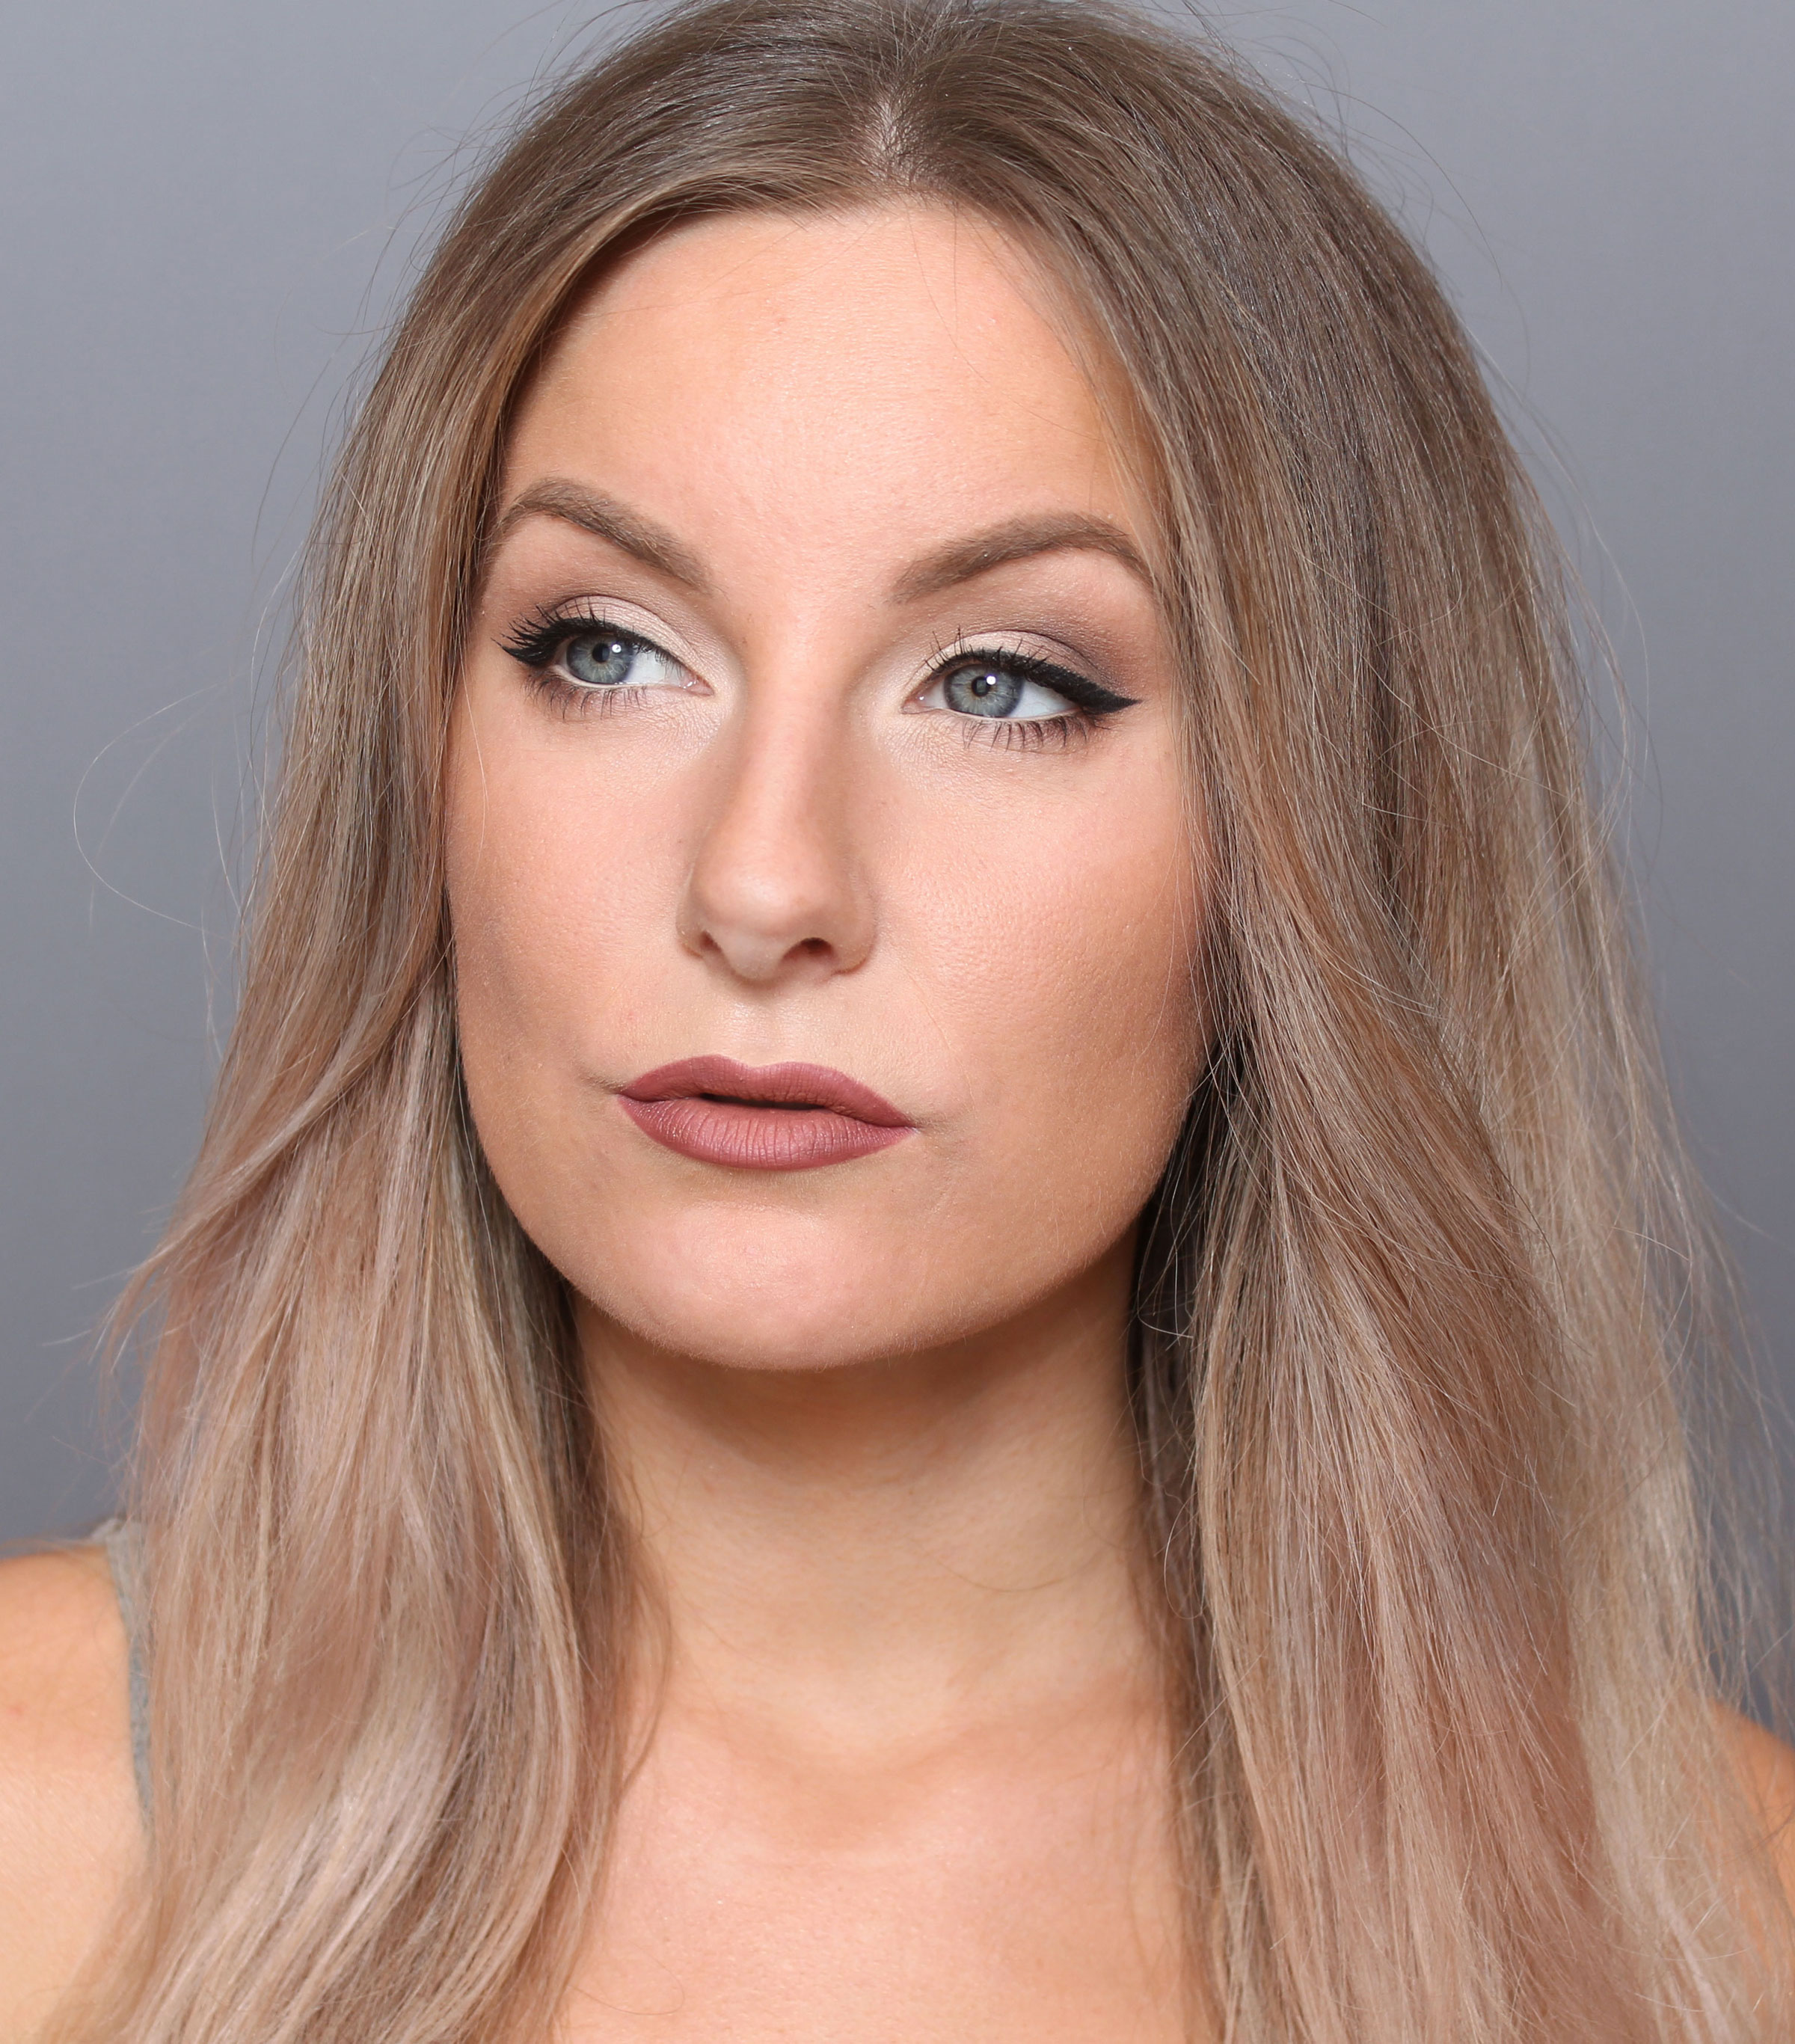


The model is with only foundation and eyebrows, then you see the difference with all the shadows and details in the model :)
Note this is how I made me up for my black and white passport photo, there are lots of more make-ups that of course also fit!
Hugs are! ♥
Also read: 12 simple make-up tips for beginners + Make-up (step by step)
You are just sooo, so, so beaituful!
Tack så mycket för bra tips! Jag är ingen expert på smink, men tog till några av de ”enklare” av dina tips, typ ingen rouge, lite mer concealer, lite mer markerade ögon och läppenna i något mörkare nyans. Jag blev supernöjd med resultatet! Mycket bättre än mitt passfoto som jag tyvärr tog i januari en måndag direkt efter jobbet…
Men åh vad glad jag blir! Så kul att höra !! :D