Since I have both permanent makeup and eyelash color, it takes 3 seconds to get sun-ready and radiant looking, alert and fresh on the beach! :)
So luxurious!
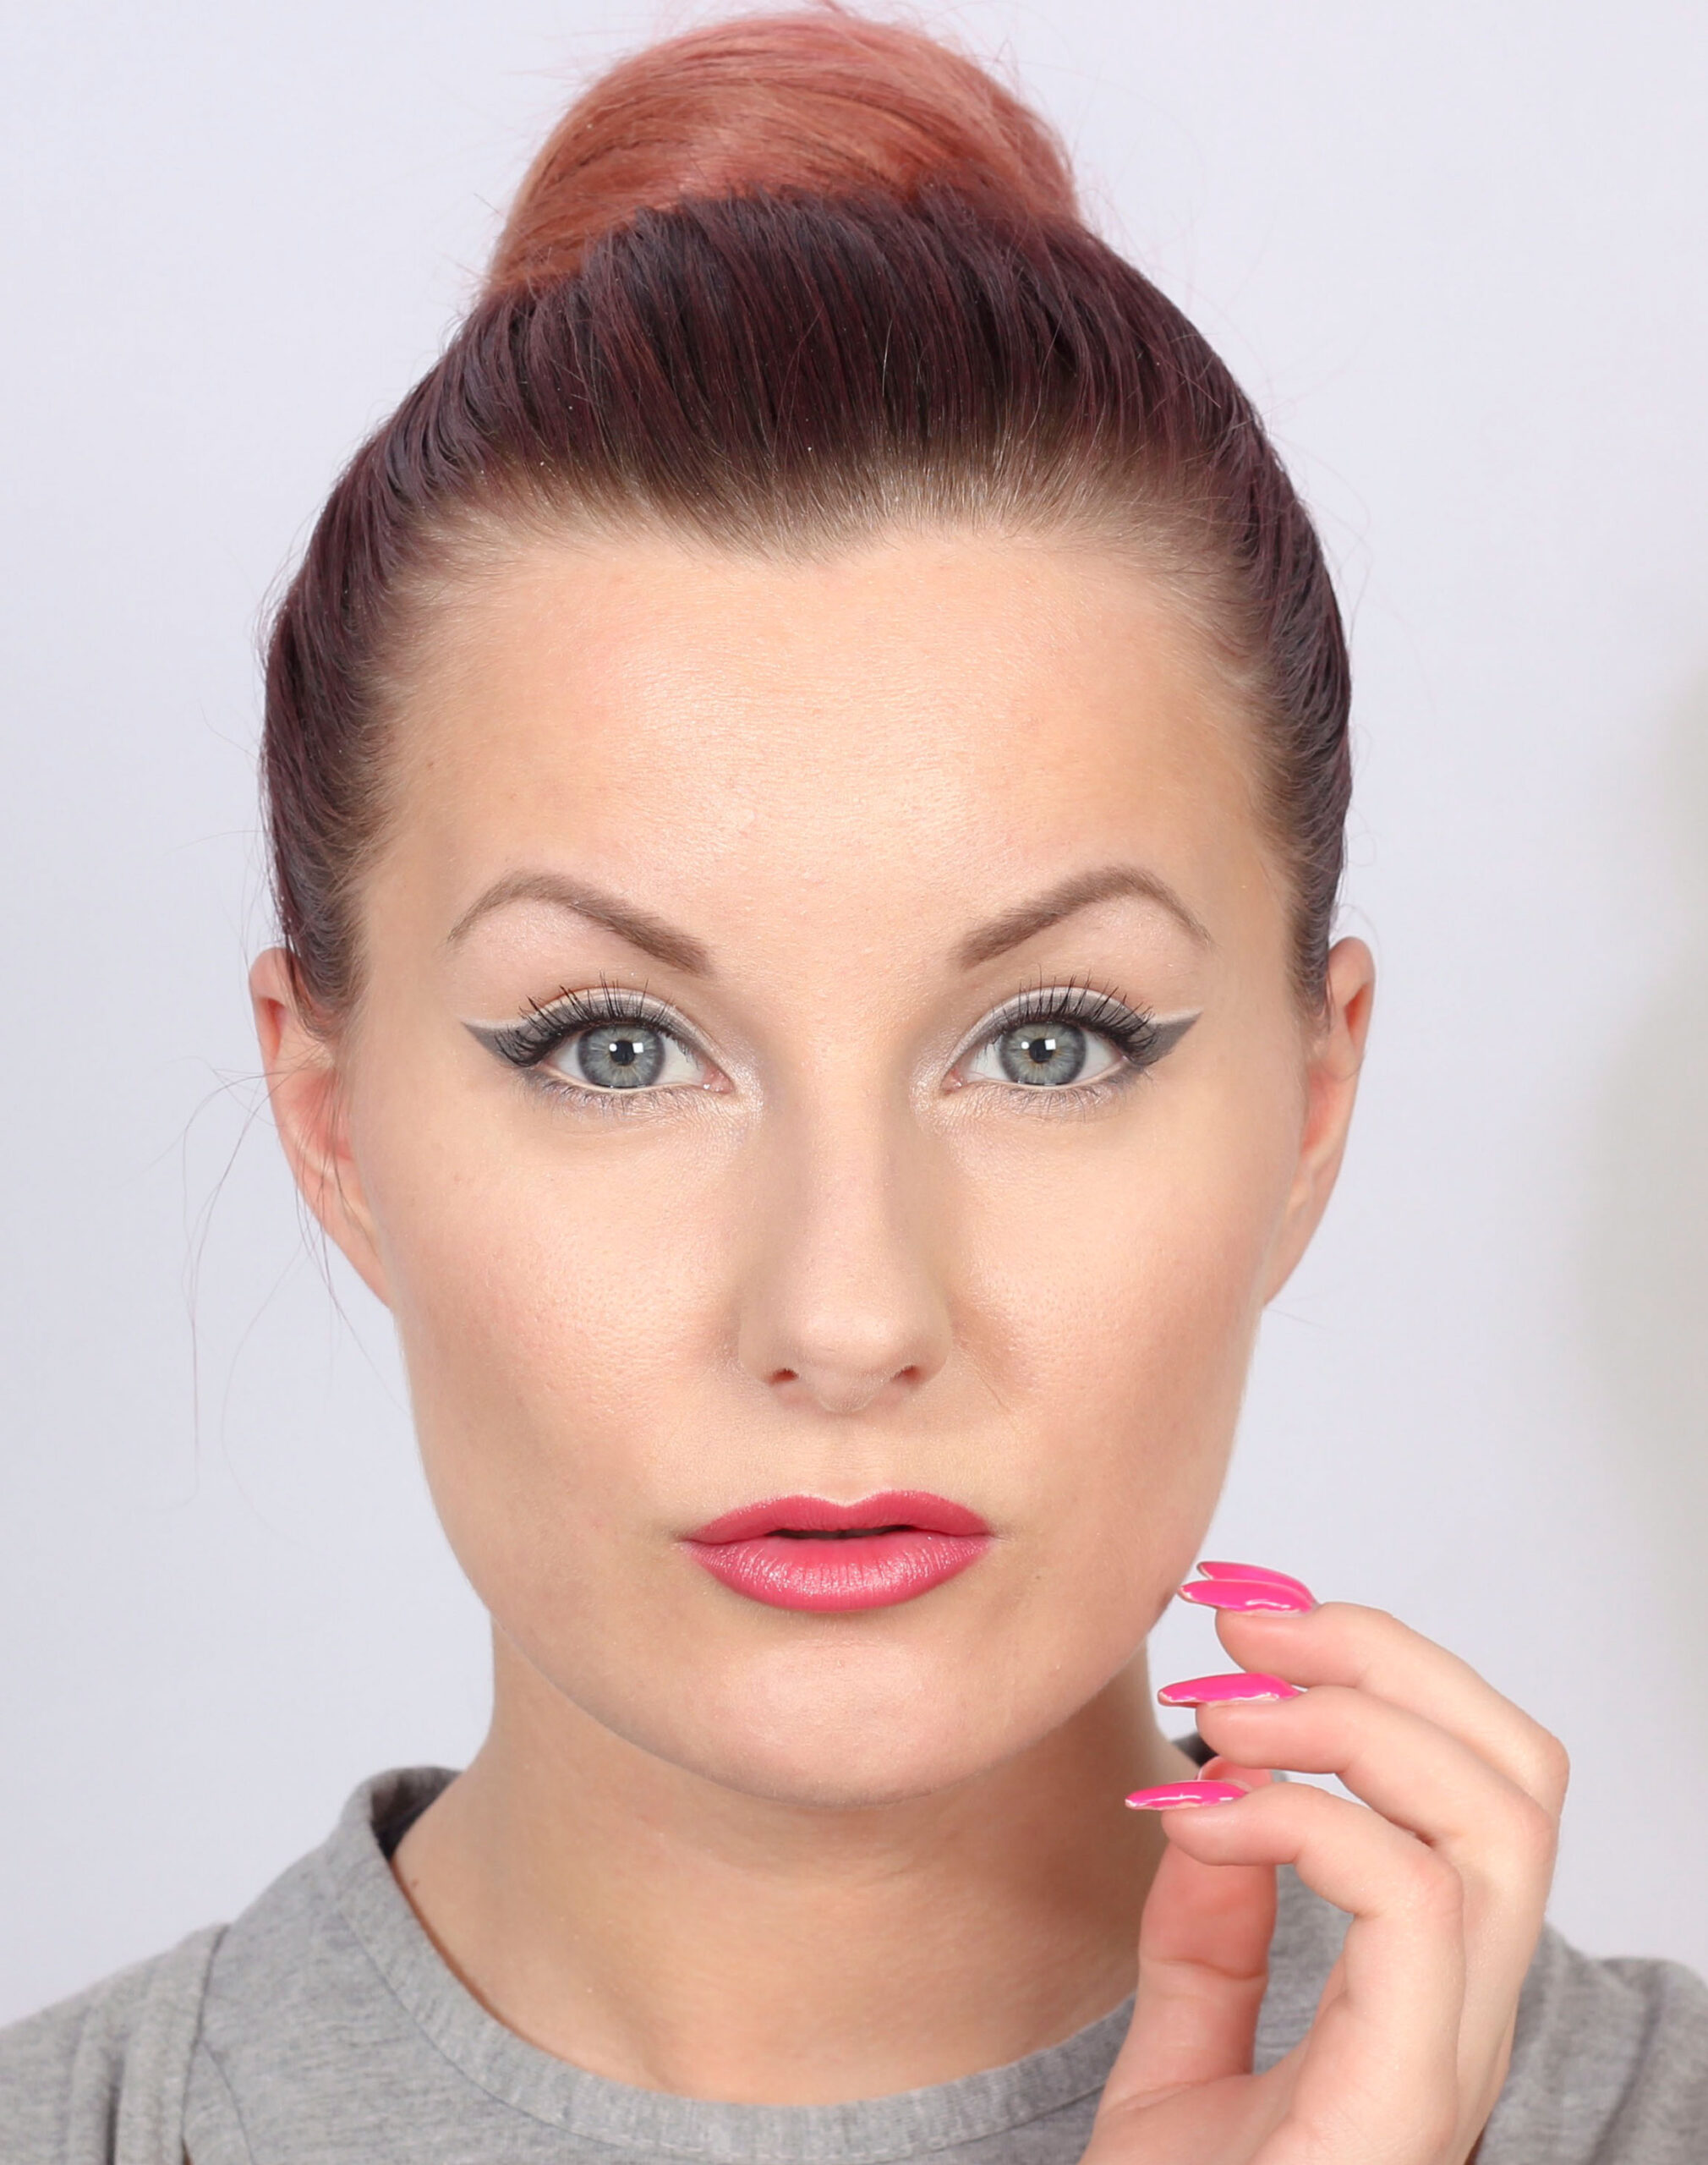
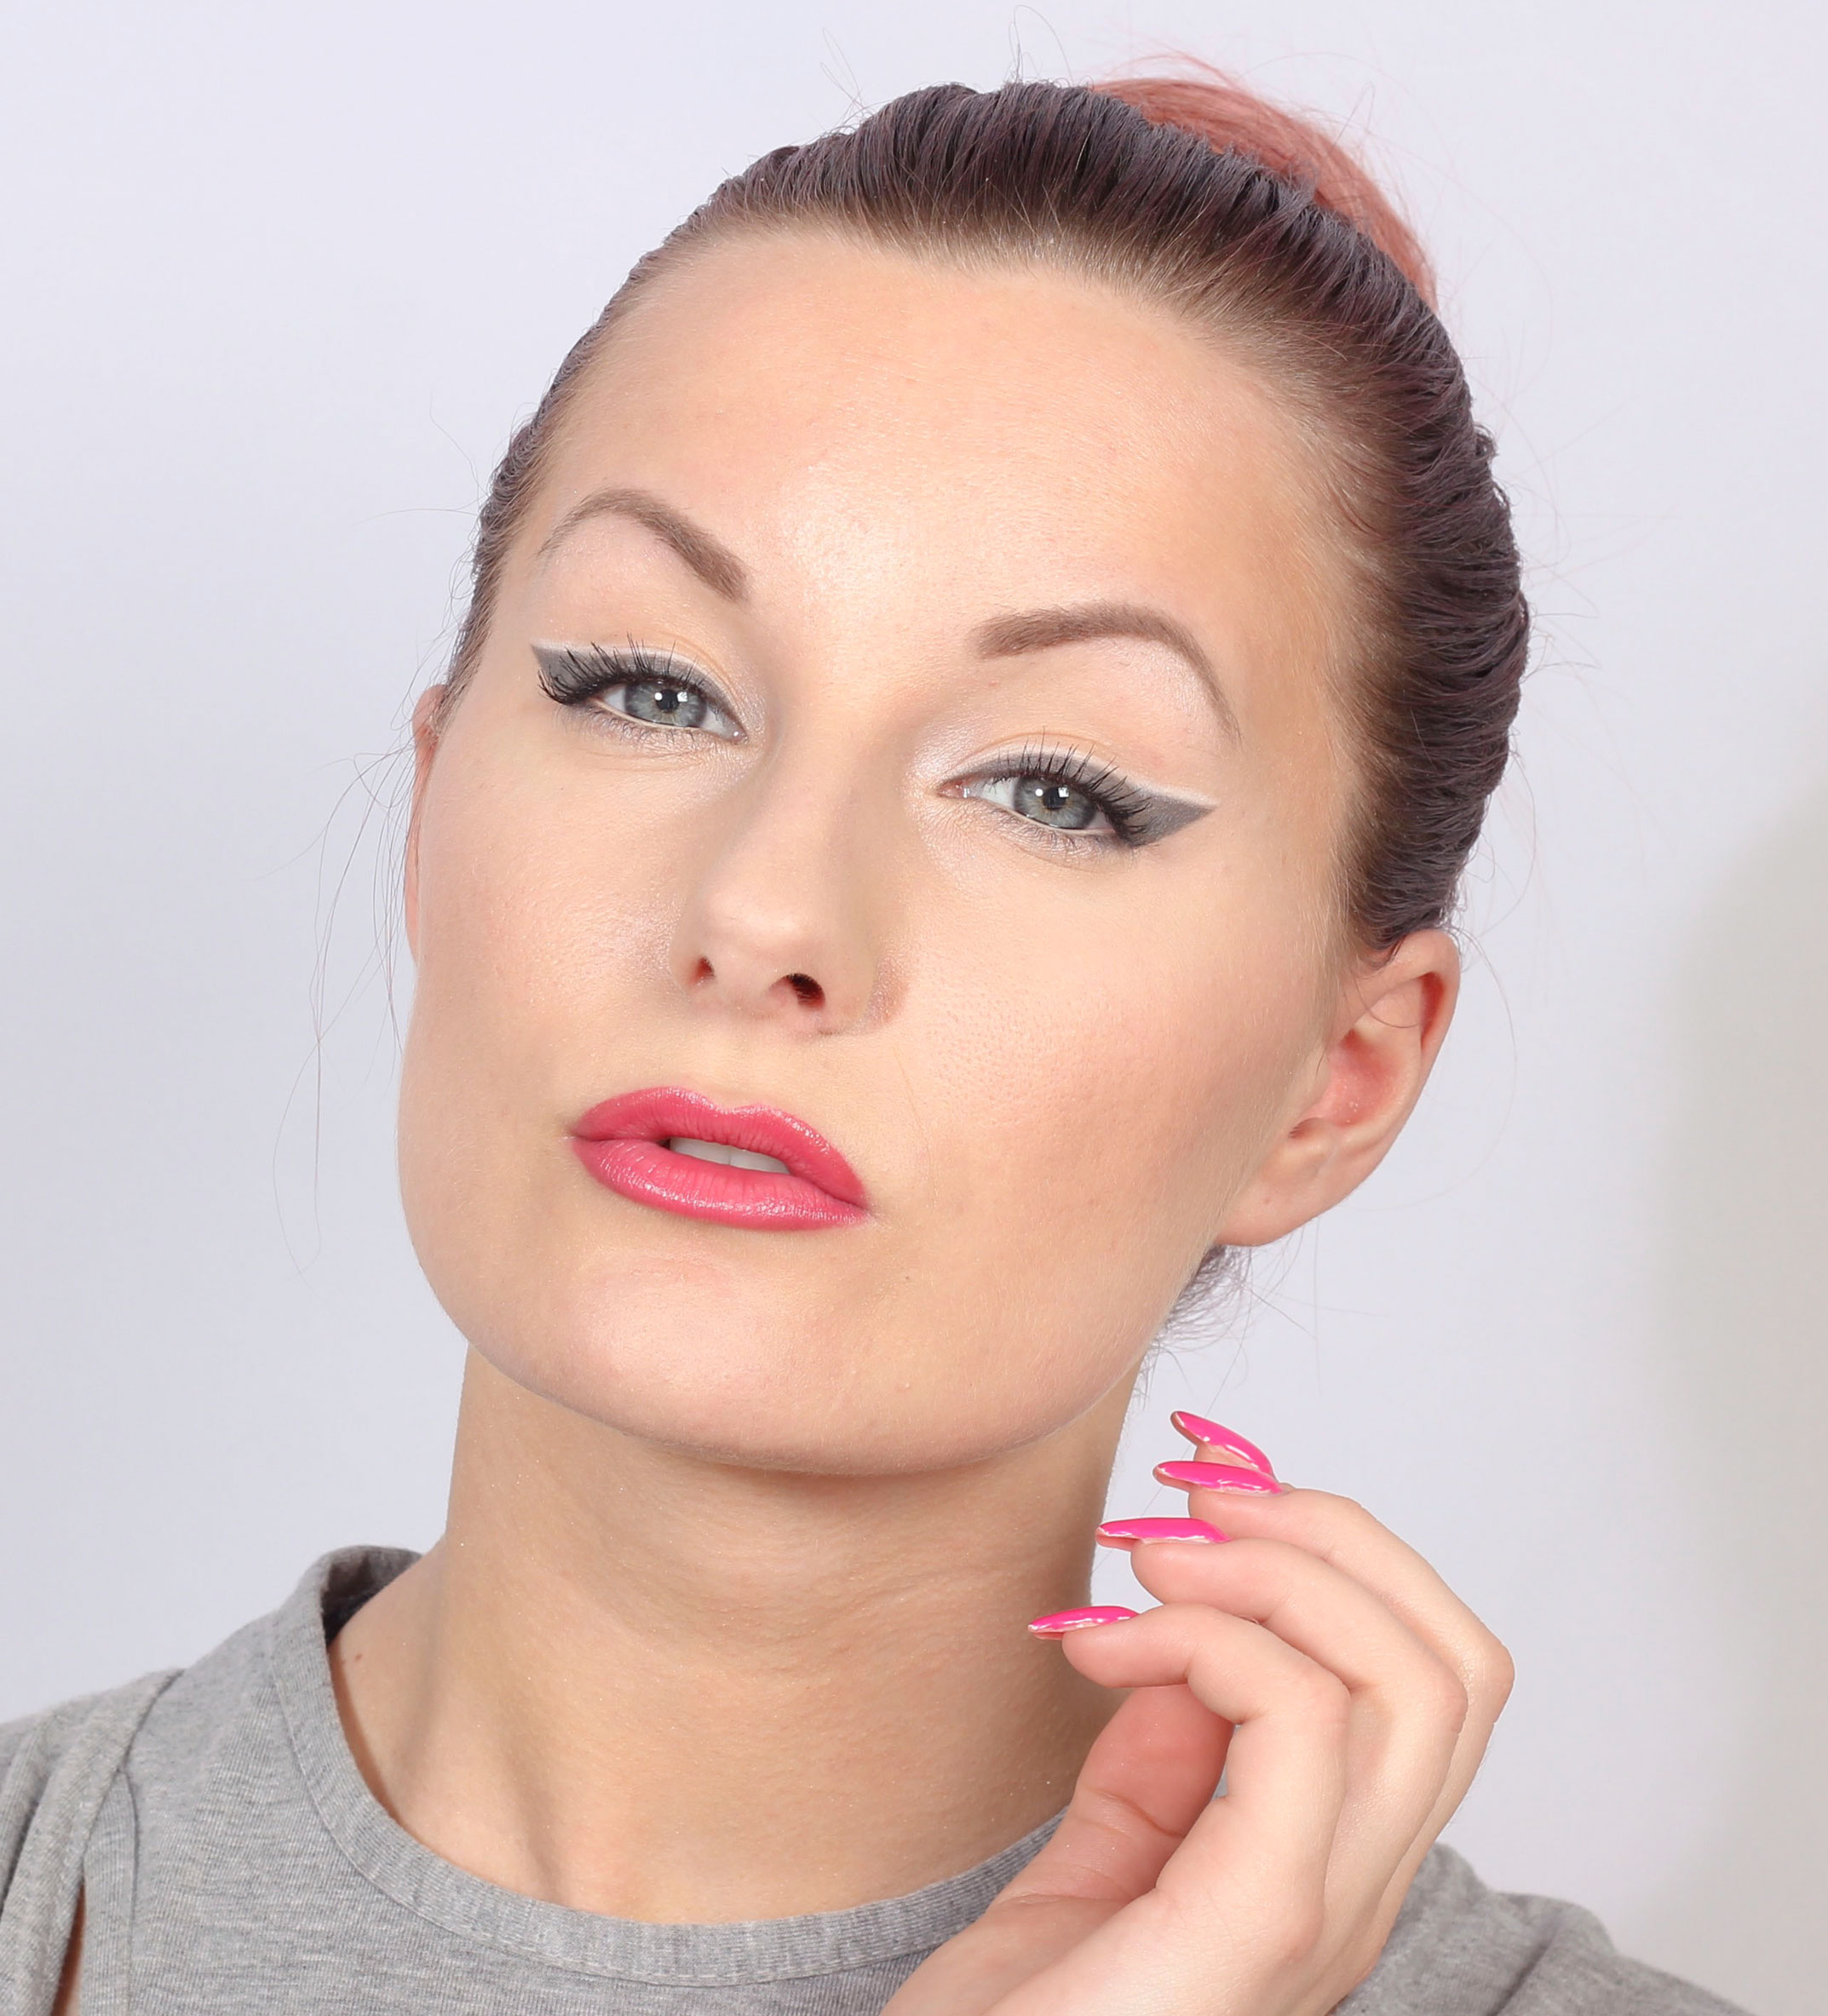
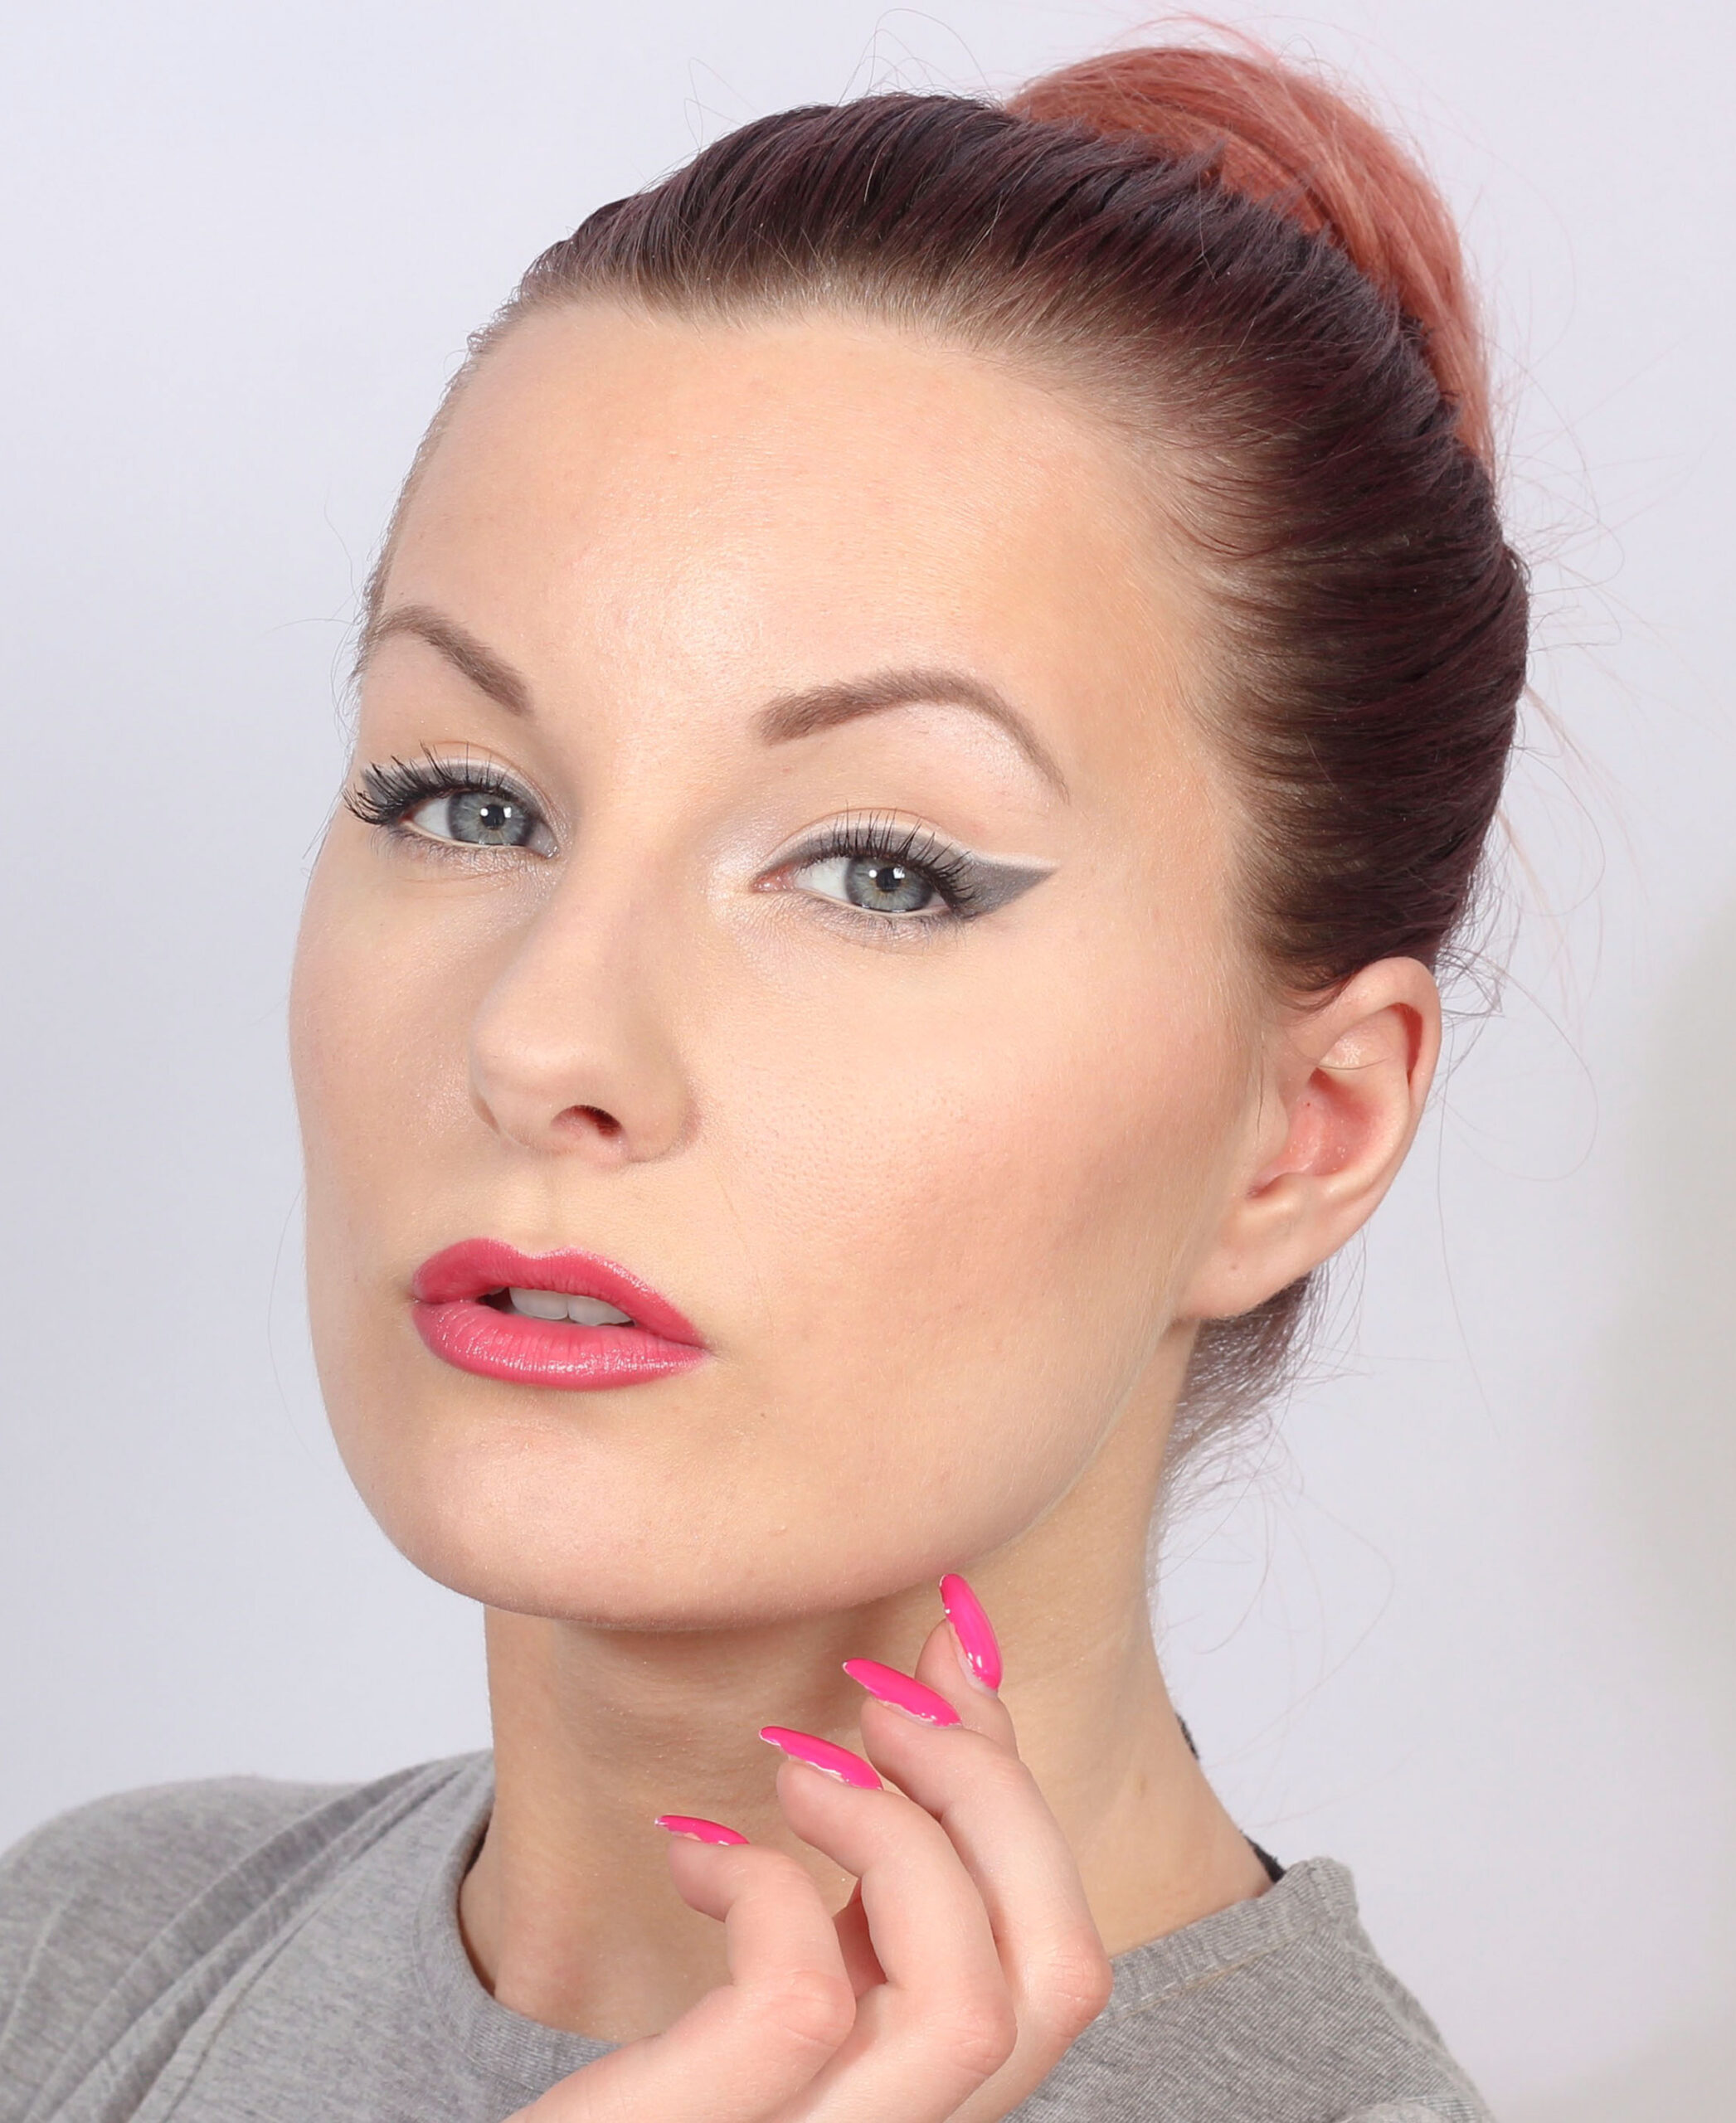
This is how alert and fresh I look this summer, and you can do the same! If you visit Creative Makeup By Her in Uppsala ;)
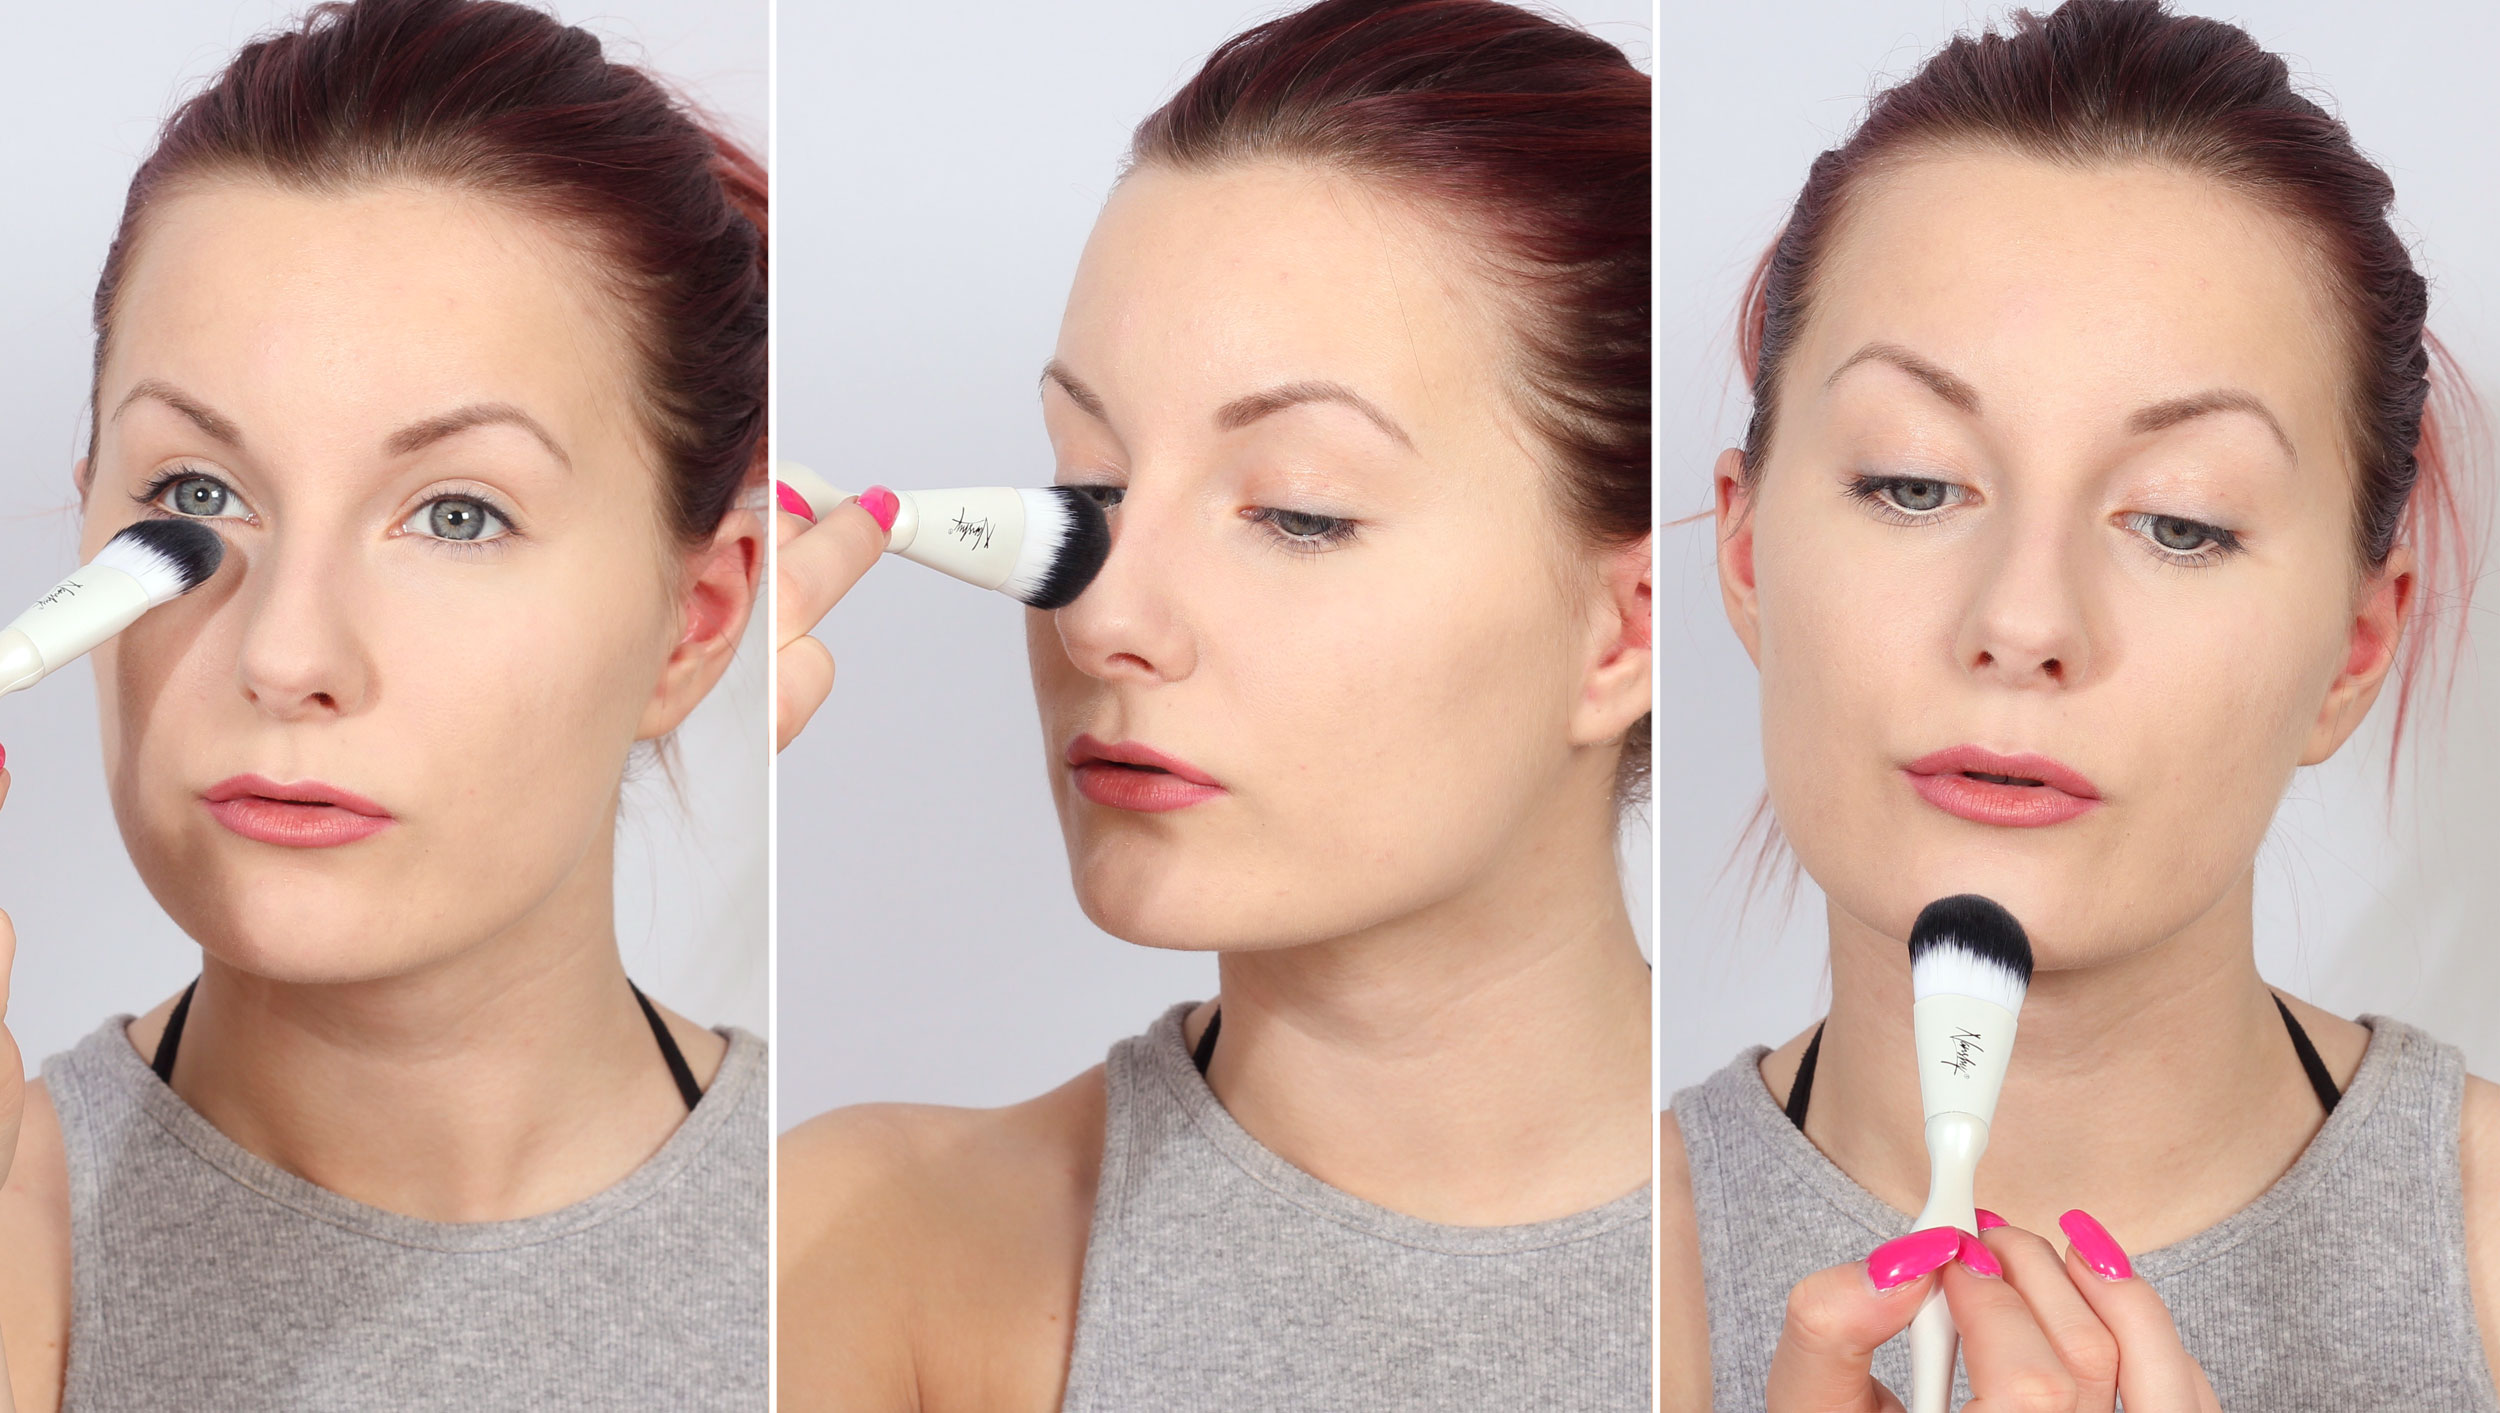
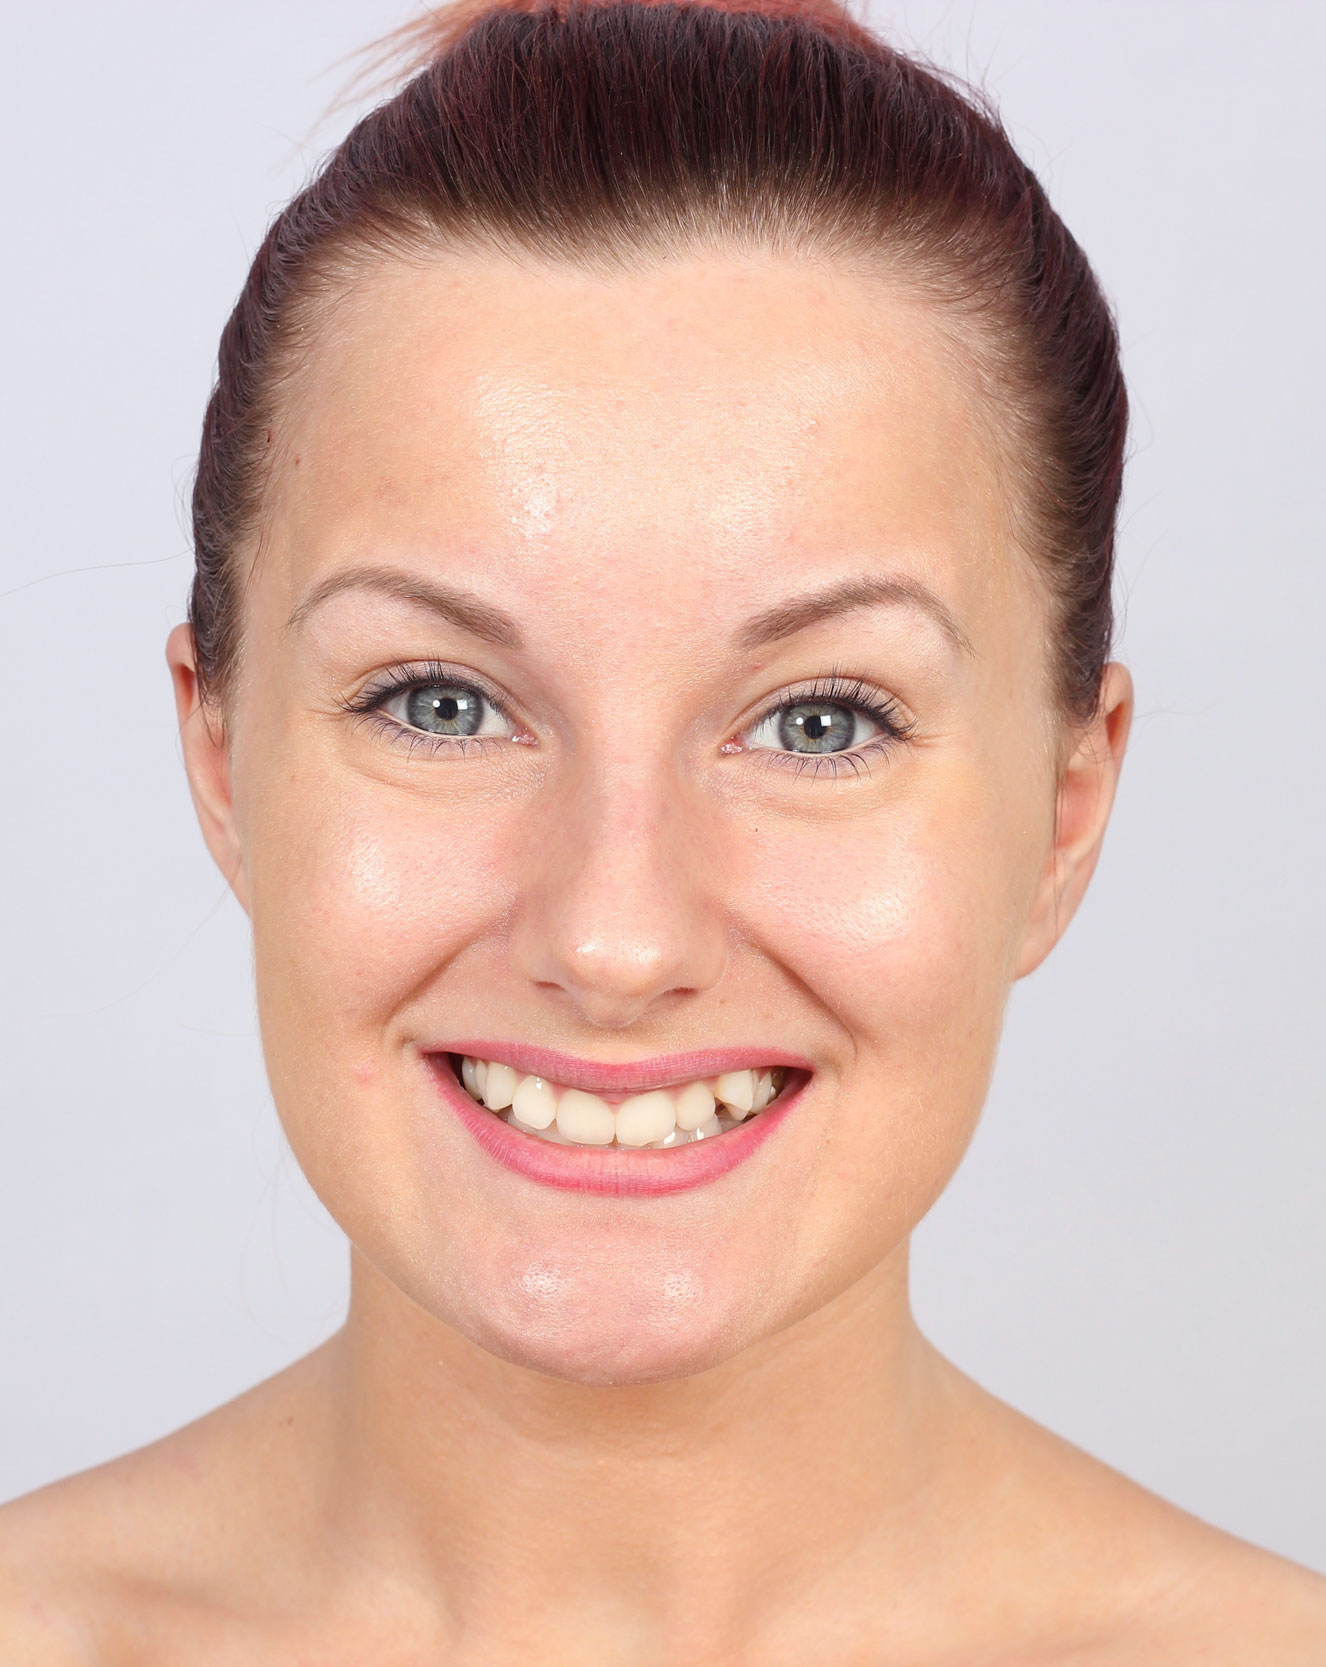
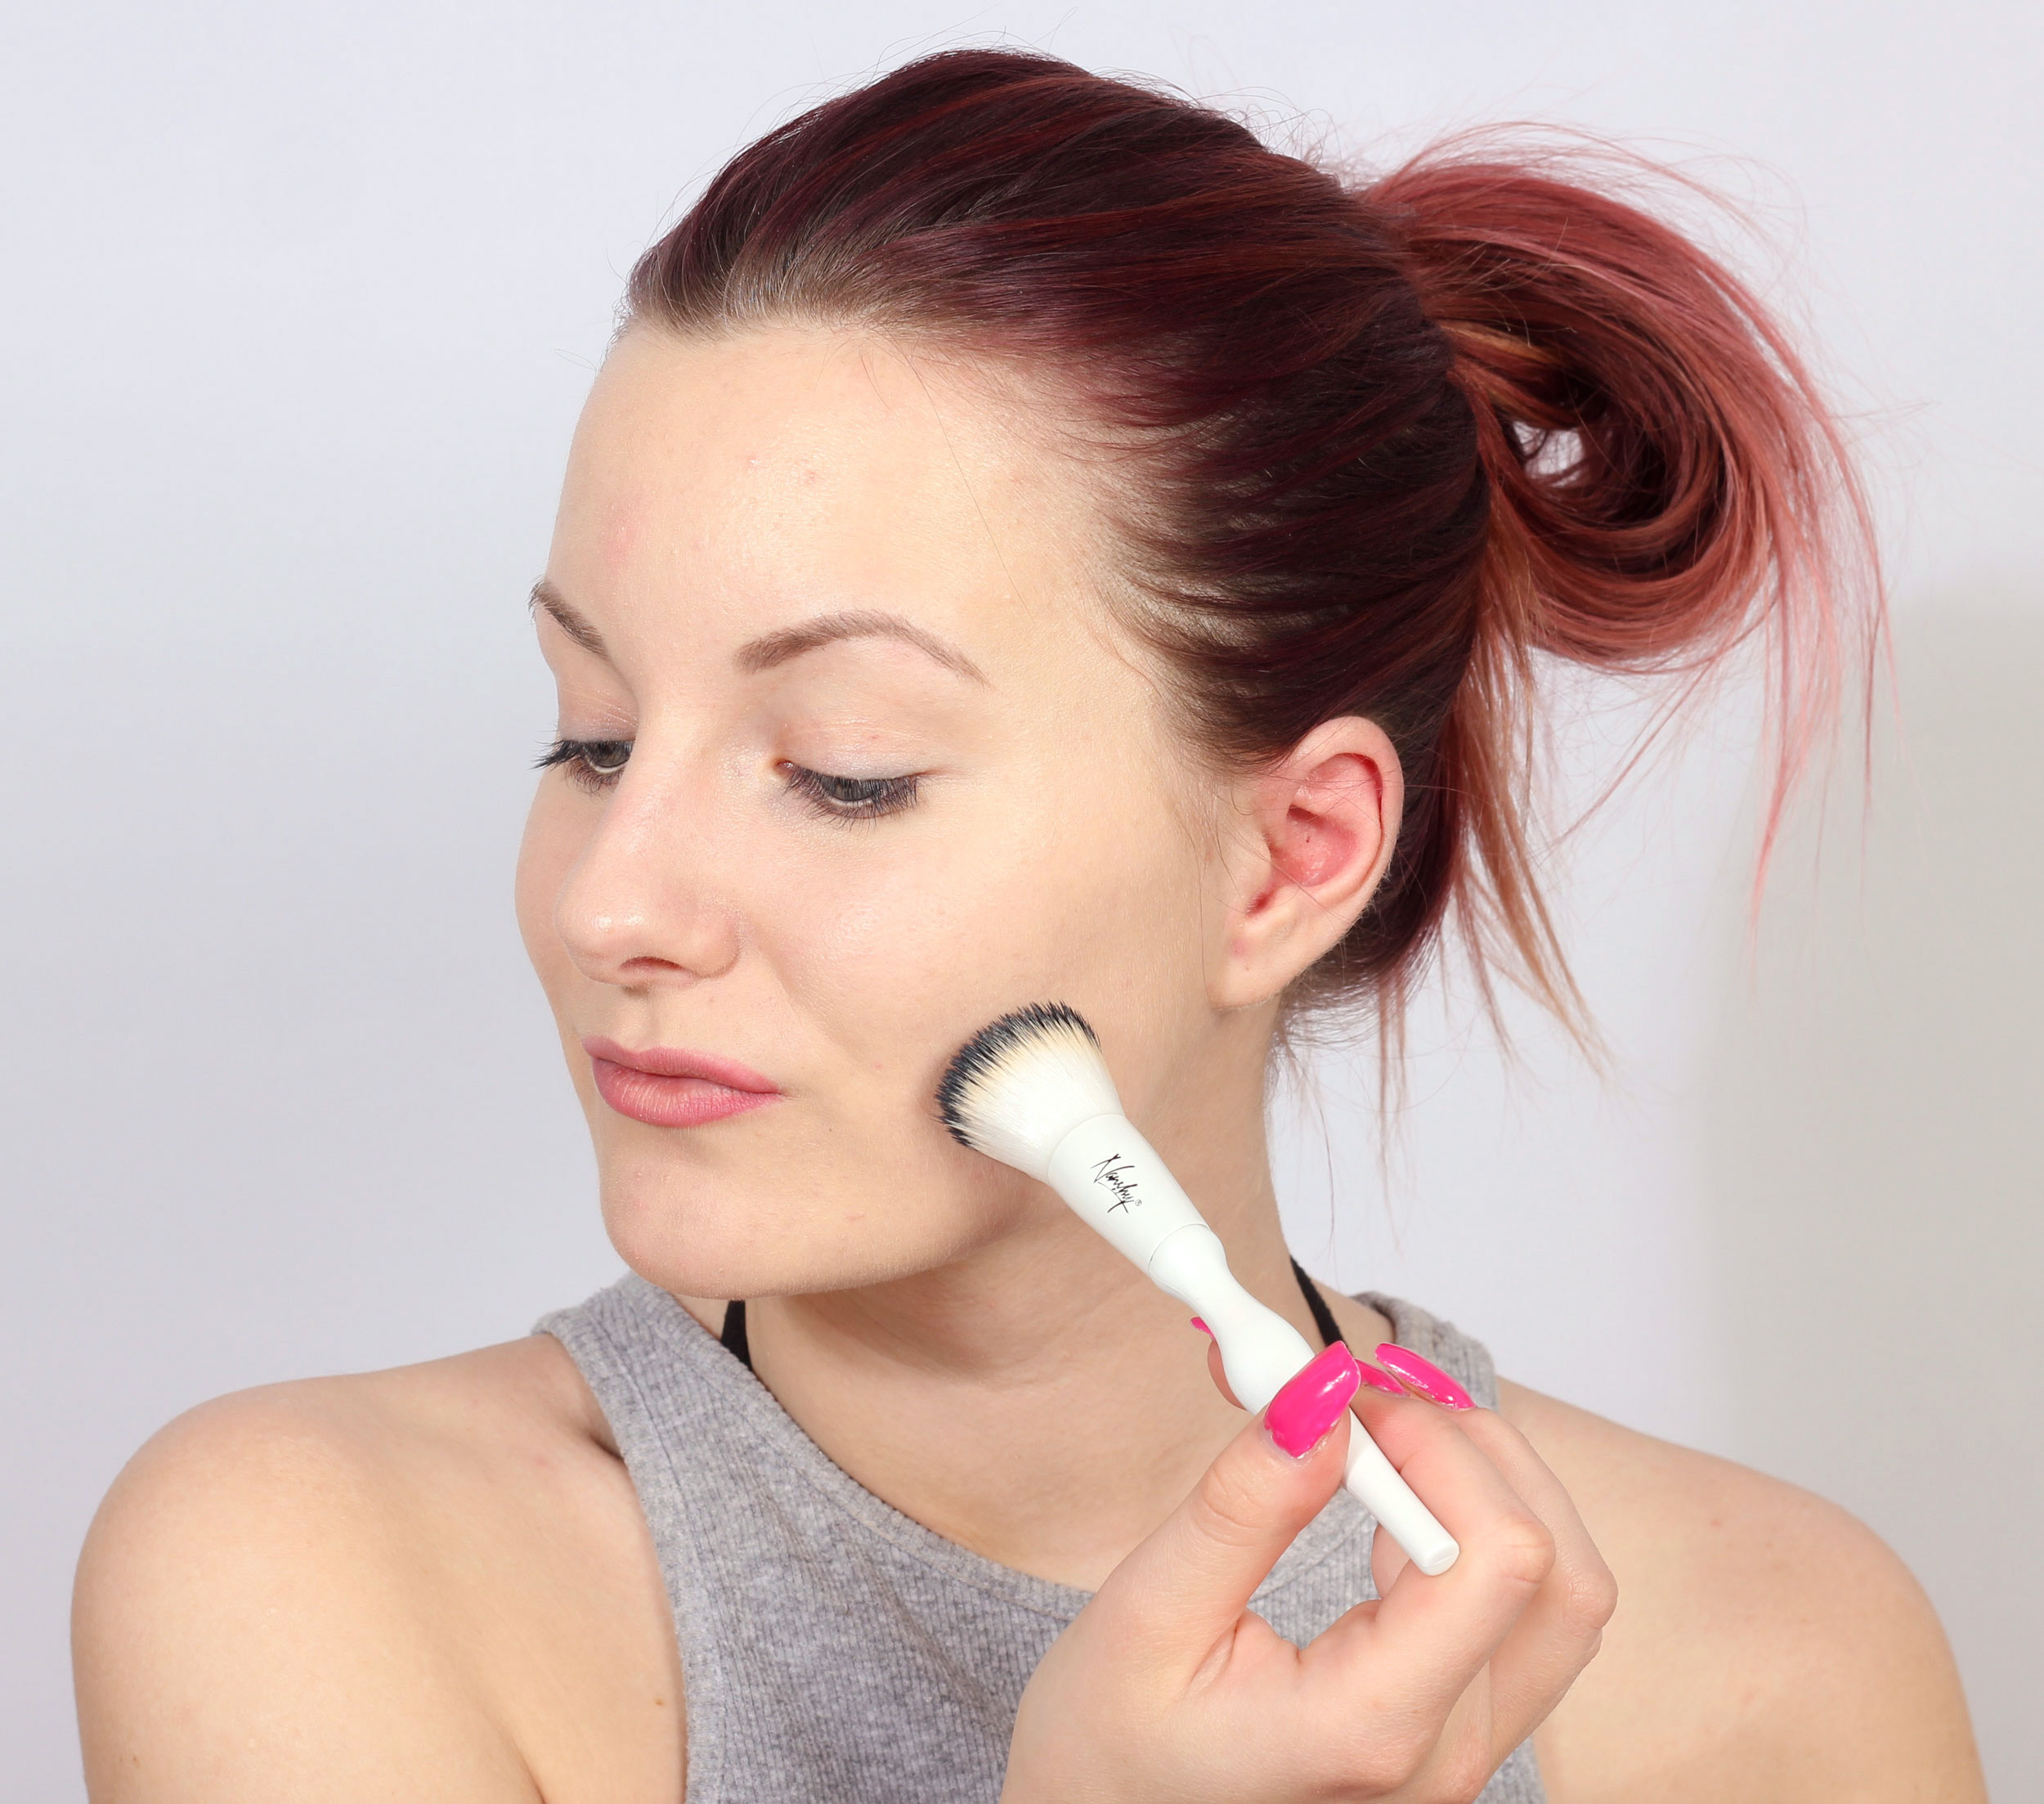
I am completely unmade up in addition to sunscreen (which you should still have) which also evens out the skin tone and gives the skin a glow. Goes in seconds!
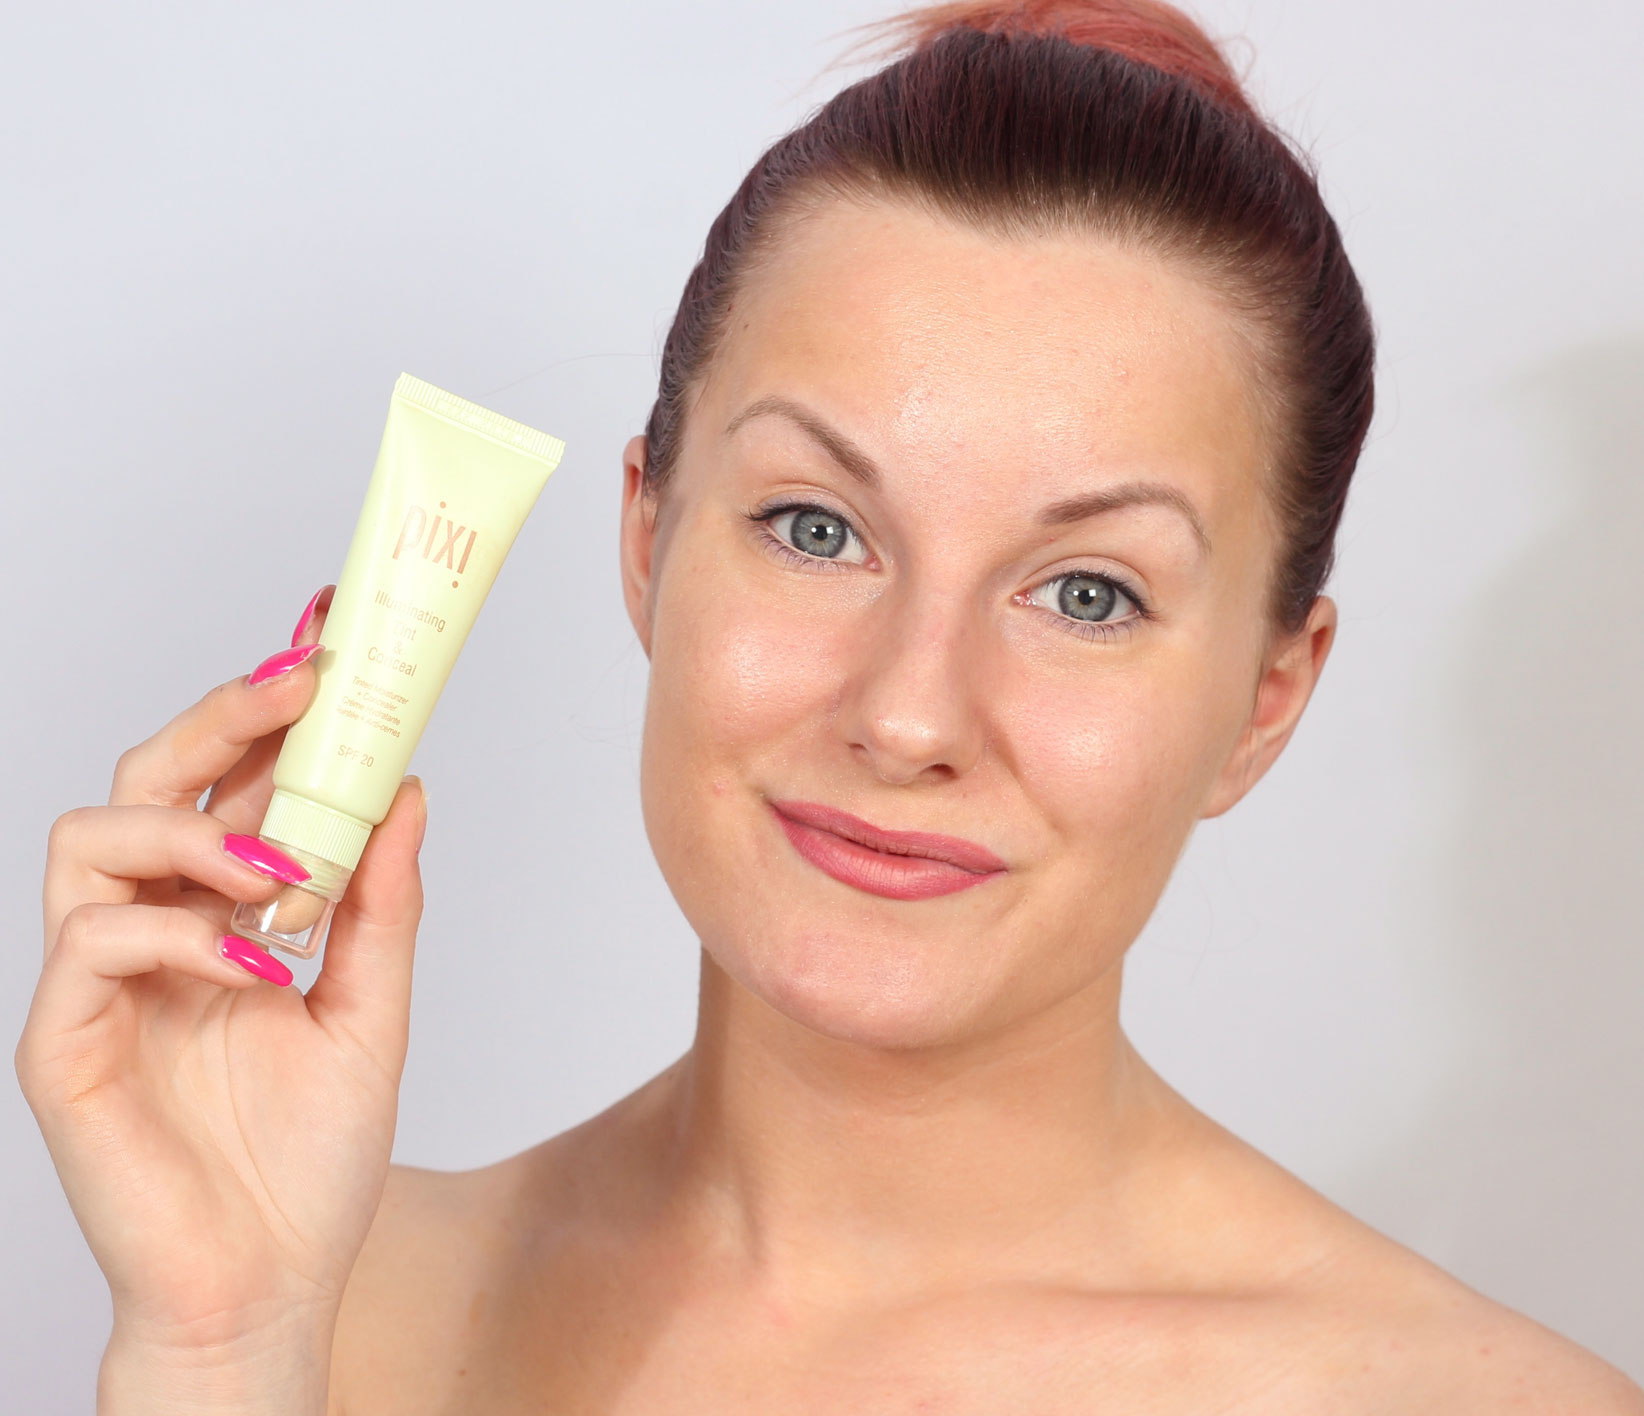
I have sunscreen (spf 20) which is both a colored day cream that evens out the skin tone a little + gives the skin a glow. In addition, it has a concealer in the cork, so even if you get a pimple or similar that you want to cover, it is quick and easy with the same product. You hear, magic! It is Pixi Illuminating Tint & Conceal I'm talking about, available at Byher.se and at our salon.
But it can be difficult to understand how big a difference it really is, because you are so used to seeing me without makeup in the blog, but with permanent makeup. I've had it for like 4 years now I think!
So do you know what I have done to show clearer before and after pictures? I HAVE MAKED OFF MY TATTOOES! And talk about horror-mixed delight, I forgot how I looked completely naked in the face haha :)
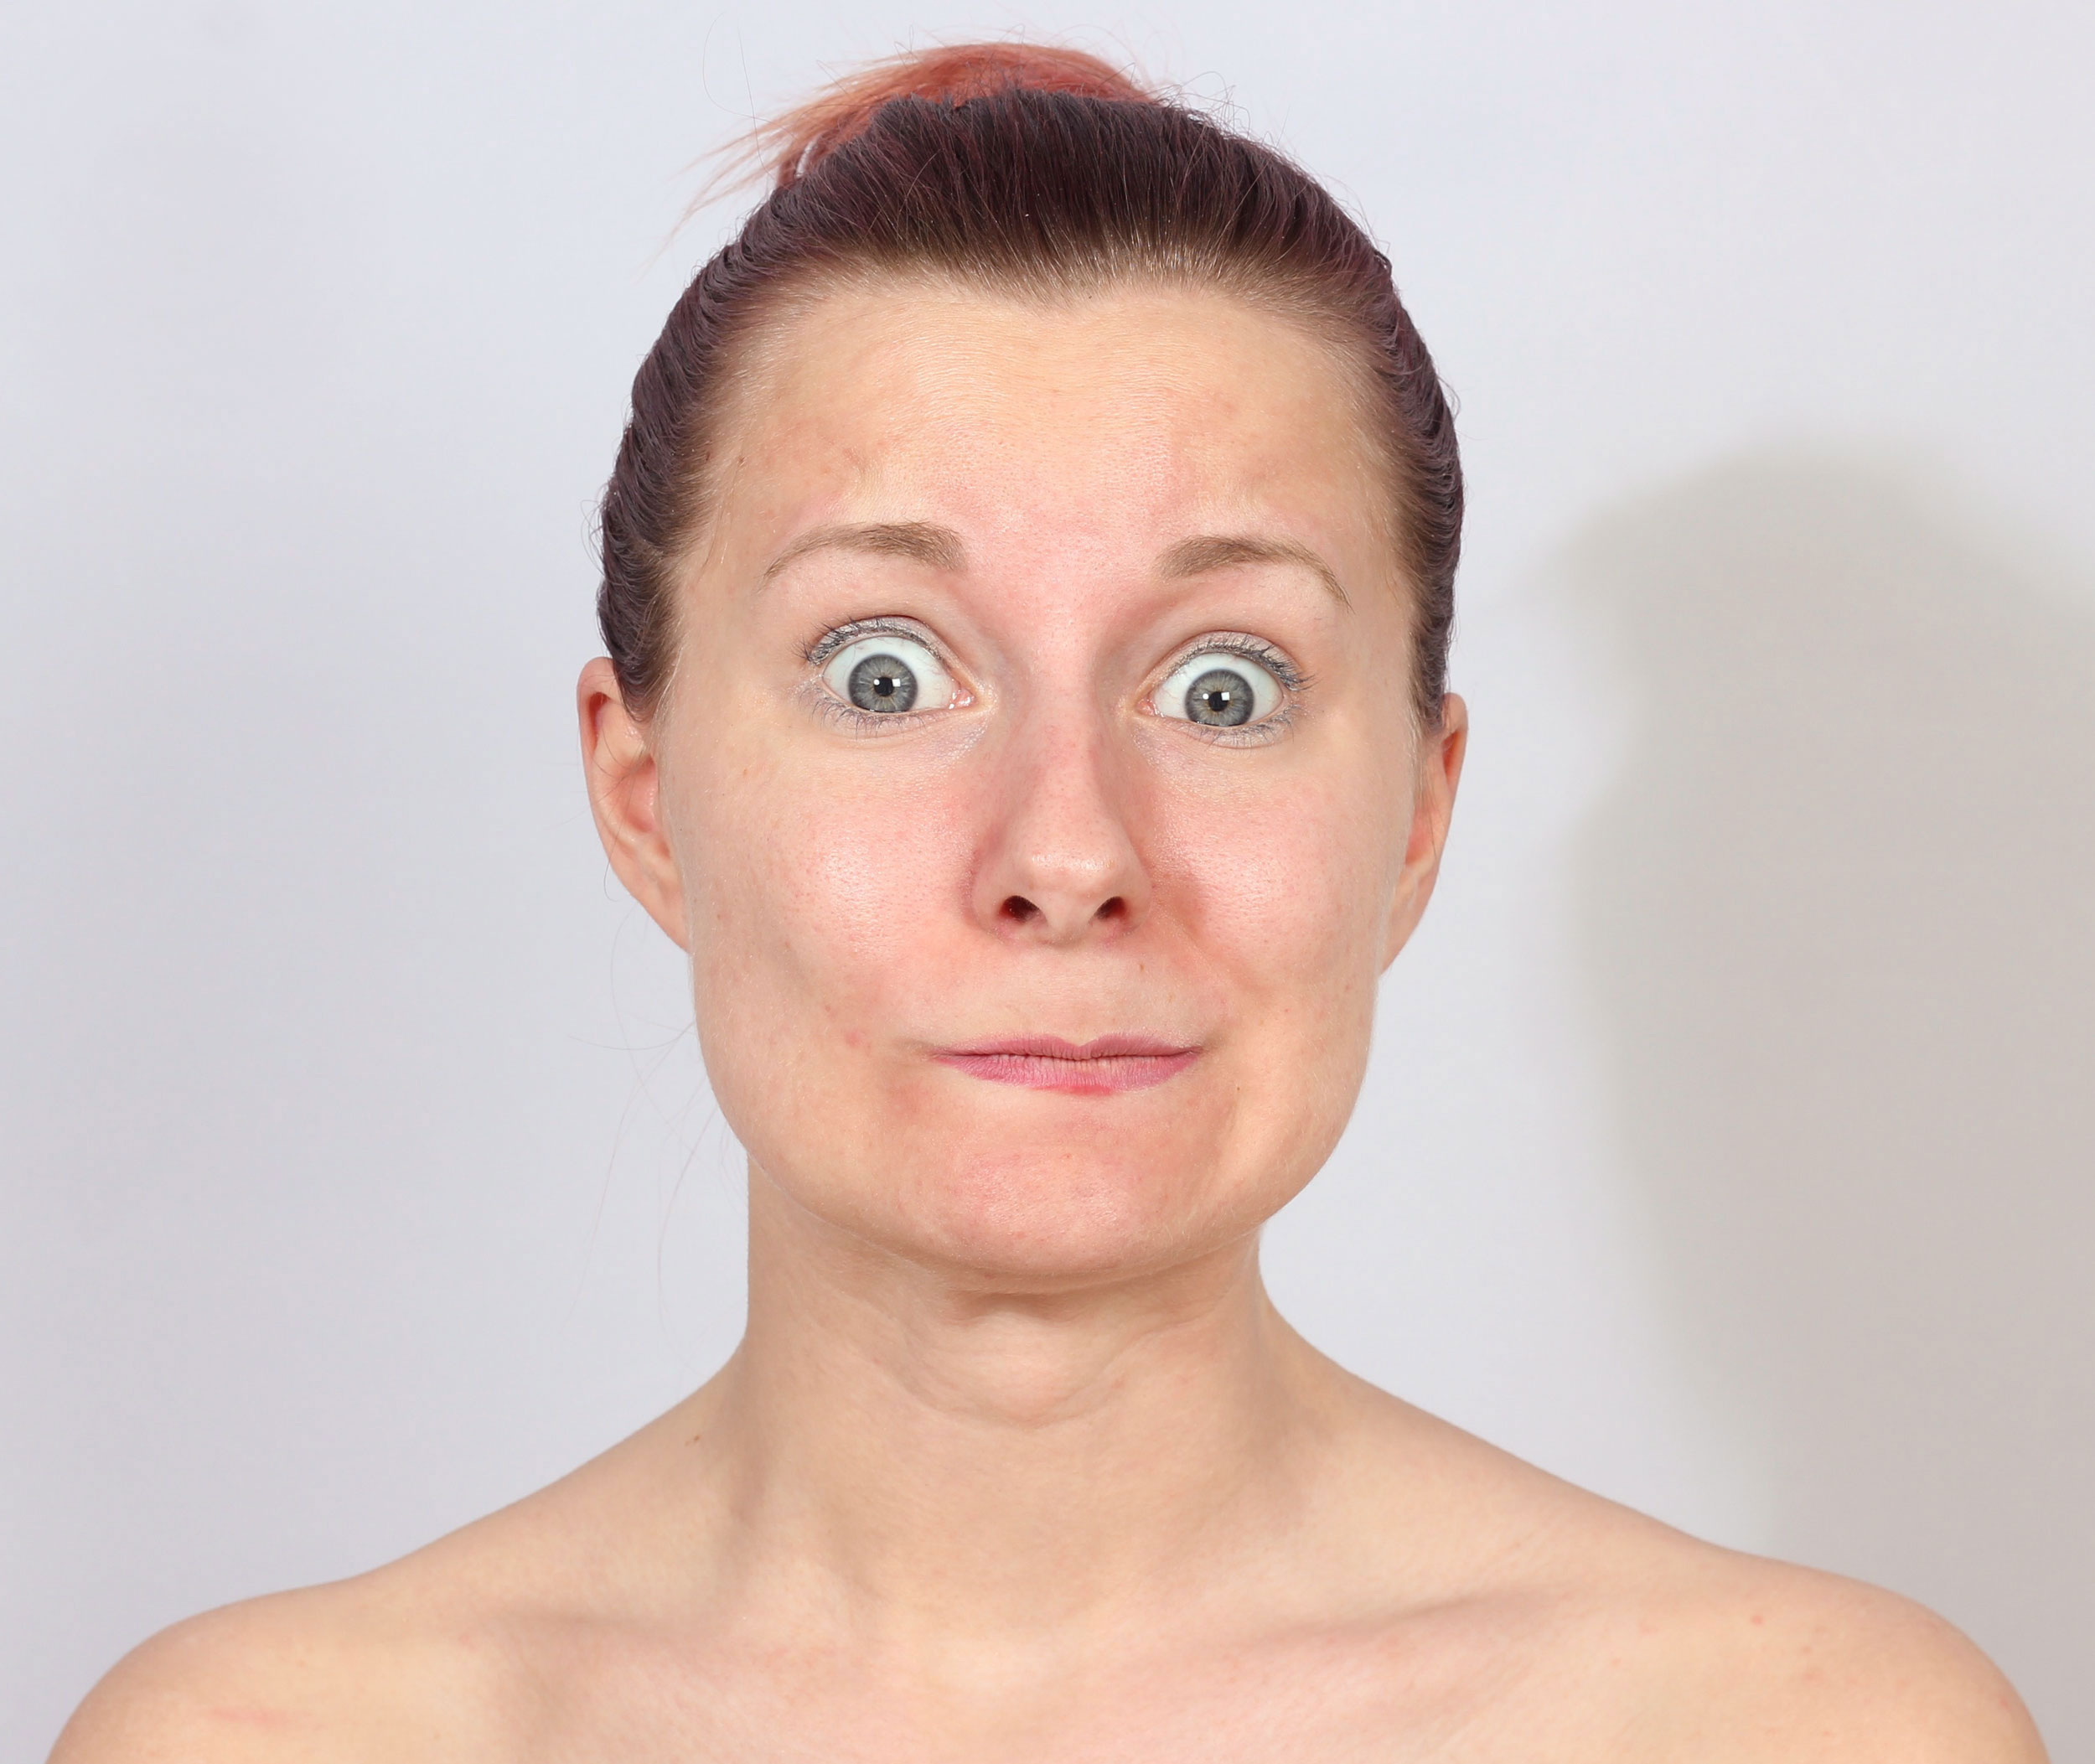
Whaaaaaaaaat!
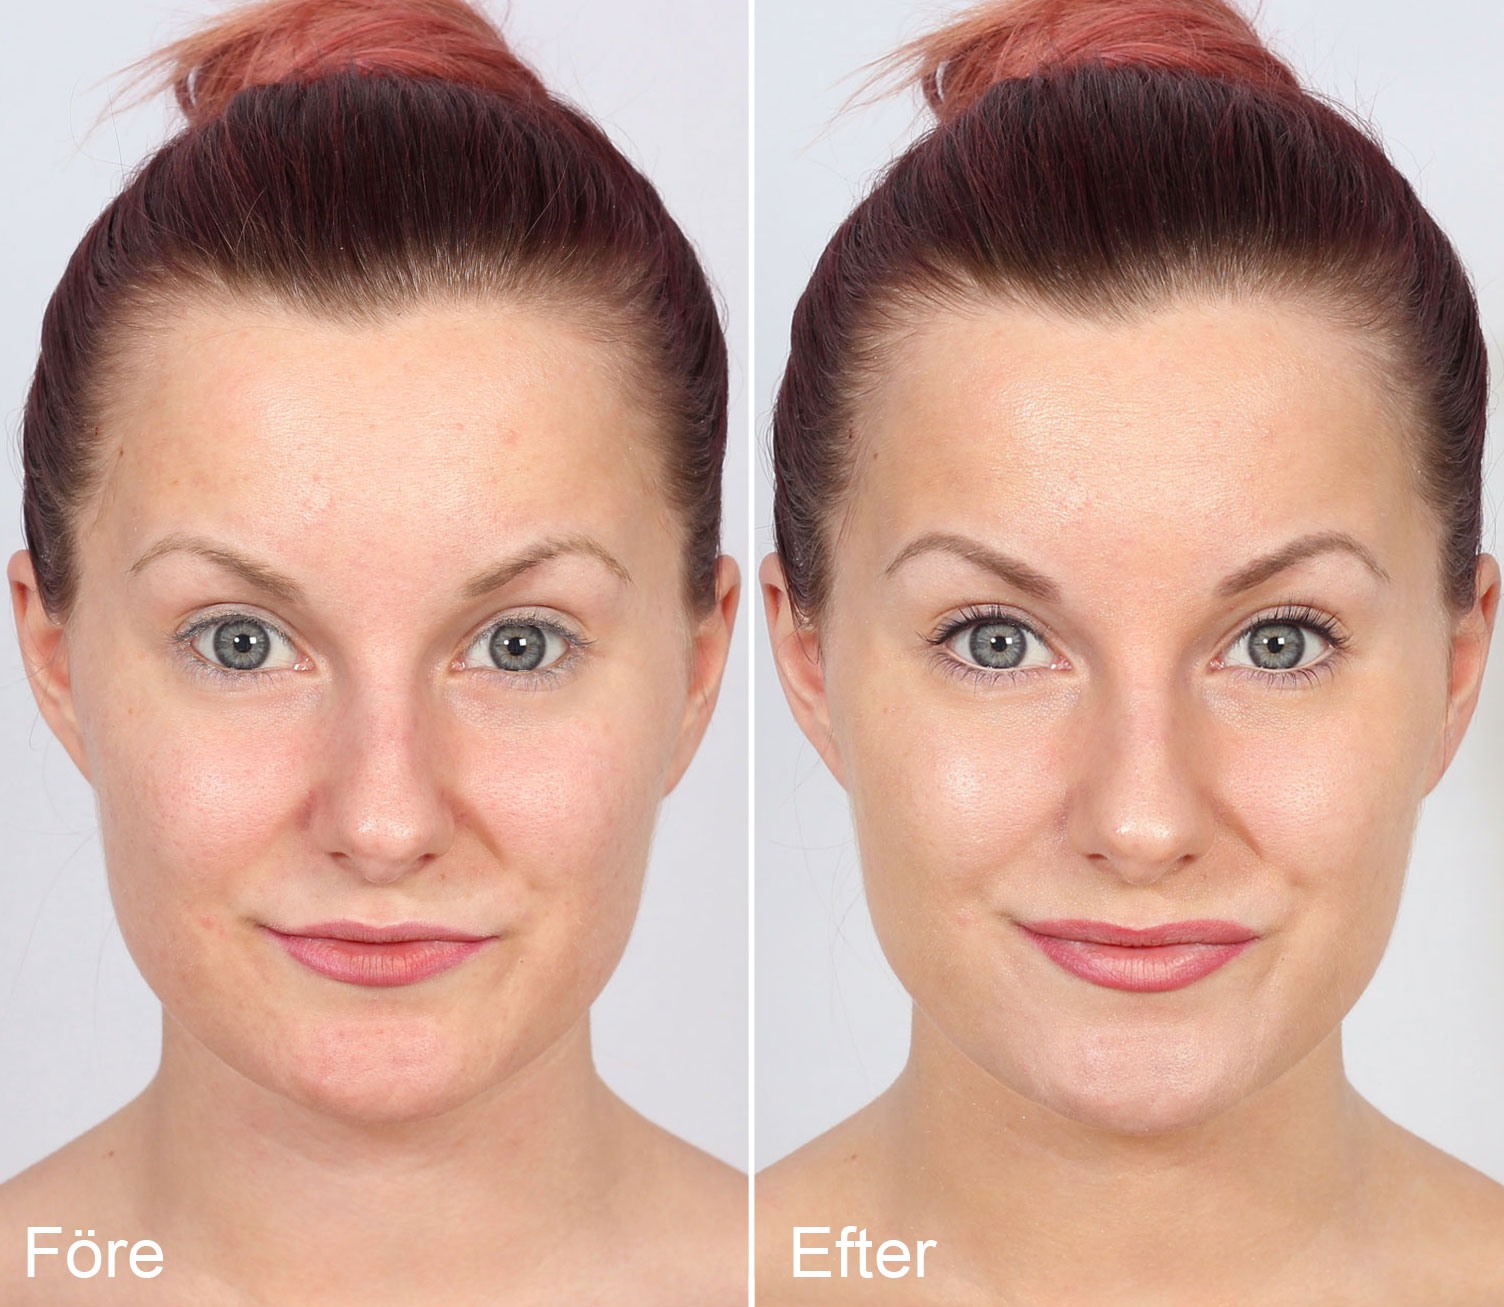
Here you see "for real" how big the difference is before and after :)
Here's how to get the same transformation:
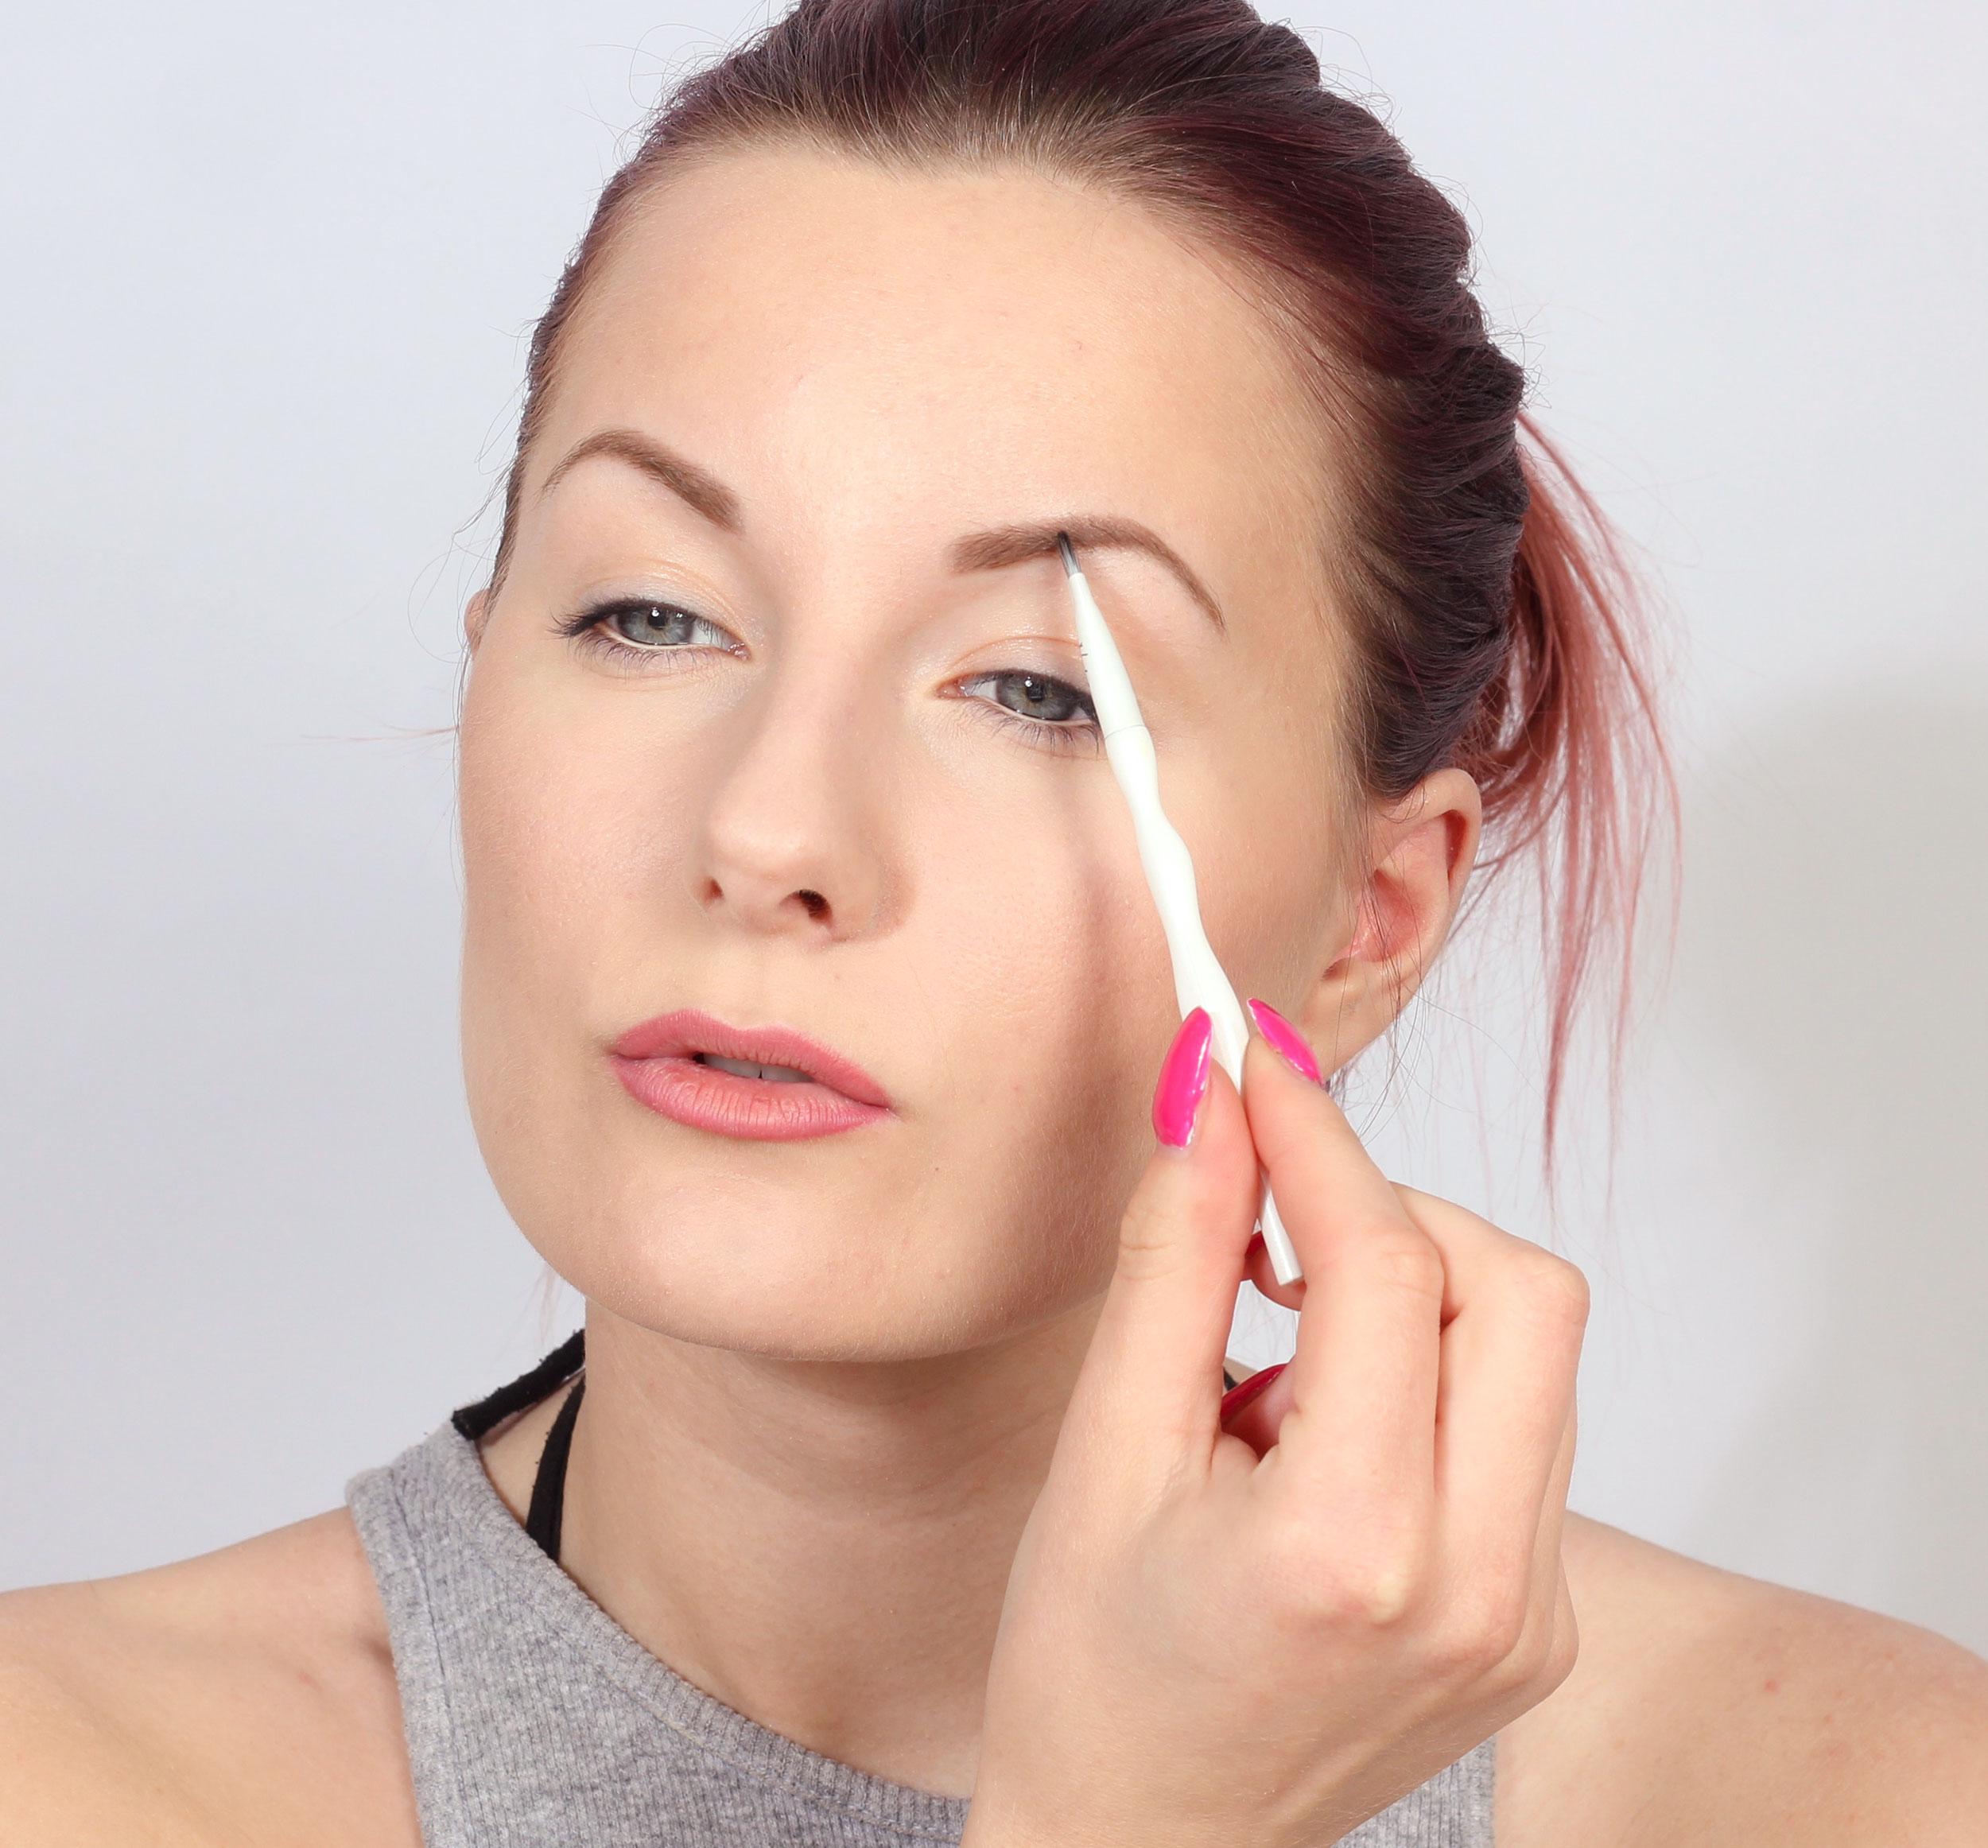
- Eyebrow tattoo
- Lashliner up & down
- Inliner (light tattoo along the waterline)
- Color and permanent eyelashes
- Lip tattoo that enlarges the lips (toned contour + highlighter)
- Colored day cream from Pixi
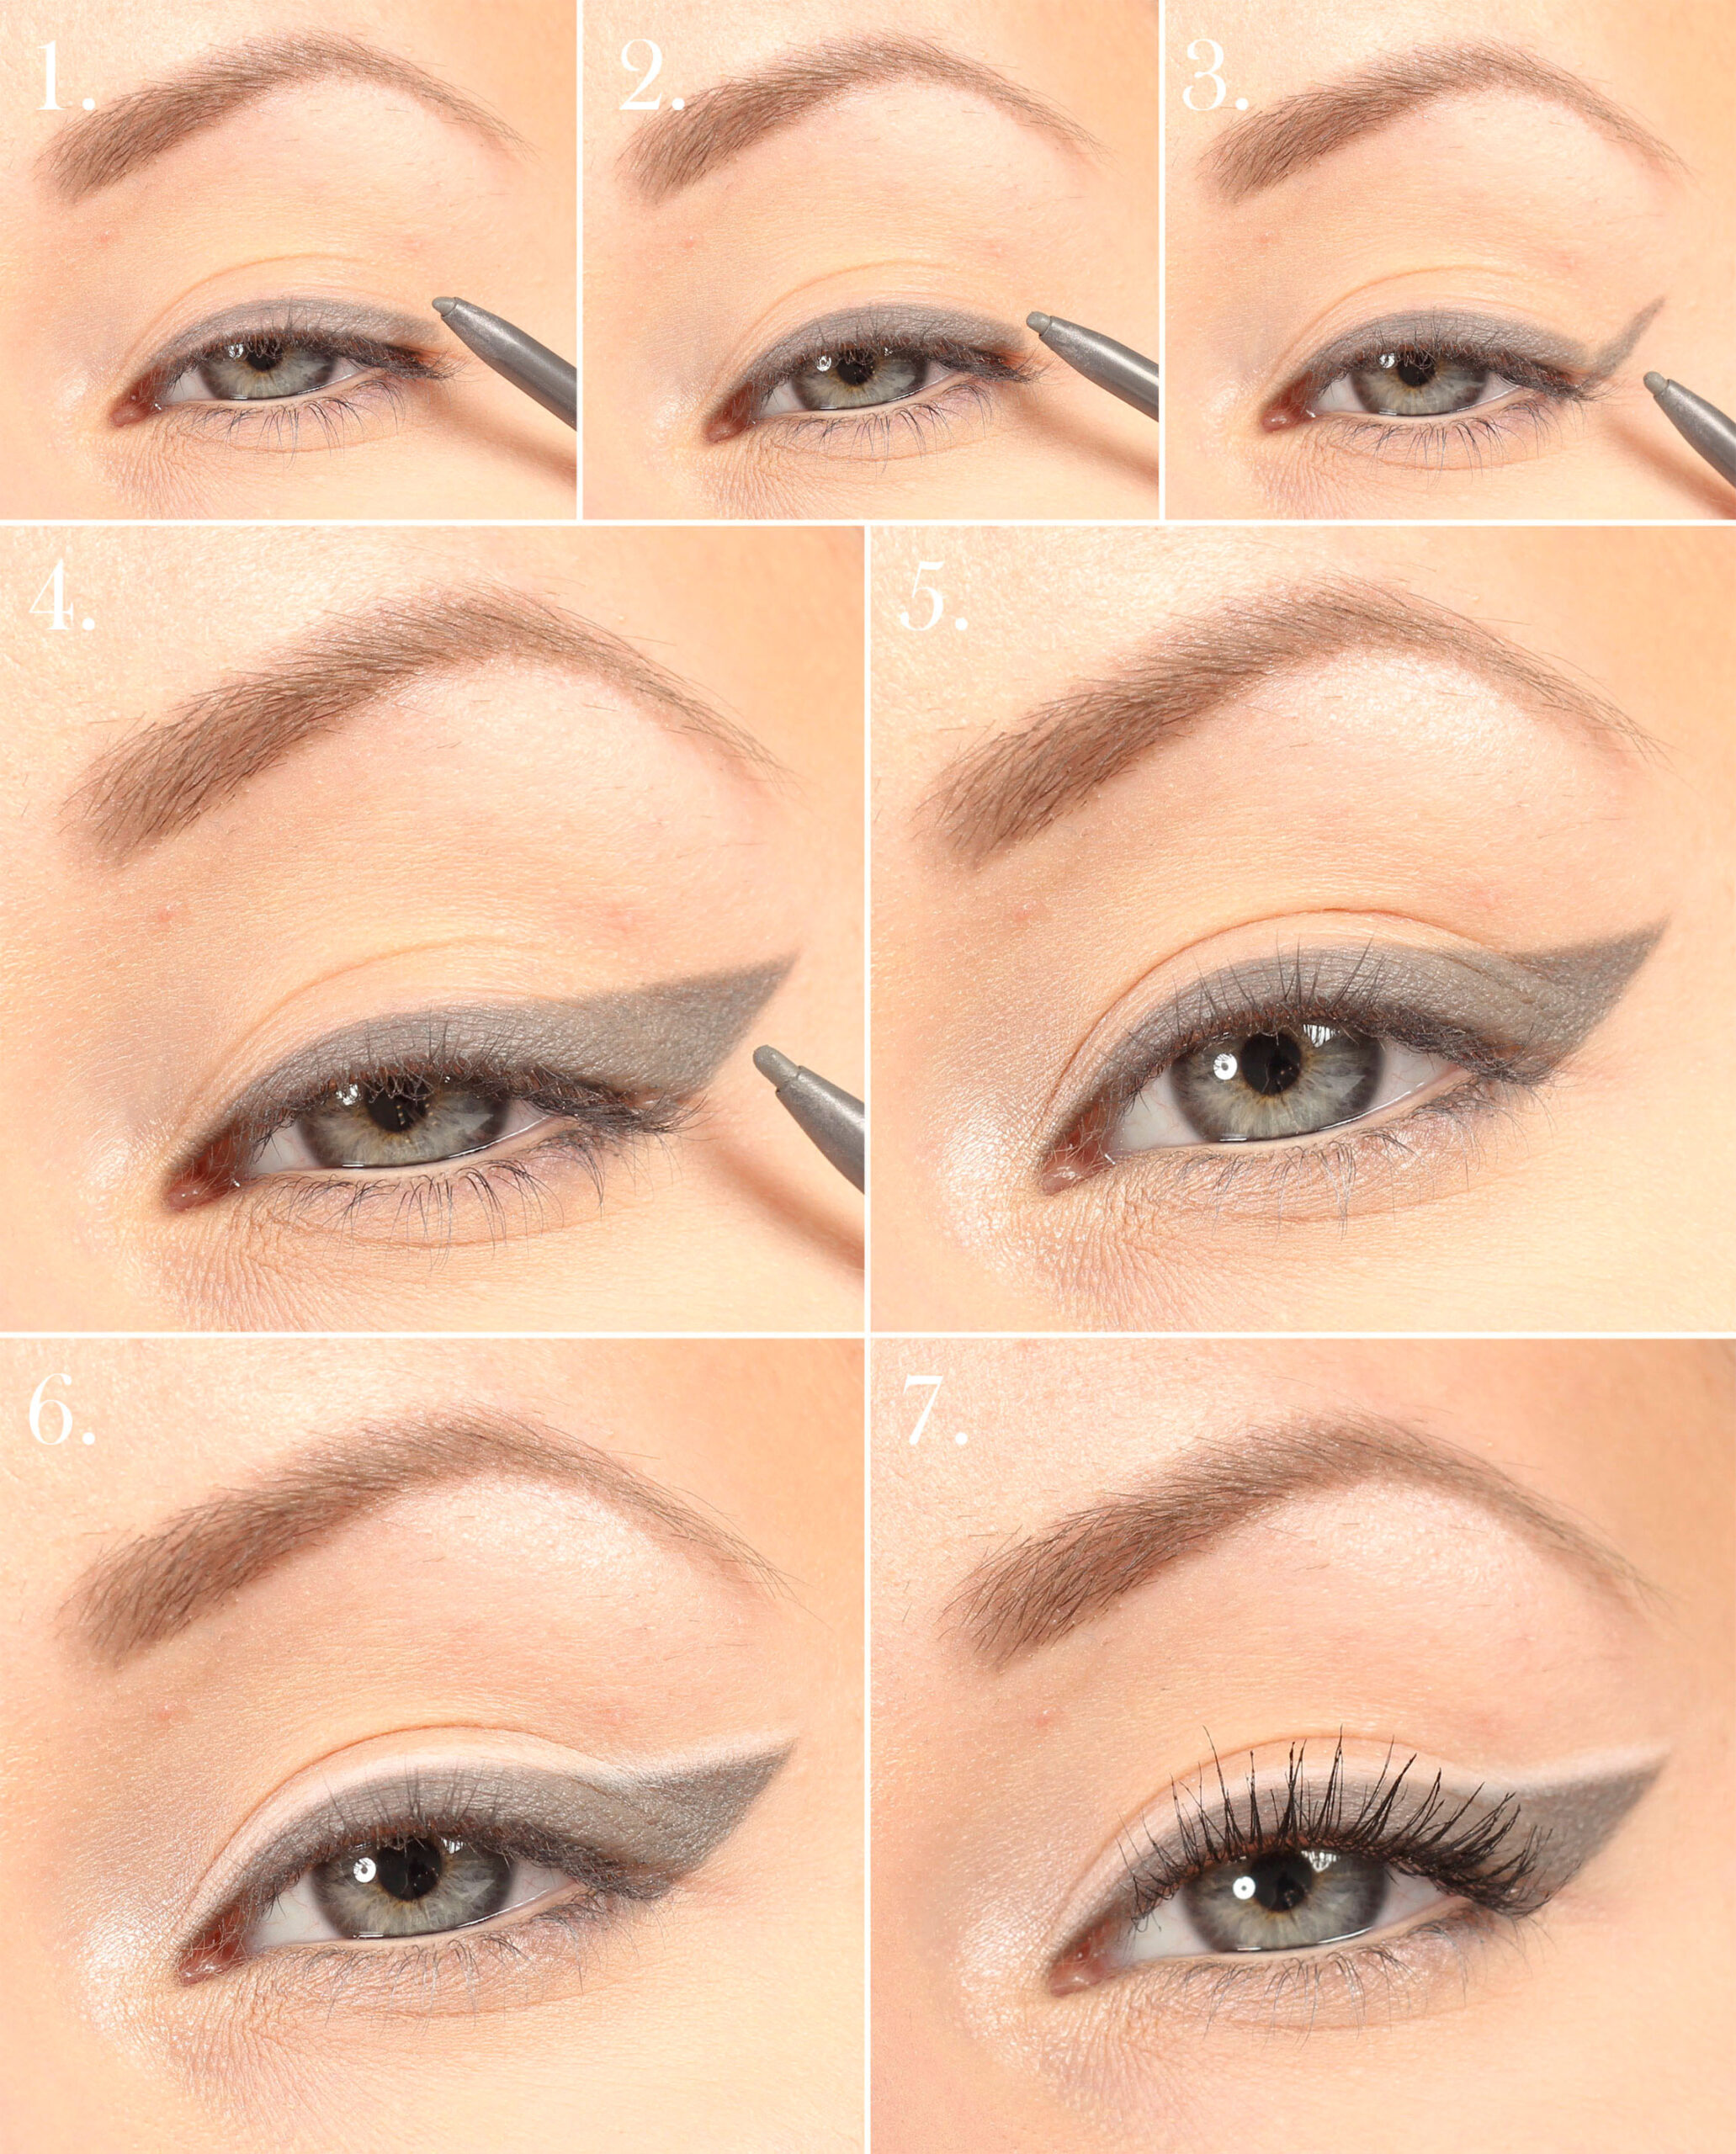
I have only dyed the lashes so I have to bend them with pliers, which is only because it is a little harder to do step-by-step make-up when you have curved lashes all the time. But it is better to permanent (permanent bending) because then the bend lasts all the time, water and moist air make the lashes go down very quickly.
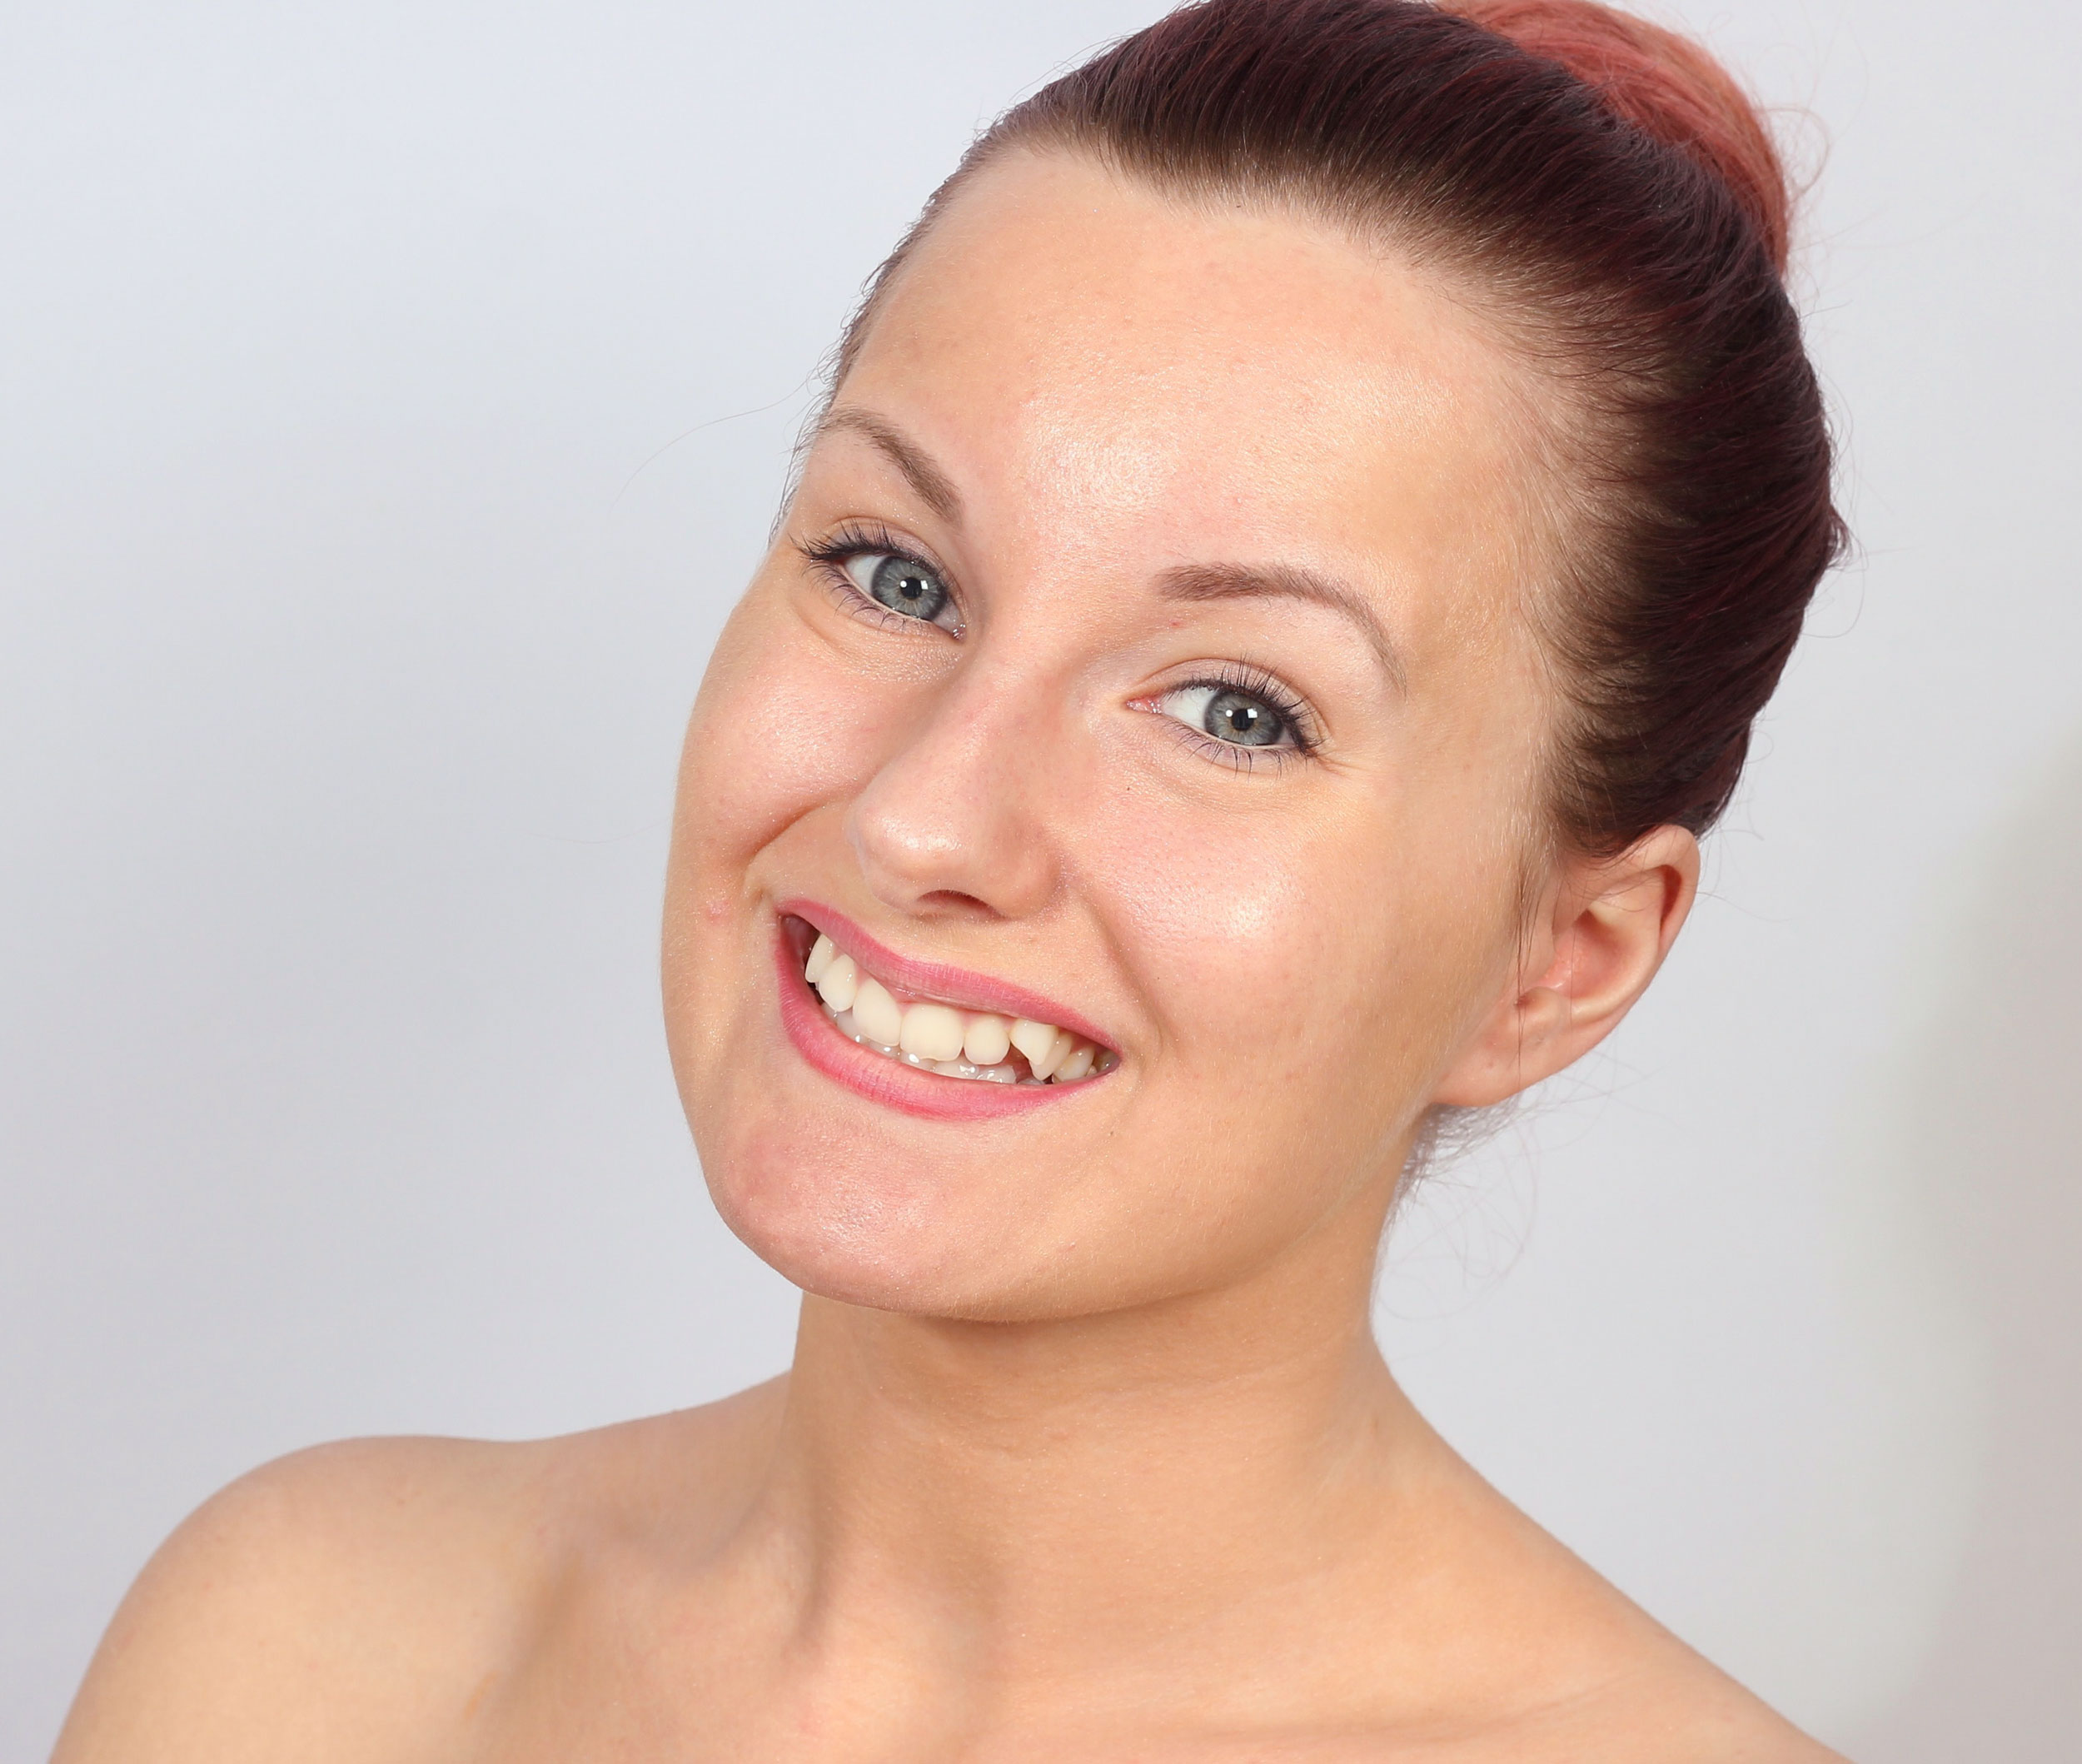
You get so spoiled with your tattoos that you forget what it was like to look tired and dull without makeup. My tattoos are very natural, you can make them look more made up, but even this "little" makes a huge difference.
"Are you sick?" "How tired you look, have you slept badly?" are questions you had to endure with a look like close before "NO I'm just unmade up, I LOOK LIKE THIS !!!" Lol. Anyone who recognize themselves? :) Such questions are avoided with permanent makeup.
Prices and more info can be found at the website, and there you can also book an appointment. And do not miss that Creative Makeup By Her right now has an offer - book lashliner and get eyelash permanent and coloring on the purchase :) Read more about it here!
Shout out if you have any questions ♥


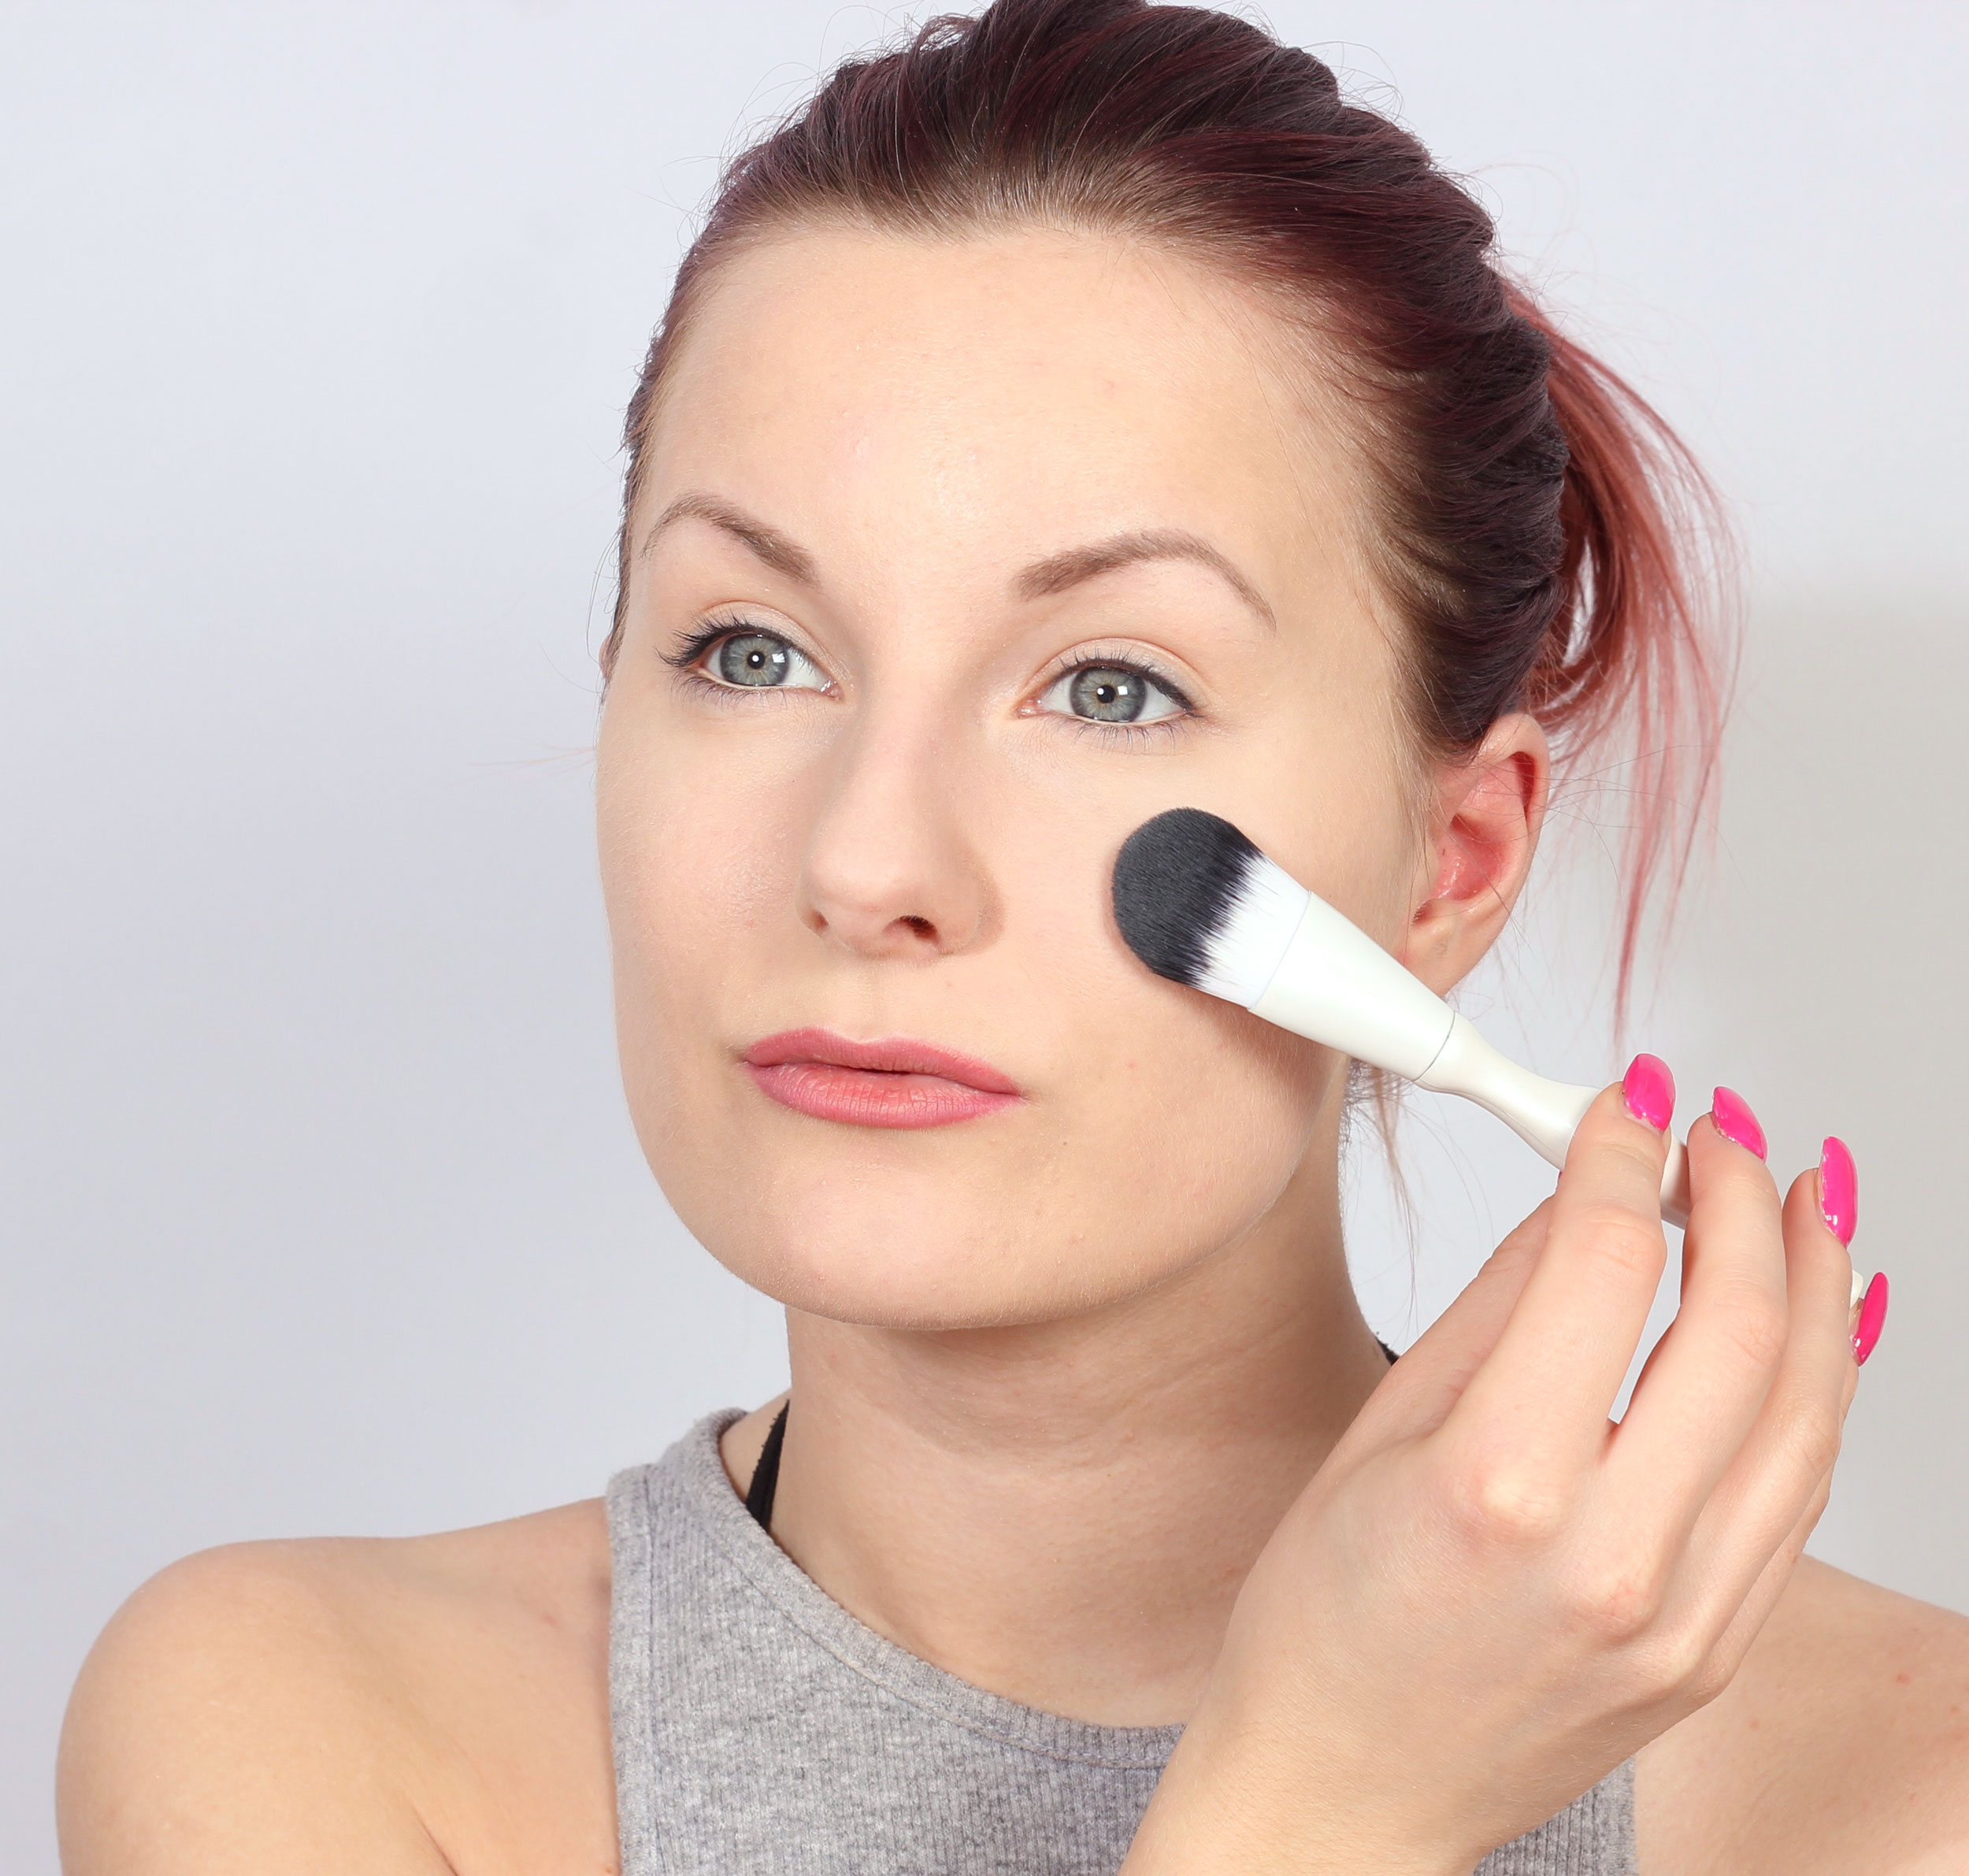
 Foundation
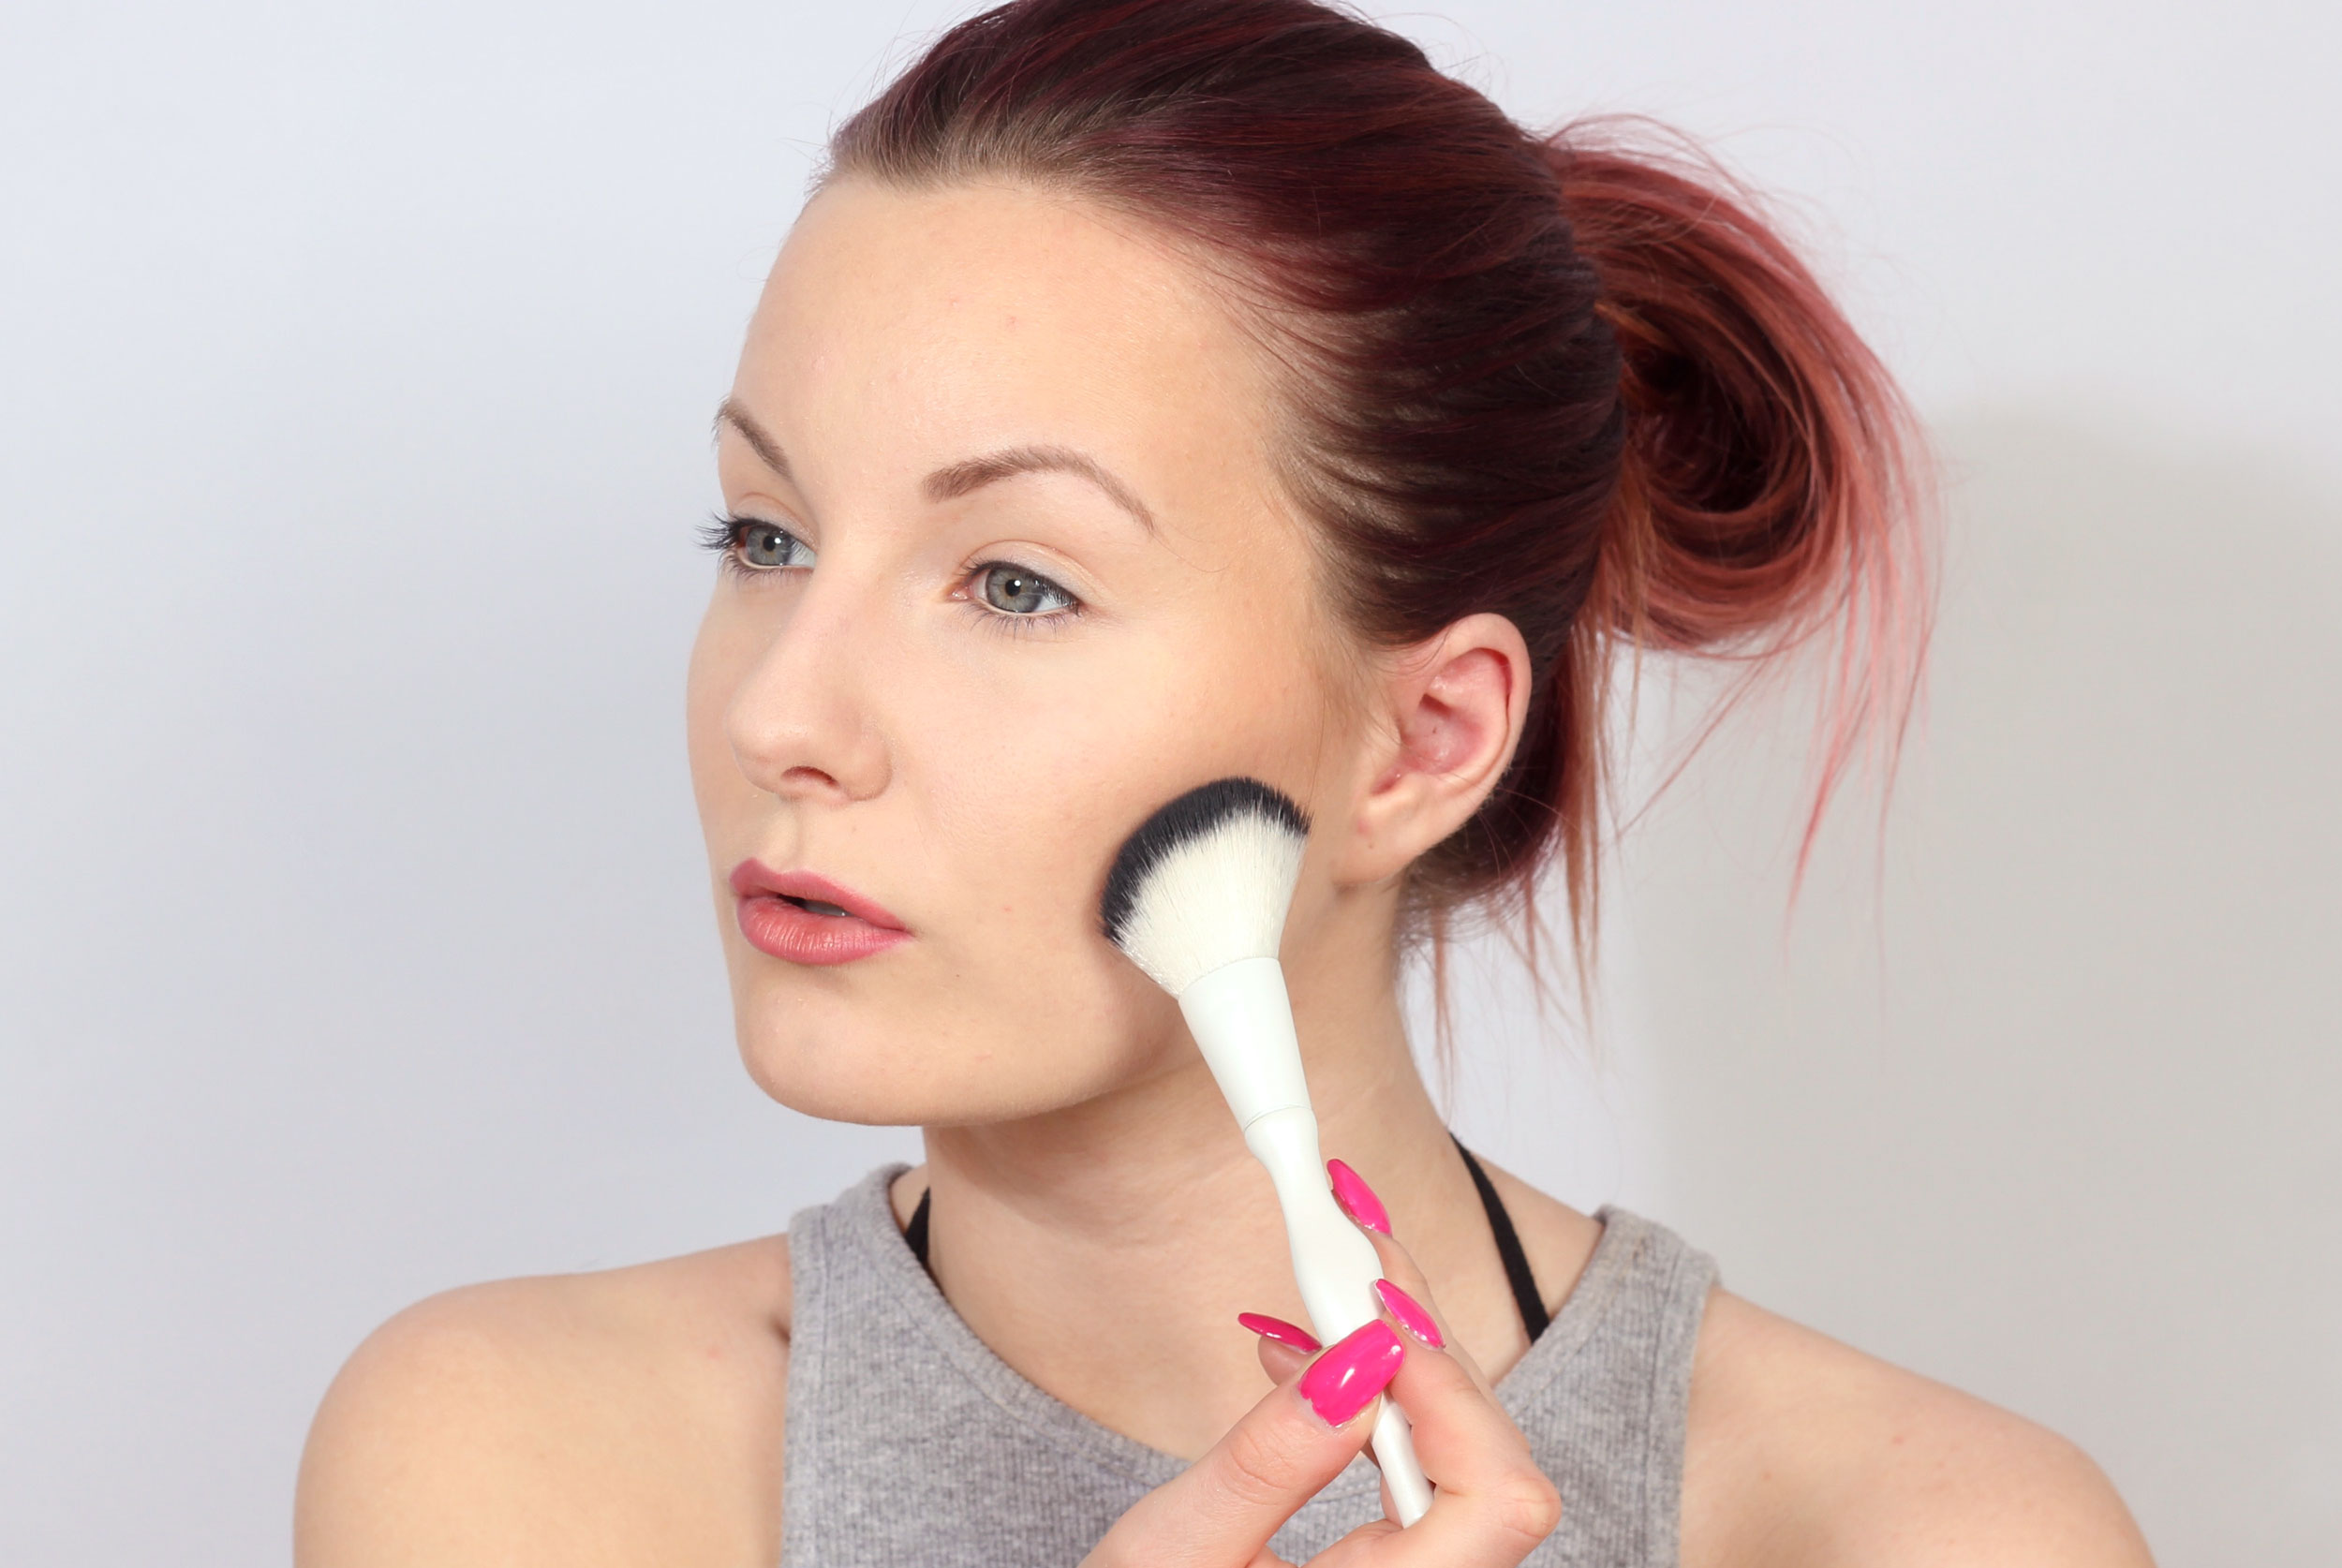