Eyeliner with wing is quite easy to do, after a few years of training;) No, but it is not so easy in the beginning, I did not think so either, so now I thought I would show you some quick tips to help you get a nice eyeliner wing that also is the same on both sides!
A simpler and less in-depth post unlike my large one eyelinerskola which I published this summer;)
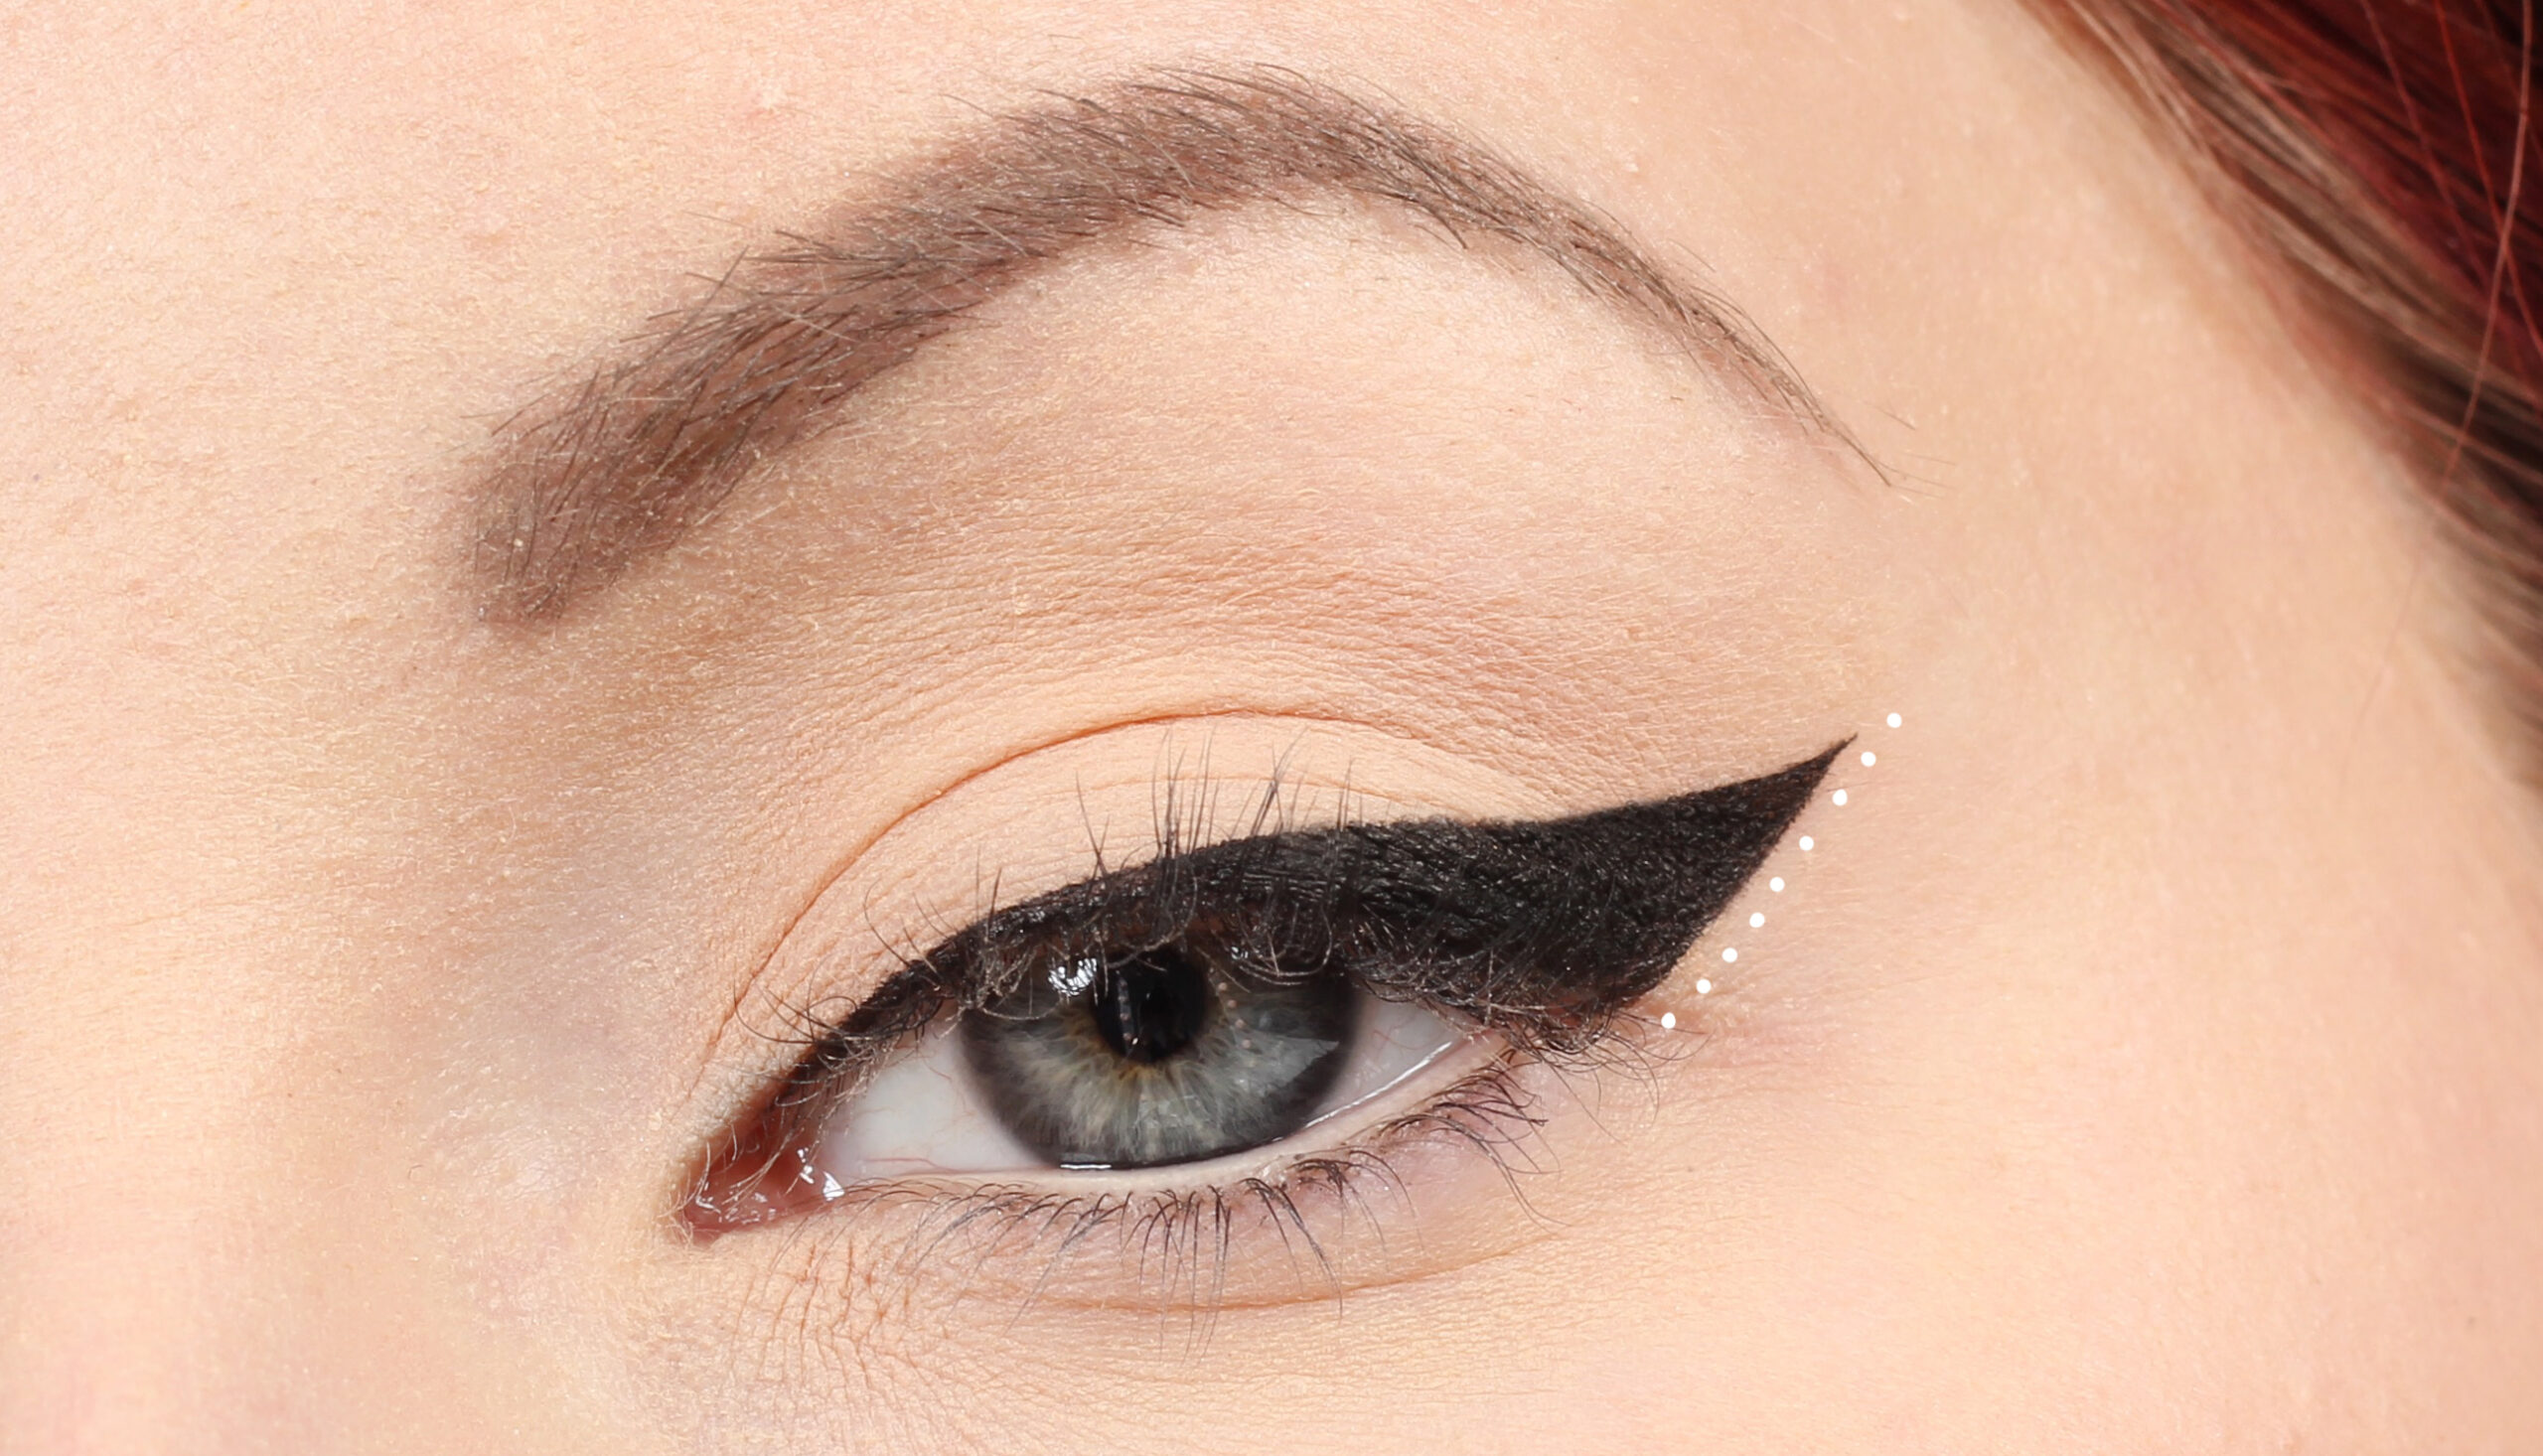
♥ The lower edge of the eyeliner wing is most important
How wide, long, straight, etc. you want the eyeliner depends on both taste and eye shape. But it is the line that goes from the outer corner of the eye and outwards that is most important that it is straight and fits your eye, because otherwise it will not look nice when you look straight ahead, e.g. if it is hackneyed or lies in the crease line crease as you look ahead.
It is also the location on this line, or rather the slope of it, that makes the biggest difference if it is different in both eyes. If the eyeliner becomes wider on one side than the other or similar, it is easier to correct, than if e.g. one wing goes more upwards than the other which is straighter. Then the asymmetry will be more visible.
But there is a simple trick to solve this, and that is tape!
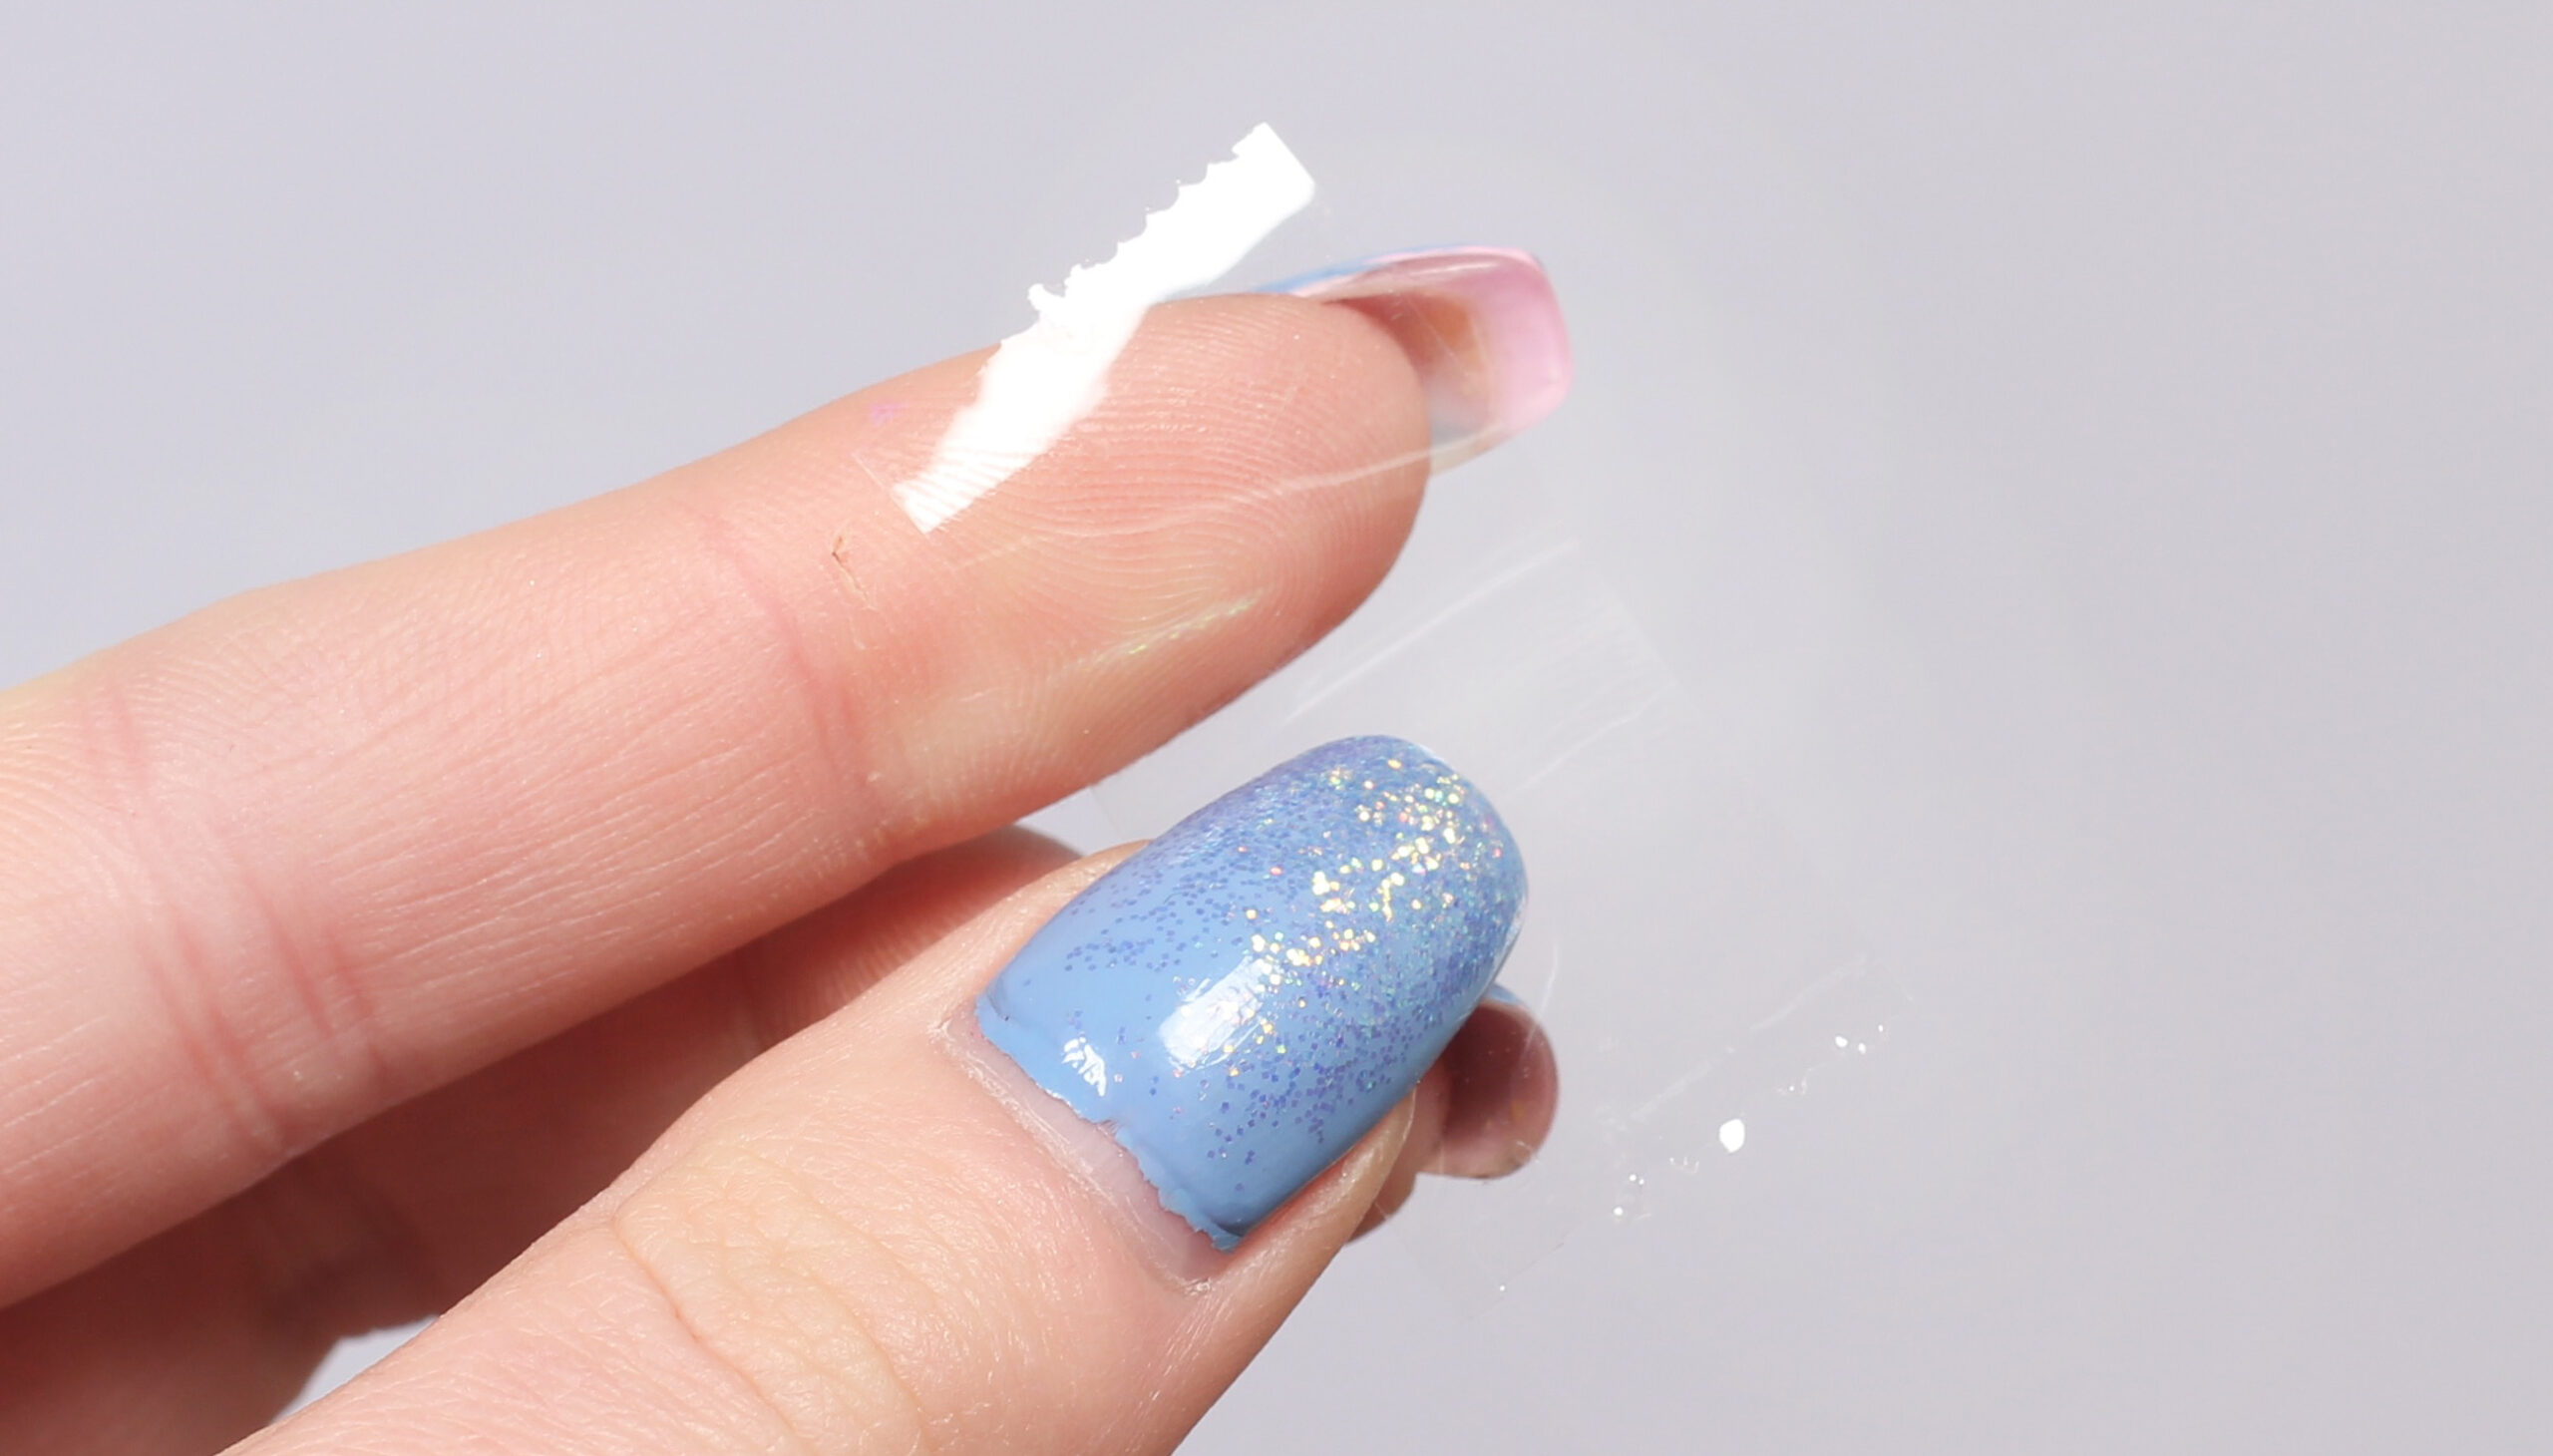
♥ Tape
I have seen lots of tips on how to use other aids to get a sharp wing, such as bank cards, a spoon, etc. But I prefer tape most because then you have a little more control and can use both hands when applying makeup.
Actually, I usually like paper tape the most, such as masking tape / freezer tape or whatever it's called, because it does not settle as hard as regular plastic tape. But now I had nothing like that close at hand and then regular tape works well too :)
♥ Equal on both sides
The reason why the tape is good, apart from the line being sharp and even, is because you can stick it on the skin and make sure that both sides are exactly the same before you start painting. If one ends up a little crooked, just paste it.
If you have difficulty seeing with the naked eye if the tape is the same, you may have a better feeling in any case. I usually press a little lightly with the nail on both sides where the tape edge is located, then you feel more clearly if they are the same on both sides. Or is it just me who has a good "even-feeling" when you press on the skin? Lol
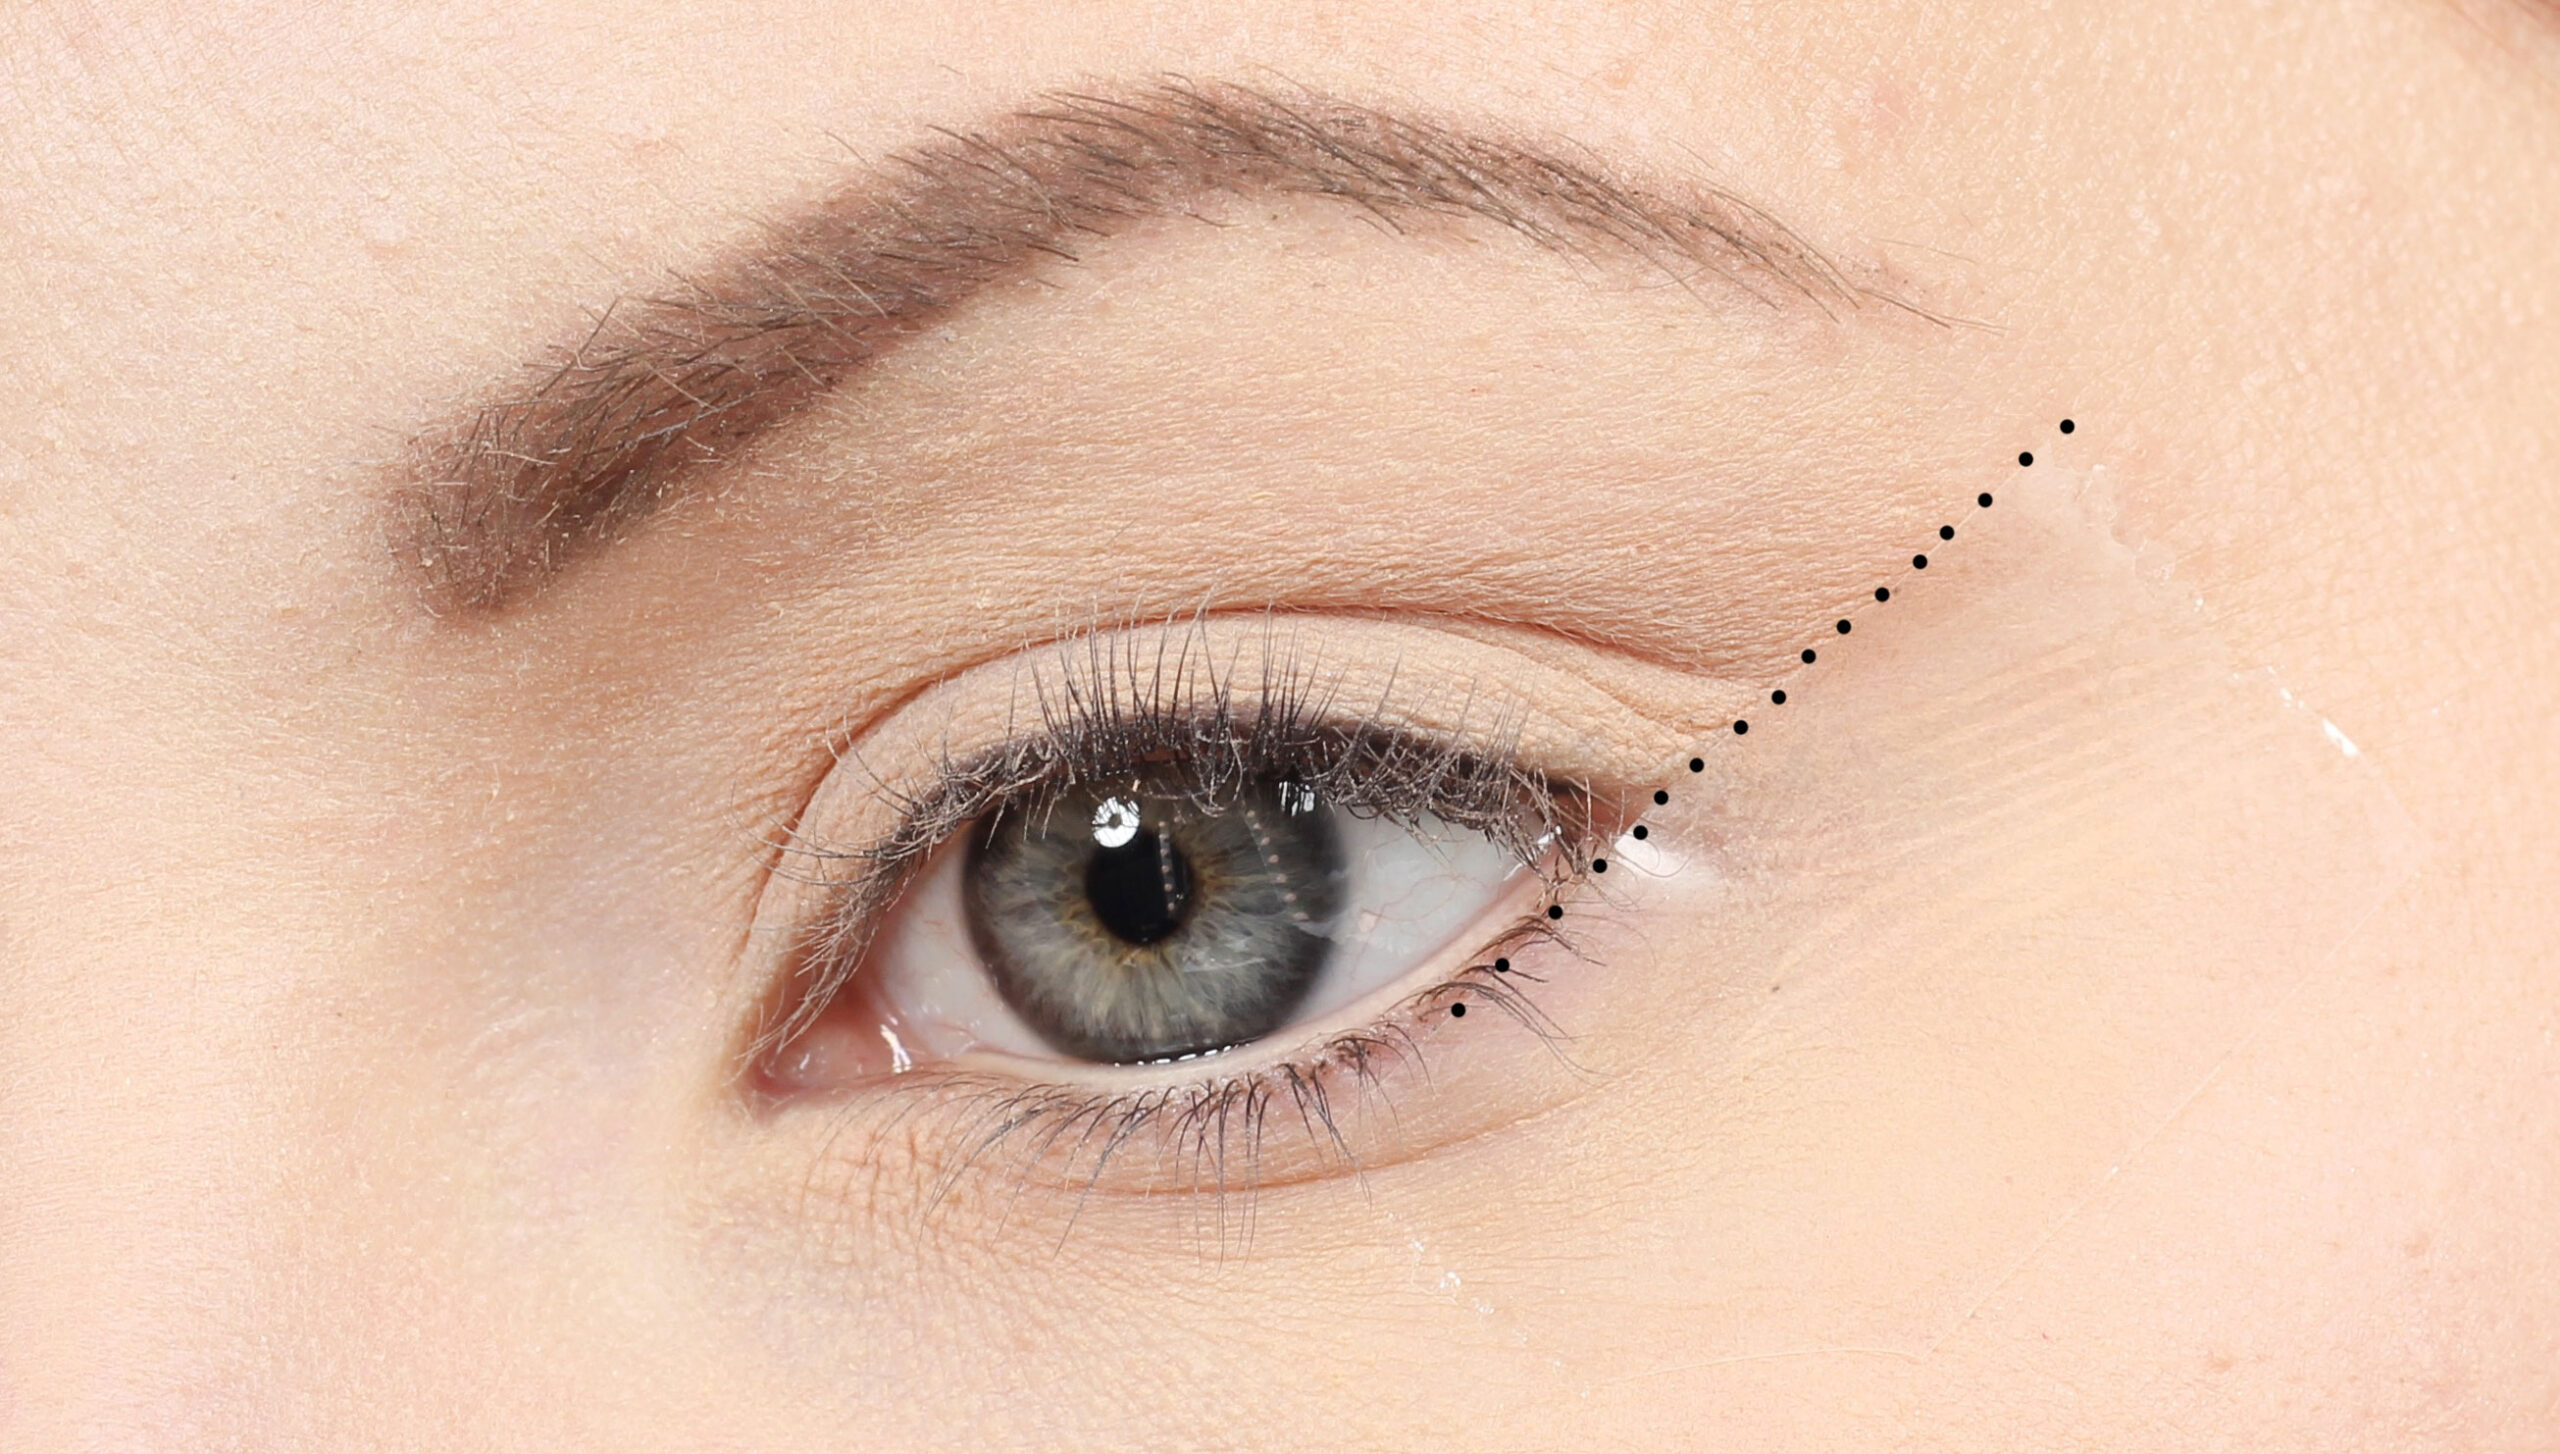 ♥ Adapted to the shape of the eyes
In addition, you can double-check before you start painting that the line fits well with the eye shape. I usually start from the direction of the lower lash line, and continue in that slope. Then you get a wing that lifts the eye nicely. Then I usually also look straight ahead in the mirror, and double check that the wing does not end up on any skin fold or the like but is straight and nice even when you look ahead.

Paint eyeliner
Then just paint in your eyeliner! I have used Paese Penliner which works much like a felt-tip pen, very easy to paint with.
I usually paint quite narrowly towards the corner of the eye and on the inside of the eye, roughly to the middle, before I start to make it wider towards the wing, but that's a bit of a taste.
If you have smeared a lot of paint on the tape, it can be difficult to see the whole, but as long as you get the black along the edge of the tape, you can pull it off and continue painting on the rest of the eyeliner. And if you think that the eyeliner wing has become too narrow or want it further down, you can easily take a new piece of tape and make a new line :)
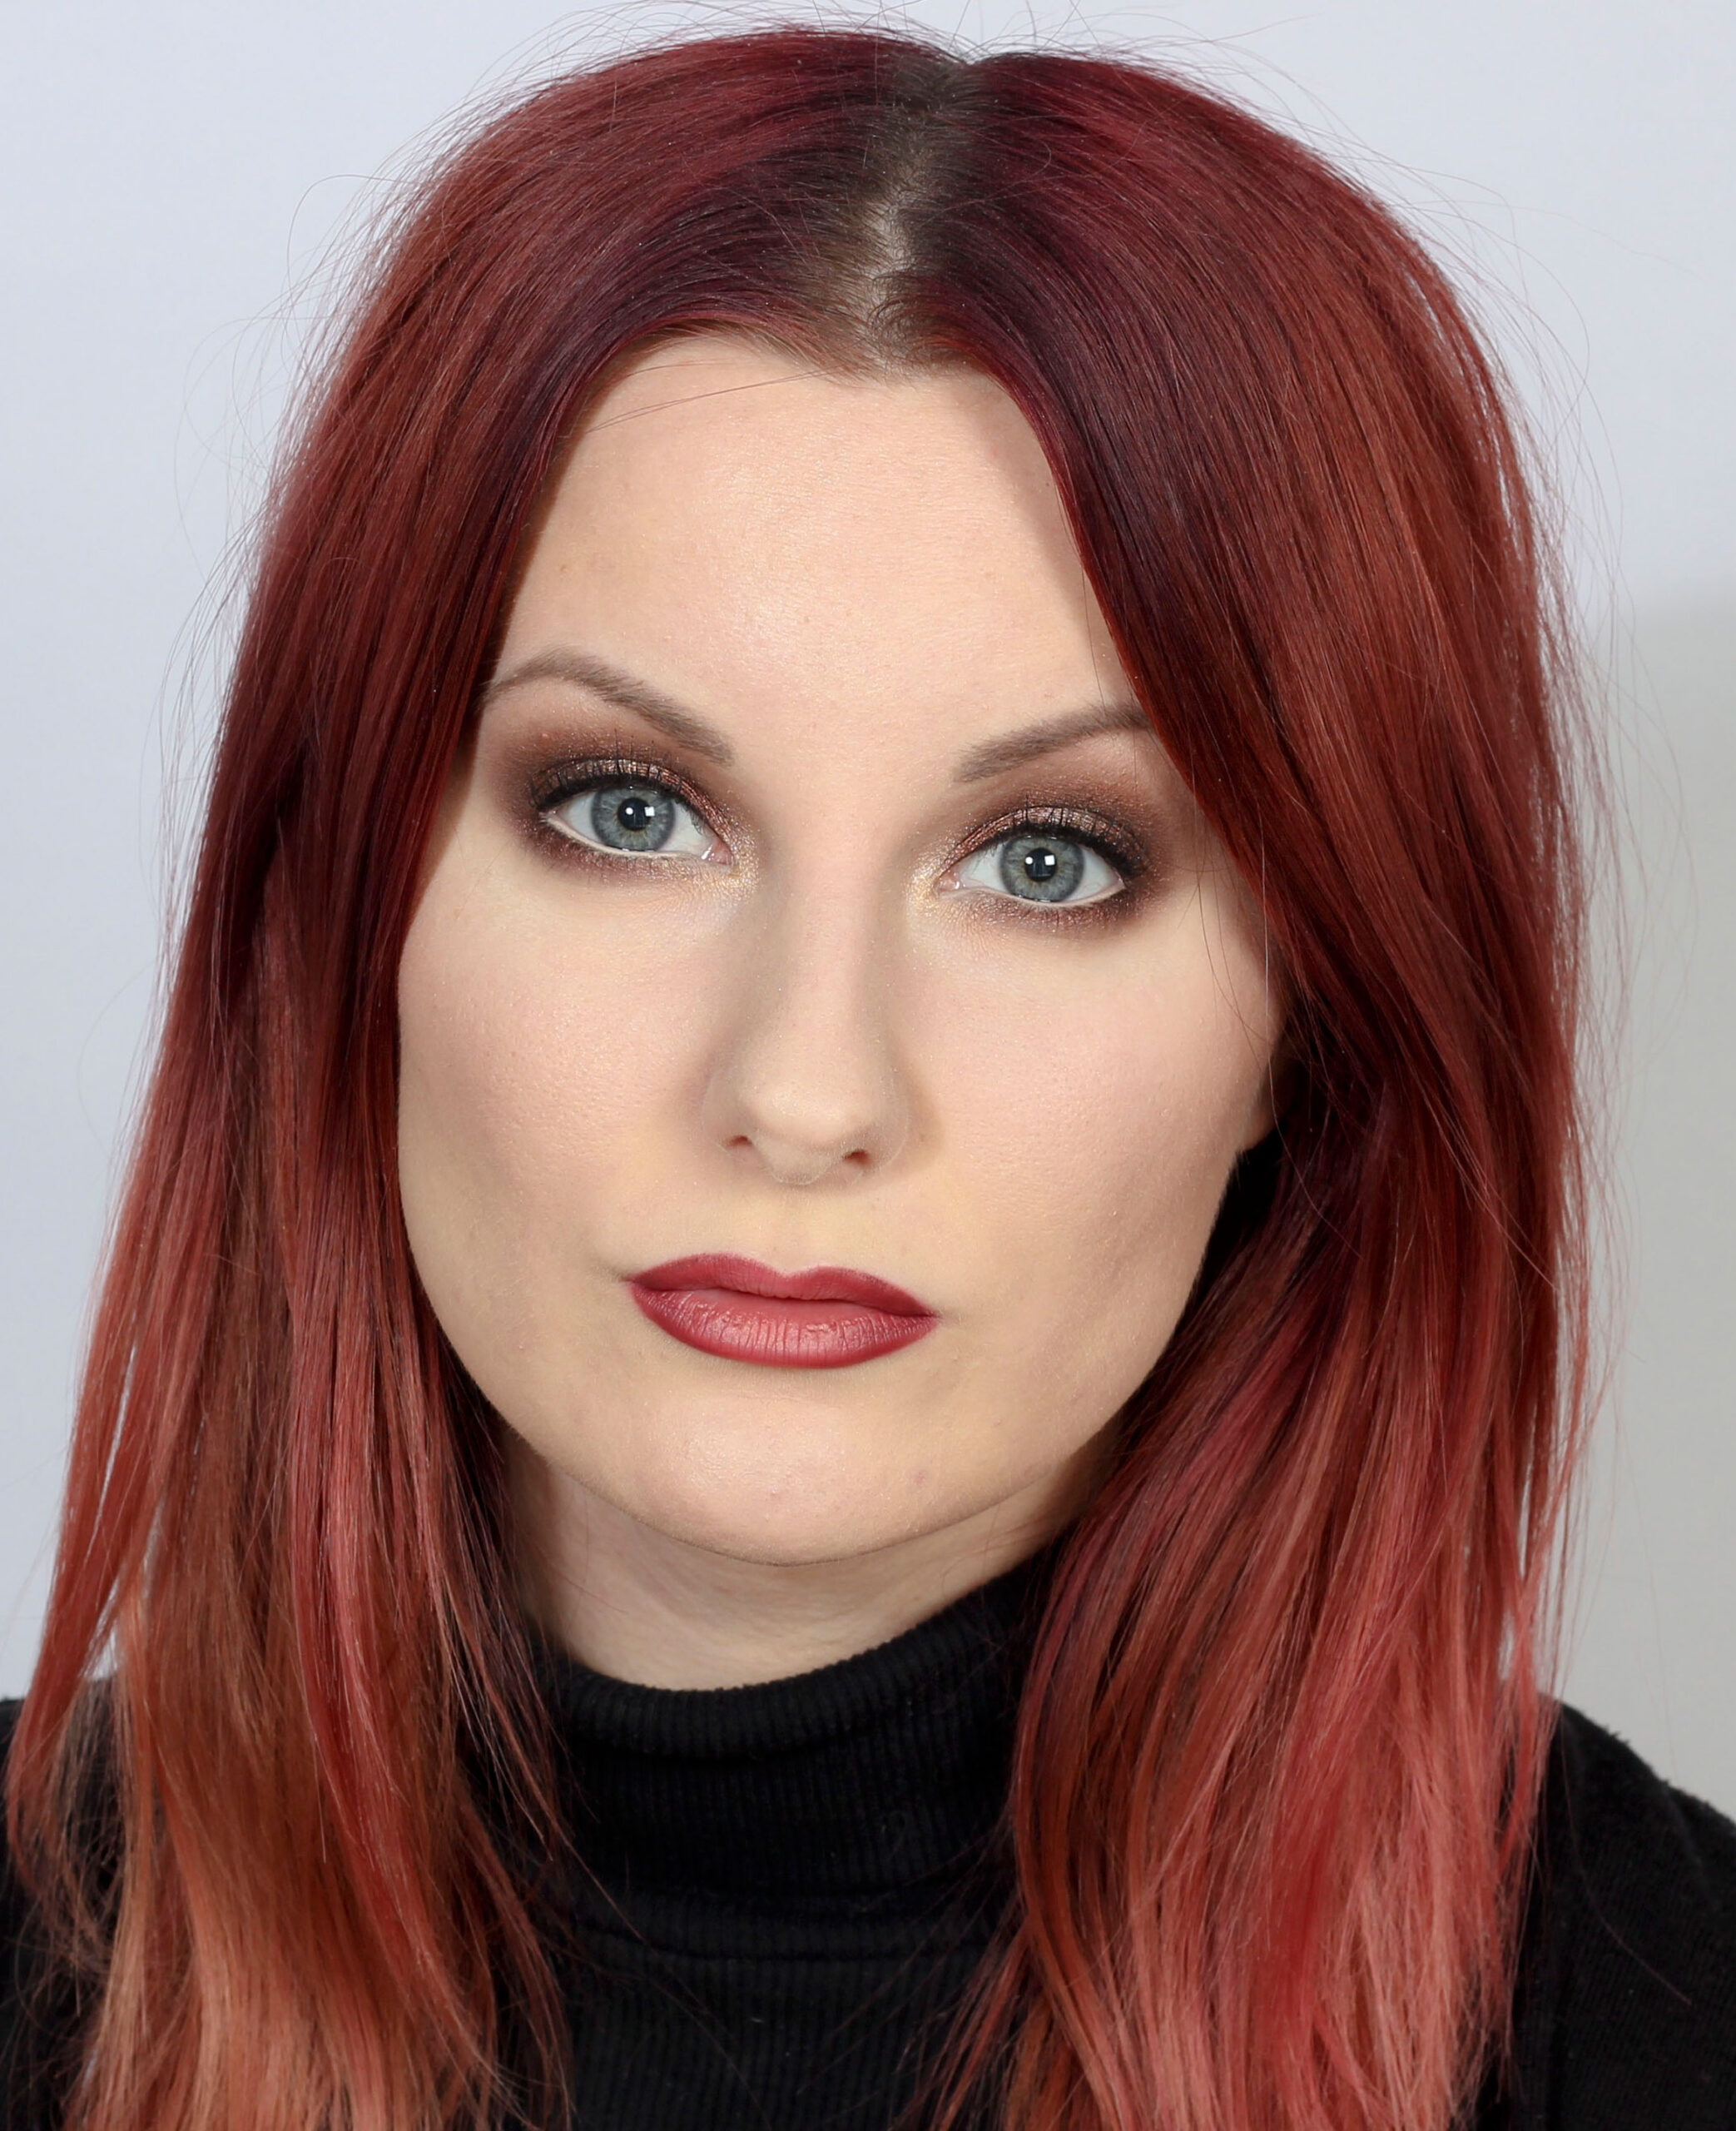
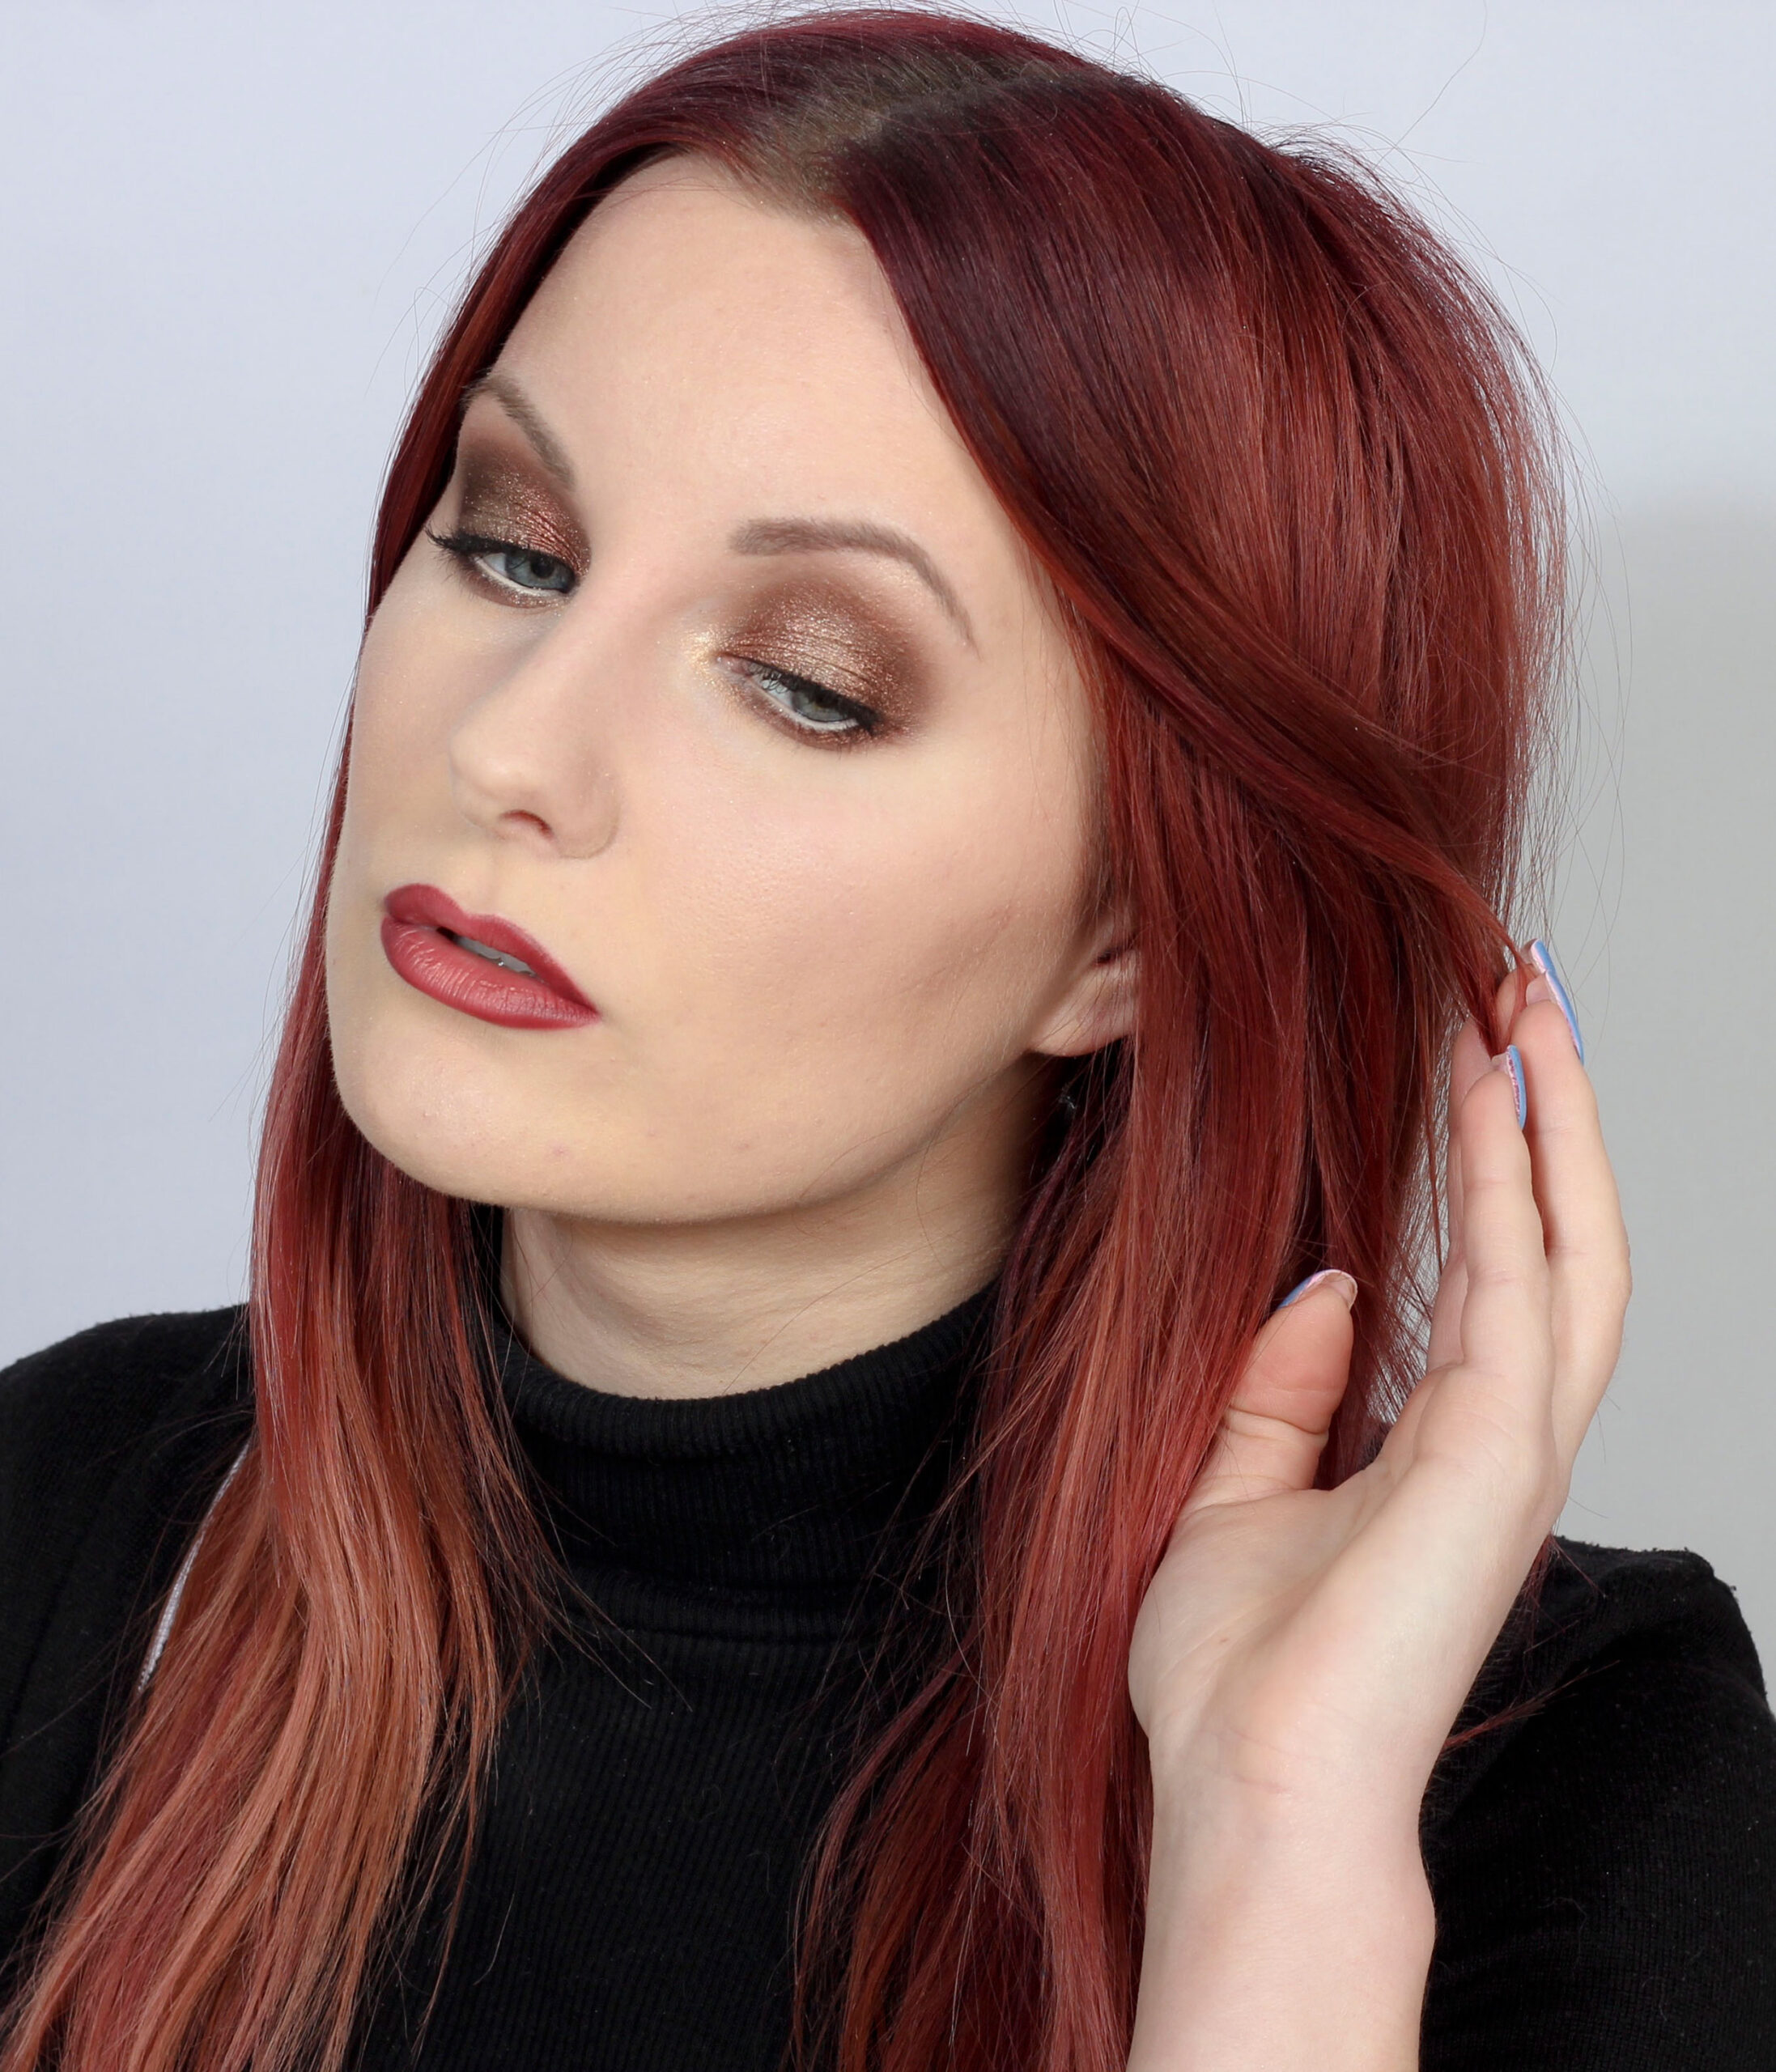
 And this is what it looked like when it was ready!
Shout out if you have any questions, and if you want lots of info about eyeliner, you can click on my post with eyelinerskolan you will learn everything from lashliner to eye shapes, different eyeliner products and tips for hooded eyes.
Hugs are ♥