Contouring - 7 Steps for Beginners & Full Face

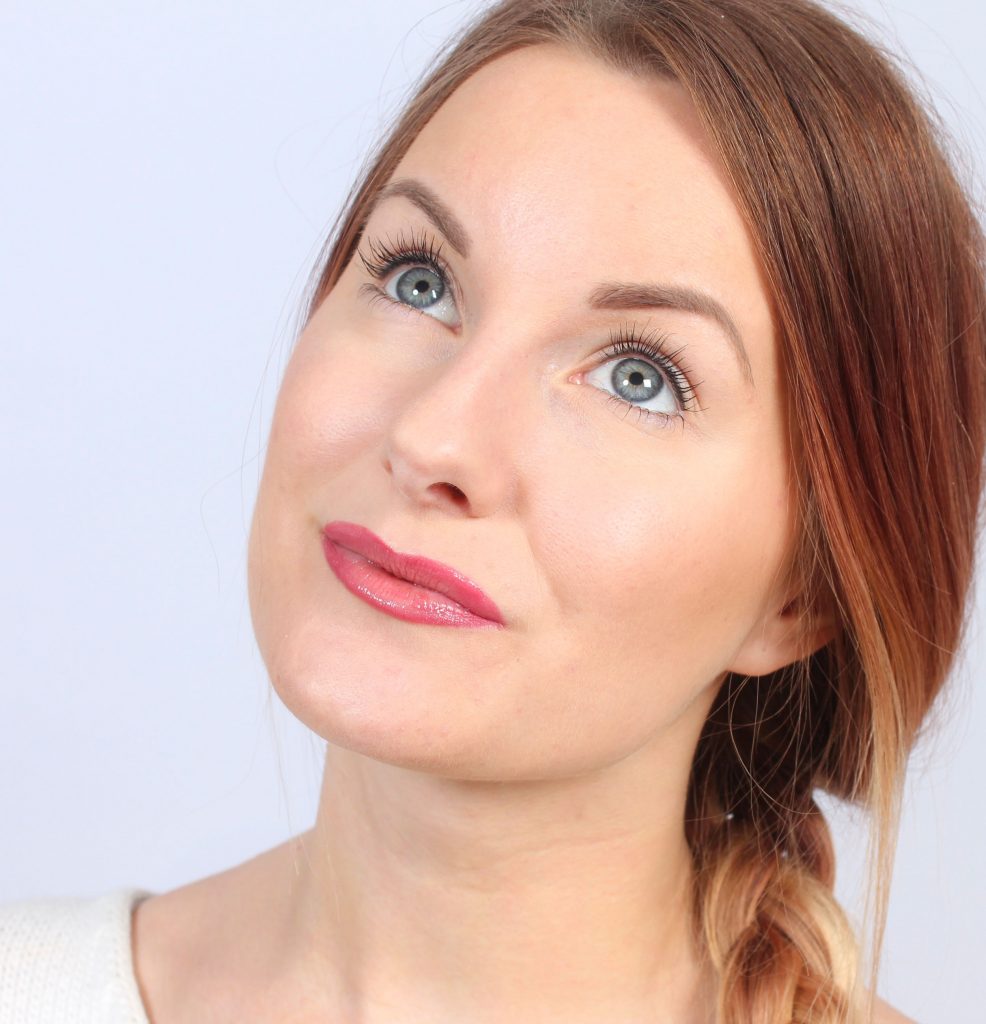
Contouring is something that I can not live without makeup, even if I only cover a few pimples on my face, I immediately want to add a little contouring to feel "whole" haha. Now I was going to show you a contouring guide today. A tutorial for beginners and for the whole face with clear step by step descriptions! :)

And by contouring, I do not mean as it has looked in the US in recent years, where you first have lots of streaks all over your face and then become a completely different person after blending everything.

I prefer to do contouring with a powder palette and soft brushes for a slightly more natural result that emphasizes the facial features and removes the flat feeling in the face that you get if you have a full-coverage base throughout the face. And this is now called "non-touring" in the US haha. Non-touring is simply a cross between contouring (sculpting the face a lot) and strobing (highlighter only). Quite simply, what I have called contouring all along.

All these new fancy pancy words then… :)

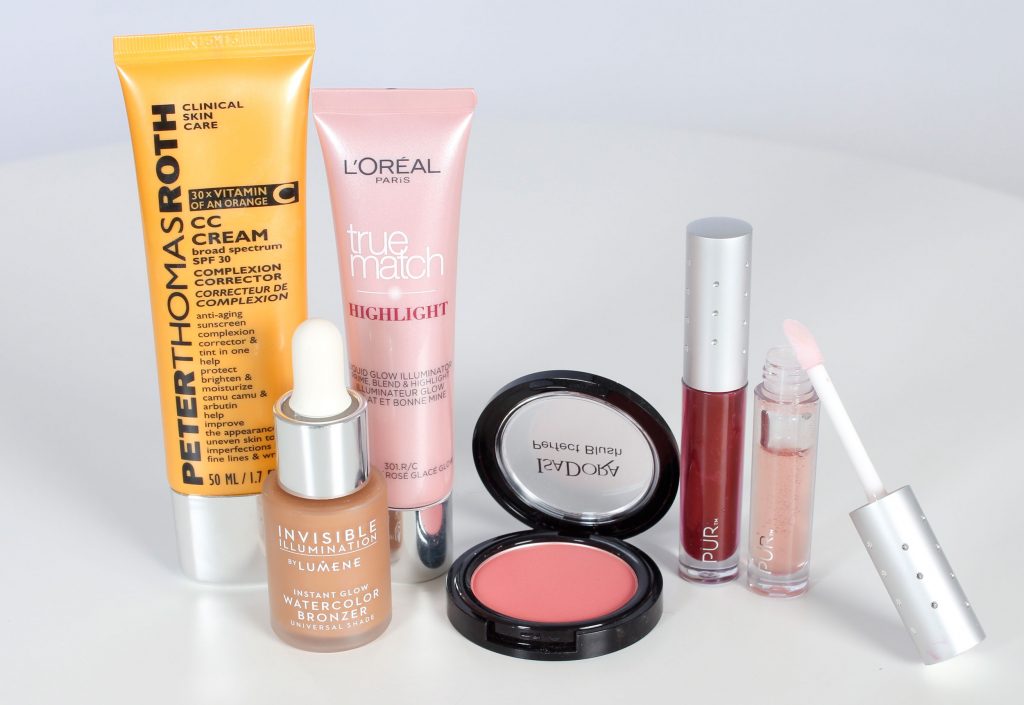
You will find several different contouring products and palettes e.g. HERE (link)

Here's how I do contouring:

makeup makeup palette

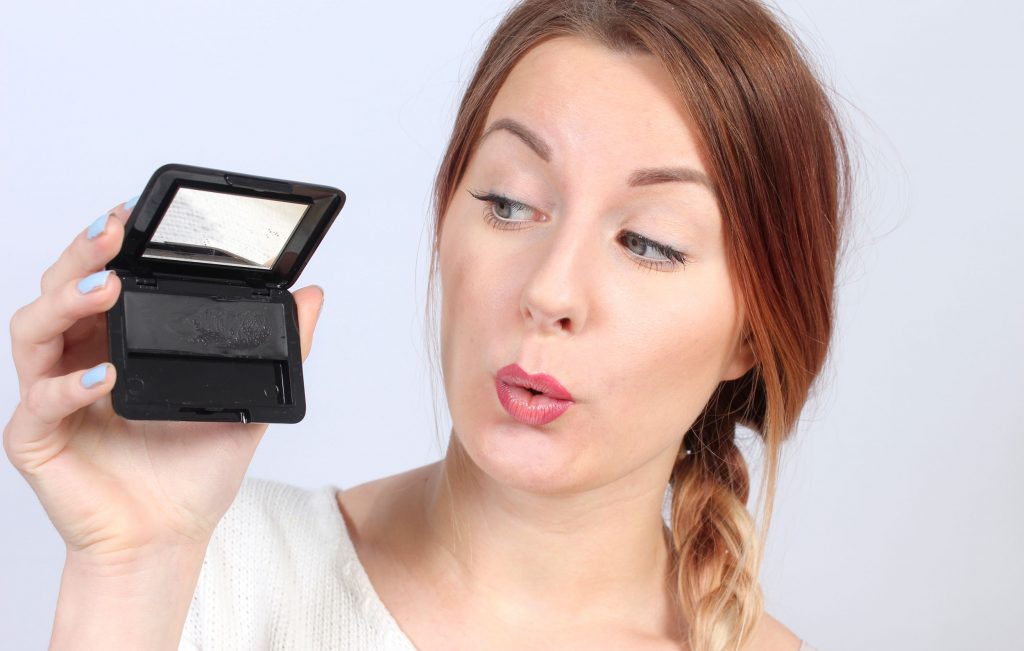
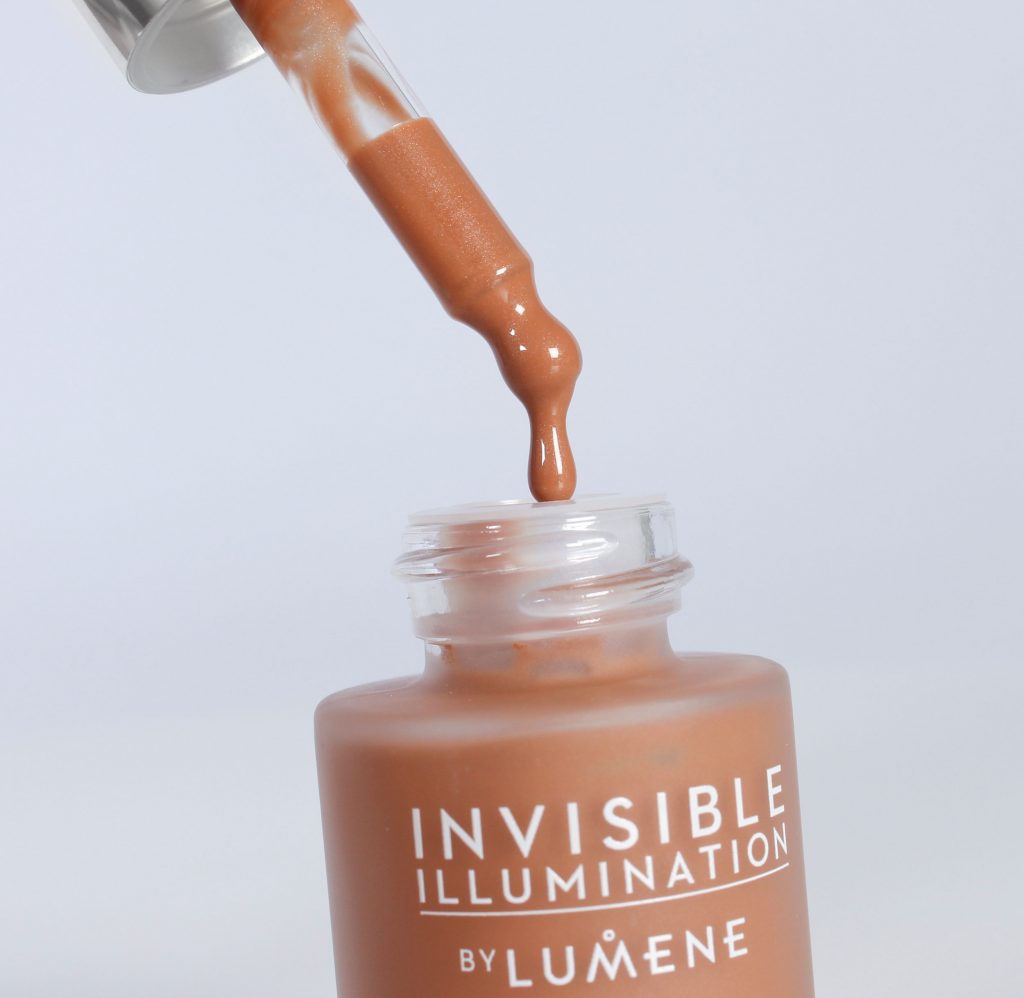
Here you see a contouring trio palette (link). These are often available in different shades, one a little lighter and one a little darker. I who have quite light skin still use it darker because I like when there is a lot of effect.

contouring step by step

A quick overview before you read on and see my contouring tutorial:

Brighten up the high parts of the face that you want to "pop". Darken the deep parts of the face that you want to deepen even more.

You can vary what you want to lighten up and darken down, everyone may not want more protruding nostrils or sharp cheekbones, you do exactly what you want :)

contouring beginners

All shadows in the contouring palette are matte, but the light highlighter contains tiny, tiny luster (not so much as glow-highlighters) which makes it very natural on the skin as it does not give a "powder matte" surface as many matte highlighters can do .

Make highlighter step by step:

highligter-tutorial contouring

  1. Light up under the eyes and down towards the nostrils. Conjures away darkness and cheers up. Many people who want to conjure away darkness under the eyes but do not really need a covering concealer can manage with only highlighter and can skip concealer completely.
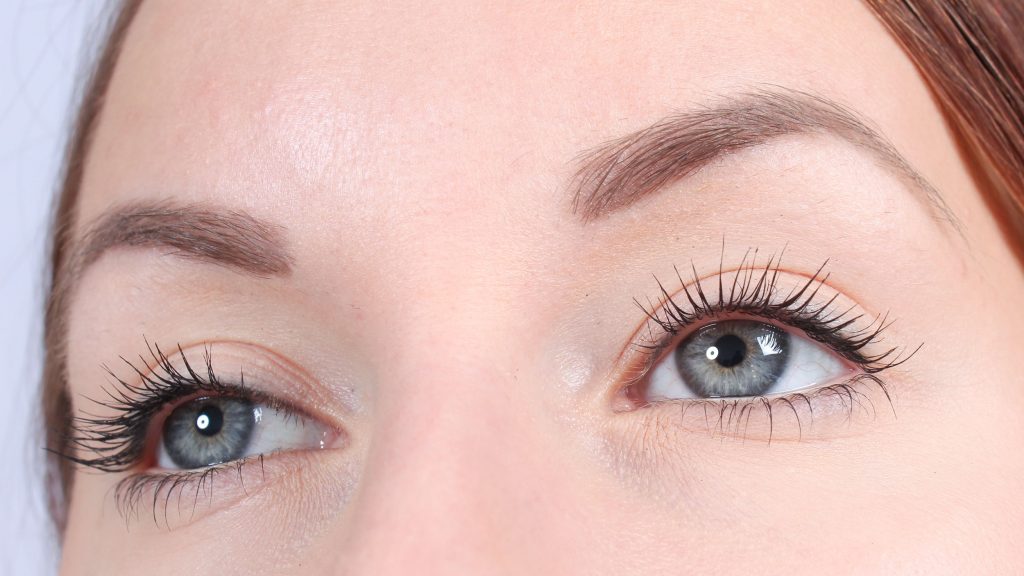
  2. Light up under the brow and in the middle of the eyelid (skip the crease line). Makes the eyes brighter.
  3. Light up in the middle of the forehead…
  4. … And down along the bridge of the nose.
  5. Lighten up the cupid's bow, or as I usually do, lighten up the two "stripes" below between the nose and the lip, so the lips look fuller.
  6. And in the middle of the chin, the chin looks more pointed.

contouring children

7. Then I take a larger brush and lighten it up in the middle of the cheekbone to make them look sharper.

I have used Nanshy Blush Brush here, available to buy separately when we launch the new webshop on November 25, until further notice it is in the Nanshy Masterful Collection.

Contouring step by step:

contouring step by step tutorial

  1. Darken down with an oblique brush under the cheekbone with the long side lying
  2. Turn the brush and fade out with the wide side.
  3. Darken down the temple and along the hairline
  4. Darken the sides of the chin
  5. Darken down under the jawbones (you can do on the jawbones too, then you get a rounder face, I like when the jawbones are more defined)
  6. Darken the sides of the nose, darken further in if you want the nose to look narrower.
  7. Darken down along the globe line also if you do not want eye shadows.

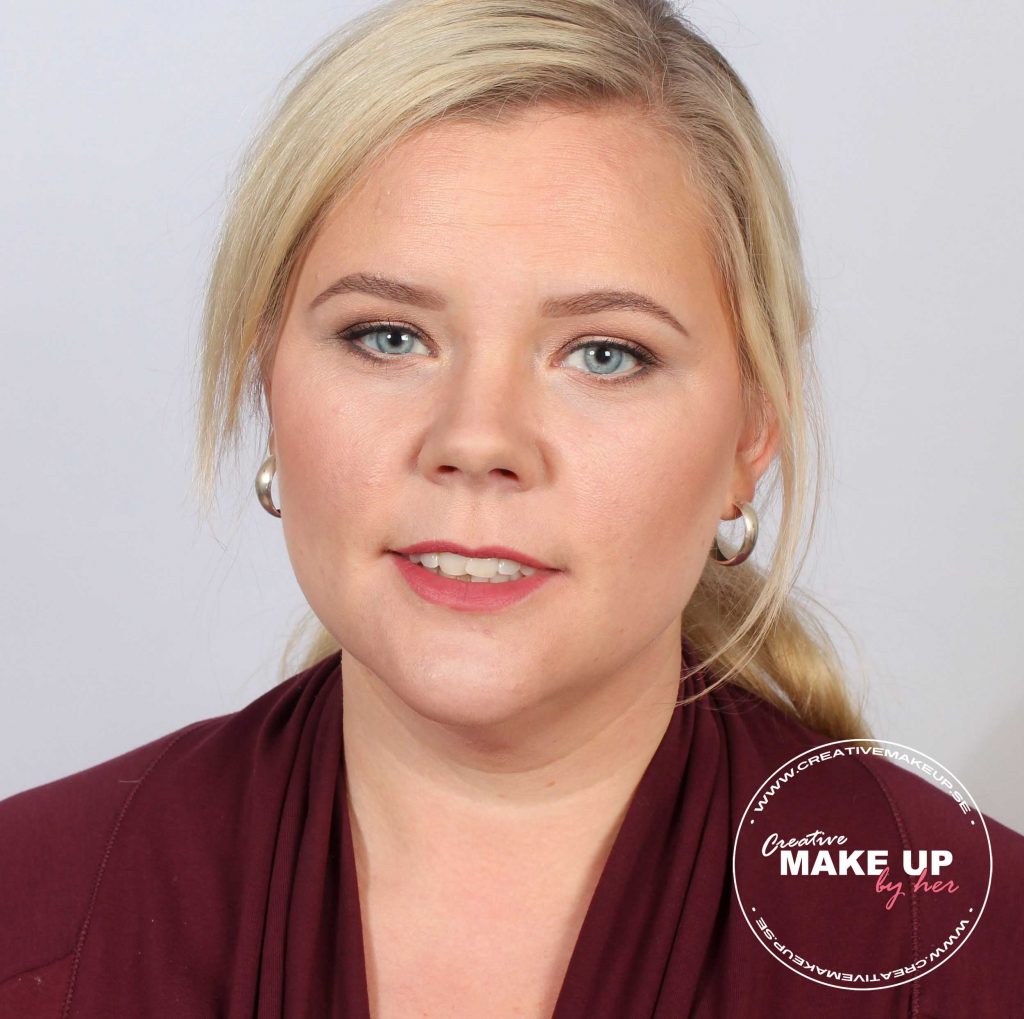
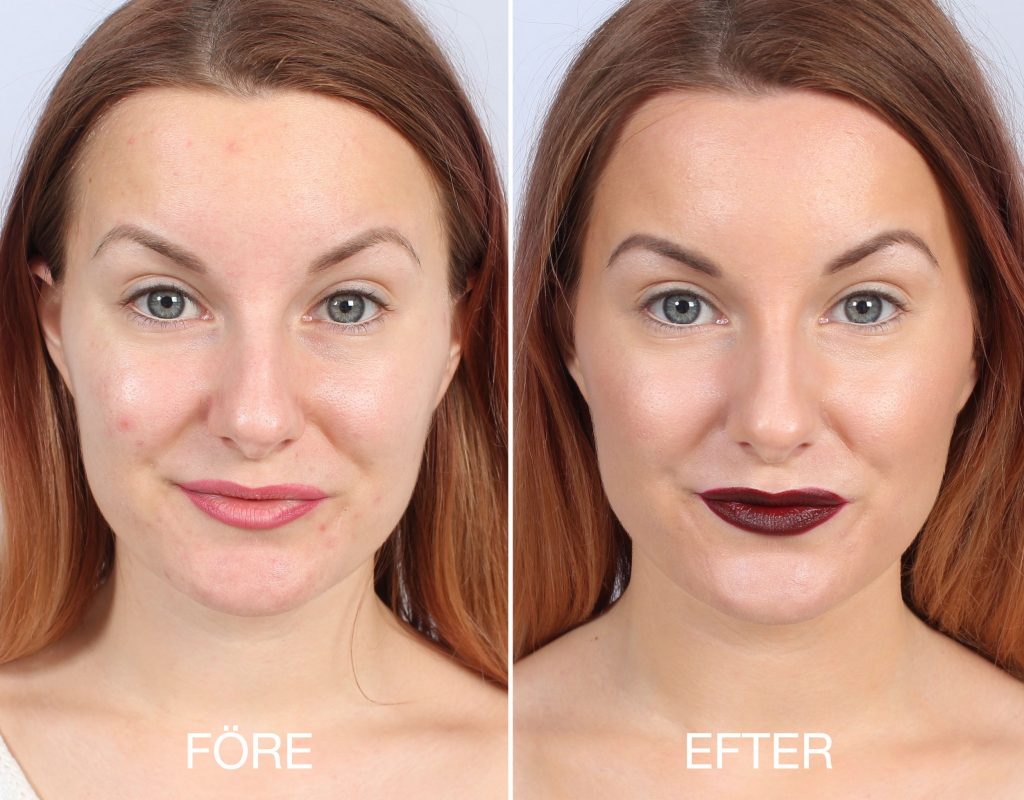
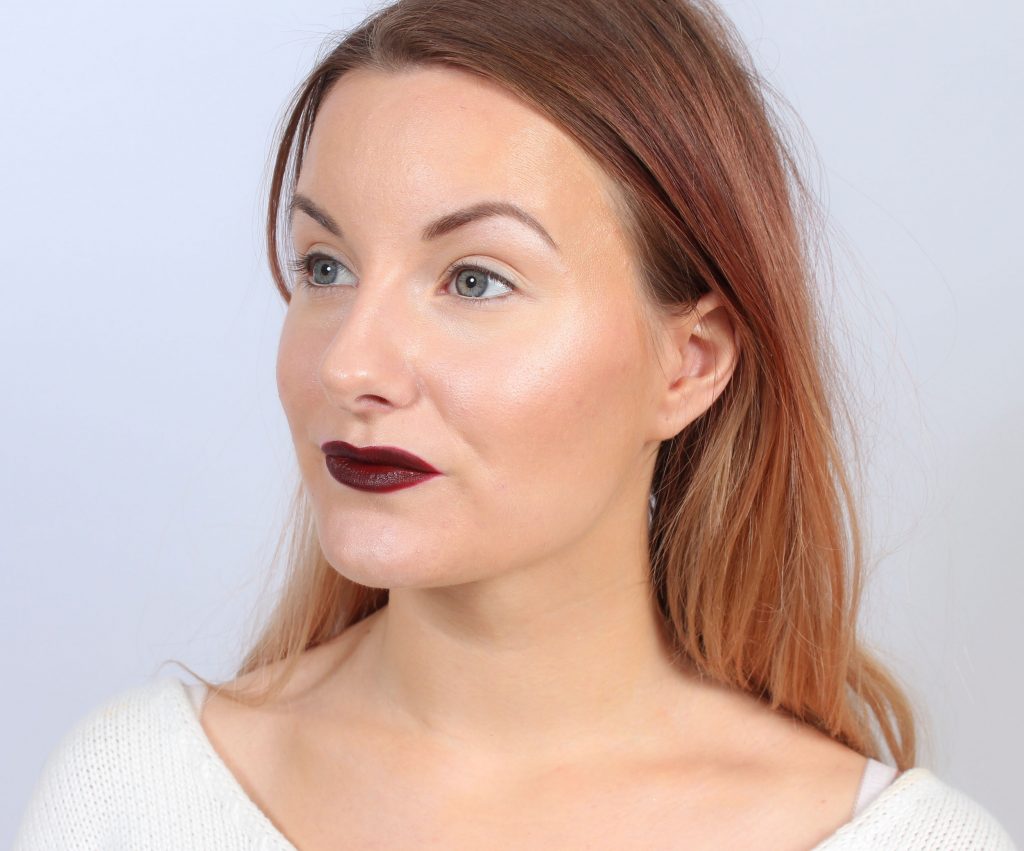
Contouring before and after:

contouring before and after

contouring before and after

Big difference but still natural!

put make up on

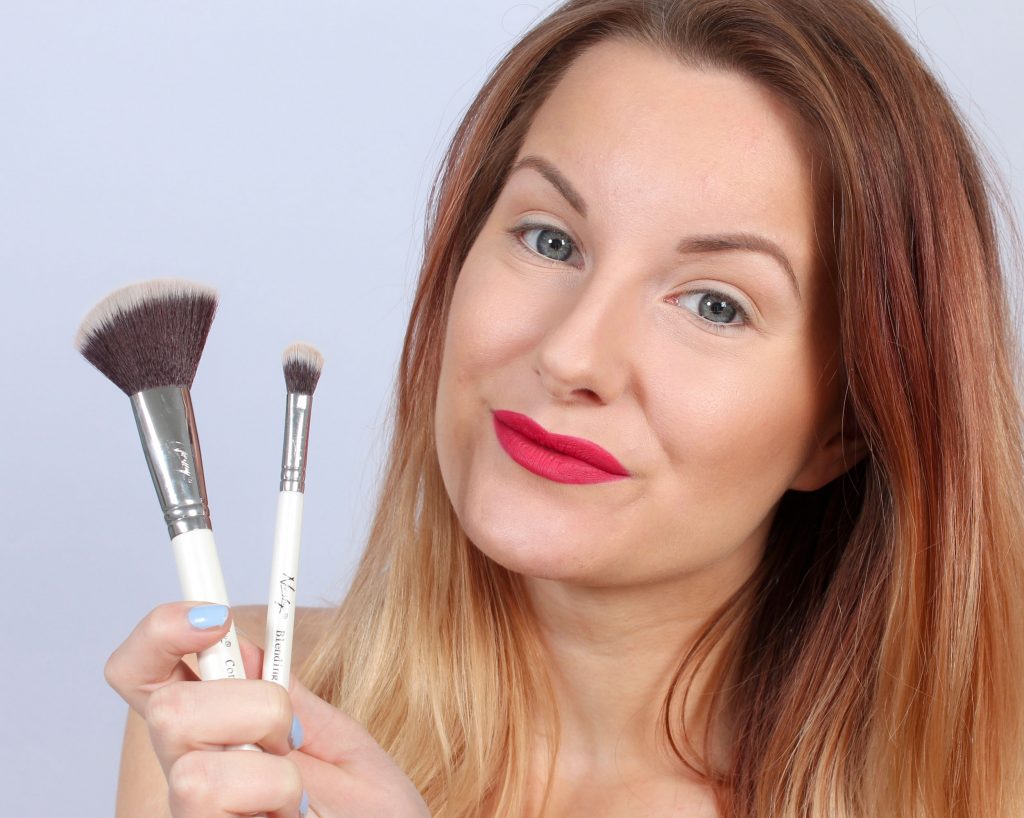
The brushes are from Nanshy Masterful Collection and Nanshy Blending Brush. As soon as we open the new webshop on November 25, all brushes are available to buy individually.

Do you like the lipstick in the picture as well can be found here (link), do not remember exact brand & shade.

Shout out if you have questions about contouring or something else! ♥

Also read:


Makeover with makeup - Before & after

Last Saturday I did a make-up consultation which was incredibly successful, she was so happy! It really warms with such grateful customers who think that the consultation was rewarding and fun :)

I also took before and after pictures, which I am very happy about afterwards, because it made a very big difference even though it is a fairly simple make-up. You know, many streams are small with all the details that together do a lot. The biggest difference was the eyebrows and I think we highlighted her eyes.

Here is the result:

img_0198_vattenstampel

Base
We started with a smoothing and moisturizing face primer as she has dry skin that is easy to turn red, the primer is also a bit neutralizing on redness. Then a semi-covering gel foundation that sinks into the skin and becomes very natural and fine. And since she is easy to flare up and turn red, I then also applied a powder that neutralizes red on selected areas of the face, you can dab more where you want more effect (perfect even when she wants to be unmade up but just take remove most of the redness).

With contouring and blush on it, her facial features were highlighted incredibly beautifully! We put the contour in the deep parts of the face (hairline, temples, under the cheekbones, under the jawbones) and on the sides of the nose and chin. We put highlighter under the eyebrows, in the middle of the face (middle of the forehead, bridge of the nose, cupid's bow and chin), and on the cheekbones.

The light shadow in the same palette that we did the contouring with, we also applied it around the eyes to lighten up, so that shadow was used as a multi-product you could say - both as a highlighter and as an illuminating concealer.

Eyebrows
Before the consultation, I recommended a brow picking and coloring, which she thought was a great idea, because the brows had super very light hairs that can be dyed into "brow hairs" for a clearer shape and then it is much easier for her to fill in with makeup since she already has a good form to follow.

Then when we had started to put on make-up, we filled in the eyebrows with a light shade with a pencil that is like a triangle and incredibly easy to use if you know how to use it. Finished with a brow gel and brushed them quite a bit upwards towards the highest point as well. A little "comb over-hairstyle" stuck on the eyebrows;)

Eyes
Magnifying eyes that emphasize the look while it is natural, as she usually only uses mascara. She thought that the eye shadow always settles like a line on the eyelid due to her eye shape - but that is because she has not used eye shadow primer. Then first primer, then dark shadow on the entire eyelid and smoked up over the crease line and the lower lash line, and then light up in the middle of the eyelid and in the corner of the eye with a light shadow to make the eyes pop.

I used a narrow eyeliner for lashliner and super-thin eyeliner, because we wanted a lot of effect as she likes eyeliner but without taking up a large part of the eyelid, because we want the light on the eyelid to be visible as much as possible.

I painted a light pencil along the waterline and when applying mascara, I only did it in the tops of the lower lashes to enlarge the look even more.

Lips
A nice lip color that fits well and does not need to be improved on often, perfect everyday shade!

PRODUCT LIST:
(Everything is in our webshop)

Face:
Face primer - Paese Makeup Base (Correcting)*
Foundation - Pixi H2O Skintint (1 Cream)*
Powder that neutralizes redness - gloMinerals Redness Relief Powder*
Contouring & highlighter with luster - Contouring Palette (no1) *
Rouge - gloMinerals blush (Papaya)*
Makeup Fixing mist - Pixi makeup fixing mist*

Eyebrows (both pencil and gel) - Pixi Duo Brow (Natural Brown) *
Lips - Paese Silky Matte Liquid Lipstick (707)*

Eyes:
Eyeshadow Primer - Pixi eye bright primer*
Eyeshadows - Paese Opal Eyeshadow Trio (Colorado)*
Light eyeliner along the waterline - gloMinerals Eye Pencil (Peach)*
Black eyeliner & lashliner - gloMinerals Micro Precise eyeliner (Black)*
Black mascara - Magnetic Lash Mascara*

img_0198_1water stamp

Nice, is not it? :) ♥

Makeup consultation incl. products cost SEK 895 and then you get products (optional from the store) for the entire sum to take home! Book online at Creativemakeup.se.

Helena tests - Kakmascara

I have heard many older people describe a cake mascara, but have never tested it myself, I have probably never even seen a cake mascara until I got home a press sample of IsaDora Build-Up Cake Mascara in October.

And now I have put it to the test! :)

img_9571_111

What is a cake mascara?
Cake eyeliner is a more common form nowadays and I have used it a lot, as a black watercolor! You dip the brush in water and mix on the cake until you get a good cream. A cake mascara works in the same way as watercolors.

Why use cake mascara?
My best answer to this is that it is a matter of taste, I personally think that it is a bit unnecessarily many steps to have a separate brush that you have to dip in water every time. If you put on make-up in the bathroom, it may be easier to just have the brush under the tap, but for me who does not, you must always have water next to the make-up mirror.

Anyway, the very principle of cake mascara is that there 1. will be zero lumps as the formula is water-based and so heavenly thin and 2. it is possible to build on layers on layers and easily decide for yourself how much you want.

And I also want to strike a blow for the natural and separated result, great result if you want discreet everyday lashes or already have full.

Use
1. I want to start by recommending bending the eyelashes, I did not do it in these pictures because I wanted to show how it will be without, but with a good eyelash curler I think the result will be really, really good for you who want long and completely separated eyelashes.

2. Wet the brush, I had a separate spiral brush instead of the one provided, and pull it over the cake.

img_9577_111

3. Apply the mascara on the lashes just like a regular mascara:

img_9538_111

Results
Separated and carbon black eyelashes that become natural and fine.

sustainability
Because the mascara dissolves in water, it does not tolerate moisture very well, but it does not smudge or crumble during the day, not even on me with very oily eyelids. So it lasts very well for everyone except people who want a waterproof / water resistant mascara.

img_9516_111

Here you see the result! Fint va? :)

img_9551_111 img_9557_111

When I look up, you see even more why I recommend bending the eyelashes before application, then they become long, separated and very nice!

Summary - I am very happy with the result, I probably will not use it so much because it feels a little unnecessarily messy to mix with water, but I can not hide under the chair that I am positively surprised and for you who like this type of mascara so I can recommend this!

It is also affordable - SEK 99 on here and suspects that it will last longer than a regular mascara.

Have you tried kakmascara? What do you think?

Product news / Makeup news

Here is a mixed video that I could almost call "a regular morning in front of Helena's makeup mirror" haha :)

My idea was first to show some new products in a bass make-up, a little "first impression film", but it became a slightly more mixed video as not all products are completely new on the market and for a perfect base I also supplemented with old treats . I also offer a lot of makeup tips, such as what guidelines I usually give when applying blush and how I do when I paint lipstick outside my own contour.

So a mix of first impressions, reviews, favorite makeup and makeup tips, hope you like the film - and if you do, you are very welcome to comment ♥

click here to see my entire youtube channel!

img_8722_111

I could not give all the products a full review in the movie because I tested some for the first time. Here is a more detailed description / review of all products for those of you who want to know more or may not have time to watch the film:

Peter Thomas Roth CC Cream
Product description: A CC-Cream with spf 30 which is available in three different shades. Moisturizing, anti age and semi-coverage. Contains 30 times more vitamin C than an orange, vitamin C improves collagen in the skin, makes the skin firmer and brightens pigment spots.

My review: I'm really impressed with this one! It sinks quickly into the skin and becomes very natural, blemishes need concealer for full coverage but the rest of the skin becomes flawless immediately. Feels smooth and moisturizing, creamy and easy to apply, and feels comfortable on the skin not at all sticky even if you do not fix with powder and hold really well even for oily skin. It tends to settle in deep wrinkles (not many like that not does so, however) which is the only negative because it partially targets mature skin. But two thumbs up gets this one from me! Gets natural and super nice on the skin :)

50ml for 495: - (380: - HERE)

Lumene Instant Glow Watercolor Bronzer
Product description: Liquid bronzer with feather-light formula enriched with Nordic spring water, antioxidant-rich and luminous cloudberries and light-reflecting color pigments.

My review: Easy to use to be a liquid bronzer! The color is very nice and also works for contouring as it does not get too hot. Sinks into the skin quickly and becomes smooth and fine without having to work it in a lot. Perfect if you want to give the skin a little extra color and prefer cream products over powder.

15 ml for SEK 299

img_8152_111

True Match Highlight Liquid Glow Illuminator
Product description: Liquid highlighter that brightens the skin and gives it a radiant glow. Icy Glow is a cool shade.

My review: Great highlighter for a lot of luster! Incredibly effective and gives a nice glow without becoming glittery. Easy to apply as well and becomes very durable. Two thumbs up!

30 ml for 119: - (109: - HERE)

IsaDora Perfect Blush
Product description: Silky smooth and lustrous glow to the cheeks! An easy-to-apply, velvety and creamy blush that gives a silky luster to your cheeks. Intense color that lasts extra long. Available in both matte and frosted shades.

My review: These blushes are available in many shades and I immediately fell for 60 Pinky Peach, a bright peach pink color. So fine! Easy to apply and rich in pigment, no wow-feeling but absolutely great and affordable.

4.5 grams for SEK 109

PÜR Minerals The Perfect Matte Liquid Lipstick
Product description: A kit with stylish Matte Liquid Lipstick. The kit contains four nice colors and a lip oil. Use the oil to get moisturized lips before applying Matte Liquid Lipstick, or use after if you want a glossier surface. Matte Liquid Lipstick is a matte lip product with a mousse feeling, which makes it easy to apply. The product has a emollient formula and a long-lasting effect.

My review: I love the color I have in this post, but after a while it shone red in the contours even though I applied properly with a brush and the durability is not at all on the same level as other matte lipsticks. I think the durability was better on the lightest shade in the kit, which is probably because it is not as clear when a light shade loses pigment, but this one kind of crumbled because after a few hours I had small, small red dots in the area around the mouth (as some mascaras can be under the eyes) and you really do not want it! So the first impression was great and I like the light shade, but I actually recommend buying matte lipstick from another brand because there are many that are a little better.

SEK 445 for the entire kit

img_8543_111

Here is before and after, difference huh?

img_8566_111

Look what a nice glow in the skin! :)

Hugs are ♥


Vlog - Makeup Class with @iluvsarahii and NYX in snow chaos

Listen and be amazed everyone I have made my first vlog! Woop woop :)

Last Wednesday I was first at an entrepreneurial breakfast with Lovak, did not film from there though but talk a bit quickly about it in the beginning, and then you can hang out with me during the day when I put on my make-up, take me to Stockholm from Uppsala in the snow chaos and then be on a event with Nyx - Makeup Master Class with makeup artist Karen Sarahii @iluvsarahii who has over 3 million followers on Instagram! And the movie ends with a goodie bag haul where I show all the products and news from NYX that I brought home.

Hope you like the layout, feel free to comment on what you think ♥

dsc_1193_111 dsc_1199_111 dsc_1202_111 dsc_1205_111 name logo

en_USEnglish