Makeup tips alopecia

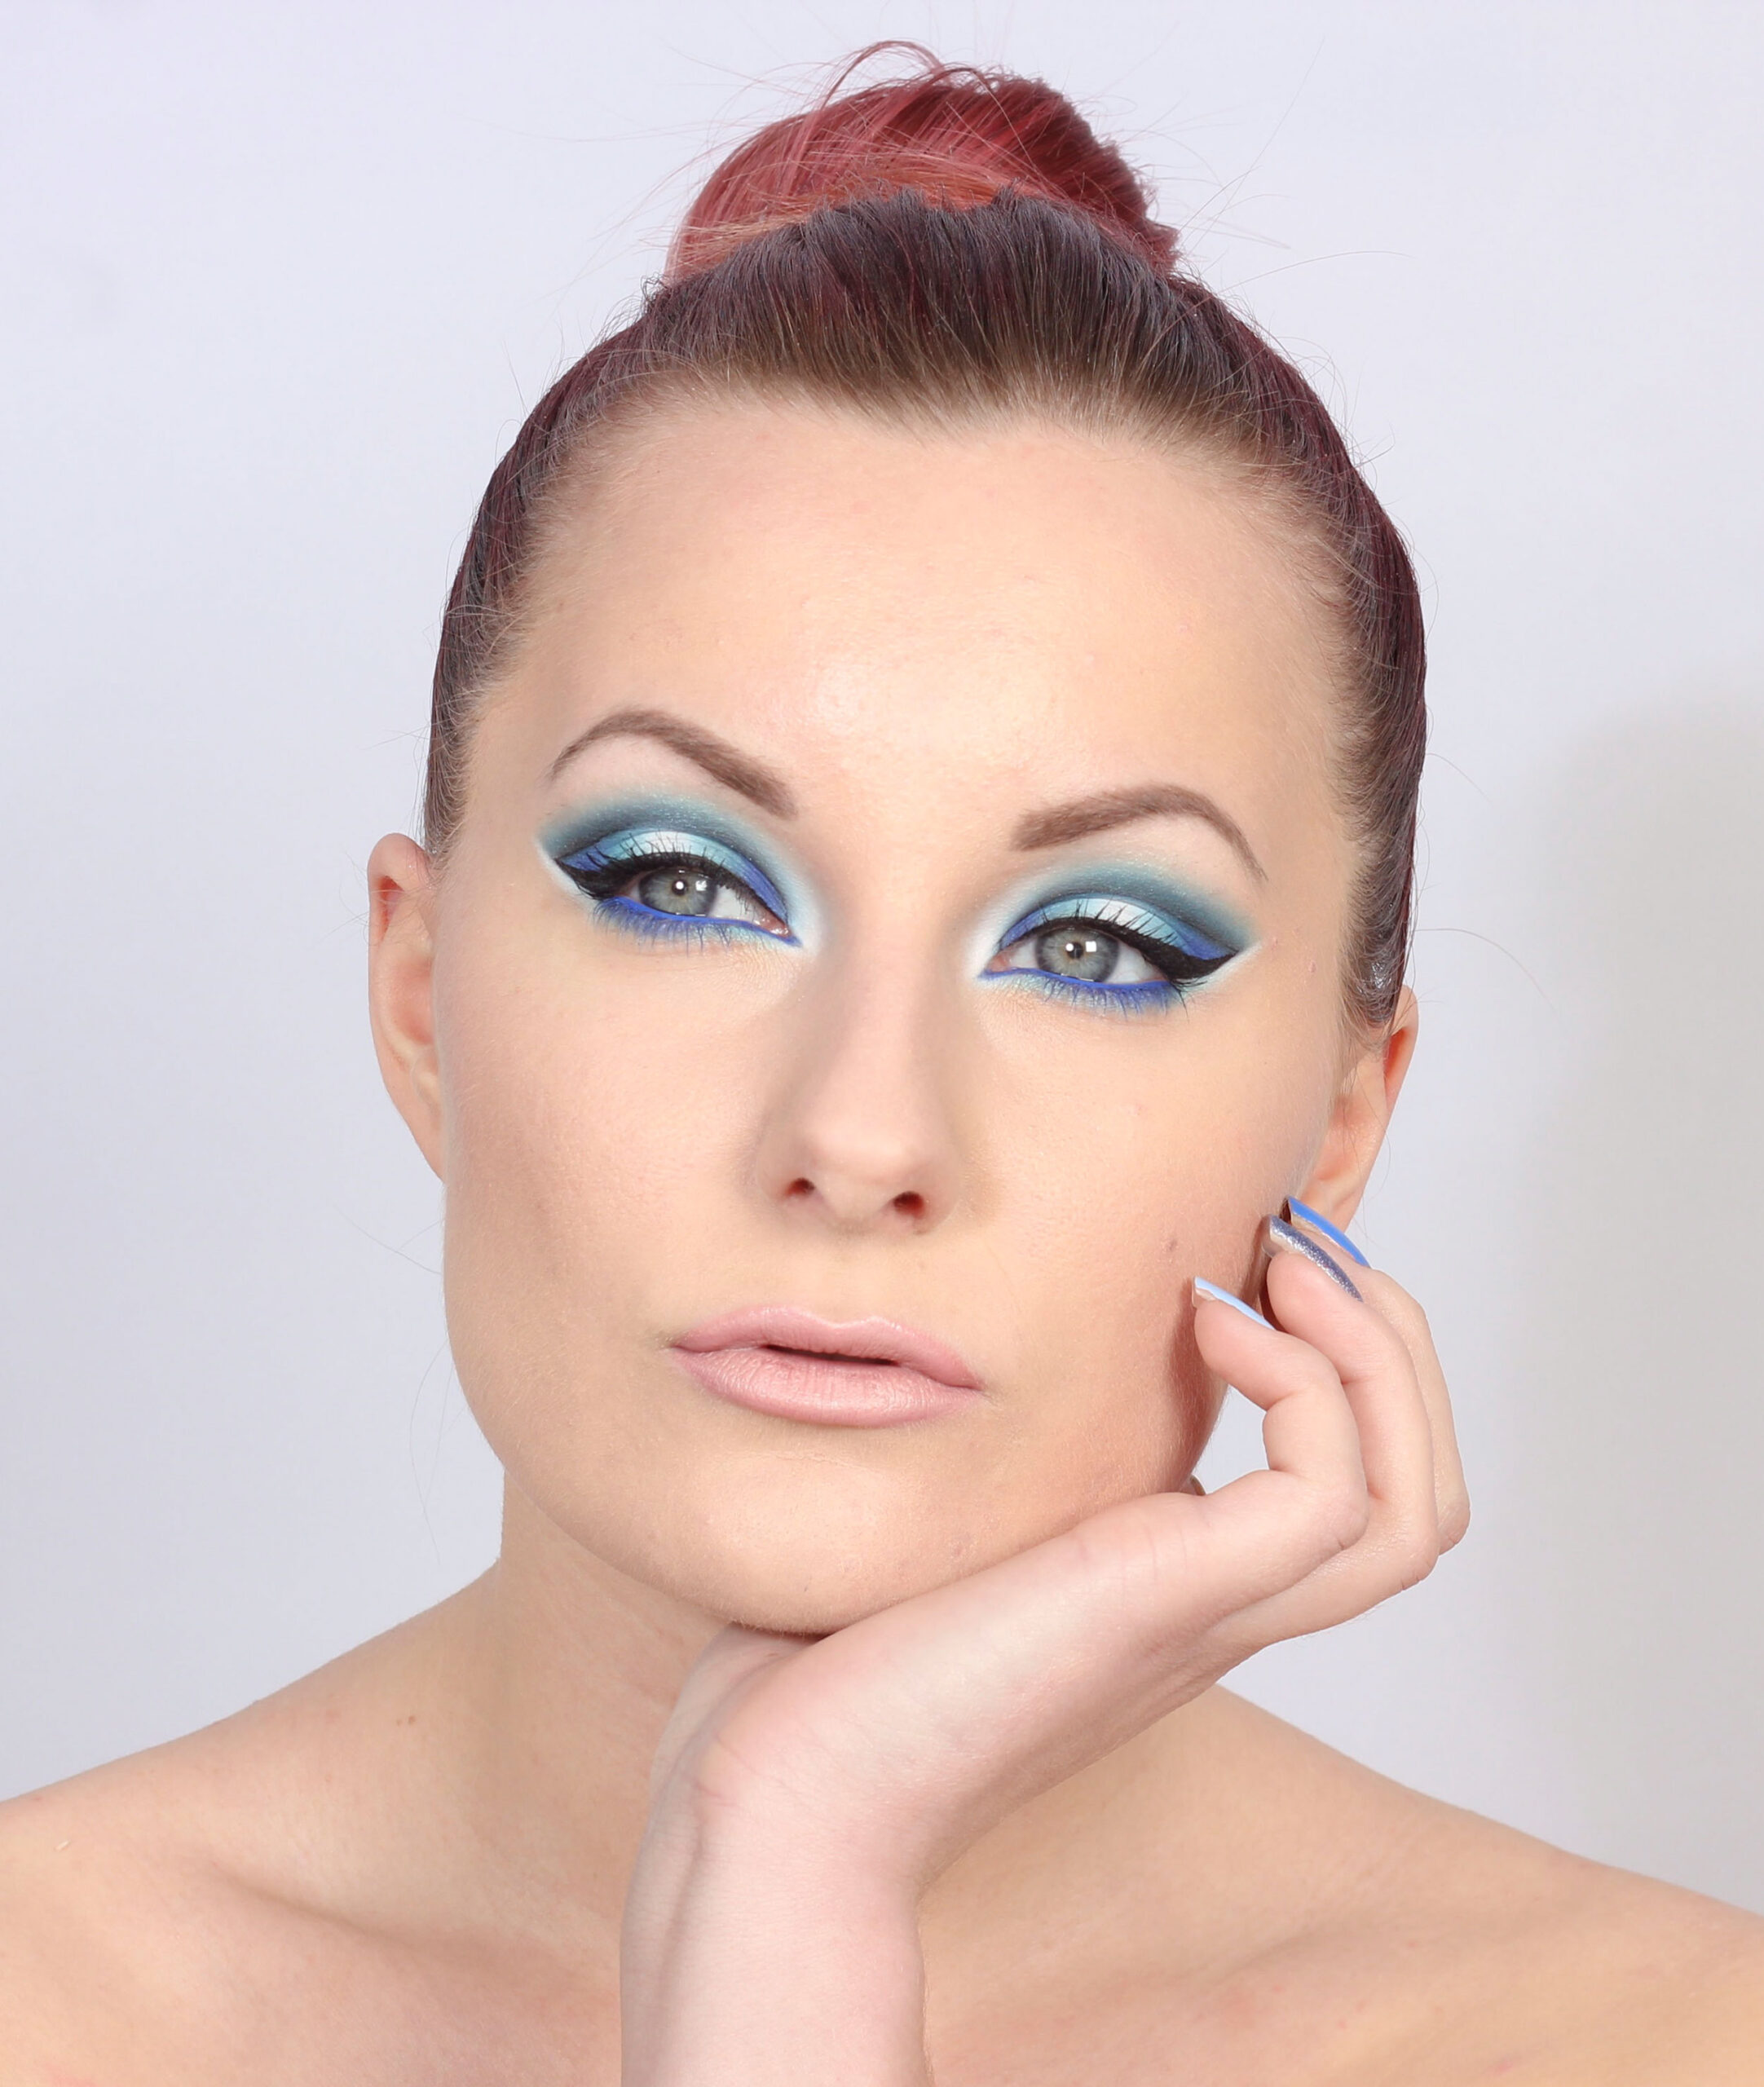
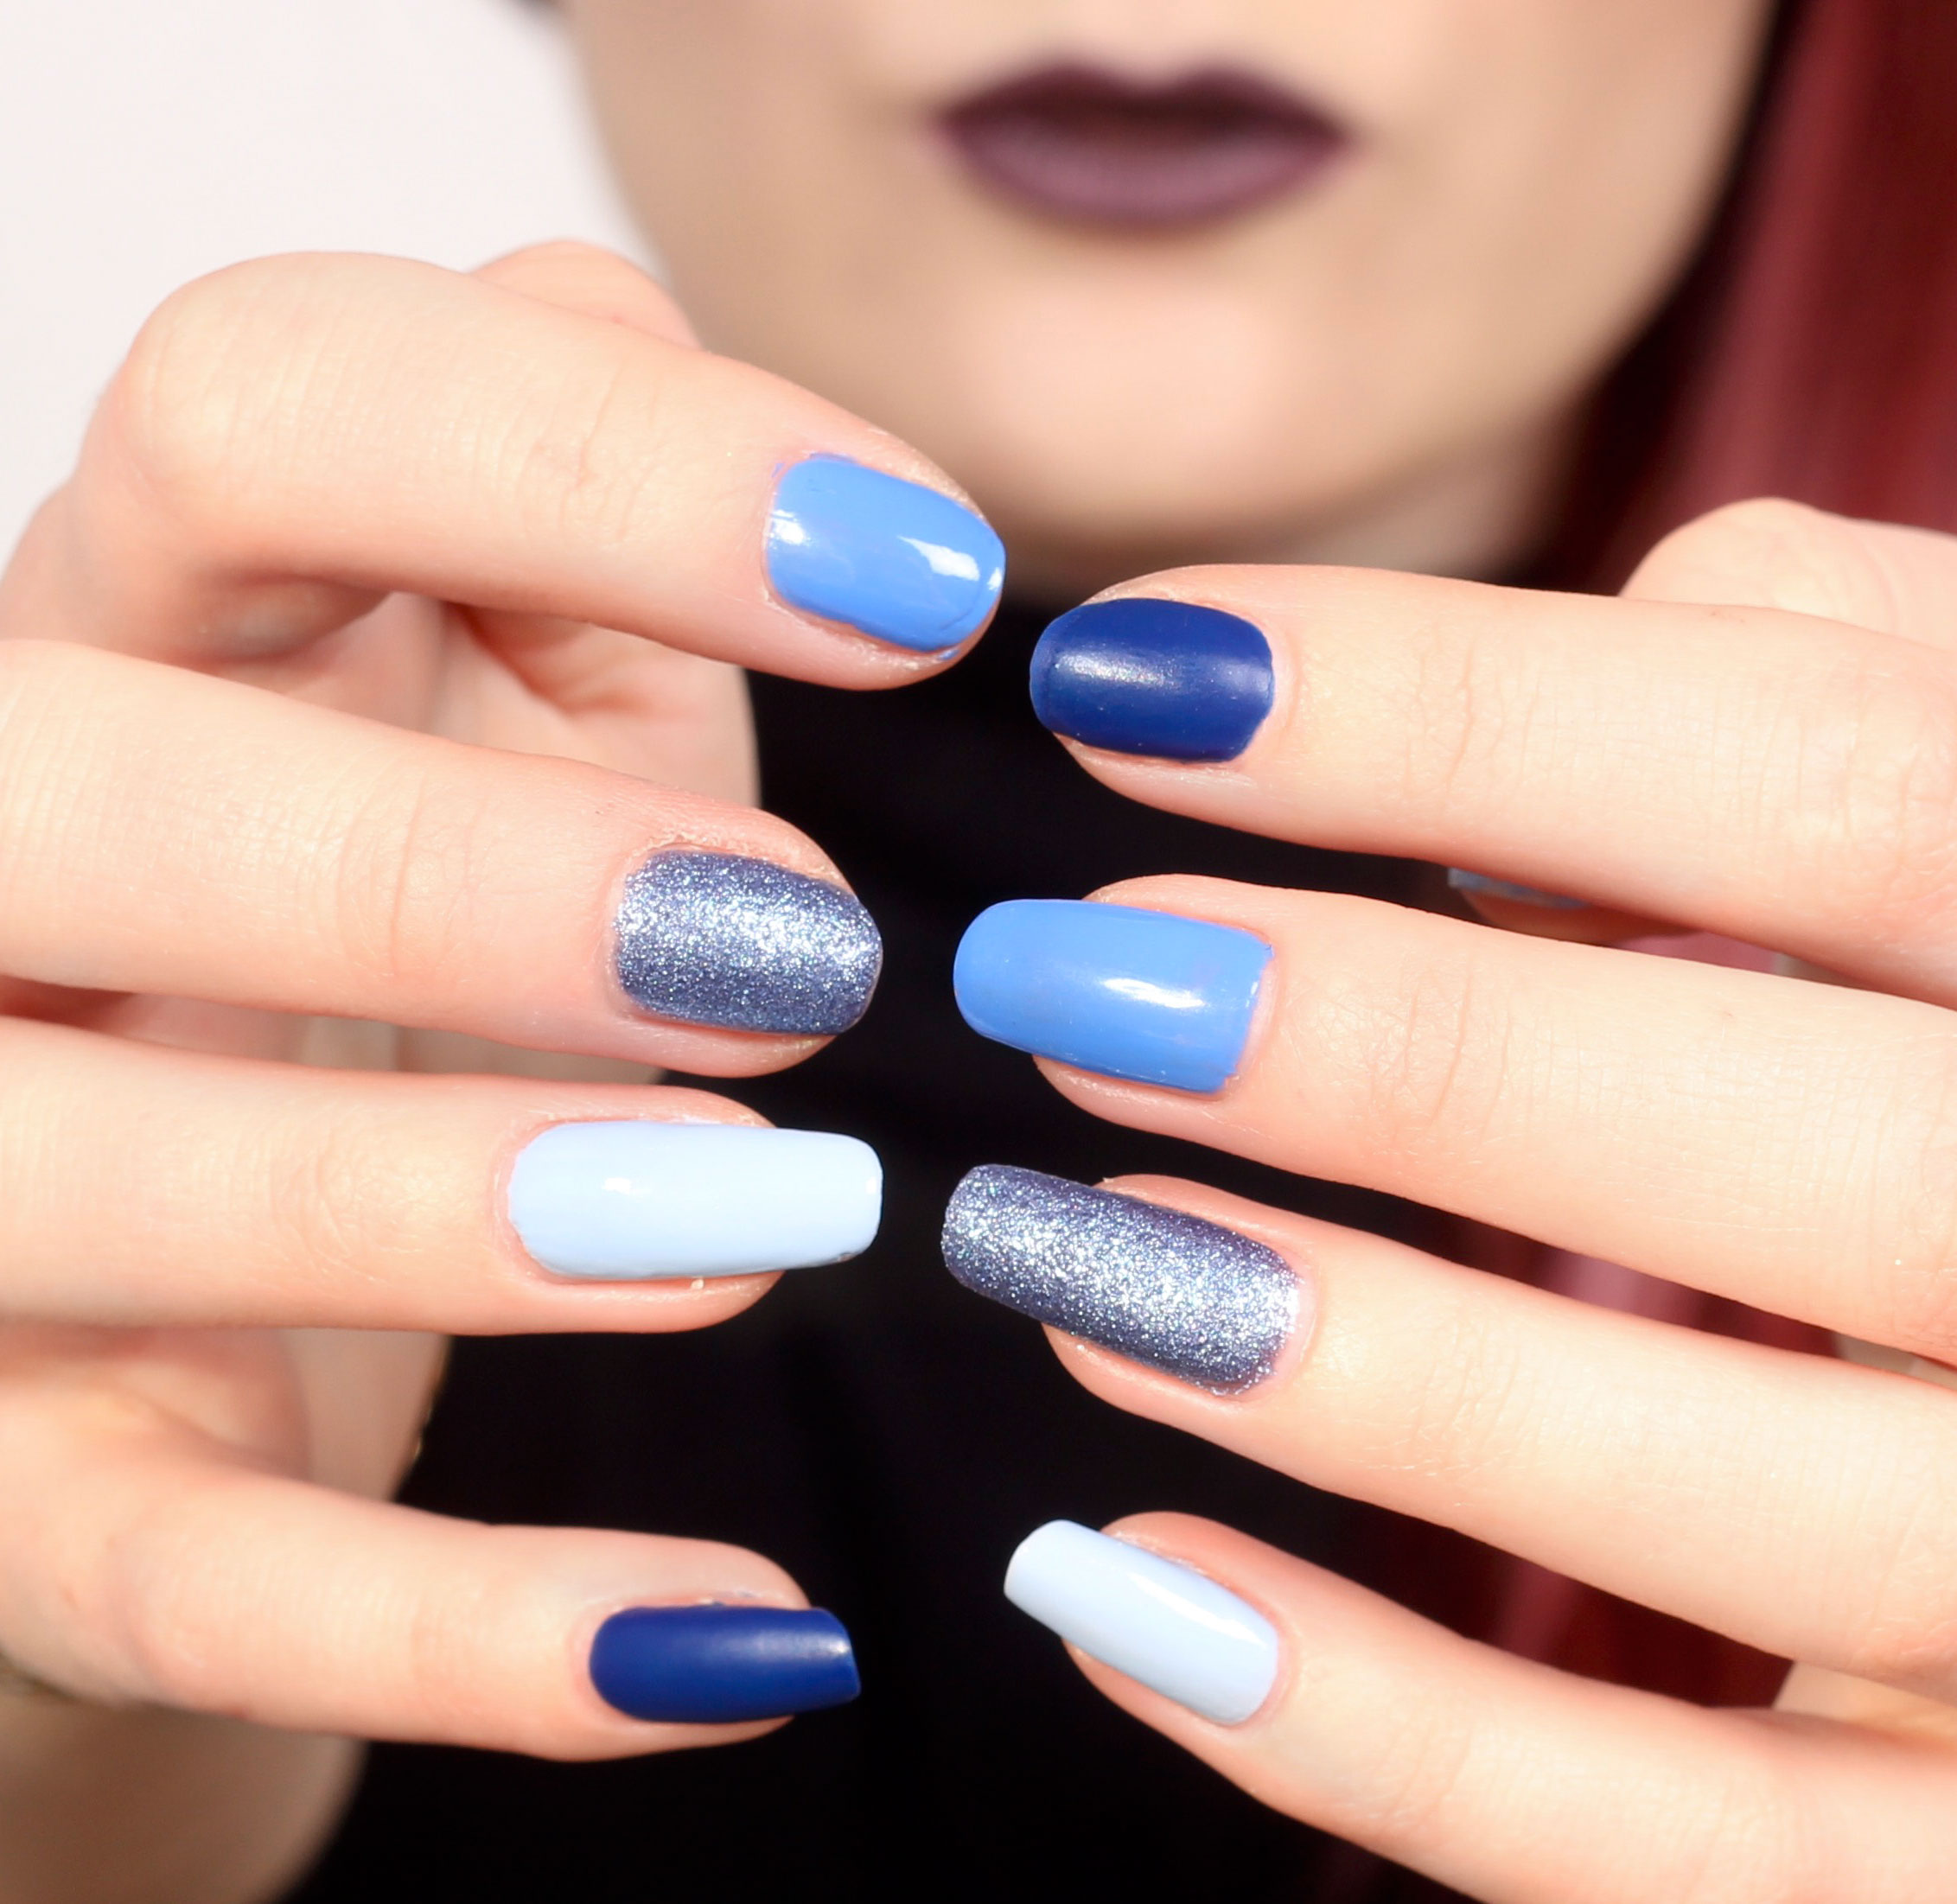
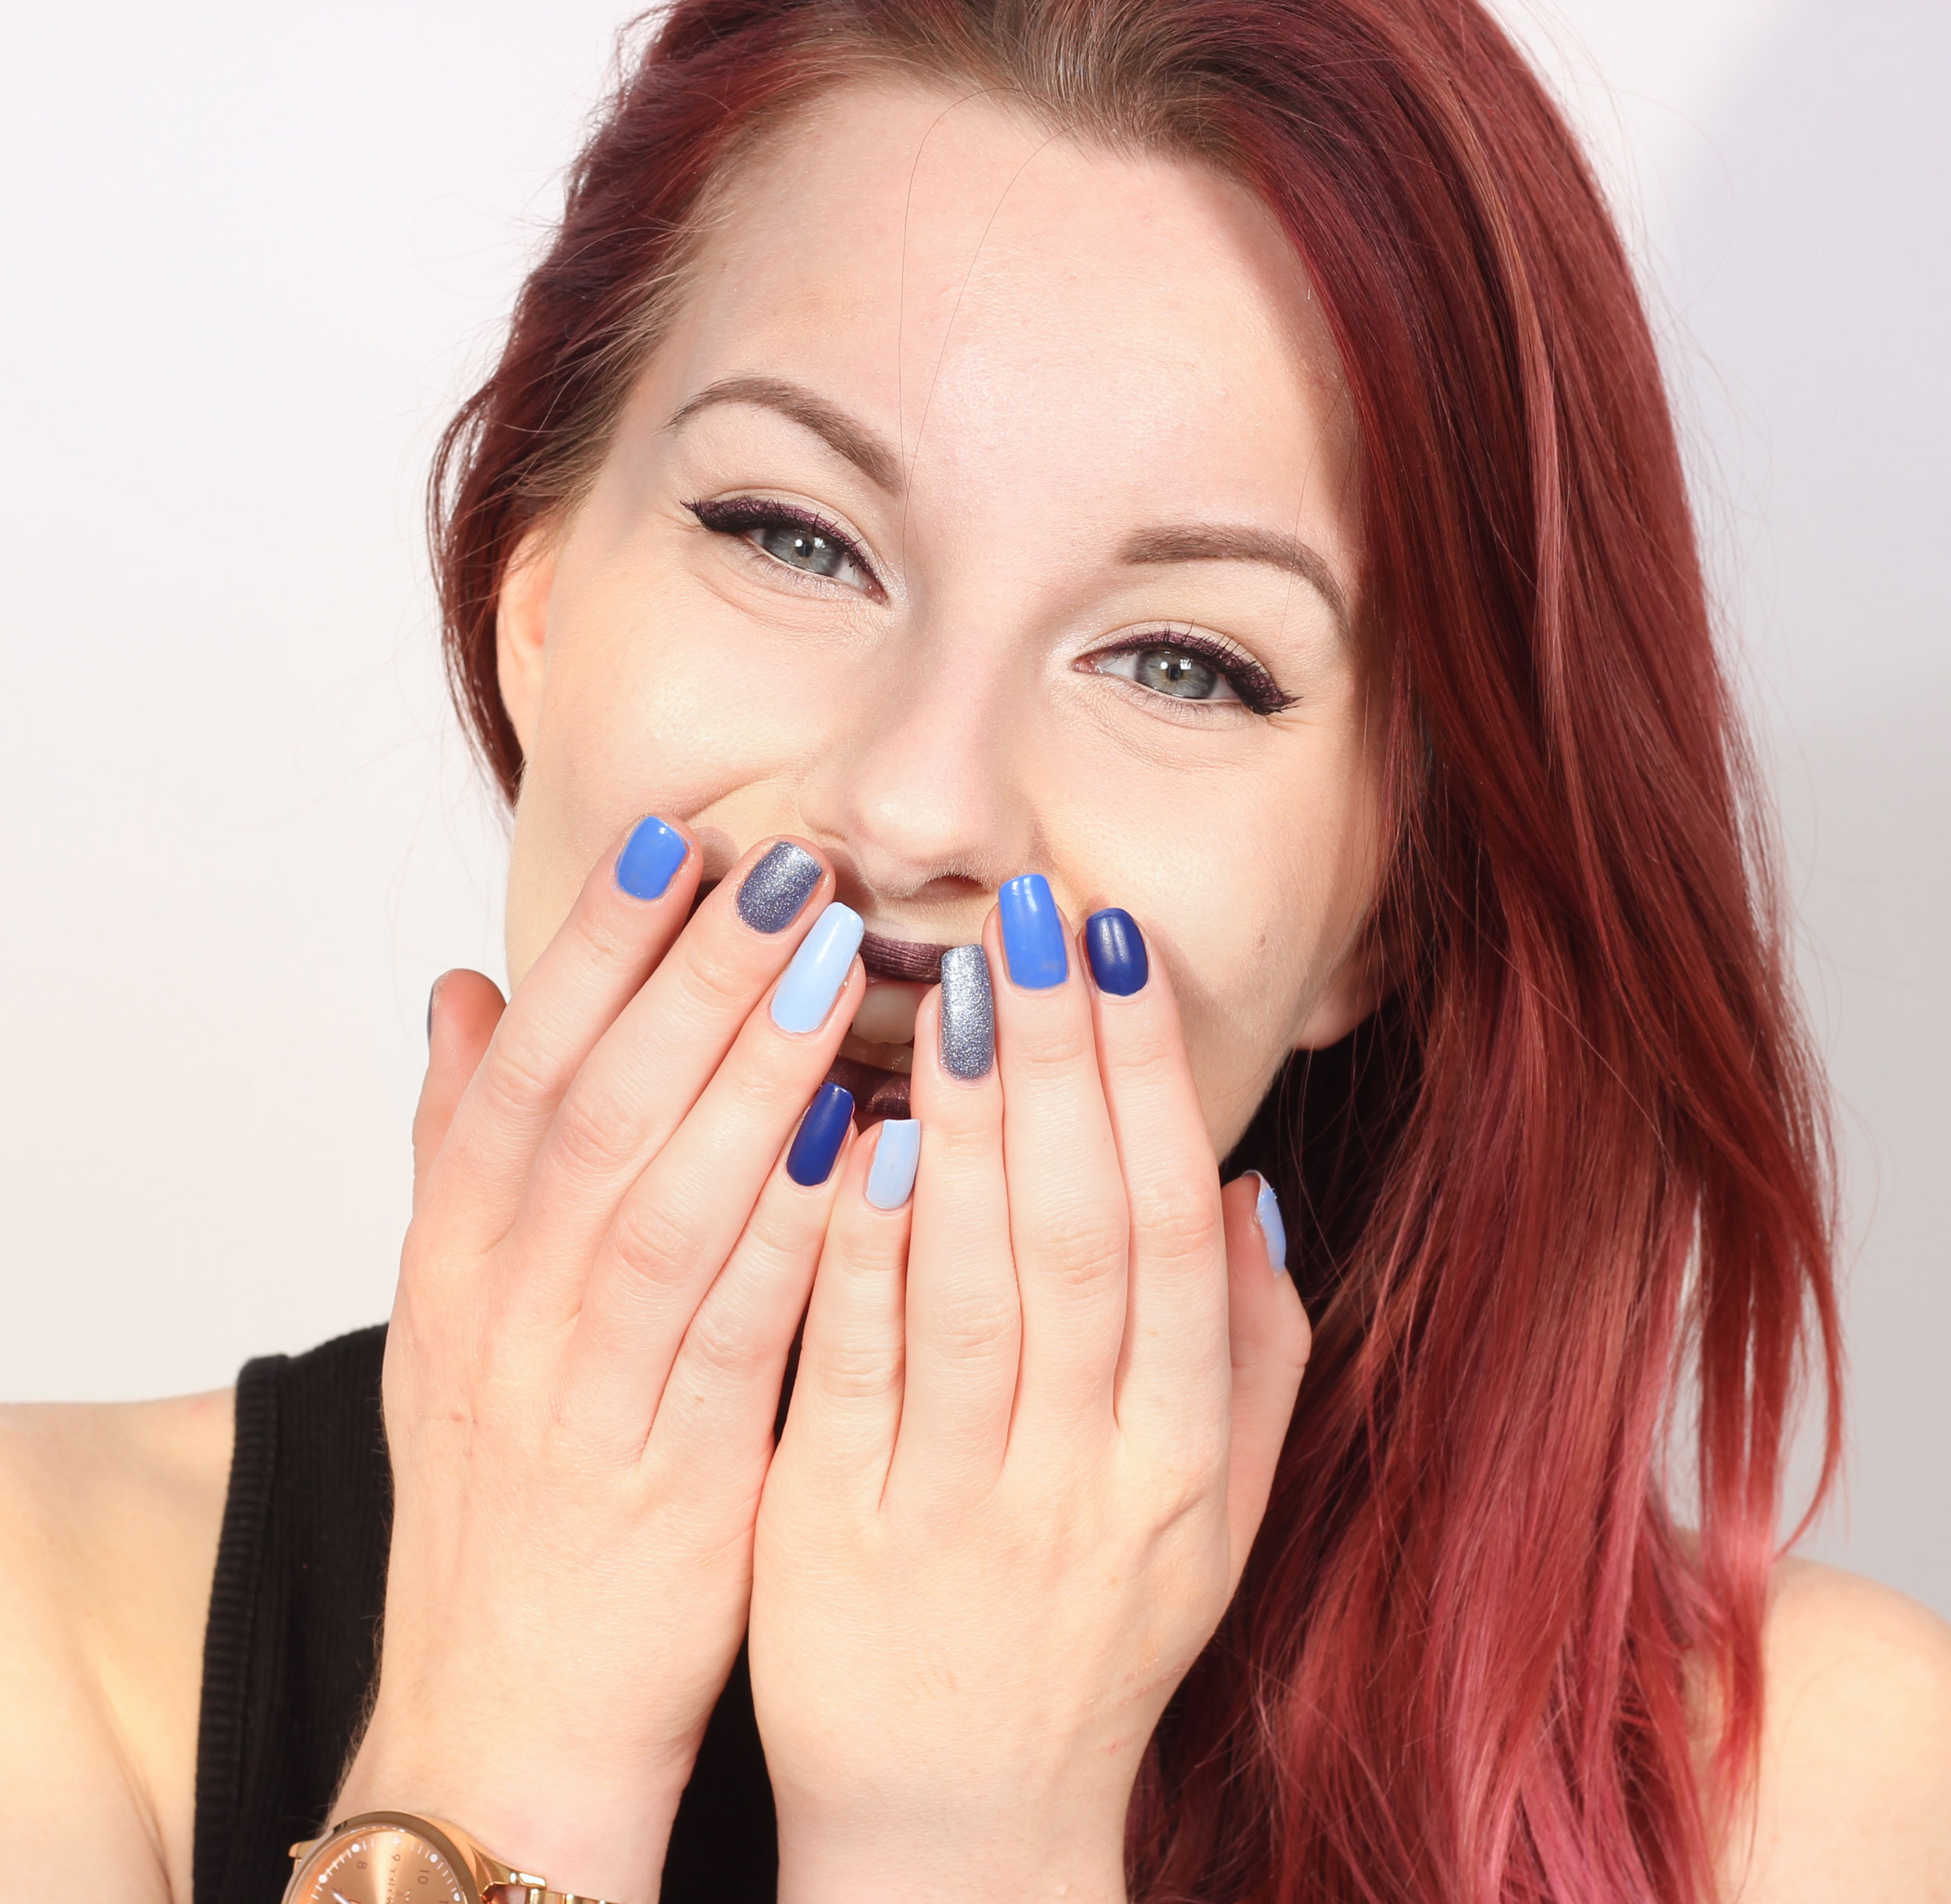
Look what a nice everyday make-up I did at the salon yesterday:

IMG_8088_1111

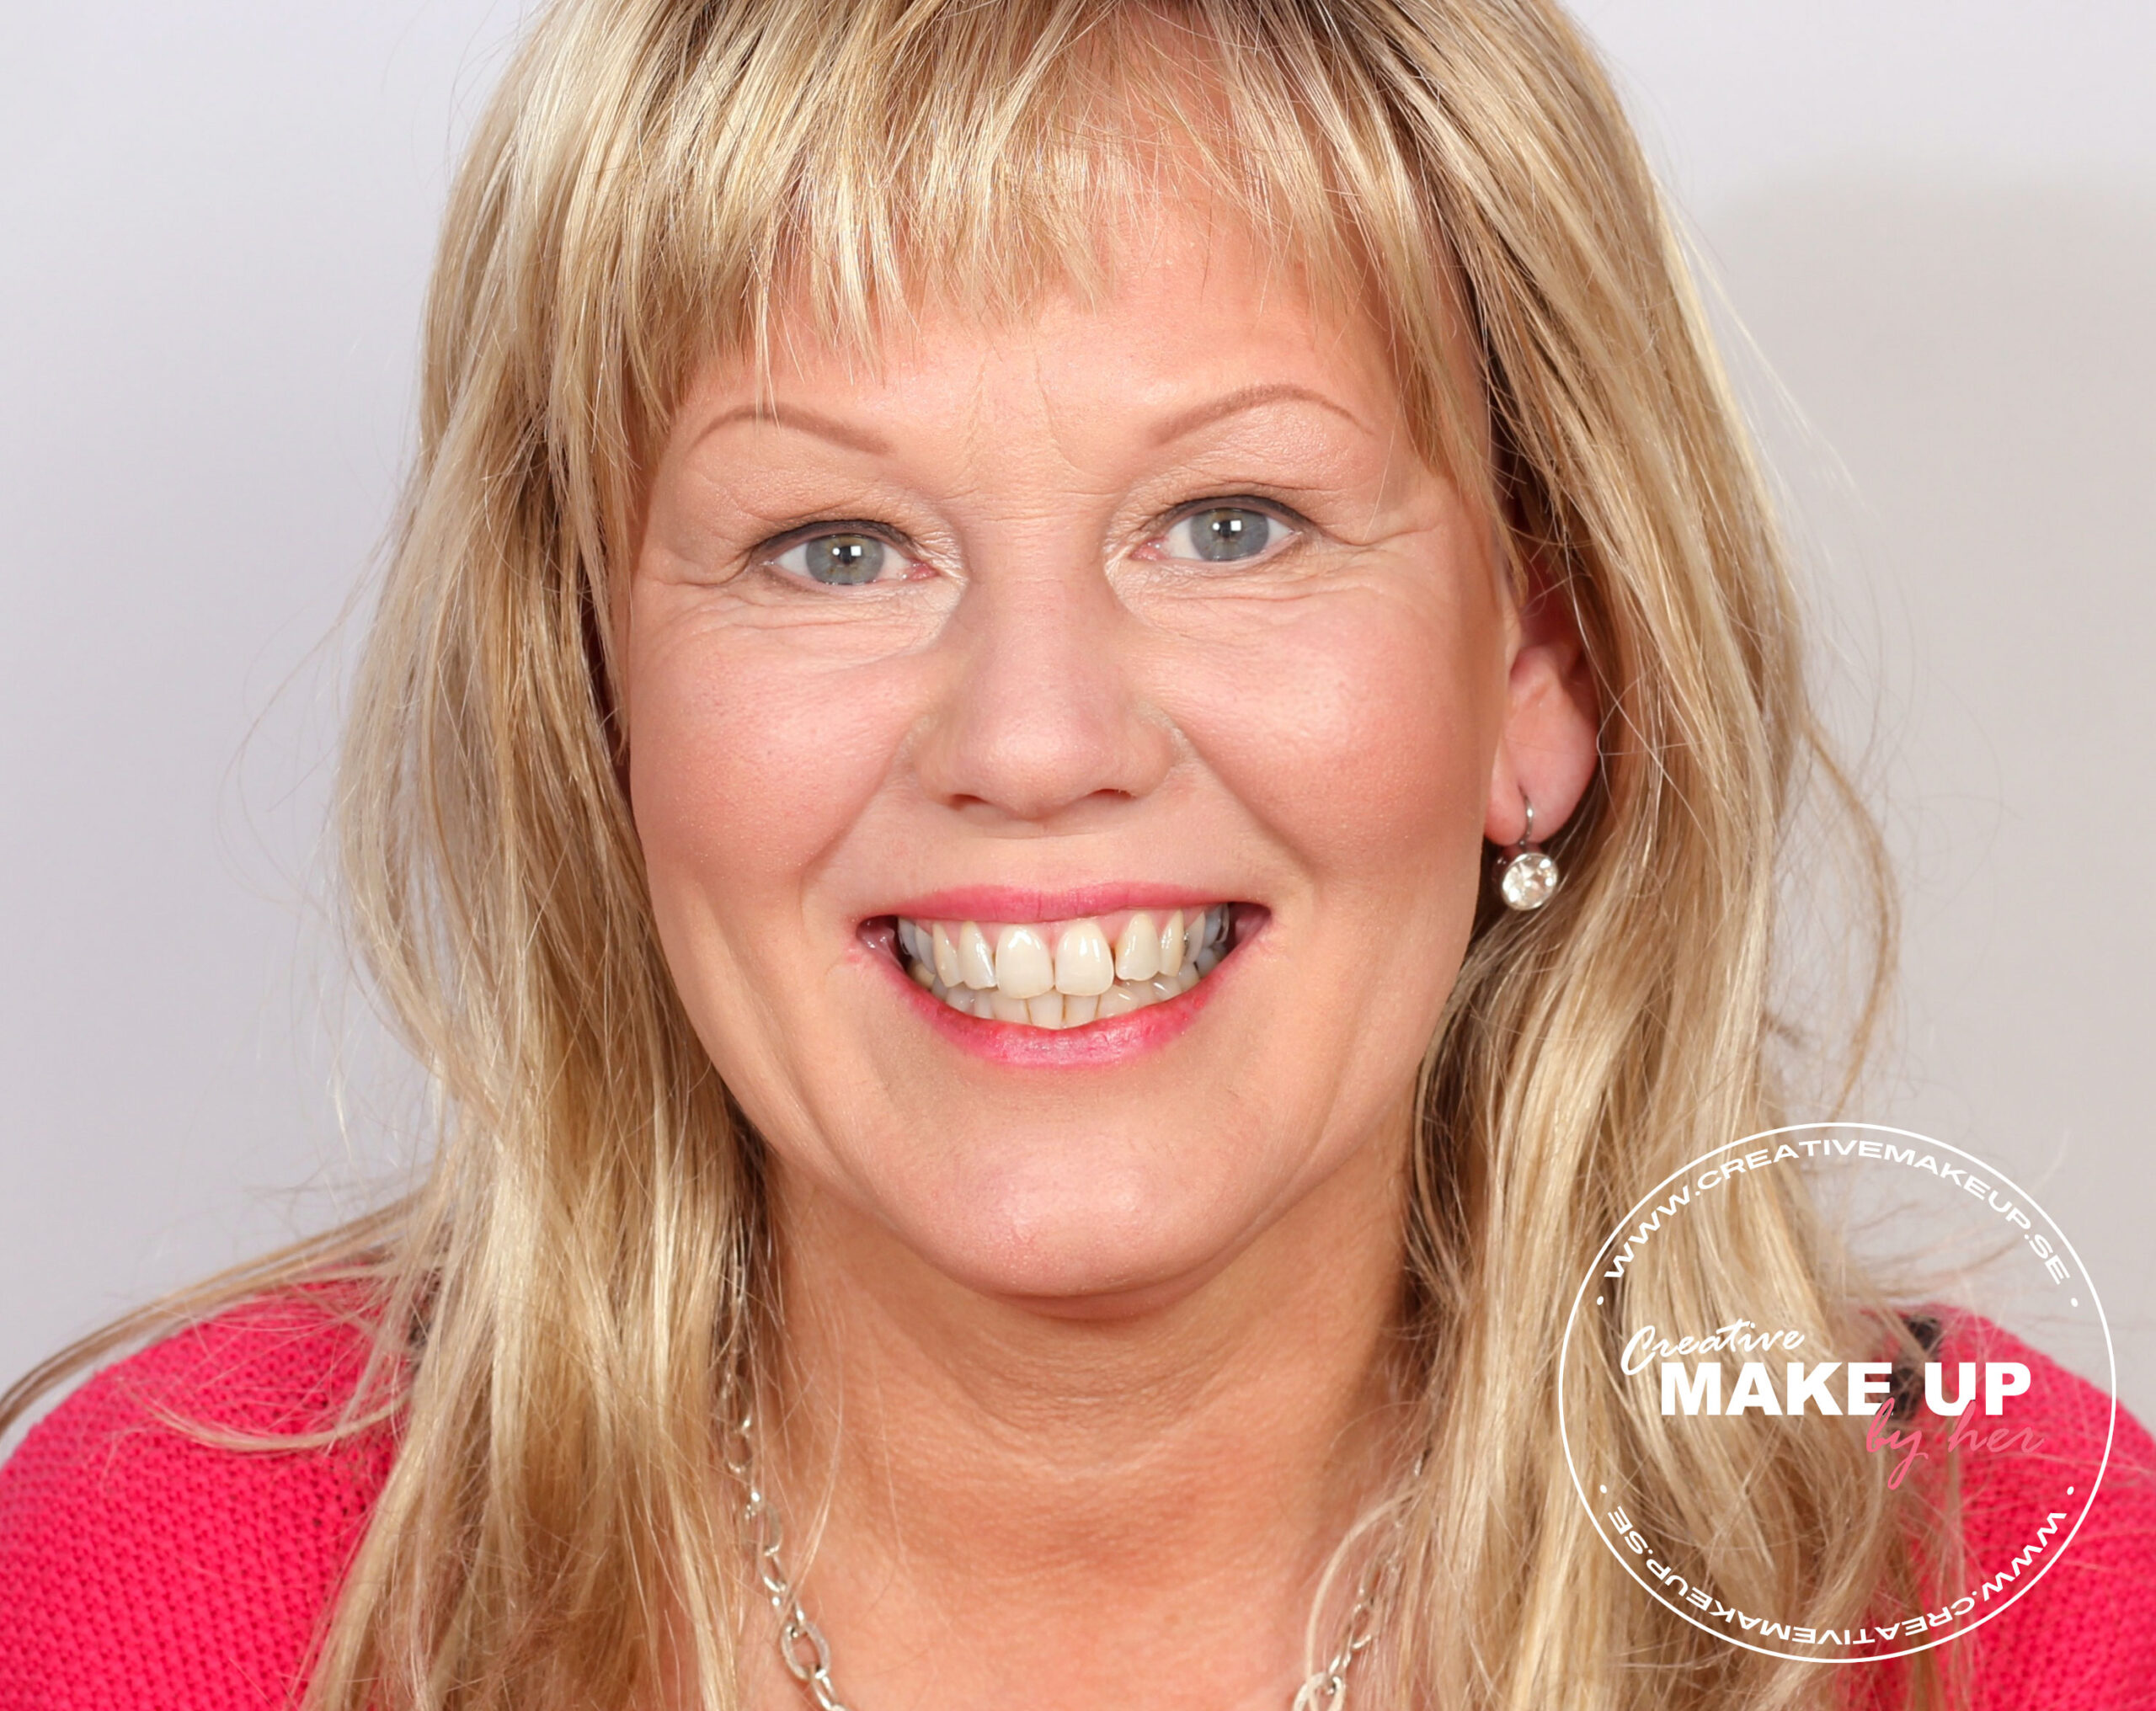
Surely you can not believe that she has alopecia and has neither lashes nor eyebrows?

I have emailed her a bit before when she lost all her hair in 3 weeks in November. Gosh what a shock it must be, to in adulthood get rid of hair both on the head as well as lashes and eyebrows pang bom without warning.

She had hardly put on any make-up before, as she had tight eyebrows and long eyelashes. And now it's like she's lost all her DNA, she says, like her whole face has fallen off. The facial expression is very much in the eyebrows and eyes so it is not so strange.

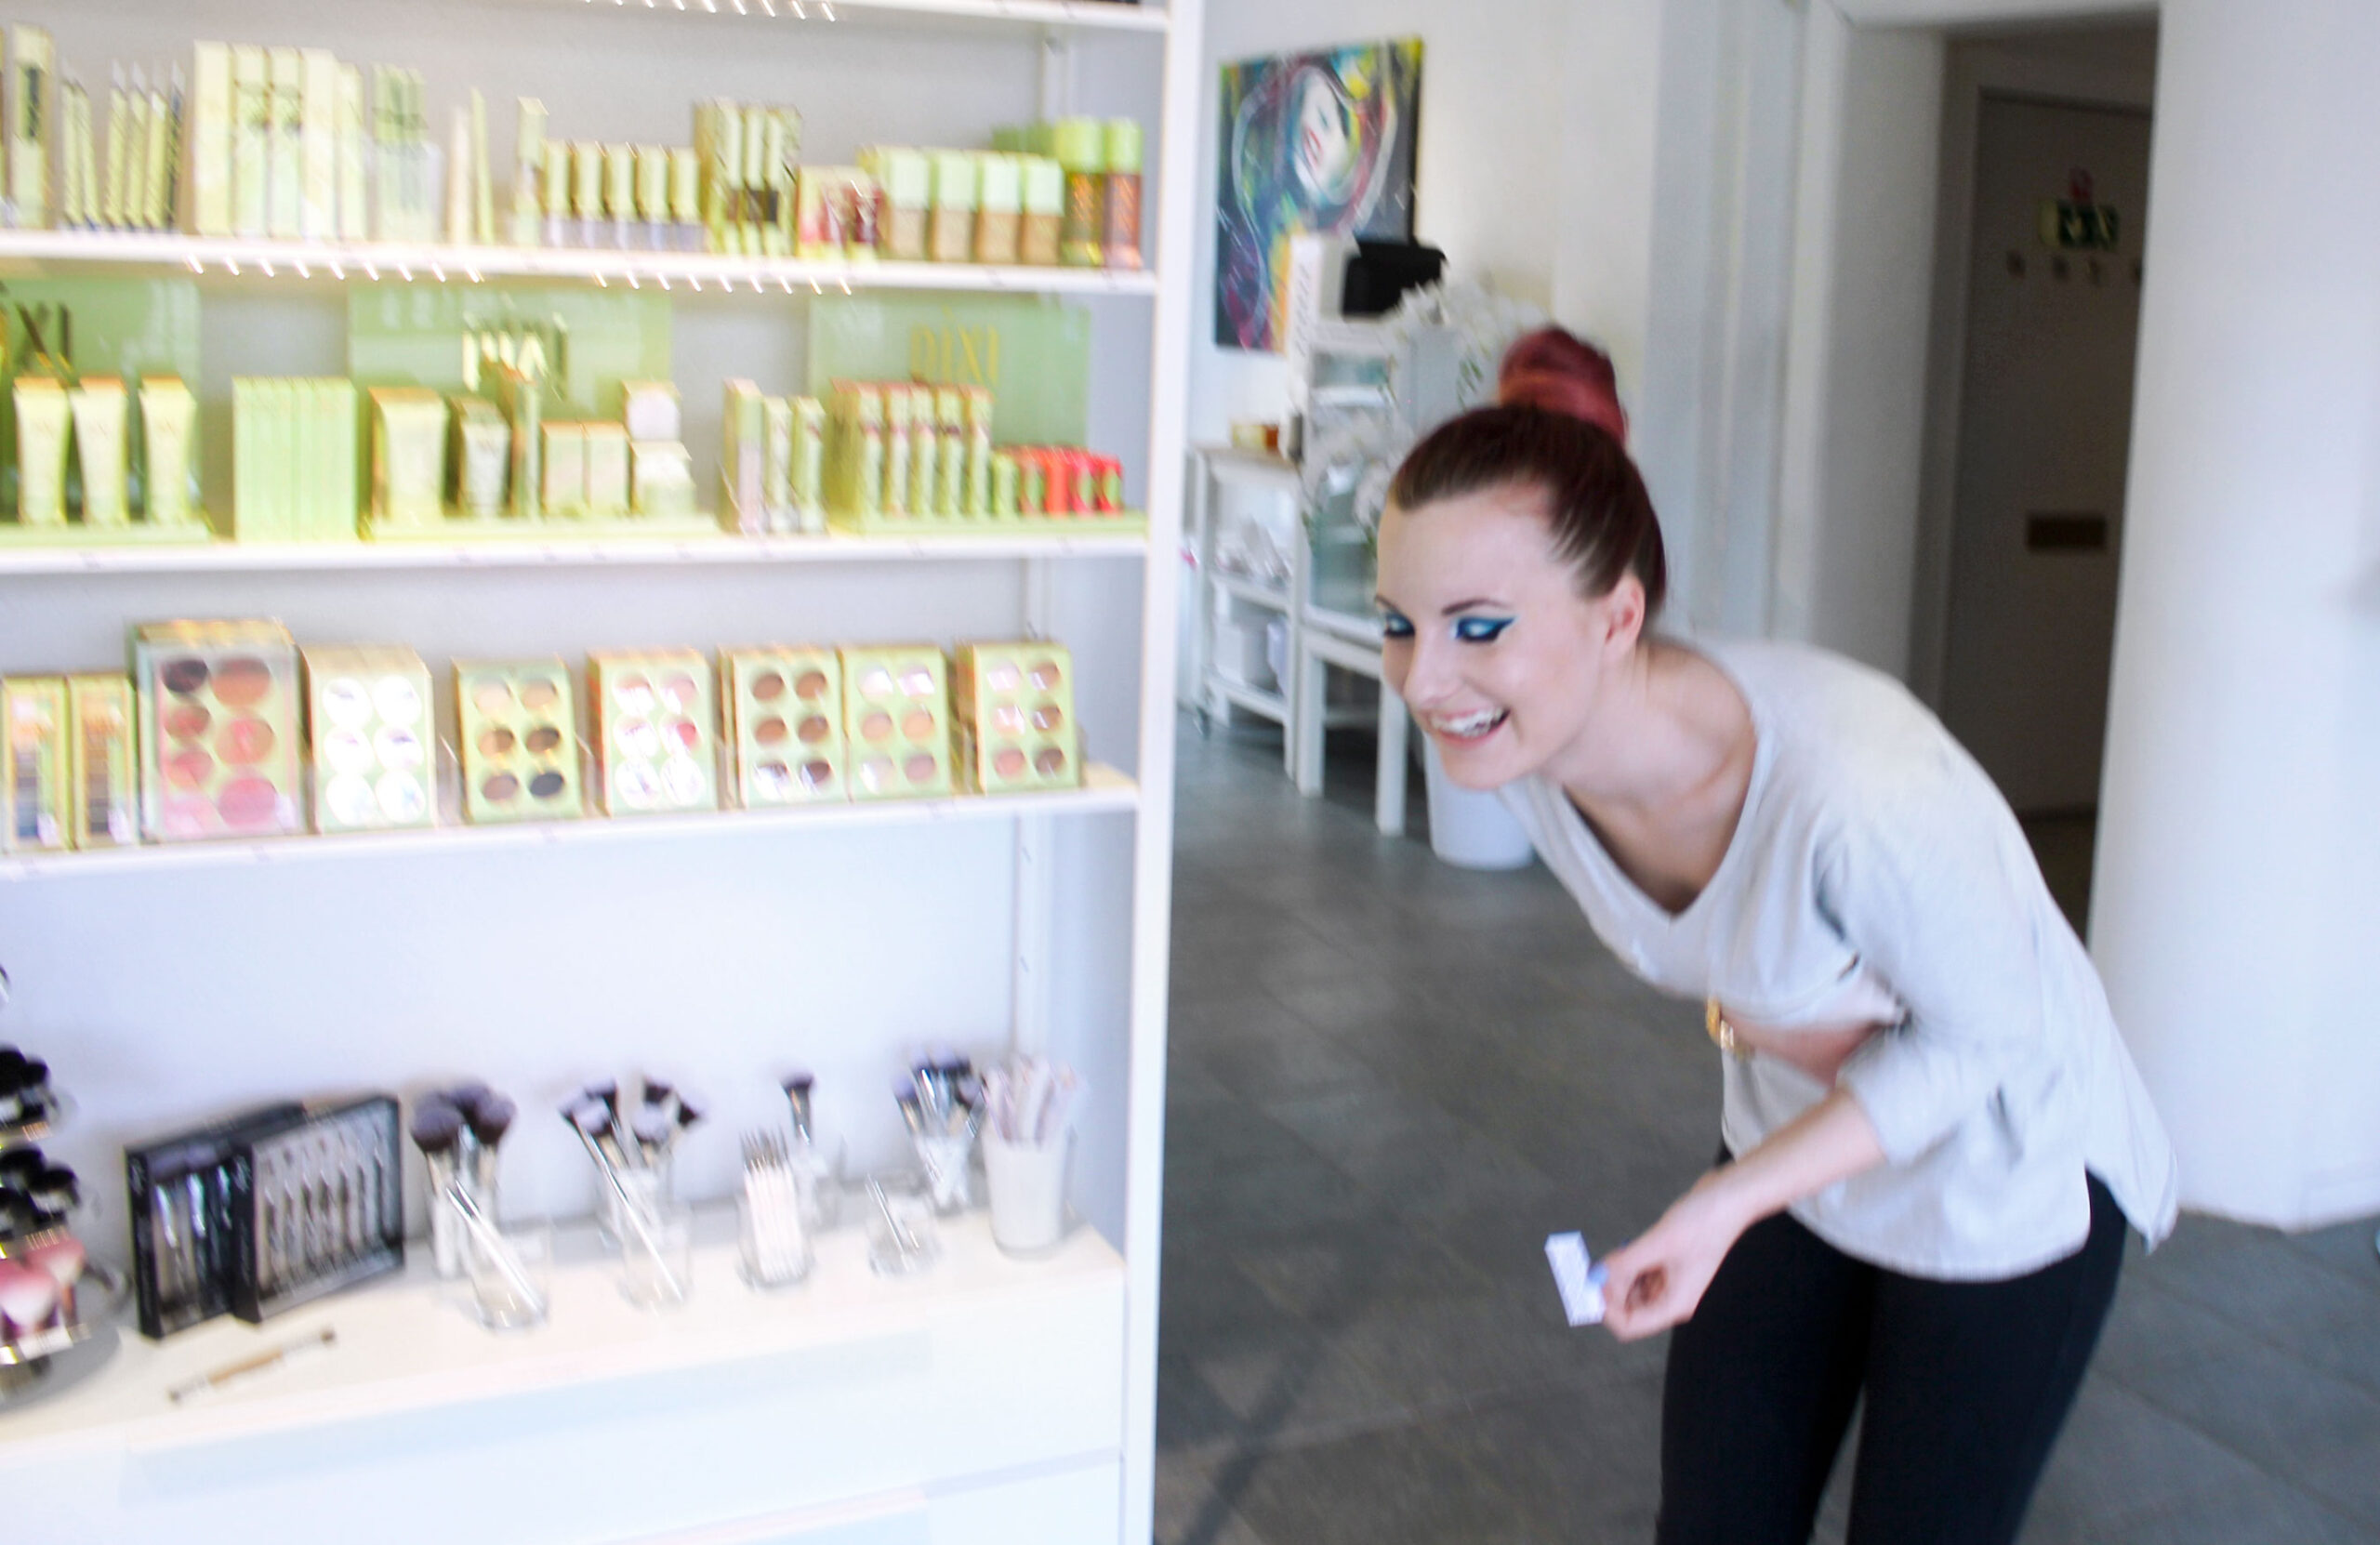
Giving makeup tips over email to someone who does not have much control over makeup is not easy, and making it to a person who has neither eyebrows nor lashes himself is even more difficult. So yesterday she came to me at the salon in Uppsala instead and we did a thorough make-up consultation with tips on how to think about putting on make-up even though you have neither eyebrows nor lashes. She went from Örebro to come to me ♥

IMG_8095_111

Makeup tips for you without hair, eyelashes and eyebrows:

Instead of eyelashes
To make up the eyes without eyelashes, you have to think a little about what an eye with eyelashes actually looks like - at the bottom of the eyelid it is very dark and full, and then there is a more fan effect, which makes the whole thing brighter at the top.

Therefore, it is also a good idea to first mark with black at the bottom of the eyelid, where the lashes should actually have sat, and then soot upwards, preferably with a lighter color (we have used brown) to get a soft and nice fade.

The underside of the eyes
The same applies to the underside of the eyes. We lit up the waterline for a more open and "clean" look, and then we added a soft, brown marking where the lower lashes were before. You can also use black but it will be a much higher degree of difficulty to get it nice, if you take too little it looks dull and if you take more it will be easy too much and too hard, therefore often a brown shade is a better alternative to the underside.

IMG_8095_Eye shadow

The lashes are often so long that they extend up over the skin fold in the crease line, so do not be afraid to put the eye shadow a little higher up to lift the gaze even more! Look straight ahead in the mirror and relax, and apply the shadow so high up that the fading is over the skin fold in the crease line.

Sharp eyeliner or smoky?
I recommend making a sooty eyeliner instead of a sharp one. When I make a sharp eyeliner on myself, the lashes still come out after the mascara, but if you make a sharp eyeliner and then have no lashes, it becomes clearer that the lashes are missing.

But when we have smoked our eyes, you would hardly see any difference in the distance if she had had lashes or not, because the shading gives the same effect as if she had had lashes.

When we were done, she met Zahra in the store (who was at lunch when she came here) and Zahra said afterwards that I had done so well. And when I said that she had alopecia and had neither eyebrows nor lashes, she was very shocked! She had looked at the make-up but did not reflect at all that something was missing "I who usually notice all the details!" she said, surprised that she had not thought of it. Best review - when not even a makeup artist notices anything! :)

Eyebrows
The most important thing when filling in the eyebrows is not to make them too filled and painted, the color can be a bit "uneven" otherwise it looks like two painted worms. You also have to think about how much time you want to spend on it every morning, you can make your brows even more lifelike and fill in small straws in them, but here we did the simplest possible, but still nice, because the most important thing is that you have the strength do it every day :)

In people without their own eyebrows, you often see a small bulge out of the skin where they have been sitting, the brow bone protrudes a little and the skin is often experienced a little lighter. If you look closely at that leg, you often see approximately where the eyebrows have been and an approximate shape. It can be helpful when you have no idea how to paint.

IMG_8095_bryn

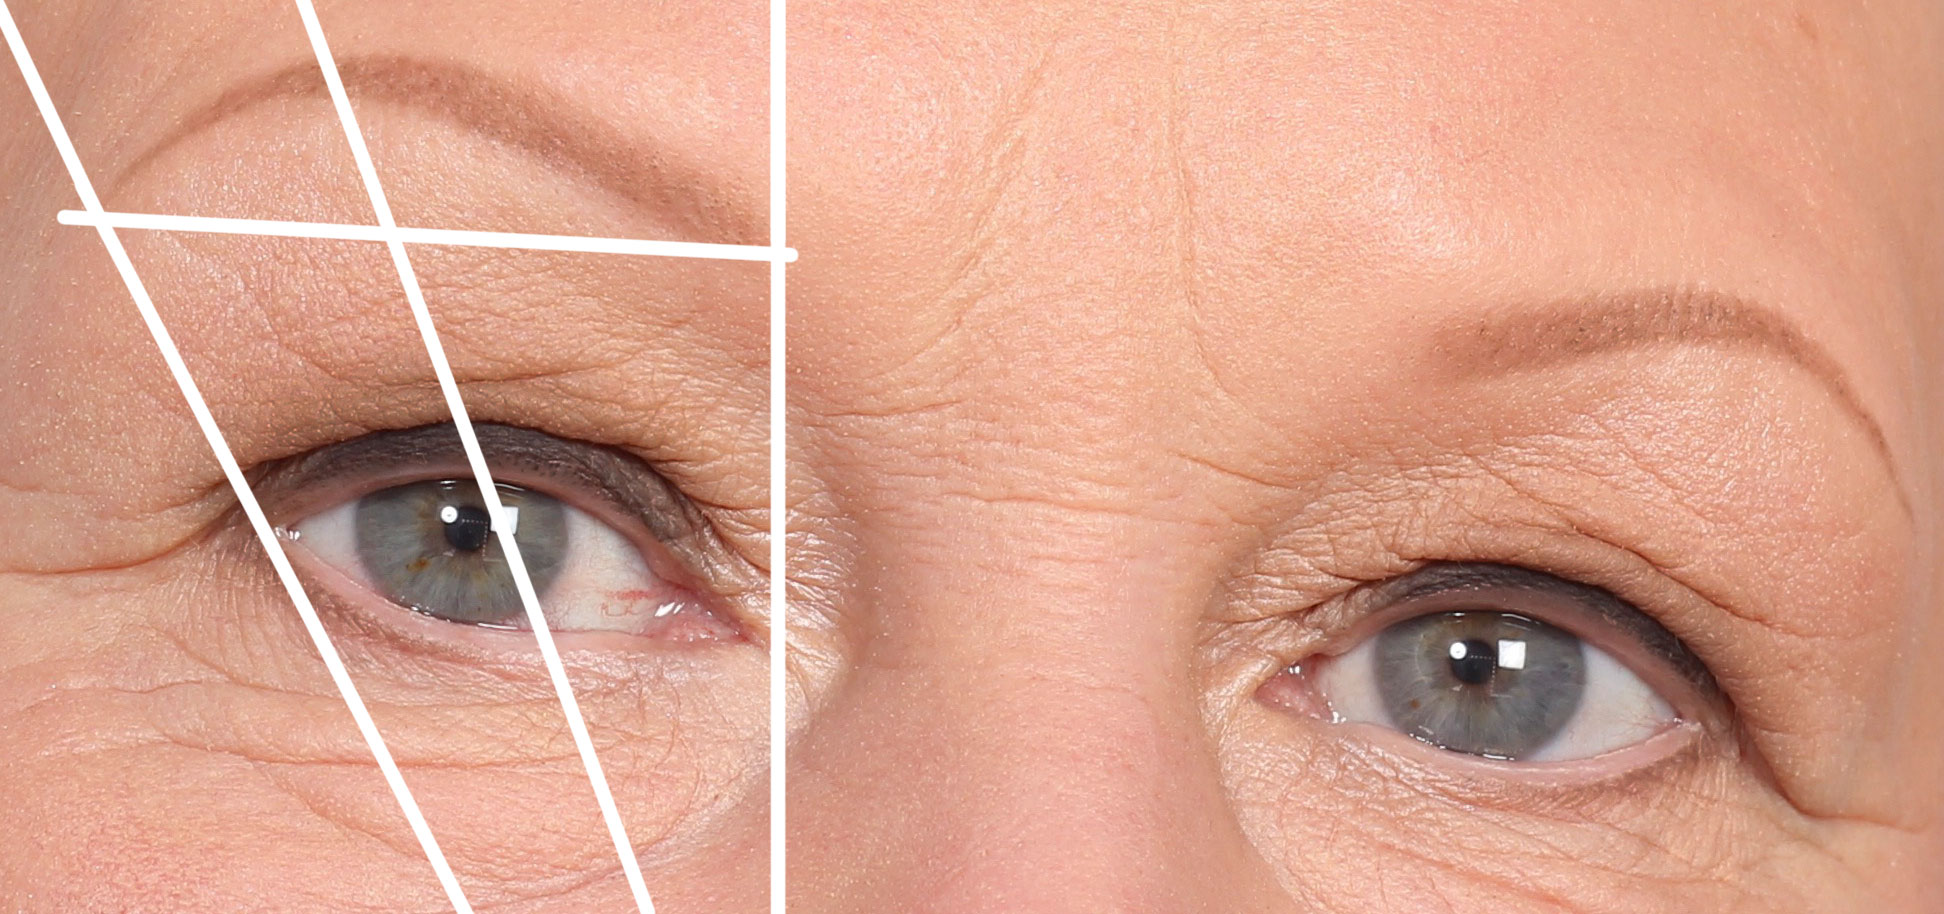
Now the picture is taken at an angle so the guidelines are a bit skewed, but guidelines that can be helpful are these four lines that you see in the picture above:

  1. From the nasal wing and straight up, the brow begins
  2. From the nasal wing, through the pupil and upwards is the highest point
  3. From the wing of the nose, through the outer corner of the eye and outwards, the brow ends
  4. The horizontal lines show that the beginning and end of the brow are at the same level, so that it is not further down the innermost or outermost.

I also usually keep in mind that the beginning of the brow is just as wide all the way to the highest point, and also quite straight so that there is not a ski slope at the top which makes you look a bit bitchy, or that there is a slope at the bottom so that one instead looks surprised.

How do I fill in my brows if I have no straws to go after?
When you have an idea of what the shape looks like and should start painting, look at where the brow bone is and paint the underside of the brow on both sides. Then it is easier to see the symmetry and if one brow becomes much lower than the other or similar. Than if you make a whole brow on one side, and then try to get a similar one on the other side. Do a little at a time on both brows at the same time.

I have used Pixi Natural Brow Duo which is a pencil that is easy to paint with thanks to the fact that it is like a small triangle, it is also waterproof and lasts very well. You can see the tutorial on a picture in webshop if you want to see more clearly how I use it. I fill in the same way even if you do not have your own straws.

IMG_8079_111

I have used these products:

Face:
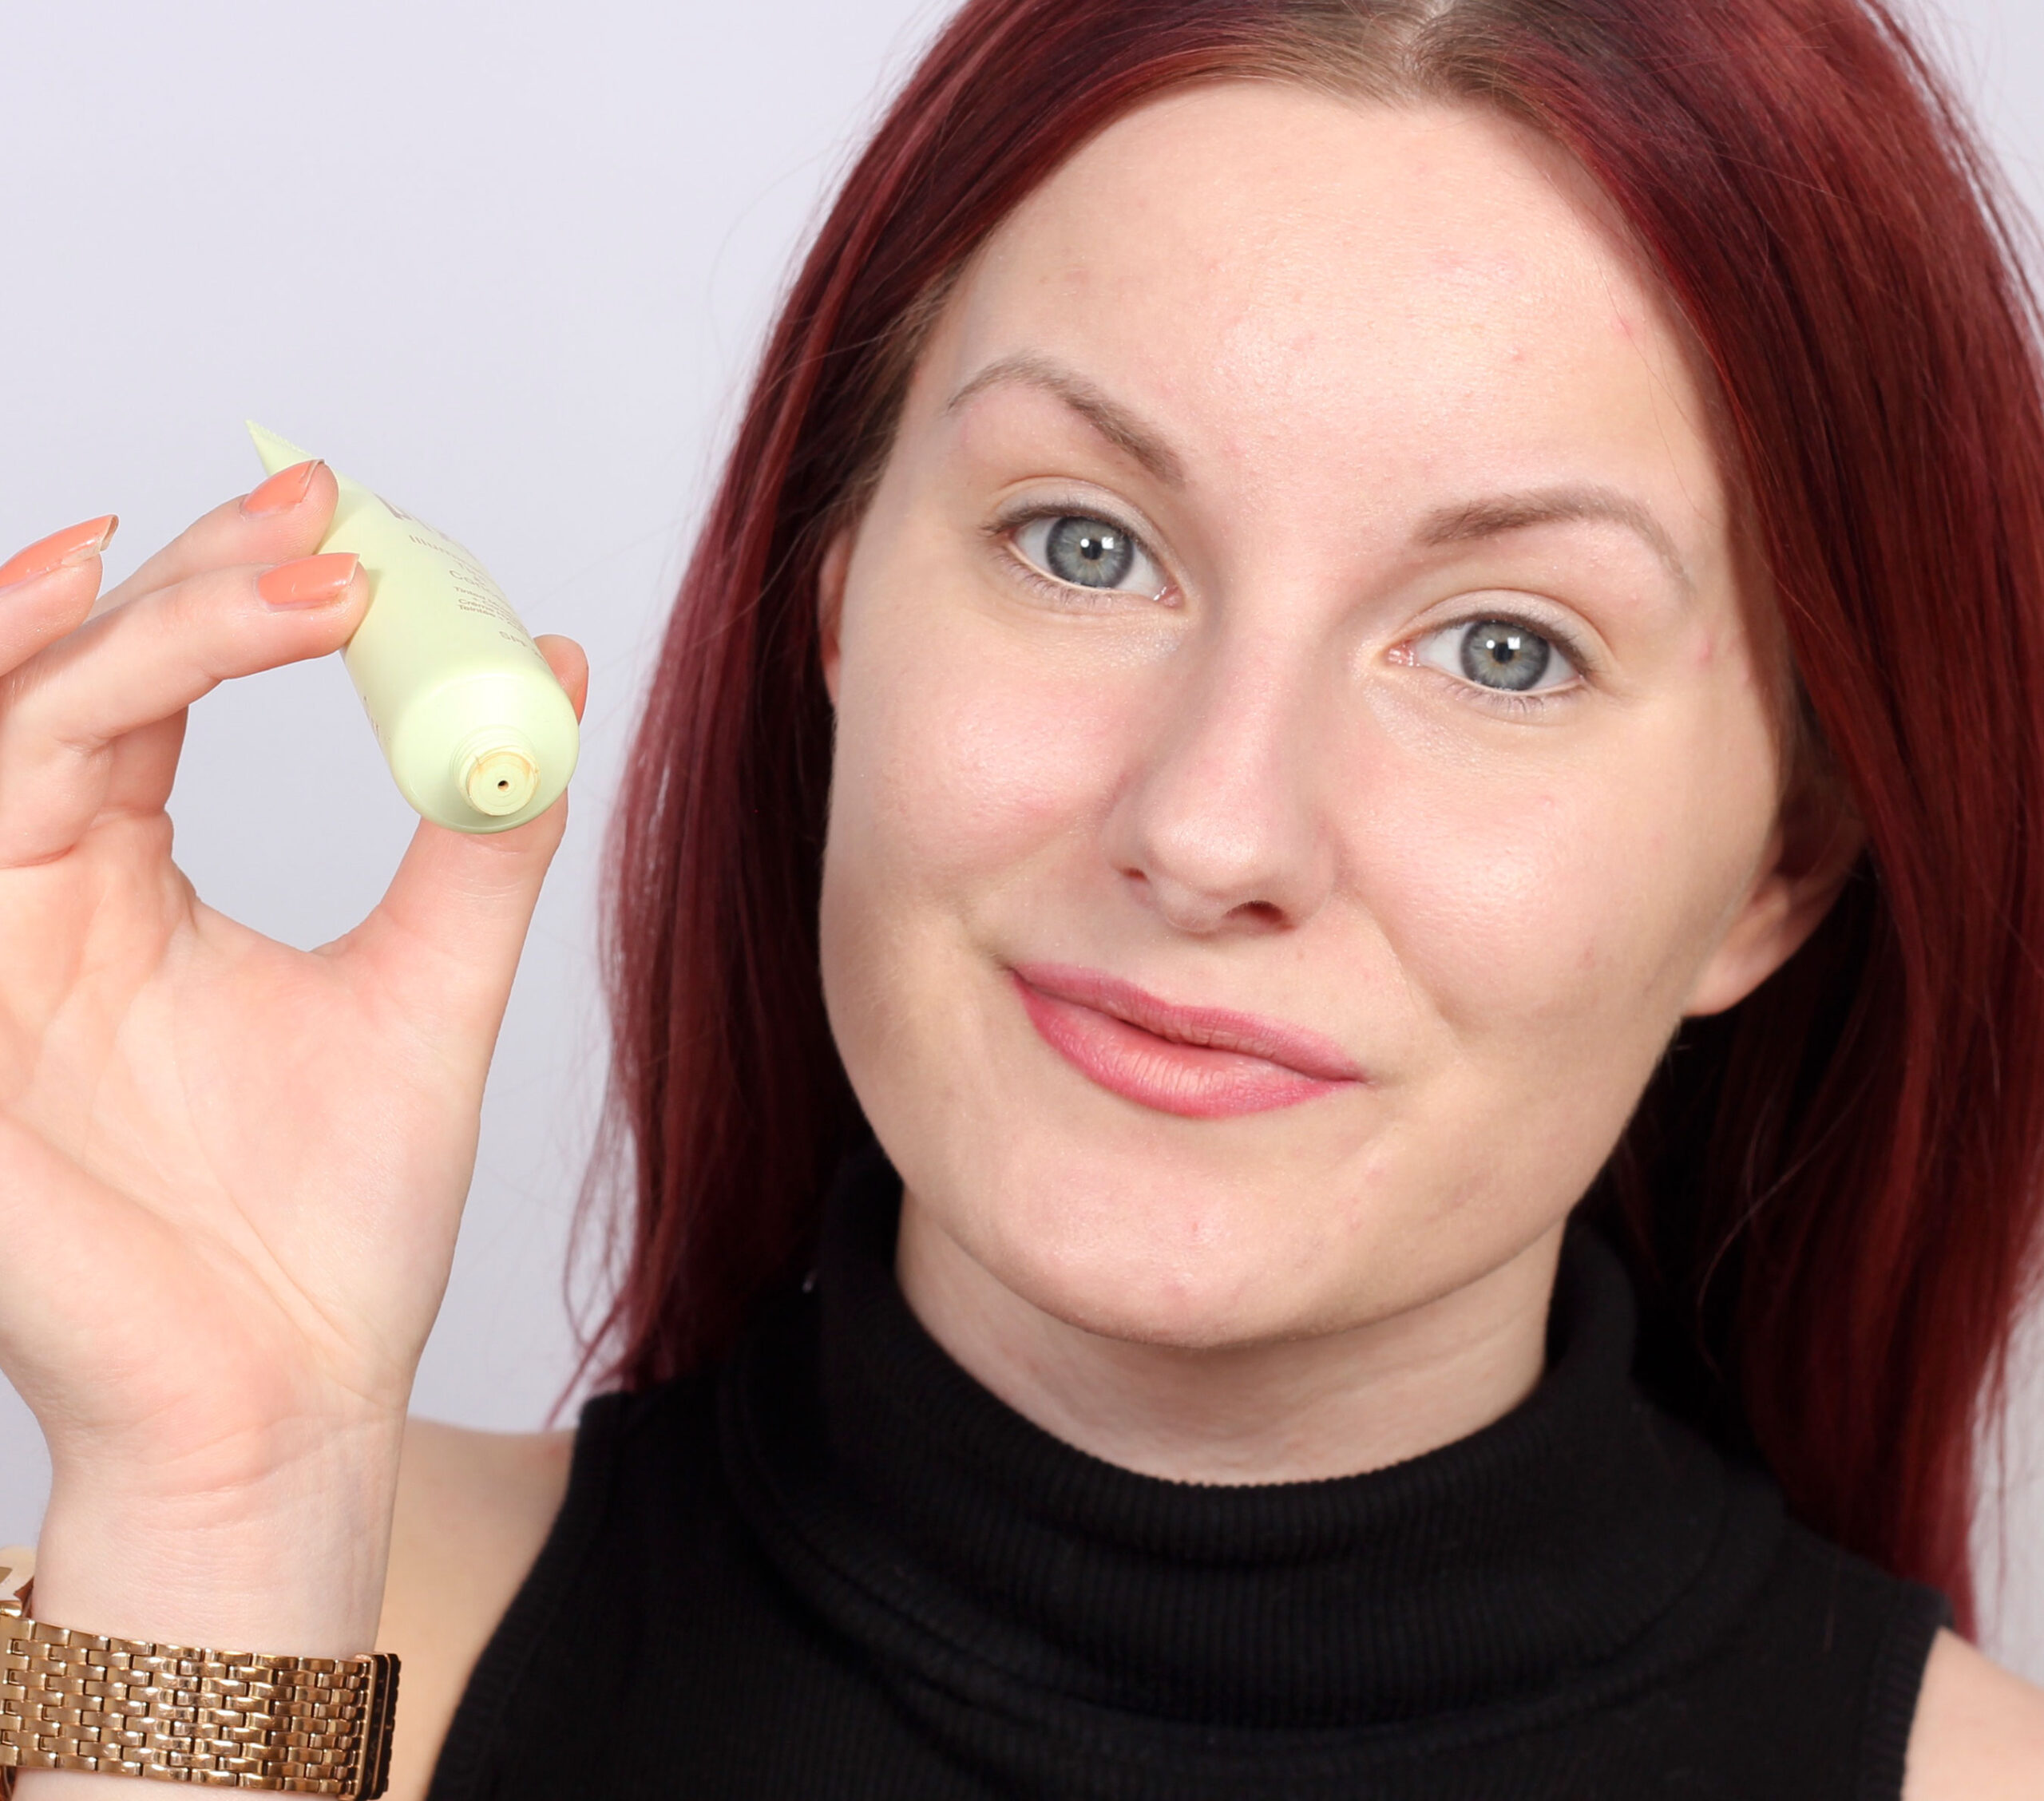
Face primer - pixi redness reducing primer
Foundation - Pixi H2O skintint (3 Warm)
Concealer - Pixi Correction Concentrate
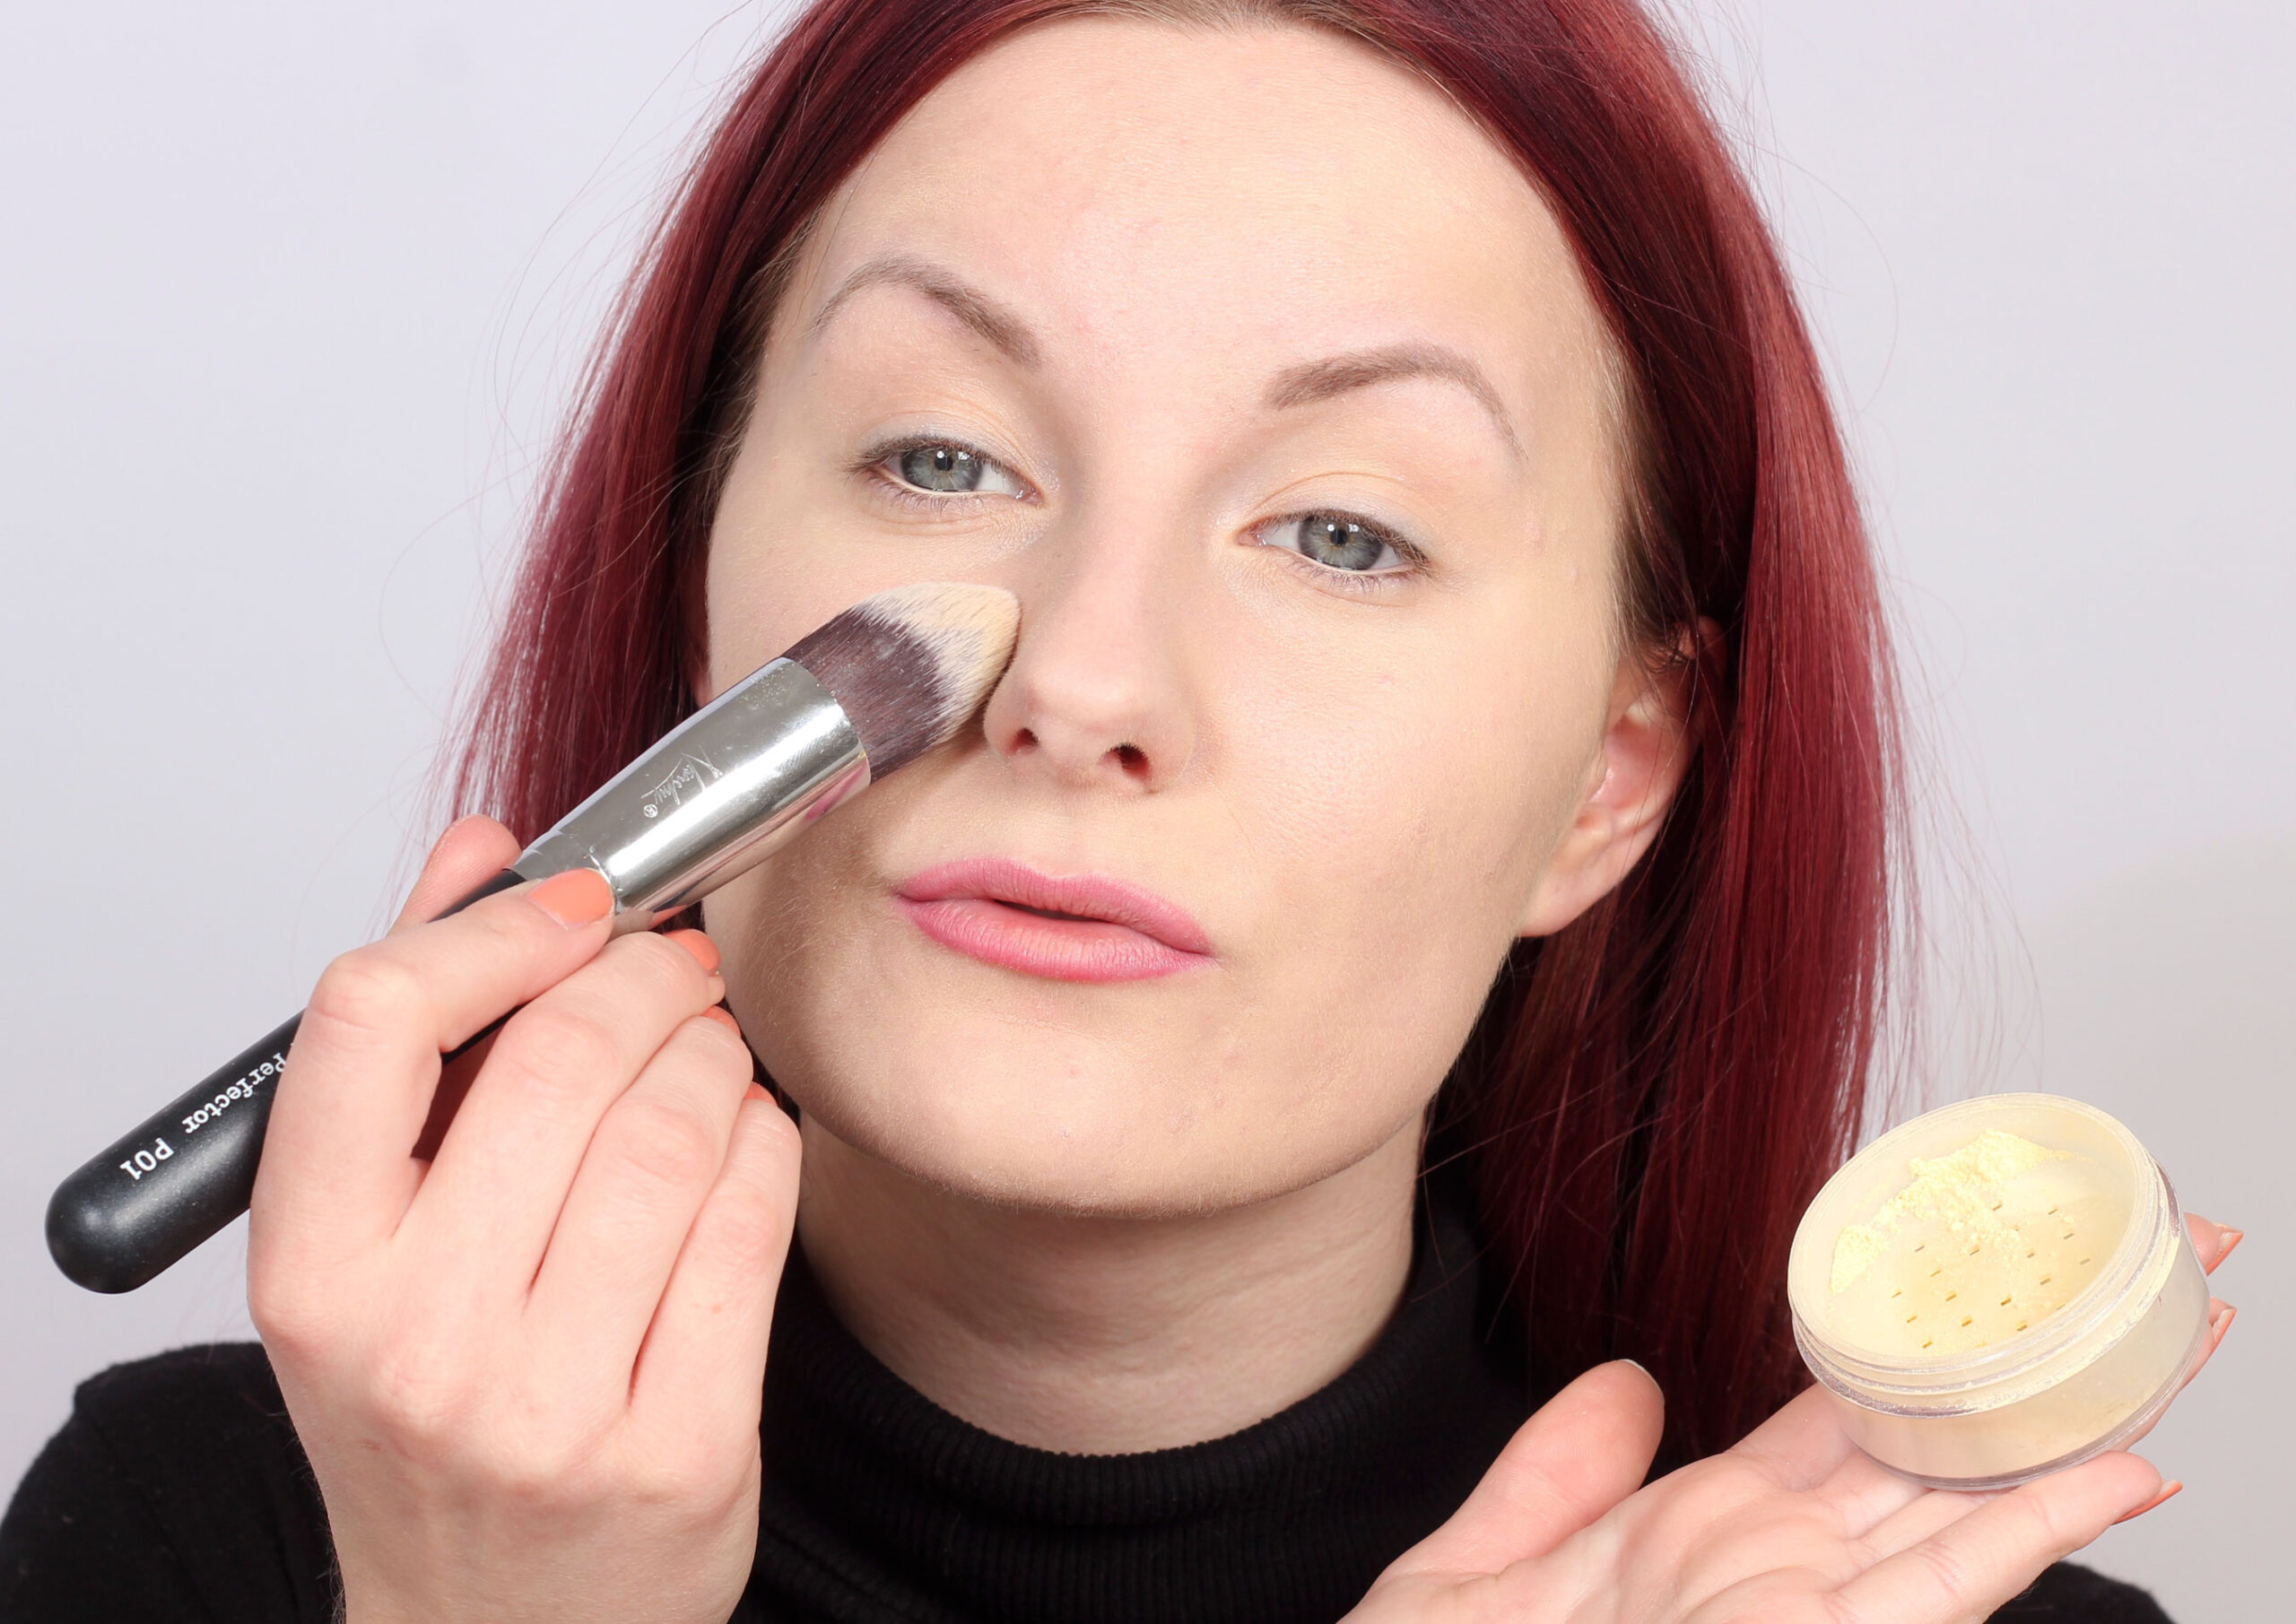
Powders that neutralize red areas - gloMinerals redness relief powder
Contouring - Pixi Book of beauty Contour Creator Palette
Rouge - gloMinerals blush (Papaya)
Makeup Fixing mist - Pixi makeup fixing mist

Eyebrows - Pixi Duo Brow (Deep brunette)
Lips - Pixi Shea Butter Lip Balm (Ripe Raspberry)

Eyes:
Eyeshadow Primer - Pixi eye bright primer
Black smoky eyeliner - Paese cashmere eyeshadow (602)
Brown eyeshadow - Paese cashmere eyeshadow (612)
Light eye shadow - Paese opal eyeshadow (Golden Brown)
Light eyeliner along the waterline - Benecos White natural kajal

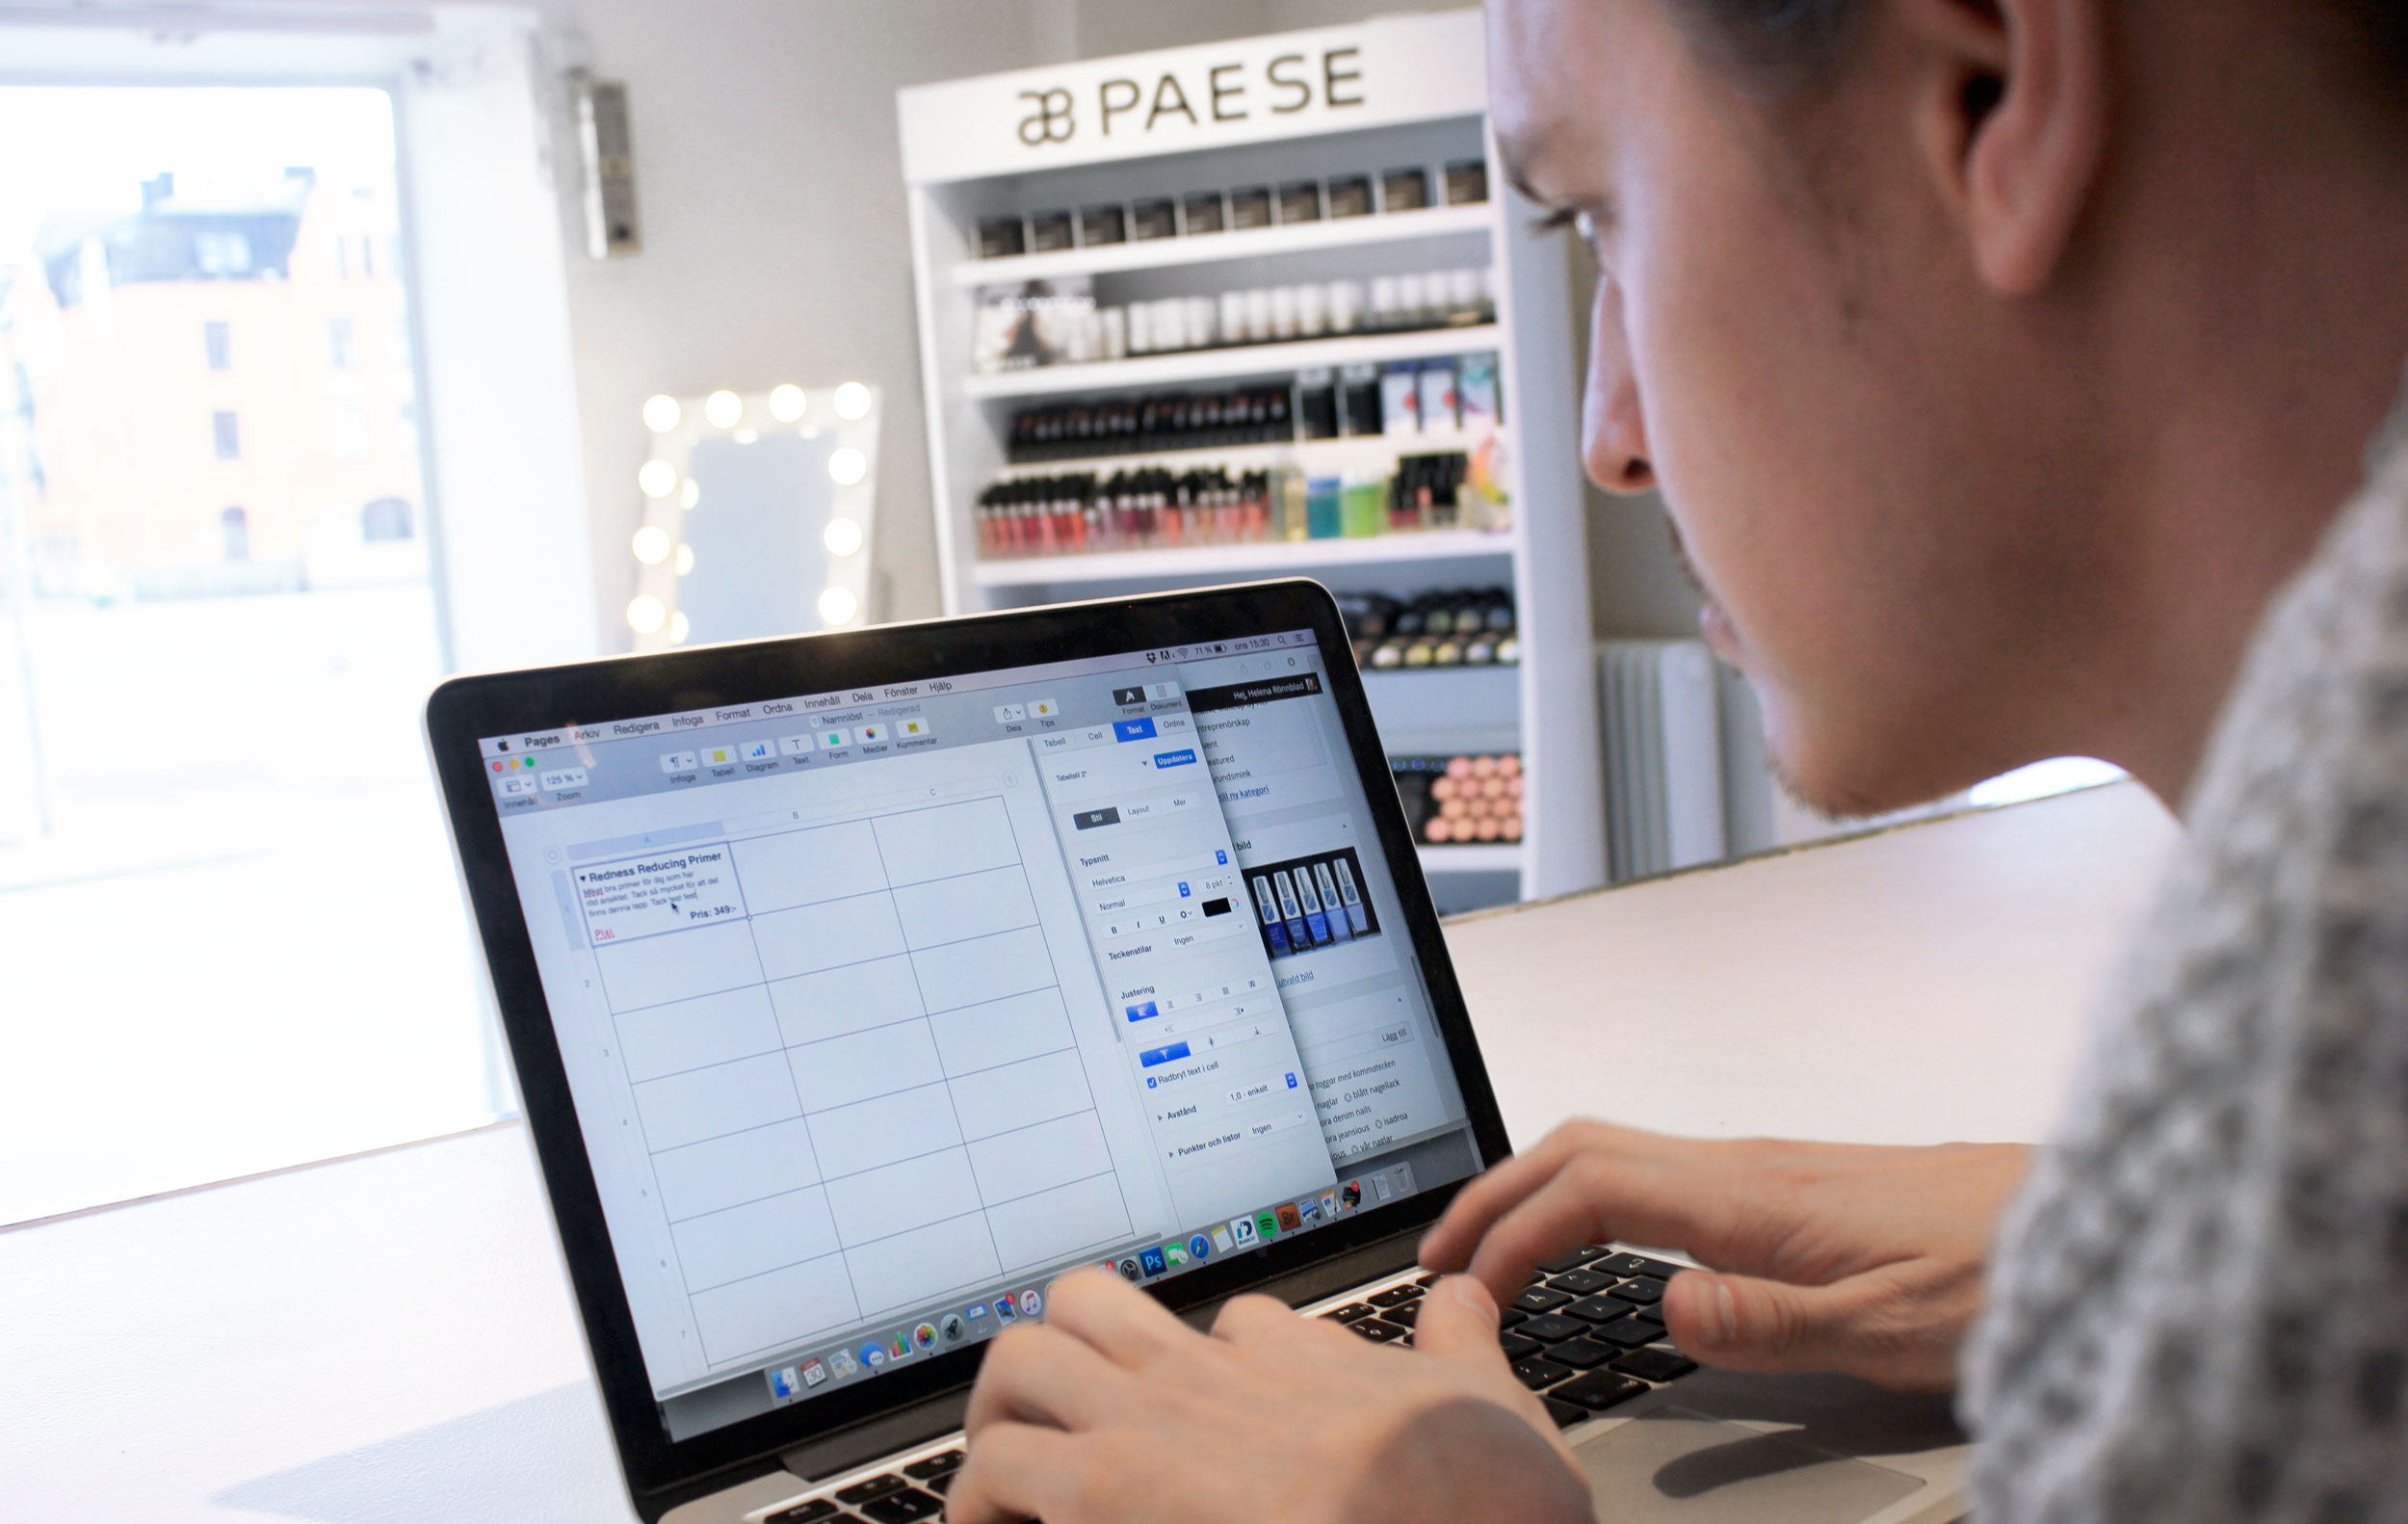
And everything is available at Byher.se and in our store / salon in Uppsala :)

makeup alopecia

Really big difference if you compare before and after with / without wig as well. Although I personally think she is just as beautiful both with and without hair on her head. I think that the facial expression with eyebrows and marked eyes makes a bigger difference than the hair actually.

Do you have any more questions on the subject? Just to get in touch with you in such cases, I will try to answer everything as detailed as possible.

Hugs are! ♥

Today's base - Natural for spring

Received this email the other day:

I loved your post about "Today's Bass" where you showed off your bass makeup with Pixi's comprehensive foundation! Fun to not only look before and after with a certain product, but the whole step by step to the finished result. It inspires! :) Wondering if you can make a similar post with Pixi Illuminating Tint & Conceal? I have decided to apply for one before the spring, but would like to see exactly how you use it if I am to buy more products. Has a similar complexion as you, a little redness and blemishes here and there, but otherwise quite even. ”

Glad it was appreciated! :) You who have not read my previous post with "today's base - big pores" will find it here!

Pixi Illuminatint Tint & Conceal is a perfect multi-product now for spring as it both gives a natural coverage, nice luster, spf 20 and has a concealer that conjures away blemishes and irregularities.

Just use it for an unmade-up look, but at the same time rudely fresh;) Or do a whole makeup with contouring, eyebrows, lips and the whole kit that I will show you today! This can be such a big difference then:

IMG_7368_111

A complete bass make-up, while there is actually not much coverage. All over the face, it's just a colored day cream, then the only coverage on the blemishes that I applied concealer on. Otherwise, only products that neutralize red tones, and then contouring, blush, eyebrows and lips on it for a nice whole :)

IMG_7376_111

Big difference huh? :)

Here's what I did:

IMG_7379_111

1. Face primer - Pixi Redness Reducing Primer
Face primer that evens out the skin and gives a smooth surface to apply makeup on. It provides no coverage but has green pigments in it that neutralize red. So there is already a big difference!

I apply this with clean fingers and massage it thoroughly into the skin.

IMG_7395_111

2. Colored day cream, sunscreen and luster - Pixi Illuminating Tint & Conceal
And here we get a smoother and finer color on the face with the colored day cream. It contains spf 20 and light-reflecting pigments that give the skin a nice glow. I usually also apply it with clean fingers, like a regular day cream.

I have used the shade Bare Glow which is the lightest.

IMG_7406_111

3. Concealer - Pixi Illuminating Tint & Conceal
Screw on the cap again (which contains a concealer) and dab the concealer on any blemishes and irregularities that you want to cover. Then spread the paint with your fingertip or with a brush.

IMG_7414_111

4. Powder that neutralizes redness - gloMinerals Redness Relief Powder
The miracle product for us with a lot of redness that wants to shine through, a skin care powder that gives no coverage but a faint yellow tone that neutralizes away red shades. It is mineral-based and contains caffeine and licorice extract that goes into the blood vessels and tightens them a little, so that you become less red both cosmetically and under makeup.

You who do not have much redness in the skin do not need to finish the base with powder.

5. Contouring, blush, eyebrows & lips
Then I used Pixi Natural Brow Duo (Deep brunette), Pixi Contour Creator and gloMinerals Blush (Papaya) to get more color and shape in the face, and then the whole base is ready:

IMG_7442_111

Hope the post was helpful! Love when you come with wishes about what you want to see more of, feel free to continue with it :)

Hug! ♥

Denim makeup

I was inspired by my jeans blue nails that I showed you in yesterday's post Jeanious Denim Nails, and therefore did a make-up in lots of blue tones!

Hope you like the look :)

IMG_7859_111

The nails are from IsaDora's new collection Jeanious.

Bassmink:
Face primer - Paese Makeup Base (Matte)
Foundation - Pixi H2O Skintint (Cream)
Powder that neutralizes red - gloMinerals Redness Relief Powder
Contouring - Pixi Book Of Beauty Contour Creator
Rouge - gloMinerals Powder blush (Papaya)
Dehydrating powders - Paese Bamboo Silk Powder
Fixing Mist - Pixi Makeup Fixing Mist

Eyebrows - Benecos eyebrow designer (brown)
Lips - Paese Lipstick with argan oil (37)

pickktorial_111
The eye shadows I have used come from Pixi Mesmerizing Mineral Palette in the shade Aquamarine Dream which we do not yet have in the range, but soon! Love the colors :)

  1. Eyeshadow primer, Pixi eye bright primer
    Mark the globe line with dark blue shade
  2. Also mark the outer edge from the outer corner of the eye and out so that that line meets it from the globe line
  3. White eye shadow in the middle of the eyelid, Paese cashmere (601)
  4. Turquoise eye shadow to the right & left of the white shadow
  5. Bright blue eye shadow innermost and outermost on the eyelid
  6. Blur the shadows so that there are smooth transitions between the colors
  7. Soot it out dark blue shade in the globe line so that you get a nice fade.
  8. Black eye shadow at the bottom of the globe line, Paese cashmere (602)
  9. Black eyeliner with wing + at the bottom of the globe line, Pixi lash line ink
  10. Light turquoise eye shadow in the fade across the globe line
  11. White eye shadow in the corner of the eye and under the eyeliner
    Blue eyeliner along the waterline, Yves Rocher Waterproof eyeliner (blue)*
  12. Blue and turquoise eye shadow along the lower lash line (blue in the middle, turquoise inside and out)
  13. Blue mascara on the lower lashes, Yves Rocher Volume Vertige Mascara (Bleu)*
    Black mascara on the lashes, Magnetic lash mascara

Then it's ready! 13 steps later;) Great fun makeup to do! Hope any of you test it some day when you are hungry for color :)

IMG_7877_111IMG_7963_111

Hope you have a great day today! ♥

Behind the scenes - New price tags

I have received a request to post more posts from the salon itself, a little "behind the scenes" :) There is a lot of work here.

Today we got home lists that we will set the prices on, instead of stickers that we have driven with so far. If you are going to open a store, I really can not recommend pricing with stickers, so much mech! Printing them and so on is quite simple, but as soon as you move the shelves, the worst project is to get rid of all the glue and print new notes, and they also get ugly at the edges when they have been sitting for a while . It will be so nice to get rid of them now!

IMG_7965_111

Tekniska Miska helped with a template to print out all the new notes, which you can then only move around when it needs to be refurnished, gold!

IMG_7983_111

Got to try lots of different sizes before we found one that was perfect! The list you see in the picture has a strip of tape on it, so of course it is not yellow-brown but completely transparent :) And the note you see is a test text that Miska knots together and not the finished result haha.

But surely it will be nice? :) Will be short info about each product.

IMG_7969_111

Tests what the price tag looks like under the products.

IMG_7988_111

Unreasonably satisfied and excited about our new notes!

IMG_7992_111Now I sit at home on the couch and write on all the price tags, and will hopefully (but probably not) be ready today so that we can put it up tomorrow :)

Have a super nice evening nice you!

Jeanious Denim Nails

Last week, IsaDora launched a brand new collection of nail polish - Jeanious! The collection is inspired by jeans and comes in 6 different shades of blue.

I absolutely love this collection! I think all colors are great and blue nails are so nice in the spring.

IMG_7612_111

Here you see all the nuances! Fina va? Three ordinary varnishes, two mats and a glittery sugar varnish.

I painted them all on the nails and even though I had orange nail polish underneath, only one coat of each shade was required for a comprehensive and beautiful result. I have also painted on plastic nails, but since they are transparent, several layers of them were required.

IMG_7630_111

Stone washed and Rugged wear are without a doubt my favorites! Would like to paint all nails with the two, like every other nail, but the sugar varnish is so hard to remove so will probably not be able to. Stone washed on the other hand, love that color! So light and fresh, I will use it more times :)

Flared felt a little difficult to paint in some way, almost a little mushy, but it turned out to be a great result anyway and besides that I like all varnishes very much!

IMG_7669_111 IMG_7700_111

I have received the nail polish as a press sample and the polish costs SEK 79. If you buy two pieces of lacquer, you also get a bracelet on the purchase, and if you buy three pieces, you get a toiletry bag in denim fabric on the purchase :)

Which of the colors do you like the most? ♥

en_USEnglish