
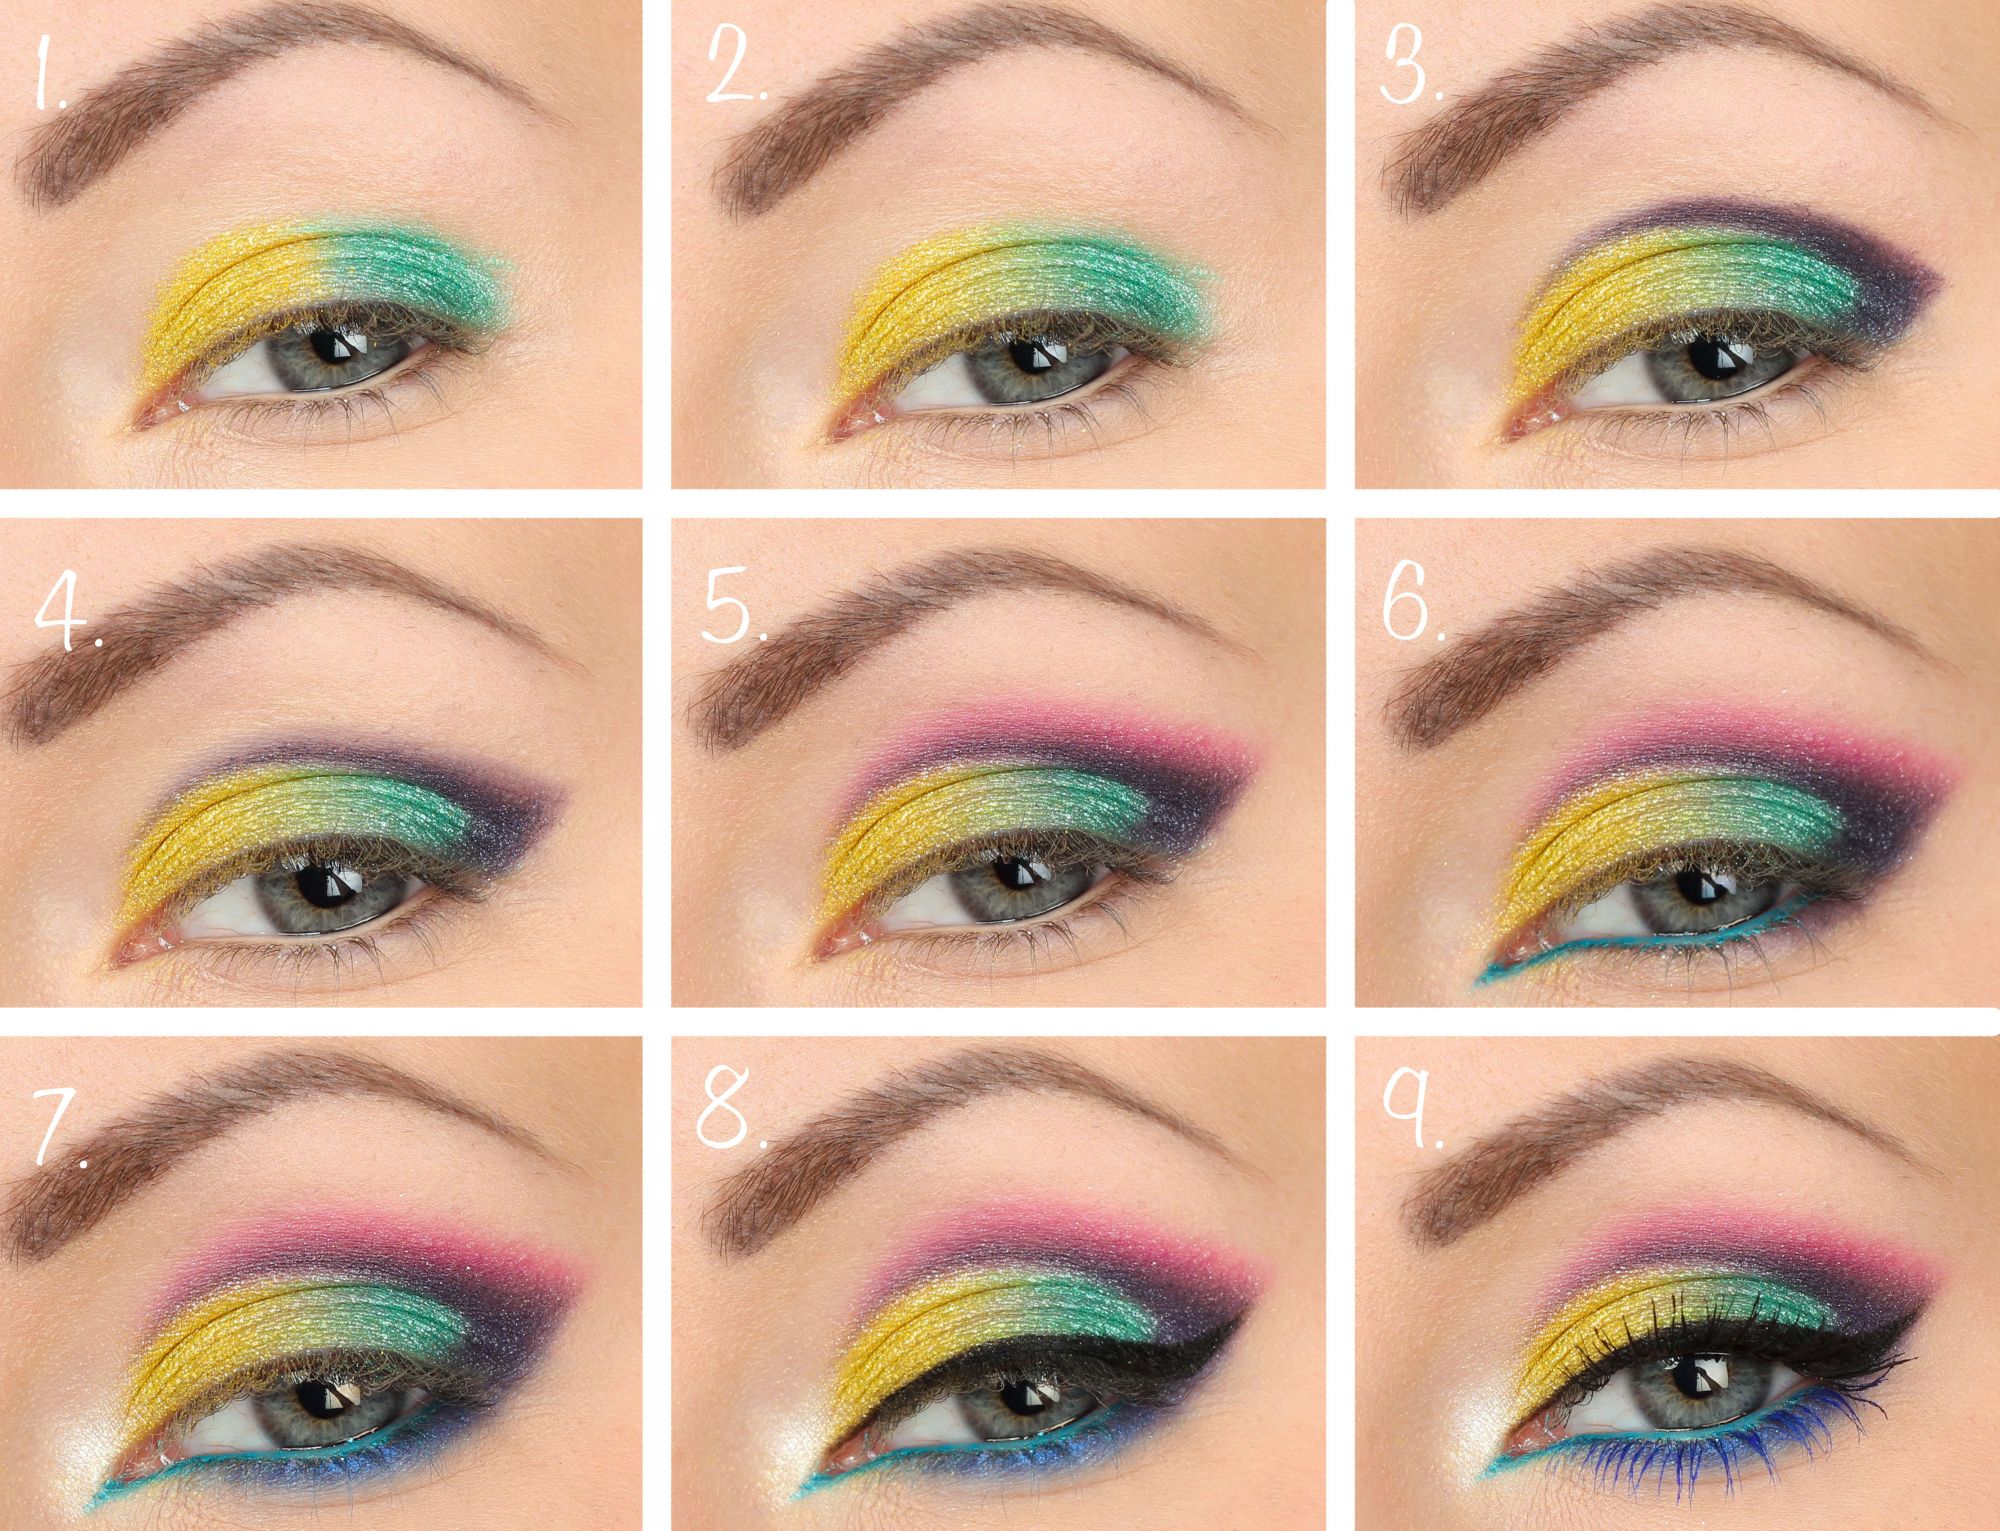
I get thousands of questions about eyeliner, and even when I post about it, new questions come in. Therefore, I have now made a long and detailed blog post that shows both different products, eye shapes, techniques and tips, with both step-by-step pictures and a video at the end that summarizes everything while you see how I do :)

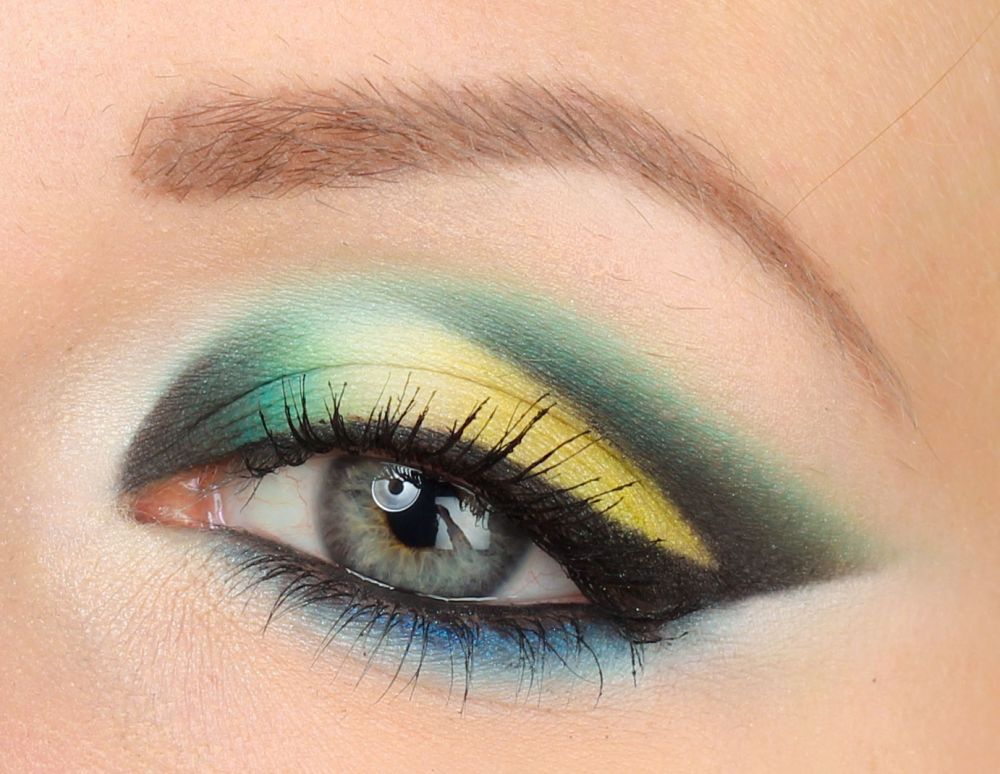
I also want to tell you about this post where I go through all the eyeliners you see in the picture above :)
1. What is Lashliner?
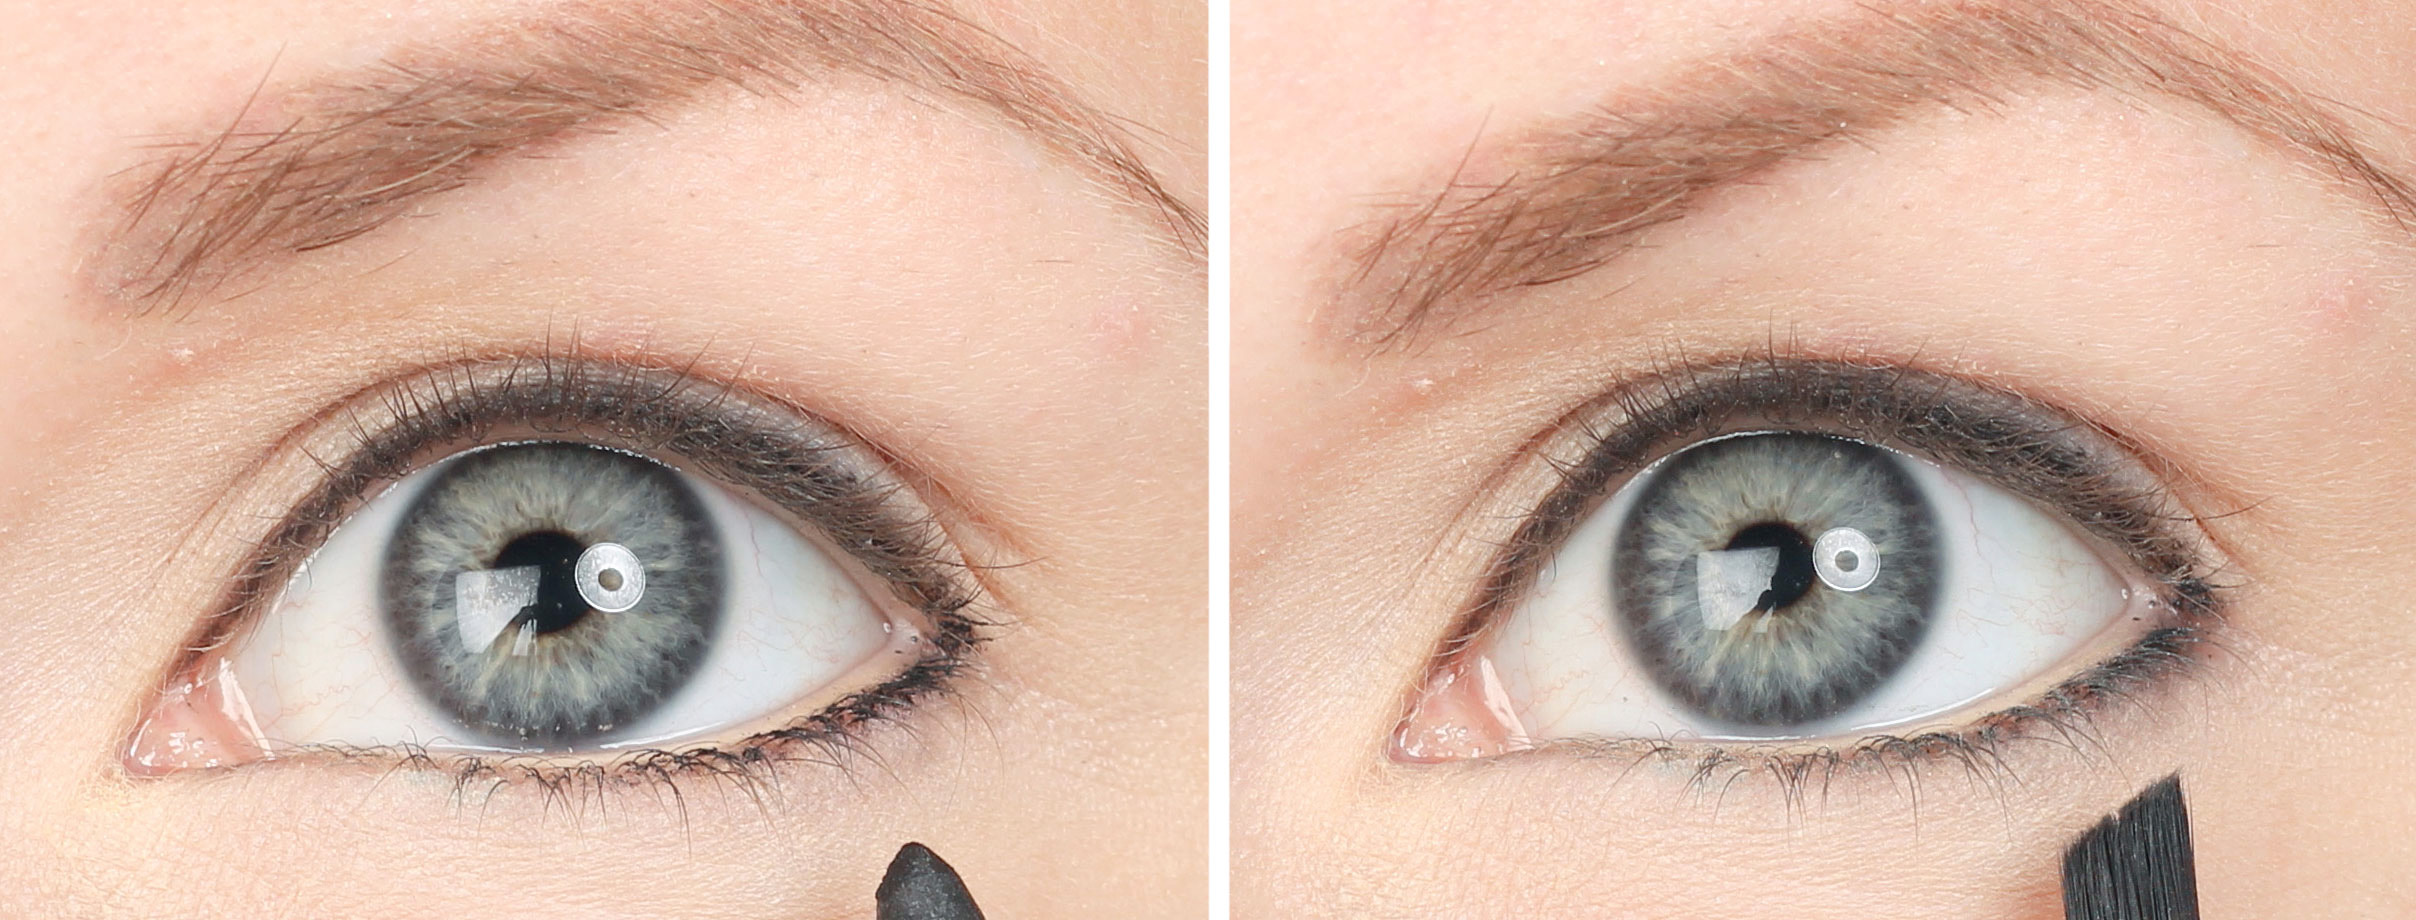
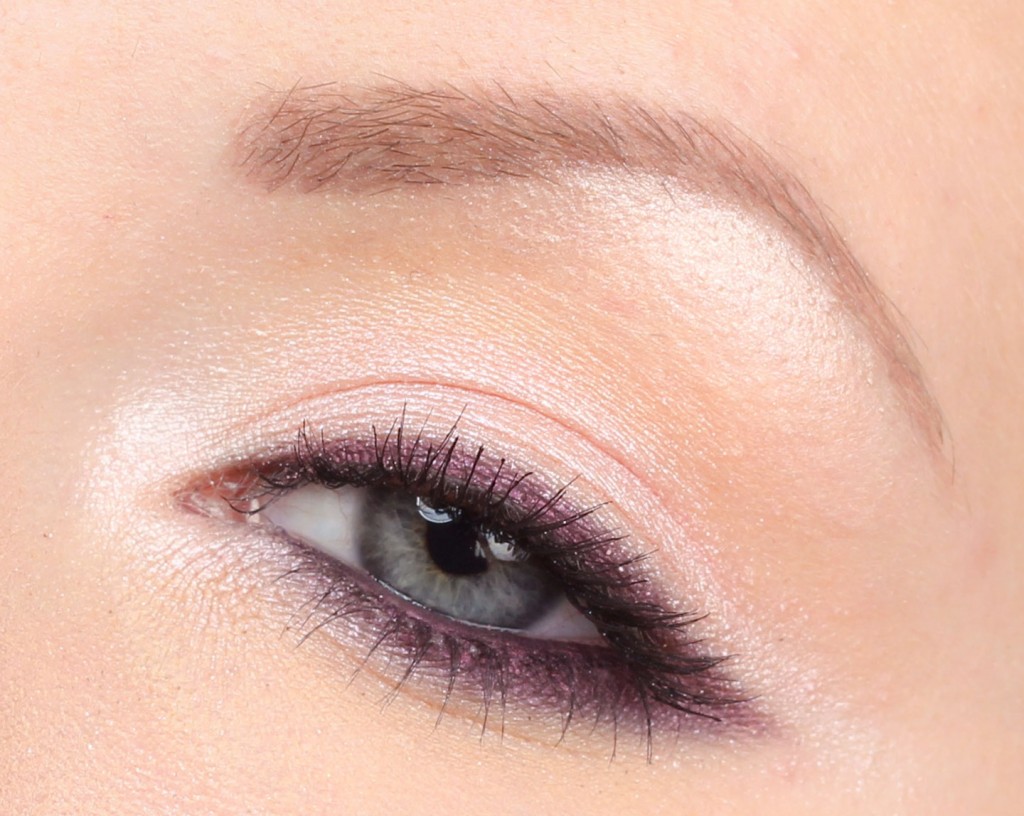
The most important tip is lashliner, which I always do when I paint eyeliner. I've done one detailed post about lashliner earlier if you want to read more about it. If you do not do this, the skin can be seen through between the lashes and the eyeliner when you have painted mascara later, and then it looks a bit sloppy and unfinished. Right now I have this line tattooed so can not show the difference super clear, but I have an old picture that I can show you instead:

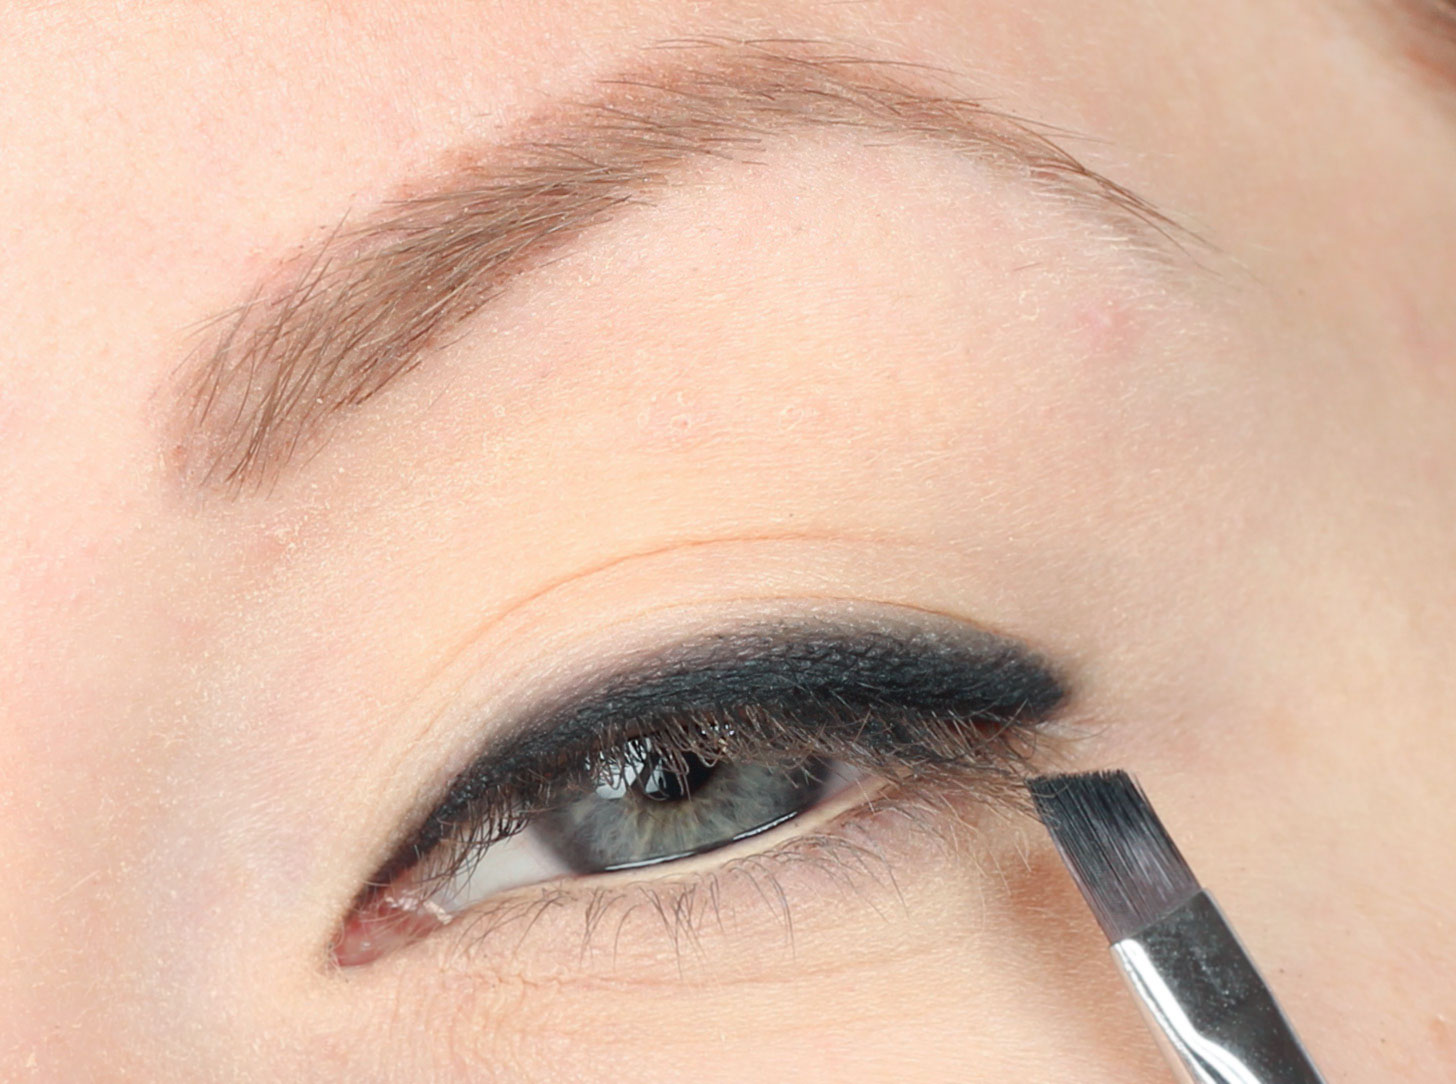
Difference huh? The make-up becomes much more intense with lashliner between the lashes! I make lashliner with a carbon black eyeshadow, but be careful that it only ends up where the lashes are stuck in the skin, if you apply black shadow on the upper waterline, it will smear black all over the eye. You see pictures of this in my post about lashliner that I linked above :)
2. How do I get my eyeliner to hold?
Many people have trouble getting the eyeliner to last, and buy new eyeliners on a conveyor belt and the price level just goes up and up. But one important thing to keep in mind is why the eyeliner smudges? If it smears because you have teary eyes, you should buy a waterproof eyeliner. But if it smears because it rubs against the skin around when you blink, you should invest in one that is completely rub-proof.
And many people do not think about how oily eyelids you actually have, but put a = sign between waterproof and durable and blindly believe that waterproof eyeliner is the solution. However, waterproof makeup is dissolved with oil, so then waterproof eyeliner is not the solution (but not wrong either, if you have teary eyes, for example) but then eye shadow primer is the answer! The primer keeps the eyelid matt all day, so apply eye shadow primer and fix it with transparent powder (if you do not want eye shadow, otherwise you fix it with eye shadow) and then can paint the eyeliner. It will last much longer!
I use Pixi Eye Bright Primer, it's awesome!
3. Products for painting eyeliner
What to use for products when making eyeliners is mostly a matter of taste. But the three most common products are:
Felt pen - Type of felt-tip pen
Dipliner - An eyeliner bottle with a brush in the lid that you dip in the eyeliner.
Gel eyeliner - A creamy eyeliner in a jar
Cake eyeliner - Works as a watercolor
Kajalpenna
Eye shadow

Links to some great products - Paese Penliner, Pixi Endless Silky Eye Pen, Paese Liquid eyeliner, Kryolan Gel Eyeliner, Kryolan Cake Eyeliner & Paese Kashmir Eyeshadow (602)
And either you use the product as it is, e.g. paint with the pen directly on the skin, or you use a product that requires a makeup brush (cake eyeliner, gel eyeliner and eye shadow) and then it is either a narrow eyeliner brush that is used, or a flat oblique brush.

Which of these you should choose depends mostly on what you like to work with.
Sharp result:
All of the above eyeliners except shadow can give a sharp result.
Felt pen - One of the easiest ways, painted as a felt-tip pen.
Dipliner - One of the most difficult ways as there is a lot of color immediately but the end result will be very sharp, intense and nice if you get it. Many of these have a hard tip, which is super difficult to paint with, so choose a diploma with a soft tip.
Gel eyeliner - One of the easiest ways so you can "build up" your eyeliner and work it out in an easier way, because the product is not so wet.
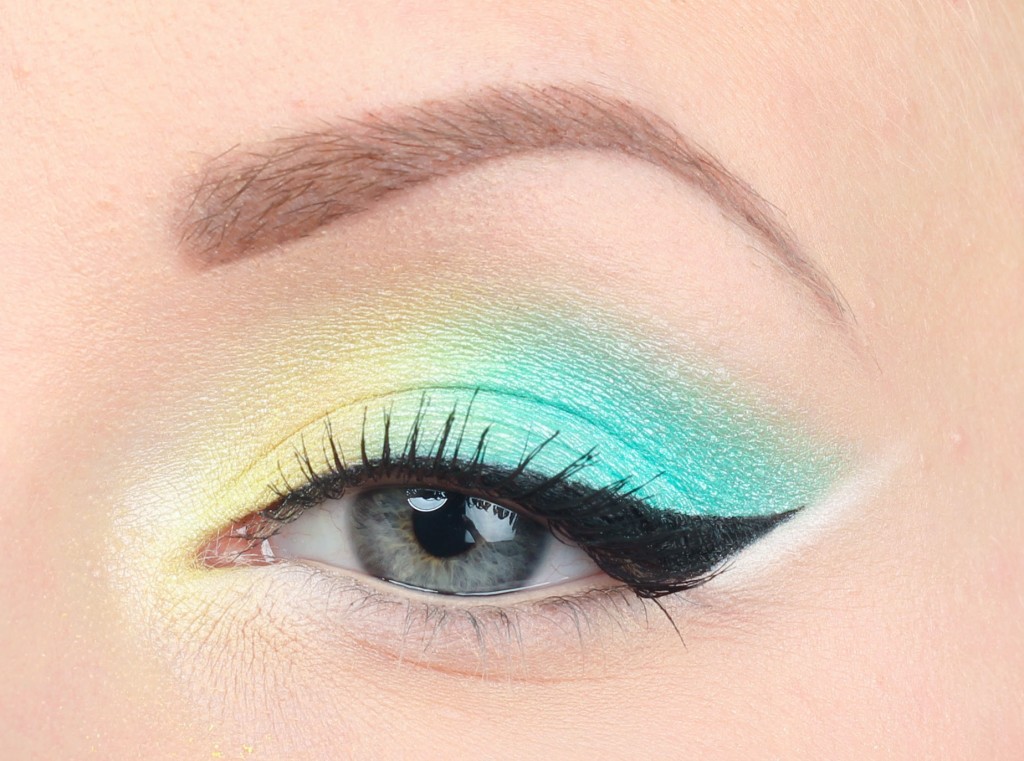
Here is a sharp eyeliner with wing made with gel eyeliner:

Cake eyeliner - Gives the same result as a felt-tip pen, but you can choose which brush you want and it also lasts a very long time.
Kajalpenna - Dry eyeliner pens do not get as sharp, but a well-sharpened eyeliner pencil is a bit creamy in texture and glides easily on the eyelid, then you can get a nice sharp line as well.
Here is a sharp eyeliner made with eyeliner:

Sooty result:
A faded sooty result is very nice too, and much easier if you think that eyeliner is difficult. Then it is not visible if it happens to be a little uneven. You can do this with gel eyeliner, eyeliner or eye shadow.
Gel eyeliner – Paint as usual but fade the edges before it has time to dry.
Kajalpenna - Paint and fade the edges.
I tone out the edges with an oblique make-up brush as you saw in the picture above.
Here is a sooty eyeliner made with eyeliner:
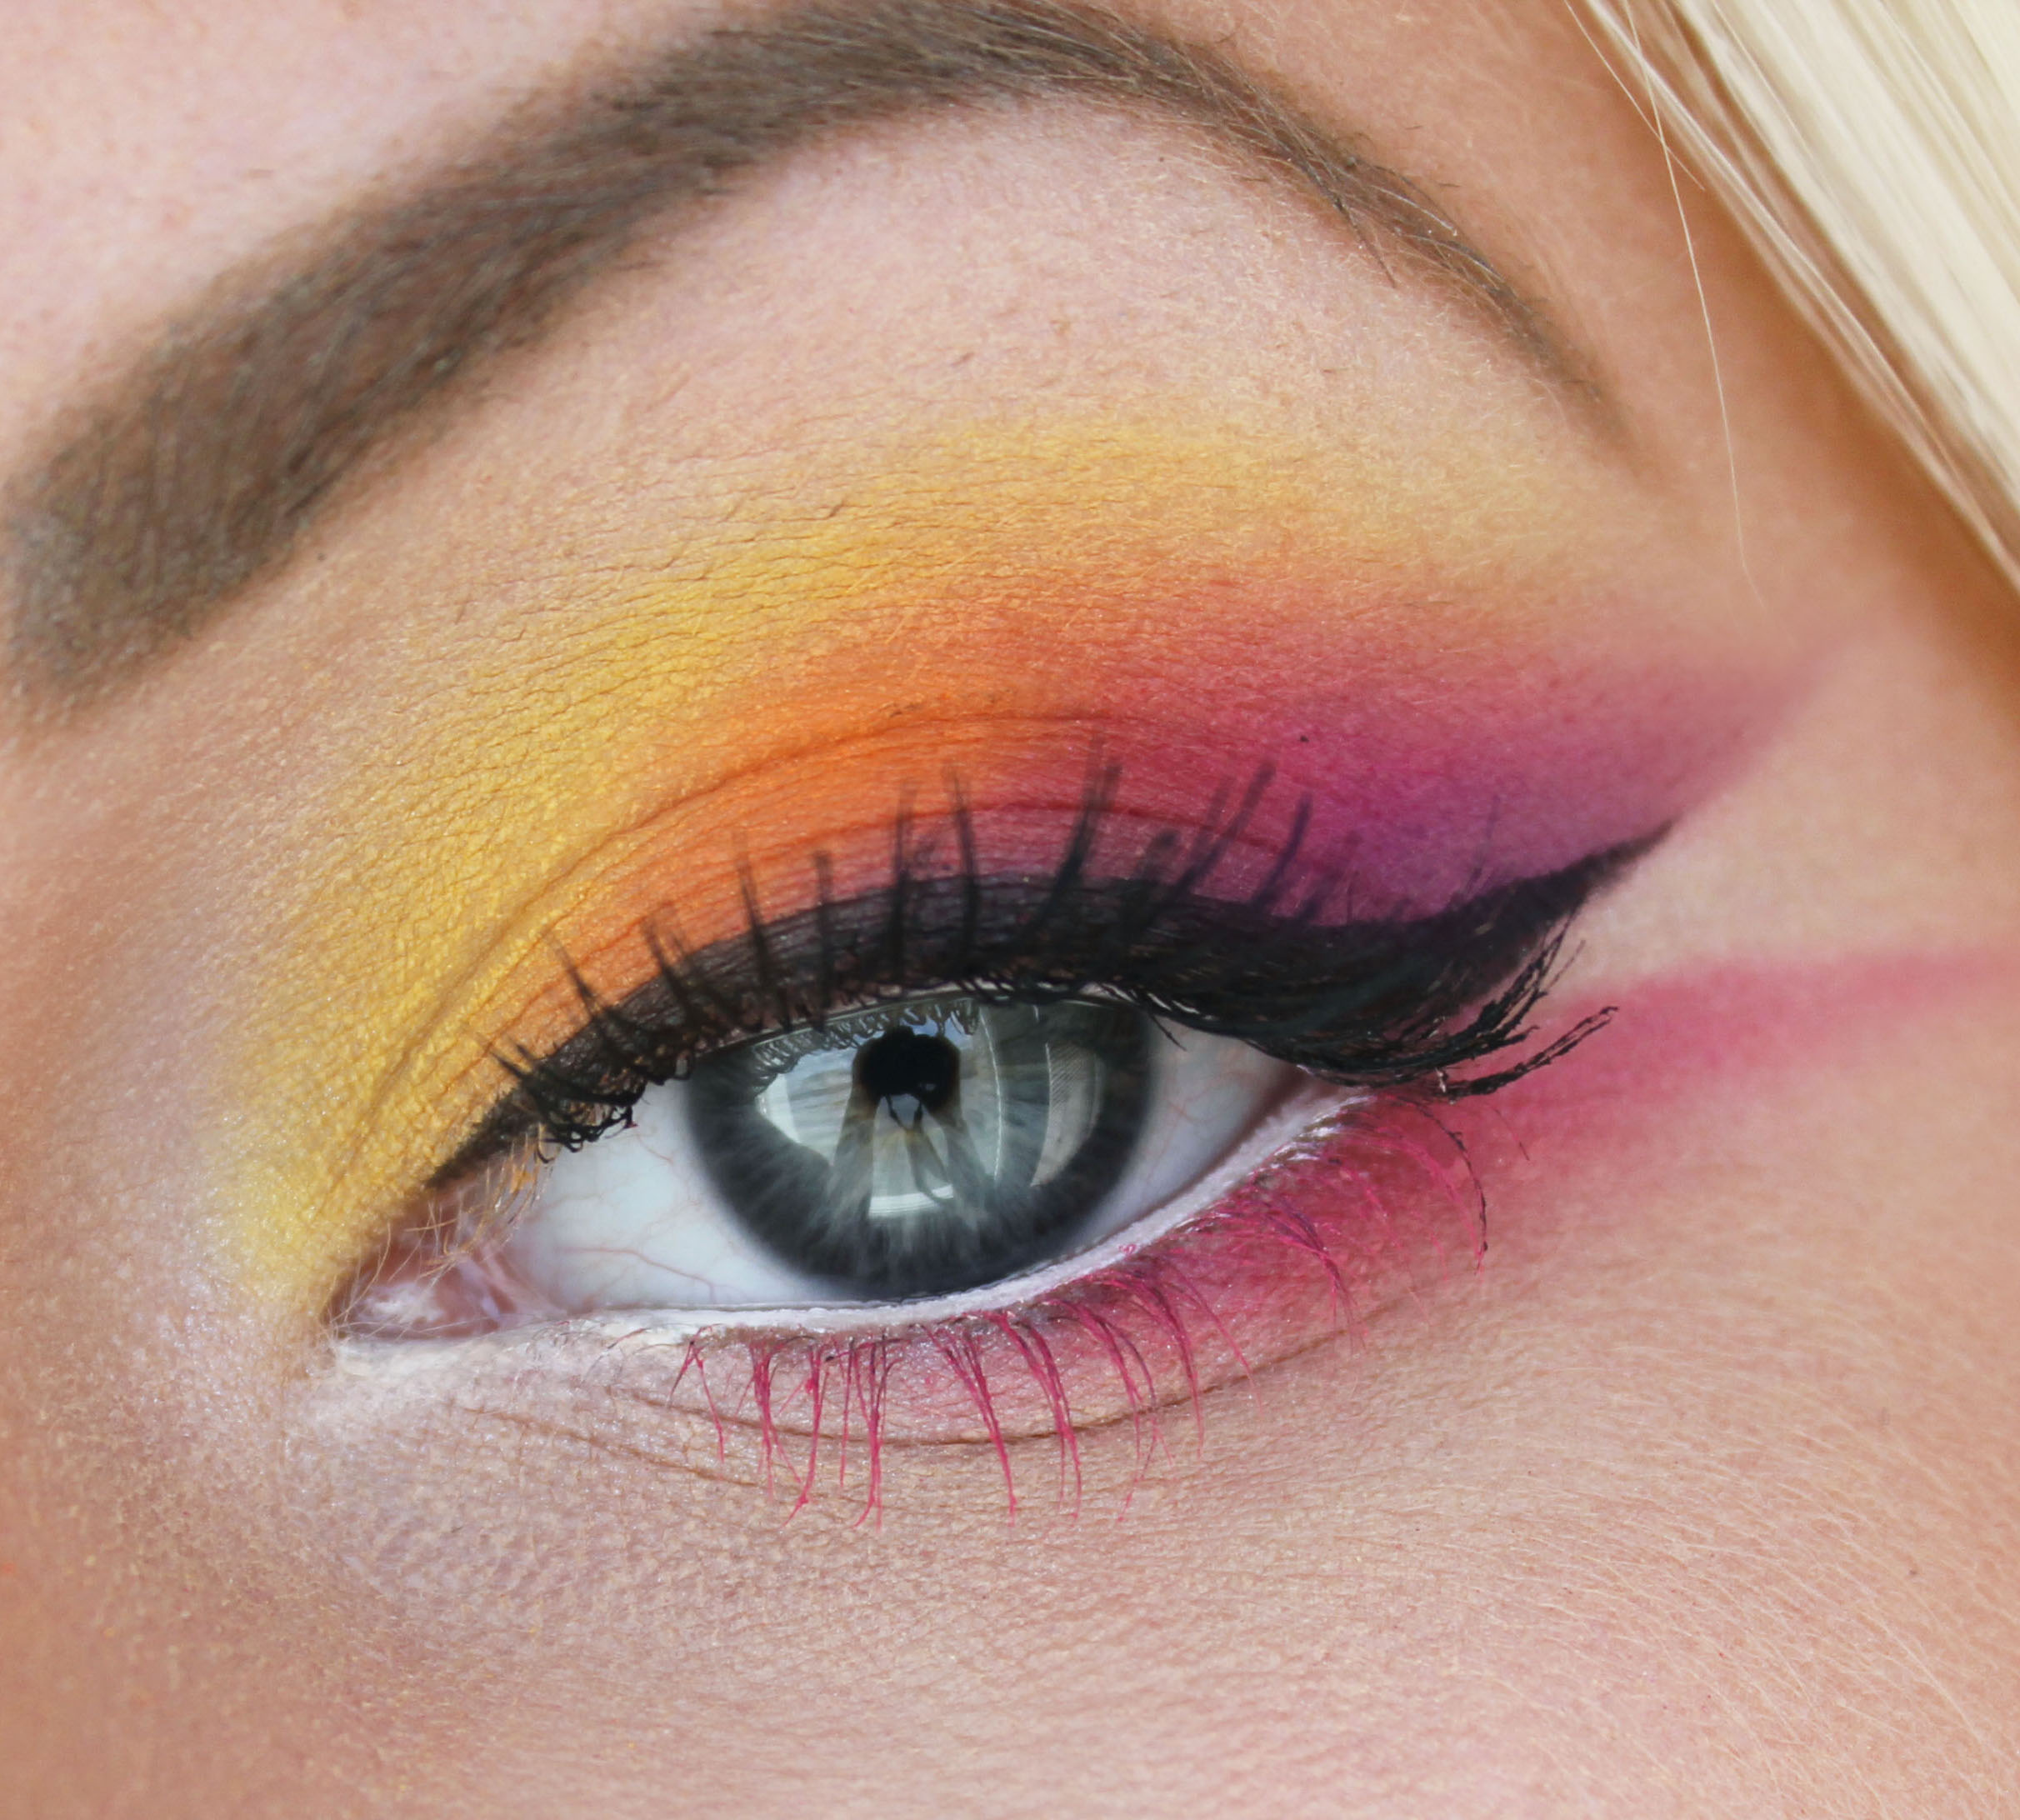
Shadow - A good alternative for you who want a natural result that can be done quickly, I usually use this when I do an eye shadow make-up and still do eye shadows. Gives a nice sooty marking along the lash line.
Here is an eyeliner made with shadow:

4. Eye shapes
There is not a right answer to what you fit in for eyeliner depending on what eye shape you have, but it also depends on what you are looking for for results. There are two things to keep in mind:
1. Adapt to my own eye shape
- there are e.g. a guideline for the eyeliner wing that you can follow to always get a wing adapted to your own eye shape.
2. What effect do I want to achieve?
- Do you have e.g. round eyes, you may either want to emphasize that shape, or make them look more almond-shaped. So there is no right answer to what round eyes should have for eyeliner, but it depends on what the person wants for effect.
Think like this - Where the eyeliner is widest, the eye lifts more. If you want your eyes to look more round, then you paint wider eyeliner in the middle of the eye. But if you want your eyes to look more almond-shaped and elongated, then you paint wider at the outer edge.

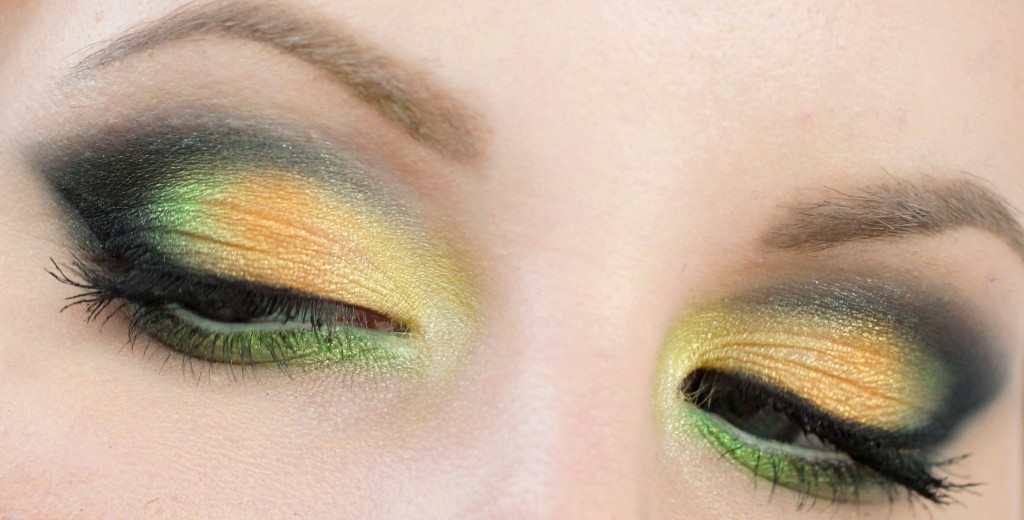
The left one is wider at the outer edge and gives a more almond-shaped eye.
The right one is wider in the middle and gives a more round eye shape.
But at the same time you have to adapt to the shape of the eyes, and the easiest thing is to look straight ahead in the mirror and think "how much of the skin on the eyelid is visible now?". Because if you, like me, do not have huge eyelids, a wide eyeliner can take over too much, and only looks black instead of giving effect. I can instead play more with eyeliner wing and elongated shapes, because there on the sides much of my skin can be seen. And people with large eyelids have more leeway, so they can paint very wide eyeliners and get an effective result for that reason.

In the picture on the right, you see an eyeliner that is adapted to my eye, thin in the inner edge and the middle, and instead an eyeliner wing on the side. In the picture to the left you see an eyeliner that is very nice on people with large eyelids, it has a straighter shape that takes up a lot of space of the eye, without the eyeliner wing being longer than the one that fits my eye shape.

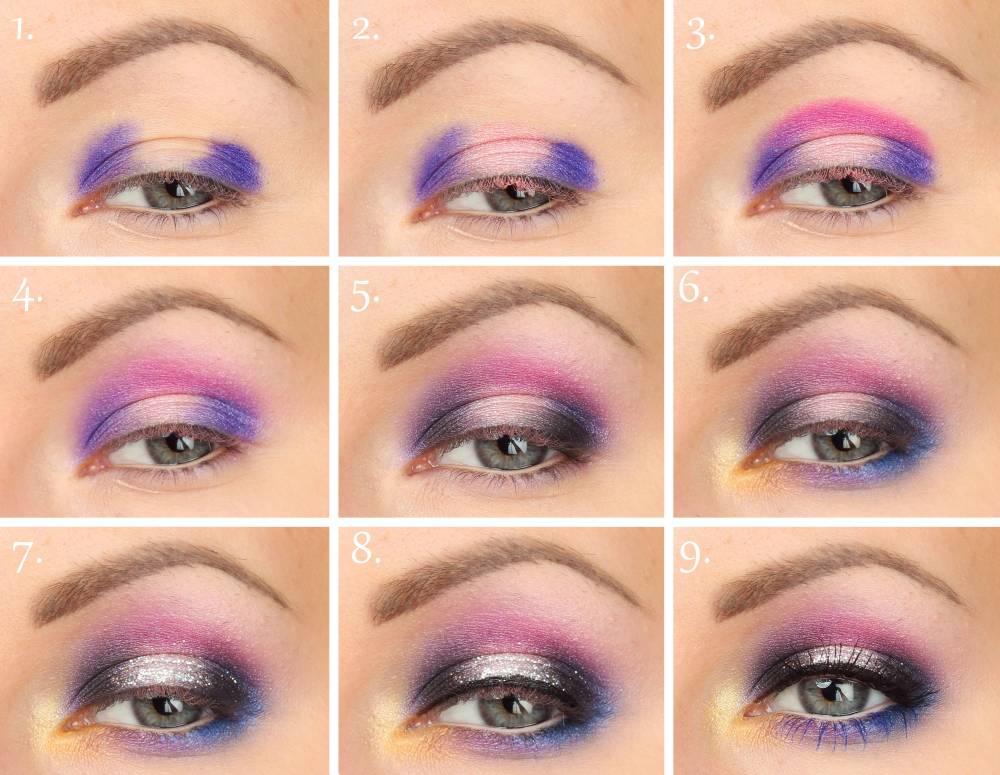
1. In this picture you see the guideline I talked about. Imagine a parallel line with the lower lash line that continues at the same angle outwards - where you can paint your eyeliner wing.
2. The wing should lift the eye naturally, so it does not become a fine eyeliner and then oh now something is sticking out here! Do not paint it too far out, so that it first goes down, then up. But let the wing begin before eyelashes stop, and finish where the eyelashes end.
3. If the wing just looks like a strange thing sticking out, try painting a softer line from the tip of the wing to the beginning of the wing (before the eyelashes end).
5. Eyeliner for hooded eyes

I have angled the eye so that it becomes a little more the same principle as hooded eyes - that is, that the skin above the eyelid covers the eyelid almost completely when you look straight ahead.
1. Thin eyeliner - A too wide eyeliner will have no effect, but then it will only look black. Make a proper and intense lash marking and then paint a thin eyeliner.
2. If you also want a wing, an ordinary eyeliner wing can look kinky, if you e.g. paint it when you have the eye almost closed and then you look straight ahead, then the wing becomes a little crooked. Here are two ways to do it instead:

What you can do then is to paint the eyeliner further out, so that you get away from the skin folds in the corner of the eye. But then you should also paint eyeliner on the lower lash line and tie the eyeliner together in the outer corner of the eye, otherwise the eyeliner wing will look like it is sitting next to the eye as a separate thing, and not give a natural lift.

Here is another variation! Both images are the same eyeliner but different angles on the eye.
There I simply looked straight ahead and painted the eyeliner wing as I want it, to the eye, and then painted eyeliner at the end of the eyelid so that the wing is tied together with the rest of the eyeliner on the upper lash line. It will be a lot of eyeliner if you close your eyes, but still nice :)
6. Aids for beginners
This is not easy with eyeliner, and when you are still in the practice phase, it can be good with a little ingenious tricks. I have three tips for you that I think are great!
Tip 1 - Table mirror with magnification
Place a table mirror on the table, one with a round mirror that can be turned around, preferably with magnification as well. Angle the mirror slightly upwards so that you have to look down, then you see the lash line much more clearly without your lashes or the eyeliner you are painting with being in the way. In addition, you can have your elbow on the table, which makes you incredibly steady on your hand compared to if you stand straight up and down in front of a mirror on the wall.

Tip 2 - Save a failed eyeliner
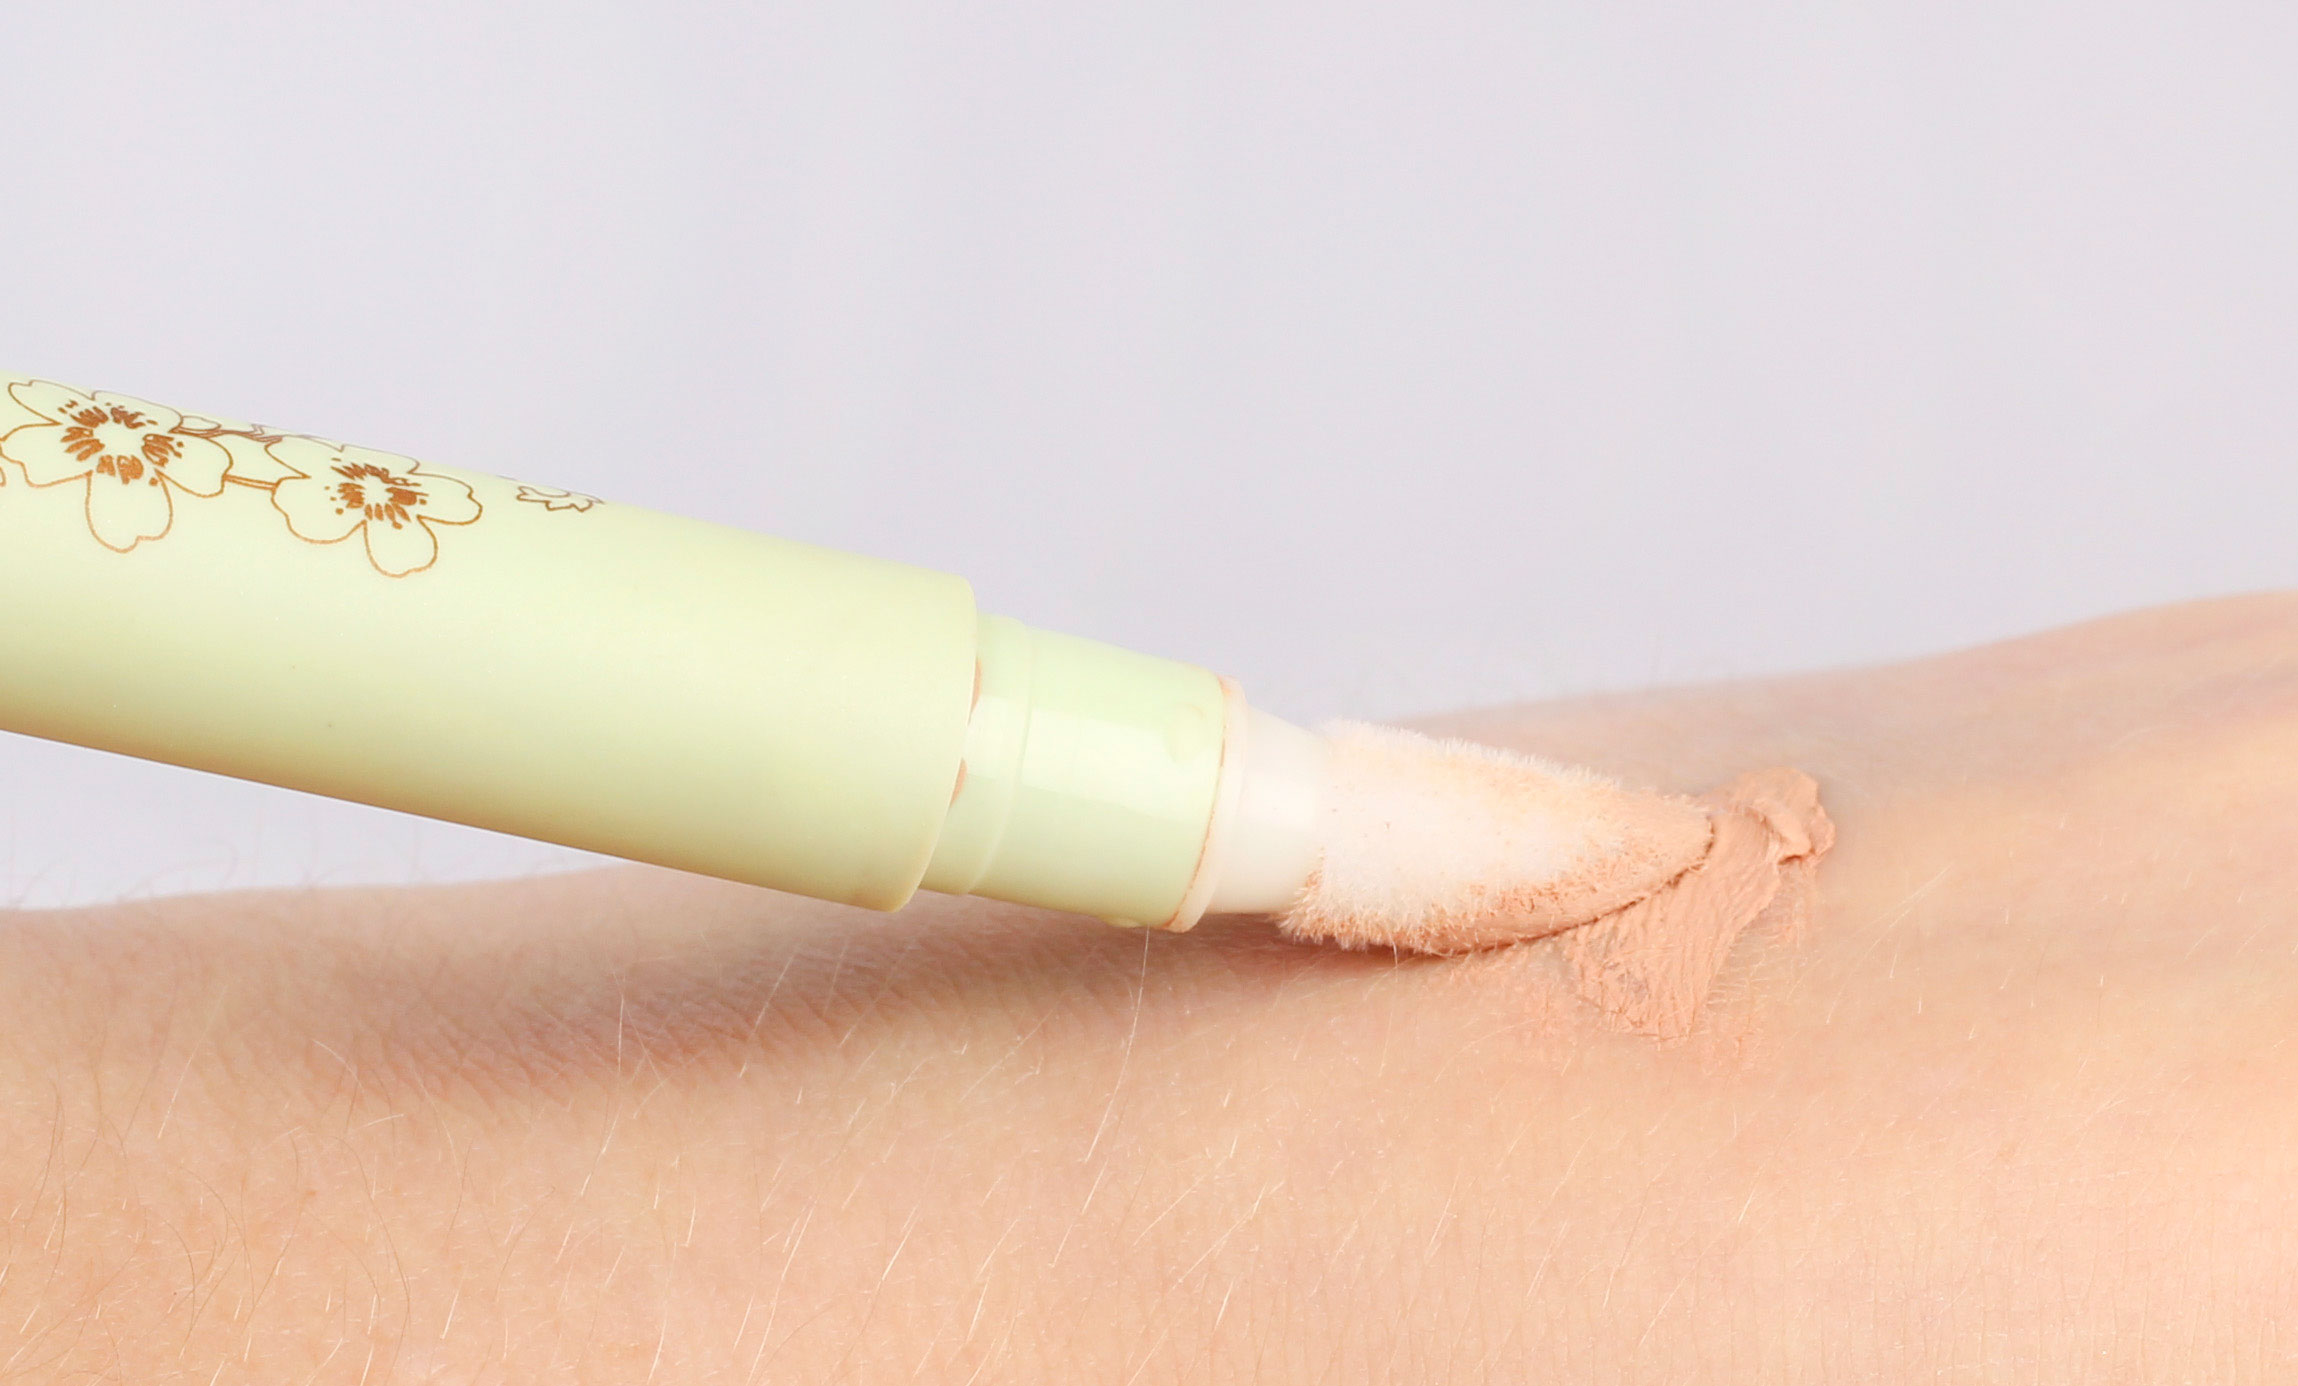
If you find the shape difficult and wish you had a remorse button when painting eyeliner with a wing, then it is a smart idea not to finish the basic make-up and not apply eye shadow until you are happy with your eyeliner. Then you can save the situation with a narrow, flat makeup brush and a creamy concealer! Apply concealer on the brush and smooth to the edges of your eyeliner. Do not forget to fix with transparent powder quickly, so that the concealer does not make your eyeliner smudge.

There are lots of eyeliner tips where you use different things to get an eyeliner wing, e.g. a credit card or a spoon. I personally do not like these tips, because you do not have super big control, suddenly you happen to move the credit card and then both eyes often become different. What I recommend instead is tape!

7. Paint eyeliner on the lower lash line
An eyeliner on the lower lash line usually looks best if it is not a little sharp like the eyeliner on the top. Then I think the eyeliner will look best, dab on the eyeliner instead of drawing a sharp line, and possibly fade out with a slanted brush if necessary.
8. Video tutorial
I thought of making a video where you can hear and see everything that is in the post as well, because I know that many have a hard time when there is a lot of text. But whoever manages to see the whole thing gets a compliment haha. Gosh what a nerd you are… I sit and talk constantly, completely alone, for a whole hour, about only eyeliner!
And is pretty tough and chatty too, so I'm not that fun to listen to either haha.
But pull forward to 29 minutes if you want to see how I paint my eyeliner with a wing with a felt pencil, and then when I have finished it you can see how I paint with a eyeliner pencil on the other eye if you jump to 44.05 :)
I hope everything is clear after this post, and that you have no questions. But if you have it, you know that it's just to comment ♥
Hope the post has been helpful!
")


