First of all, I want to say thank you to all of you who are in my competition that I published yesterday, you write such nice things, wow! I started the day with a cup of coffee and over 200 compliments, can you feel better? :) You are wonderful!
Anyway, I thought I would make a post about eyeshadow brushes, because I have received a lot of questions about it lately. And I thought for the sake of simplicity to start with the brushes from one of the brush sets that I sell in the webshop, because they are really, really good and it is a complete set with all the brushes you need.
The set I'm talking about is bh cosmetics eco frendly brush set which costs SEK 299 at creativemakeup.se :)
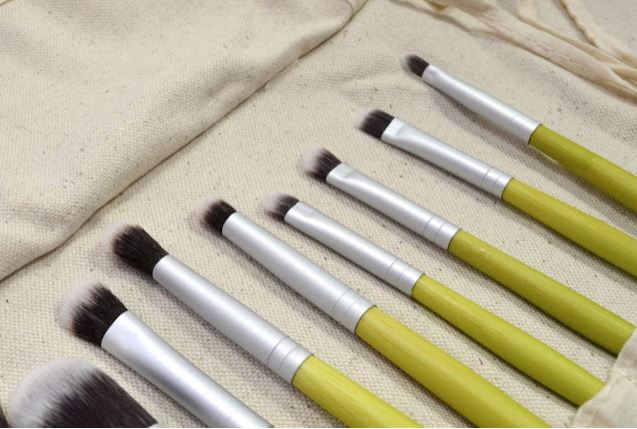
I did not take this picture, but found it on the make - up blog makingupthemw.com who has written a great review on the brushes, and writes exactly what I mentioned earlier in the post - this is a complete set with all the brushes you need!
The bristles on the brushes are synthetic, so no animals have been harmed.
The shafts are made of bamboo, which are naturally colored.
The metal between the shaft and the straws is recycled aluminum.
The case in which the brushes are made is made of linen fabric.

Fade out eye shadows
Here are the three largest eyeshadow brushes in the set. The two on the left are rounded and the one on the right is flatter but still very fluffy and soft. All these three brushes are super good when you want to fade out eye shadows!
The brush in the middle I use immediately after I have applied the eyeshadows, it makes all sharp edges soft and fine. It is especially good in the globe line thanks to it being so rounded.
The brush on the left is also rounded and great for the globe line, it is bigger and softer and makes an already faded eye shadow become topnotch!
The brush on the right I use in the same way as the one on the left, ie to get an already faded eye shadow to be perfectly soft and nice. But I use this more on the sides of the eye, e.g. is it great when I make up a protruding cat eye-fom.

Apply eye shadows + fade them into each other
I use these two the most! They are flat and compact enough to pick up properly with eyeshadow and press it onto the eyelid, but they are at the same time soft and fluffy enough to be able to tone the eyeshadows in each other and get nice transitions between the colors.
The brush on the left I use it the most, both to apply the eyeshadow (which I do by dabbing it on the eyelid) and then when the shadow is firm I tint it in any other colors next to it and sometimes I even use it as a fading brush in the globe line (where I actually recommend the brush in the middle of the previous picture). So this one is great in many ways!
The brush on the right is a bit skewed, which is especially good when you want to fade out the eye shadows on the lower lash line! Then this brush comes on properly and it is easy to control how smoky the eye shadow becomes.
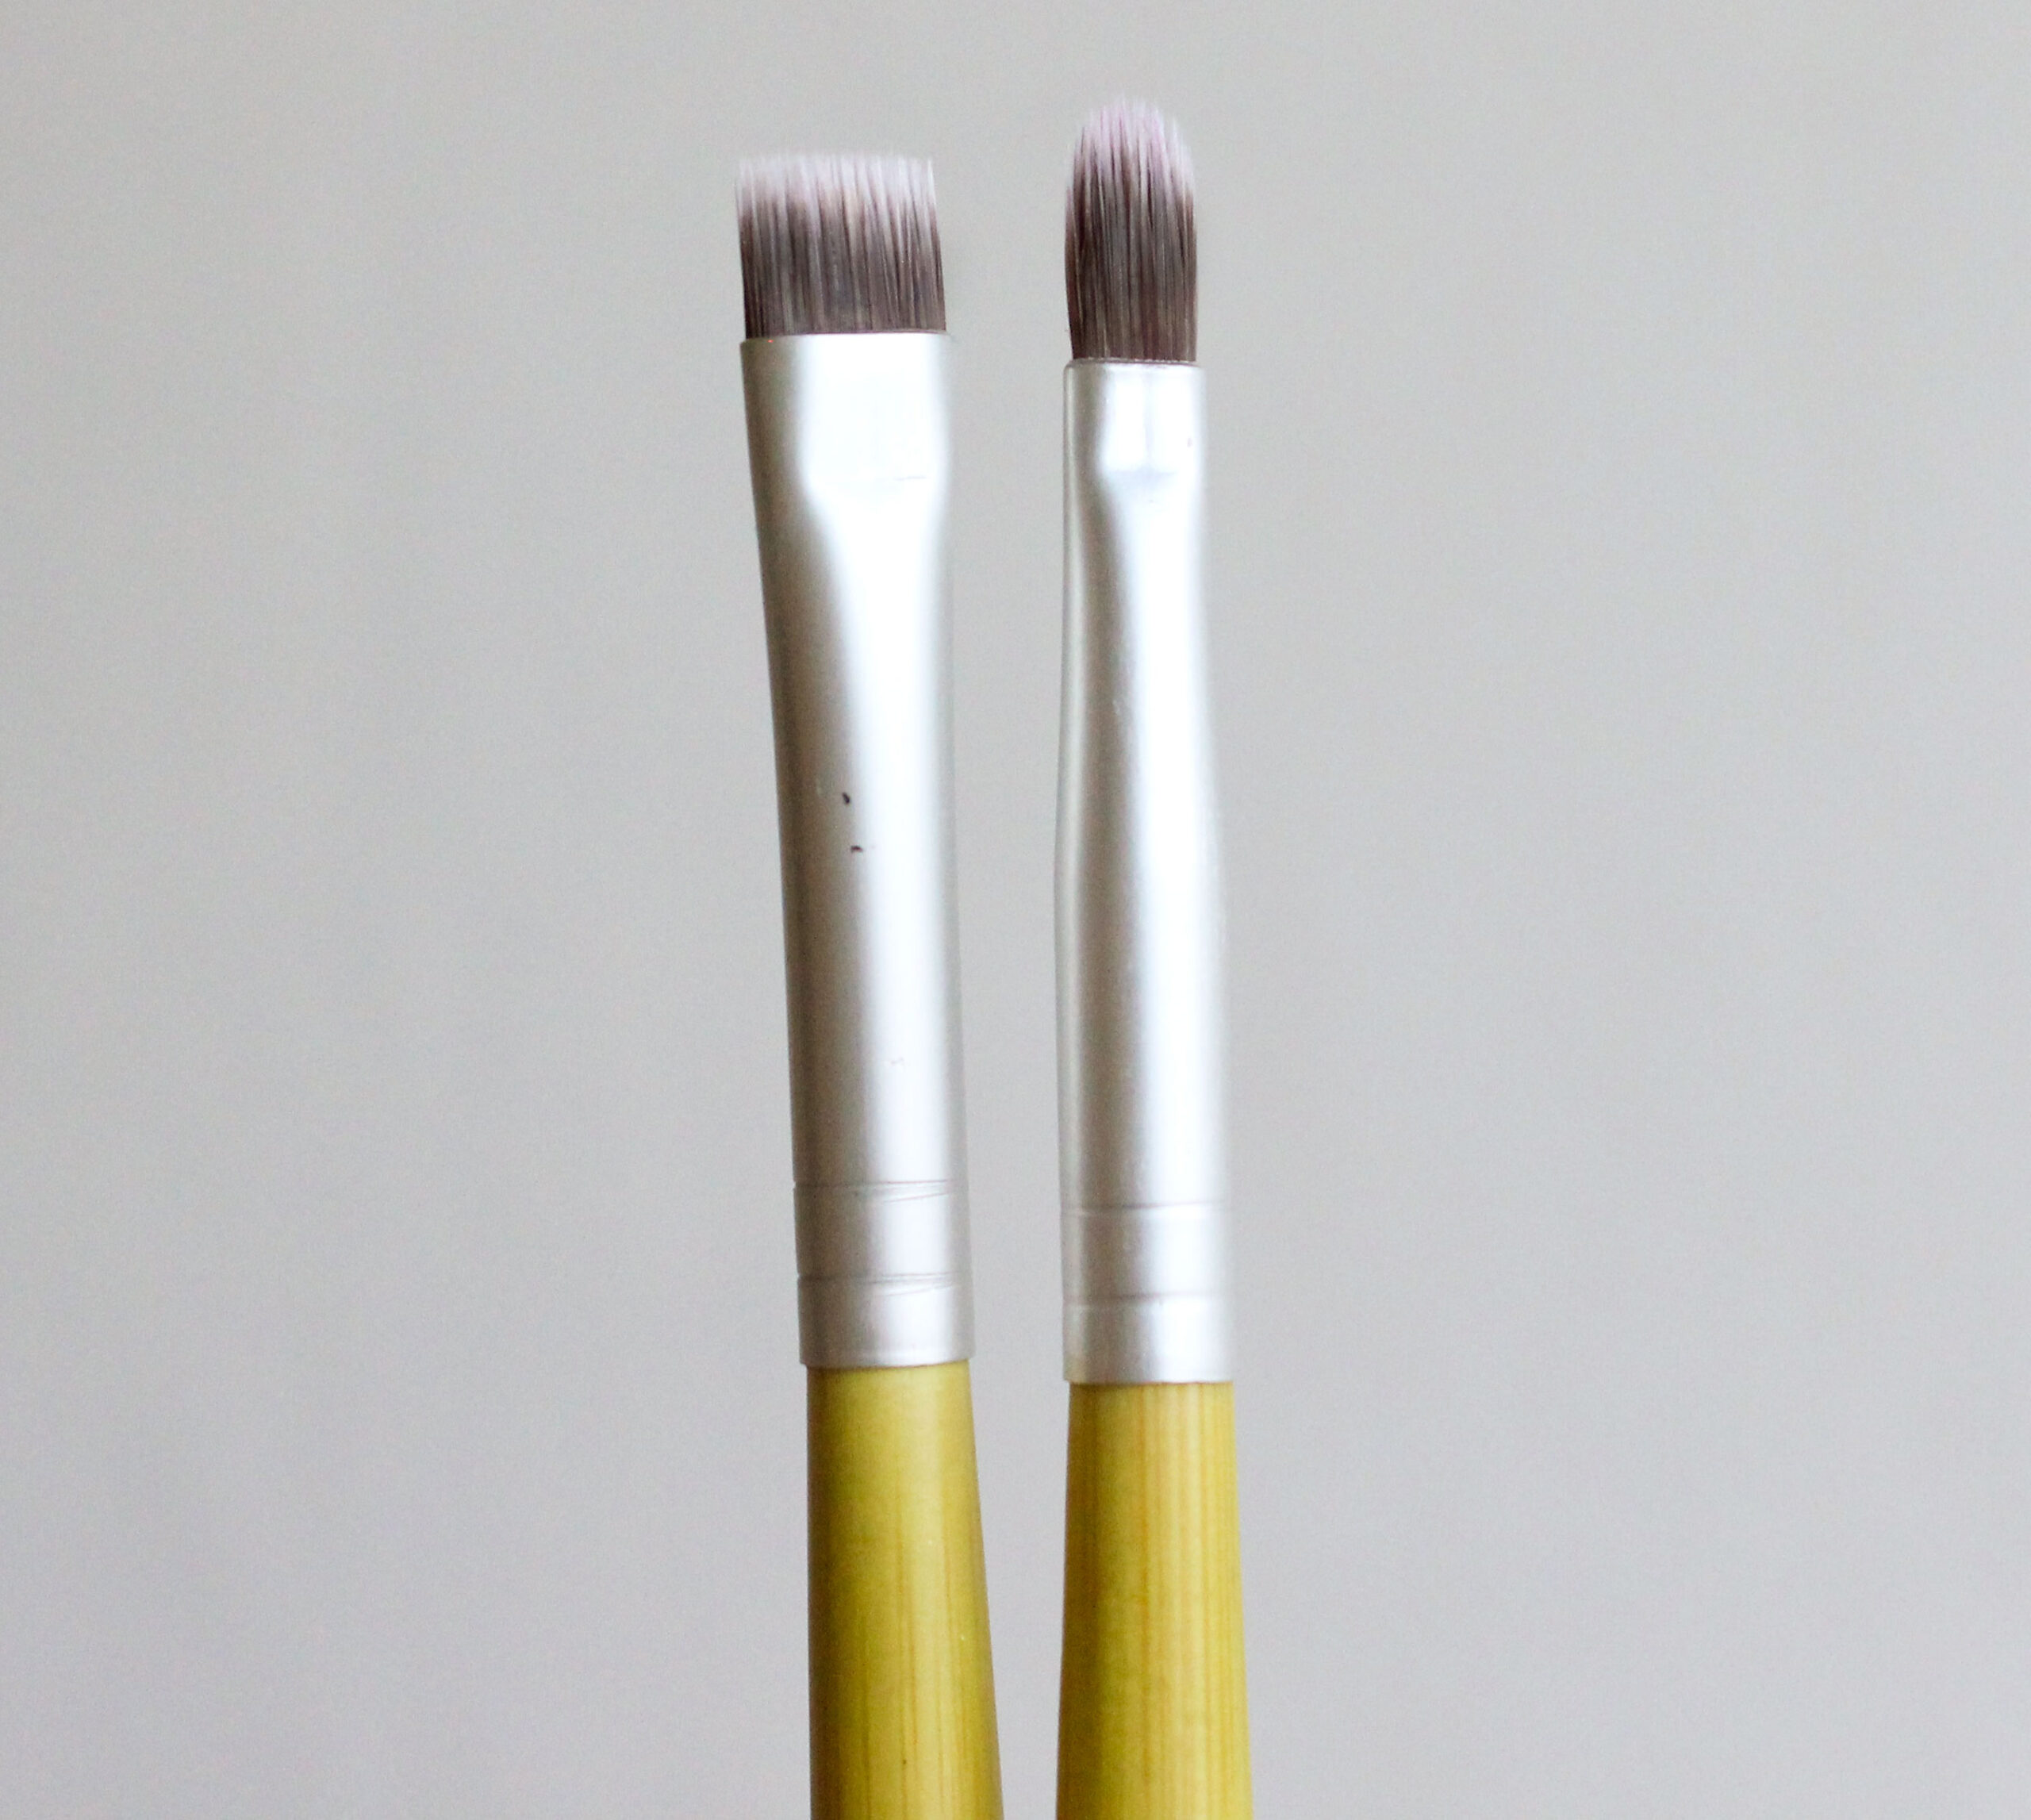
Small areas
These brushes are not fluffy but flat, compact, and quite small. They are perfect for small details where you need good precision e.g. in the corner of the eye, the lower lash line, the eyebrows, the lips, etc.
The brush on the left is completely straight and flat, it is mainly good for eyebrows and if you want to apply the eye shadow sharply e.g. on the lower lash line or a sharp cat eye shape.
The brush on the right is small and narrow and is great when you want to apply a little eye shadow e.g. in the corner of the eye or along the rows of lashes.
Hope this post was helpful! Remember that which brushes you like are a matter of taste and also depends on how big / small eyes you have. In addition, there are no rules on which to use where but test yourself! I have e.g. realized that the large fading brush in the first picture is also perfect for putting mineral concealer under the eyes :)
Do you want me to make a similar post with the brushes from the other set I also sell (?) So shout out and I will arrange it!
Have a nice day :)
Hug hug!