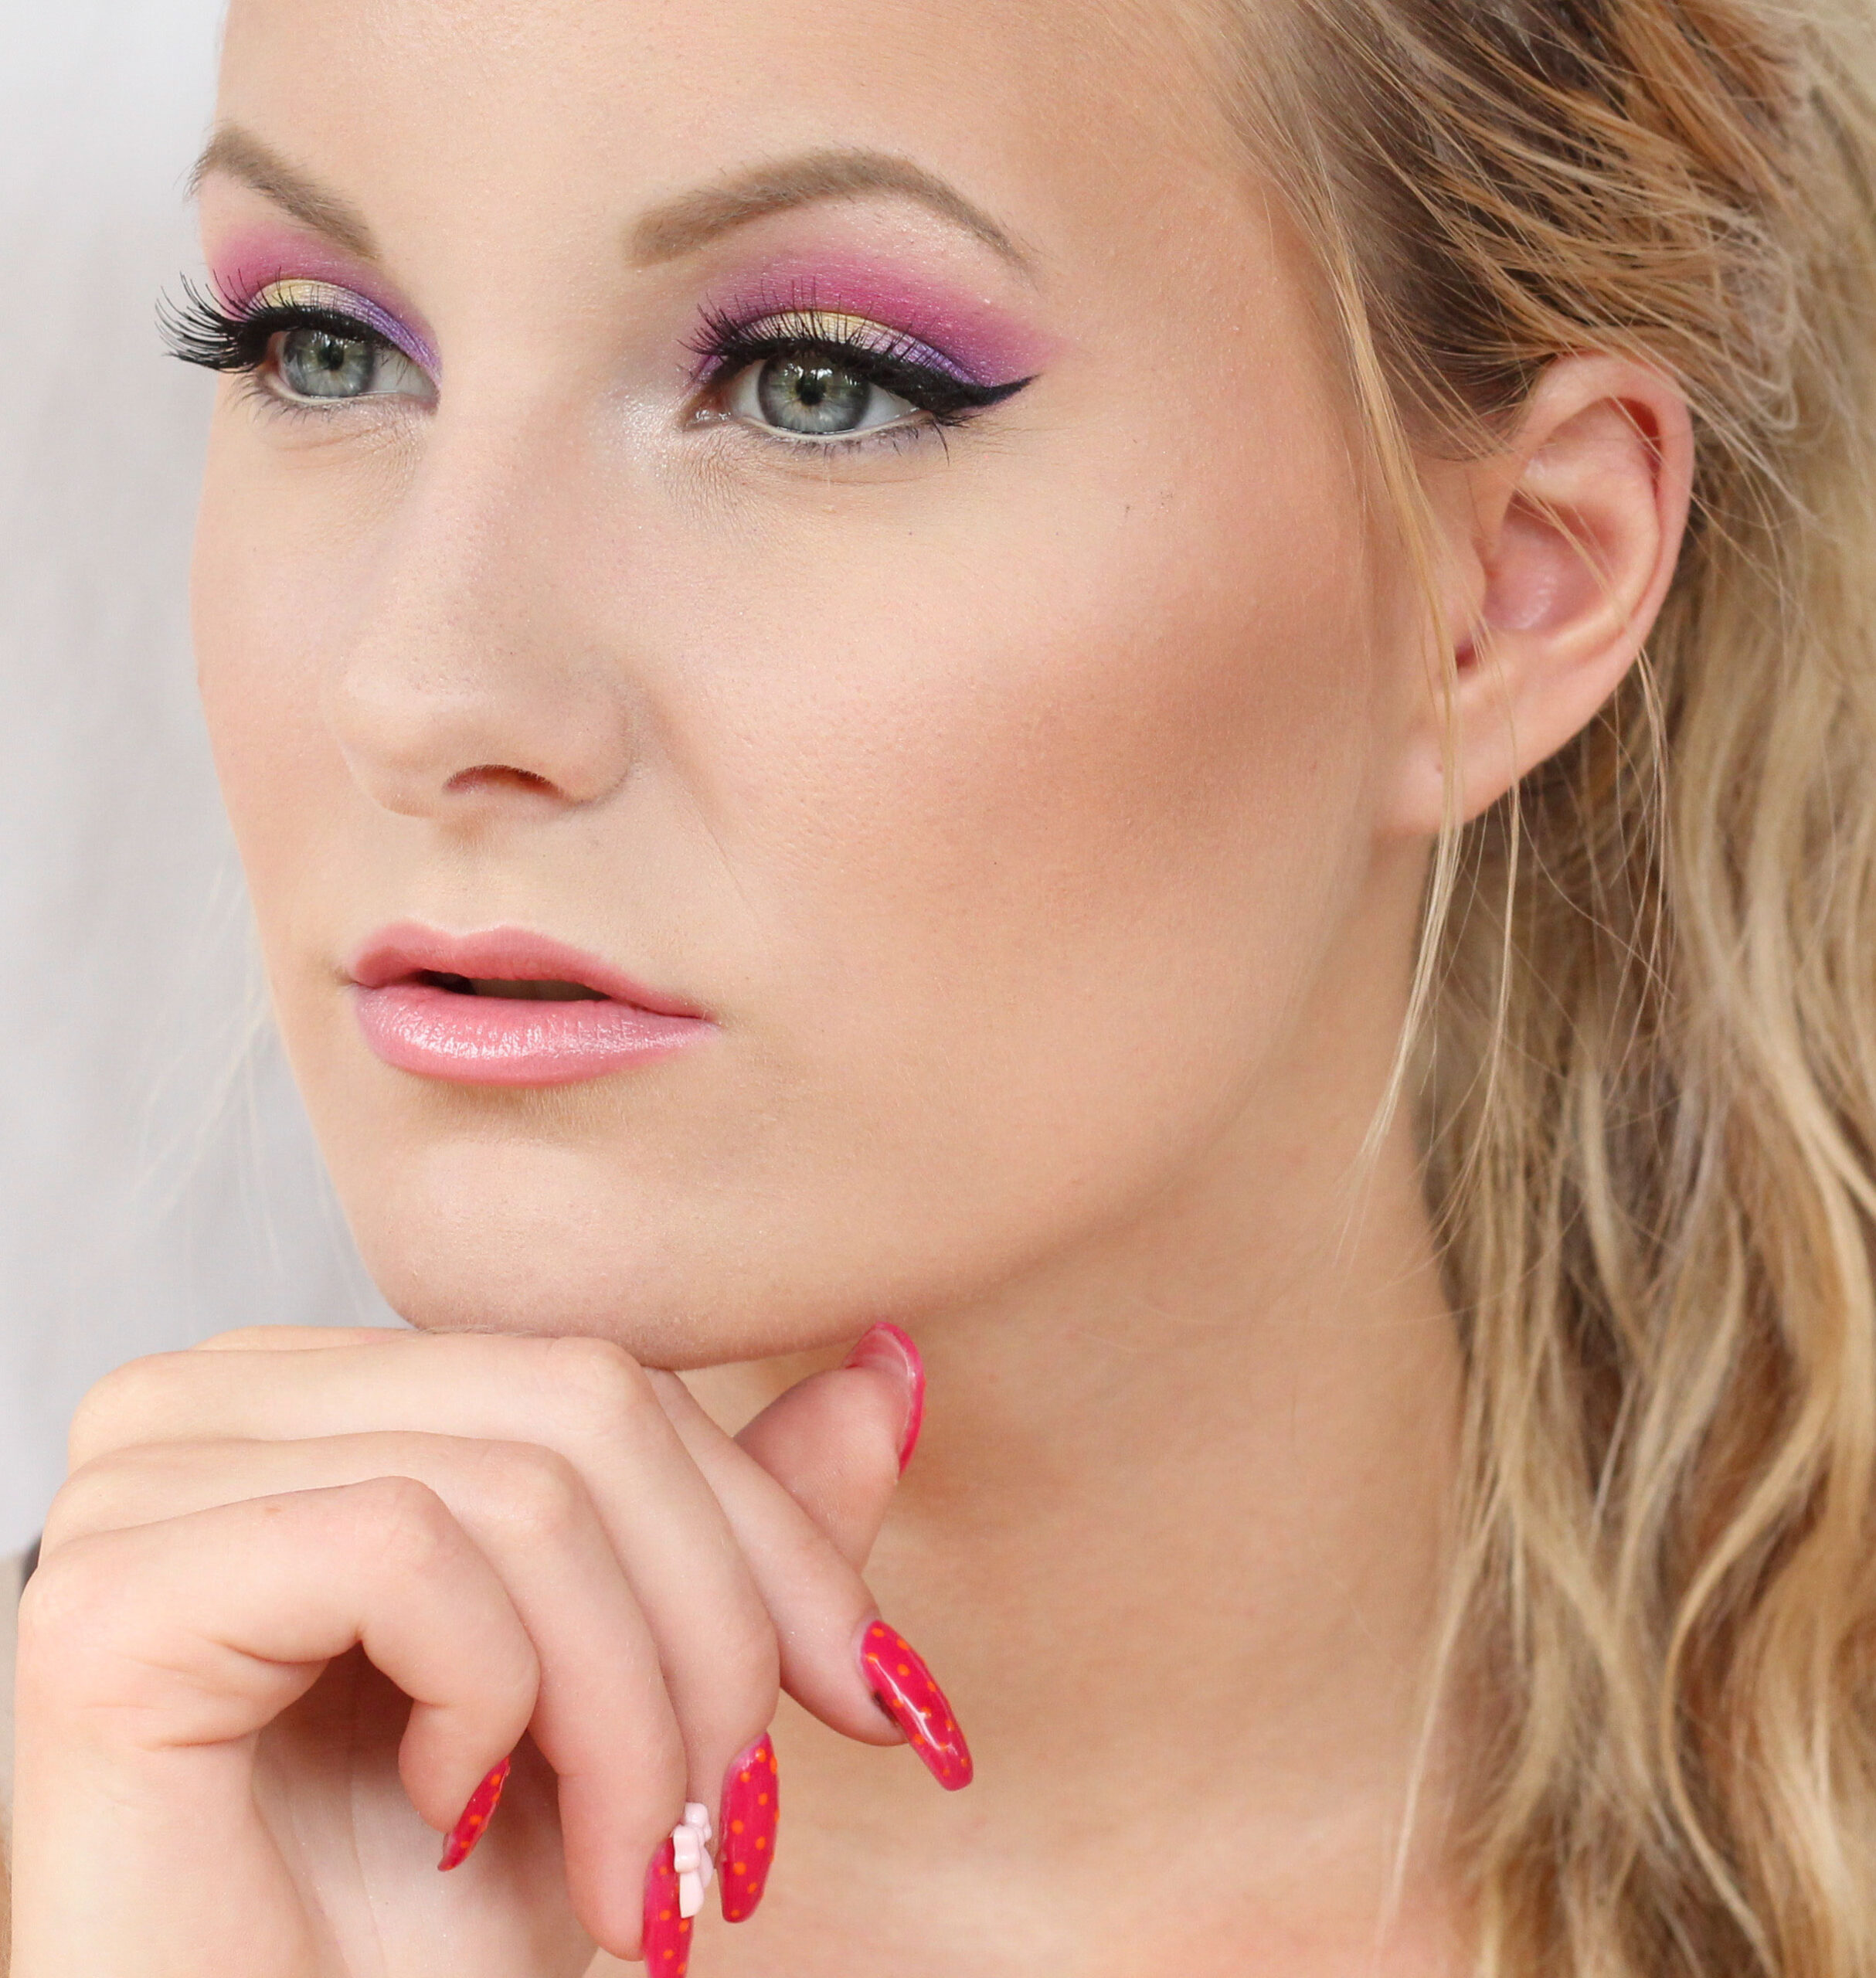
A recurring question I often get is how to apply false eyelashes, so I thought I would address this again! It is not difficult at all when you know the tricks + have done it a few times :)

This is what you need - false eyelashes, tweezers, scissors, and eyelash glue.
1. Measure
It is very important that the false eyelash is the right length in order to get a nice result. Most false eyelashes are too long and must be shortened by a piece. Lay the false eyelashes on the lash line (without glue of course) and you will see how big a piece you should cut off. Cut the outer edge of the fringe.
Cut a little at a time and measure again if you are unsure, so that it does not become too long or too short. But rather too short than too long, if the fringe is too long, it comes off easily in either the corner of the eye or the outer edge.
2. Soften the false eyelashes
I always soften the false eyelash a little by wrapping it around the finger and bending it a little gently, so that it is not as stiff and shaped after the package. It is much easier to get it to lie perfectly on its own lash line then! But be careful, you do not want to happen to ruffle the straws or get any strange creases.
3. Paint eyeliner
For the false eyelash to blend in naturally, it is a good idea to paint an eyeliner along the lash line. It does not have to be wide or sharp, just so that the lashes are marked.
A tip is to paint a so-called lashliner, as you only mark the bottom of the lashes (can be done with eyeliner, black eye shadow and even mascara) so that you get rid of all skin color between the lashes. If you lift the eyelid a little, it is easier to access!

Then you can paint a thin eyeliner just a few millimeters above the lash roots, and either leave it sharp or erase it.

4. Bend your lashes
False eyelashes are already pre-bent, so in order for them to blend better with your real lashes, you can bend them first. If you are going to apply mascara before or after the loose fringe is a matter of taste, I prefer to apply the mascara afterwards but if you do not do it, you paint mascara in this step.

I use an eyelash curler with heat.
5. Eyelash glue
Now it's time to start applying the false eyelash itself. Place a thin layer of lash glue on the lash line of the false eyelashes, it should be along the entire edge but be careful that no glue comes out on the straws. Let the glue dry for about 25 seconds before applying the fringe, if the glue is too wet it will not stick. Exactly how long you should wait depends a bit on what kind of glue you have, but if you are unsure, you can try to poke a little gently on the glue, it should be more sticky than runny, but of course it must not be too dry either.
I use a fringe glue from Duo which I think is great! It becomes transparent so you do not have to cover the glue later if it is visible somewhere.

6. Look in the mirror
When you look in the mirror, you can bend your head back a little while looking down into the mirror, so that you see the lash line as well as possible. You can also put a mirror on the table and look down with your whole head, then you see the lash line even better!
7. Application
Using tweezers makes it much easier, I myself use tweezers all the time but some people prefer to apply the fringe with their fingers first and then attach all loose edges with the tweezers. It's a matter of taste. Start by just putting the false eyelash in the middle of the row of lashes, then you can attach the outer / inner edges.
The fringe should sit as close to your own lashes as possible, but it should not sit so far down that they end up on the straws. If the fringe ends up too high somewhere, you can be quick and press it down a bit with the tweezers before the glue has time to dry. Make sure that the fringe is stuck everywhere by pressing a little lightly with your fingers.

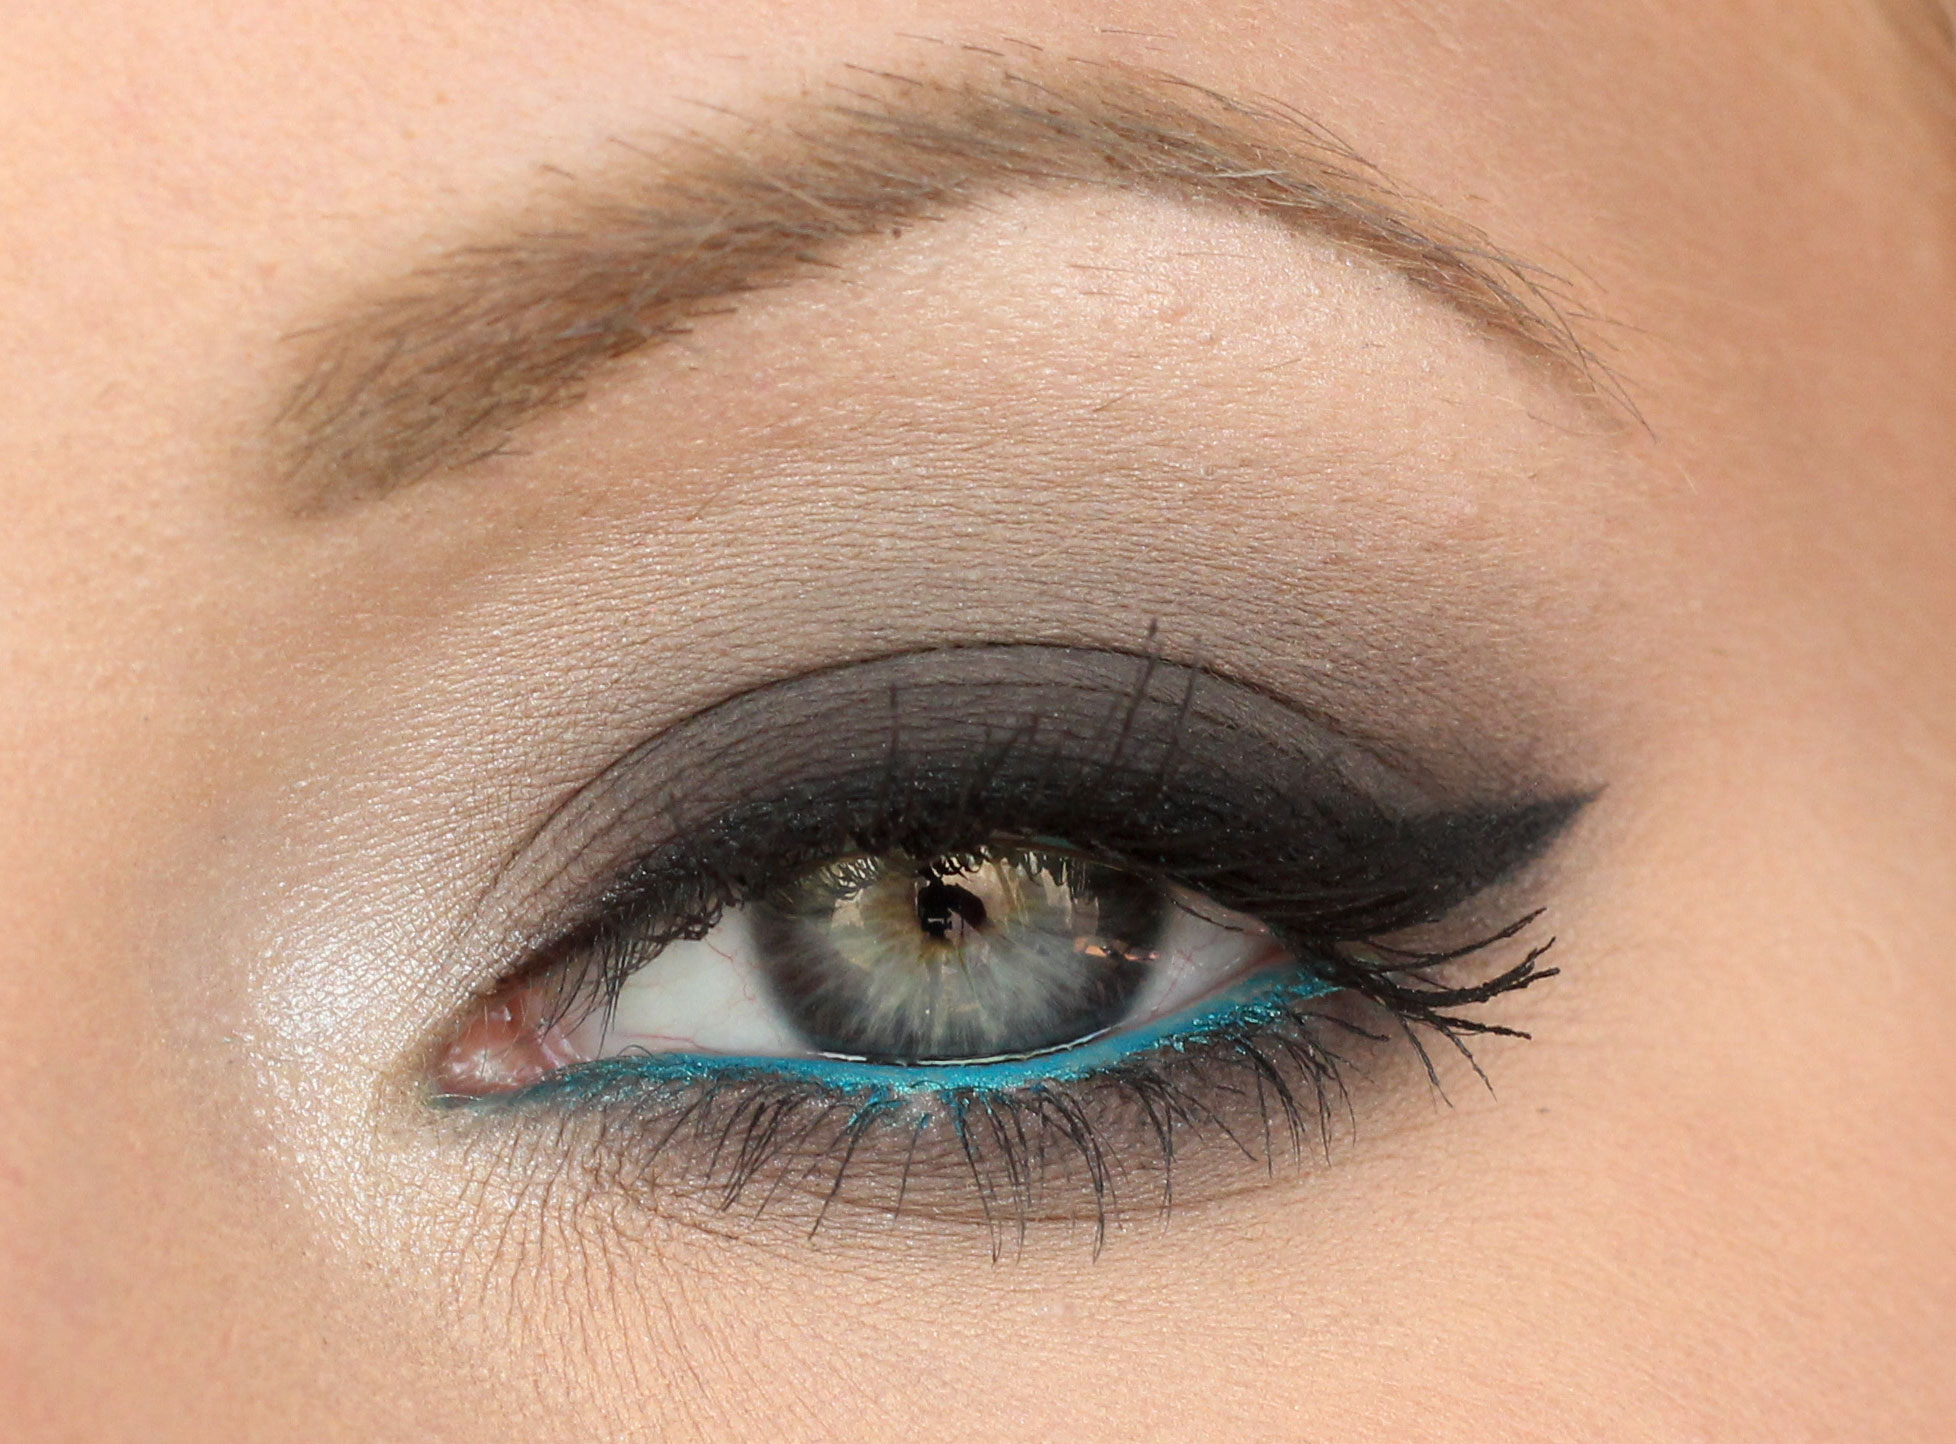
8. Mascara
I always apply the mascara after the false eyelashes, then it is easier to get the real lashes to blend in with the false eyelashes. But be careful and just put the mascara at the bottom so that you do not paint on the false eyelashes, so that the beautiful strands of the false eyelashes do not change.

Using an eyelash curler with heat is also good if you look for the mascara that they need to bend a little more - in this case at the outer edges. Then just bend to them where needed, without risking the fringe dropping or becoming ugly, which can sometimes happen with a "regular" eyelash curler.
9. Removal
It is easy to remove the false eyelashes, even though it sounds scary that you have glued them on. Gently pull on the edge with either your fingers or tweezers, and it comes off very easily! Usually all glue comes with the false eyelash, but if there is a little glue left on the skin, it goes away with makeup remover. Do not forget to put them back in the package, so that they stay nice until next time.
10. Cleaning and reuse
To reuse the lashes, it is good to clean them first, both for the sake of hygiene and for them to look new and stylish. If you have mascara and glue residues left on the fringe, bacteria will grow, and then you can get eye inflammation! Pour a little makeup remover into a cup (I usually use shot glasses) and put in the lashes. Let them lie there for a while and all the dirt dissolves and is easy to get rid of!

Then try to rub away any residue with your fingers, the glue is often tough and can be pulled off. Then let the lashes dry on a piece of paper that sucks up excess remover. Avoid washing the lashes with water, as they may lose their fine shape. If they have lost their bend a bit, it is good to bend them again before you apply them next time!
Hope the post was helpful! :)