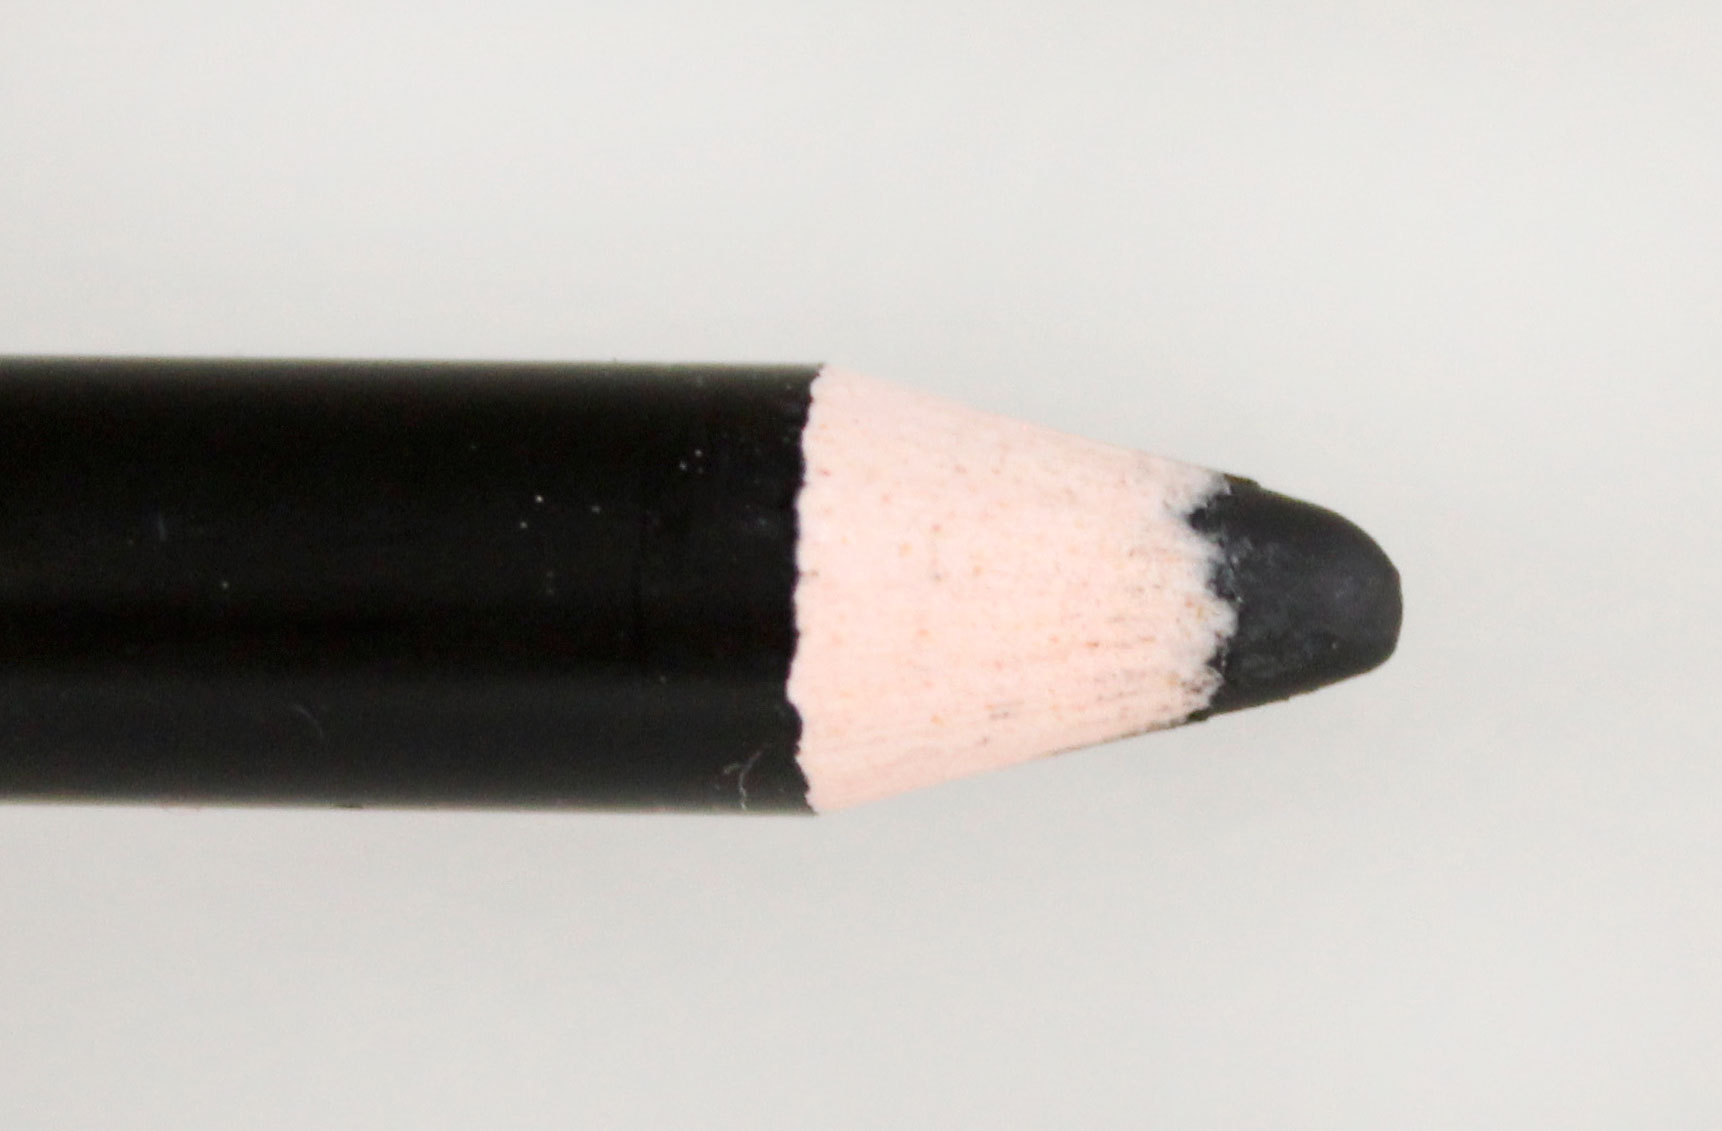
The day before yesterday, I really sat down Shiseido Smoothing Eyeliner Pencil on trial. I smoked it around the whole eye and along the waterline, and had that make-up from morning to night for a whole day when I ran around Uppsala!
I have read many good reviews about this, and the biggest reason why people like it is because of its durability, so I had very high expectations.
Here is my review :)

It costs ISK 209 HERE!
First of all, it is very easy to work with, it has a slightly creamy texture that glides on the lash line easily like a plate! It is both easy to get carbon black and sharp, and nicely toned.
As I said, it is a little creamy when applied, but dries quickly and then it is almost completely rub-proof!
The creamy formula also makes it very good for the waterline, because even though it is not waterproof, it actually lasts a very long time. A dry eyeliner absorbs the moisture from the eyes directly and then releases quite soon, while a creamy product does not have the same absorption capacity and therefore withstands moisture in a different way.
When I checked in the mirror in the evening after having had the eyeliner for more than 12 hours, the eyeliner had been slightly rubbed in the outer corner of the eye. It's not so strange as it was windy outside and my eyes are very sensitive to wind, and as I said, the eyeliner is not waterproof. Also, was a bit away from the inner and outer edges of the waterline, but there was quite a bit left in the middle. By the way, it was just like when I left home!
The perfect result would of course have been if the eyeliner did not move out of the stain, a pity that it is not waterproof I think, but it is still one of the best eyeliner pens I have tested! :)
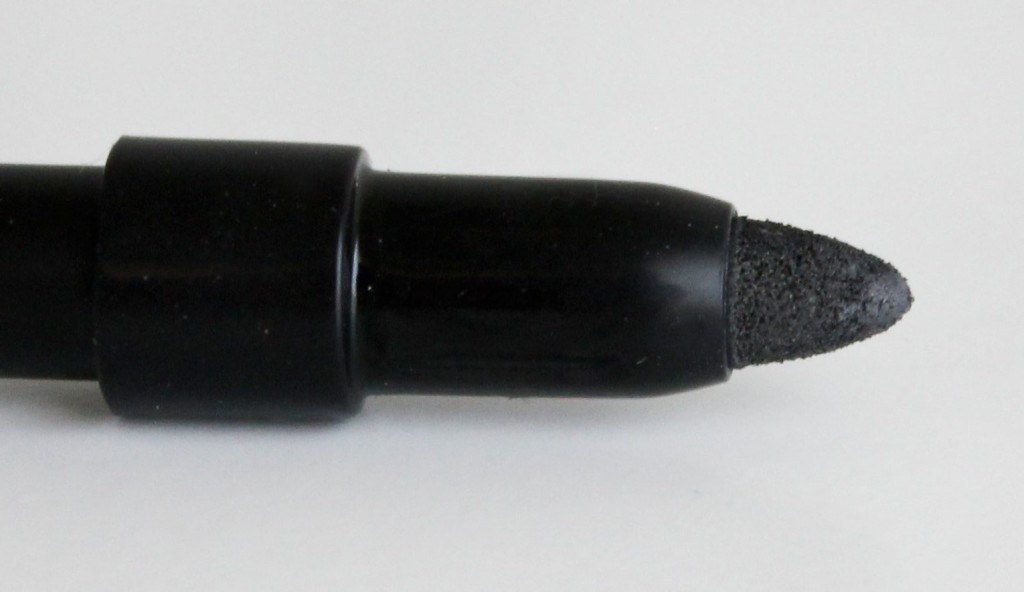
On top of the pen there is a rubber thing that you use to fade the lines on the eyeliner, perfect if you want a more smoky look!

A non-sharpened cape, did not find the pencil sharpener before I would take pictures hehe.
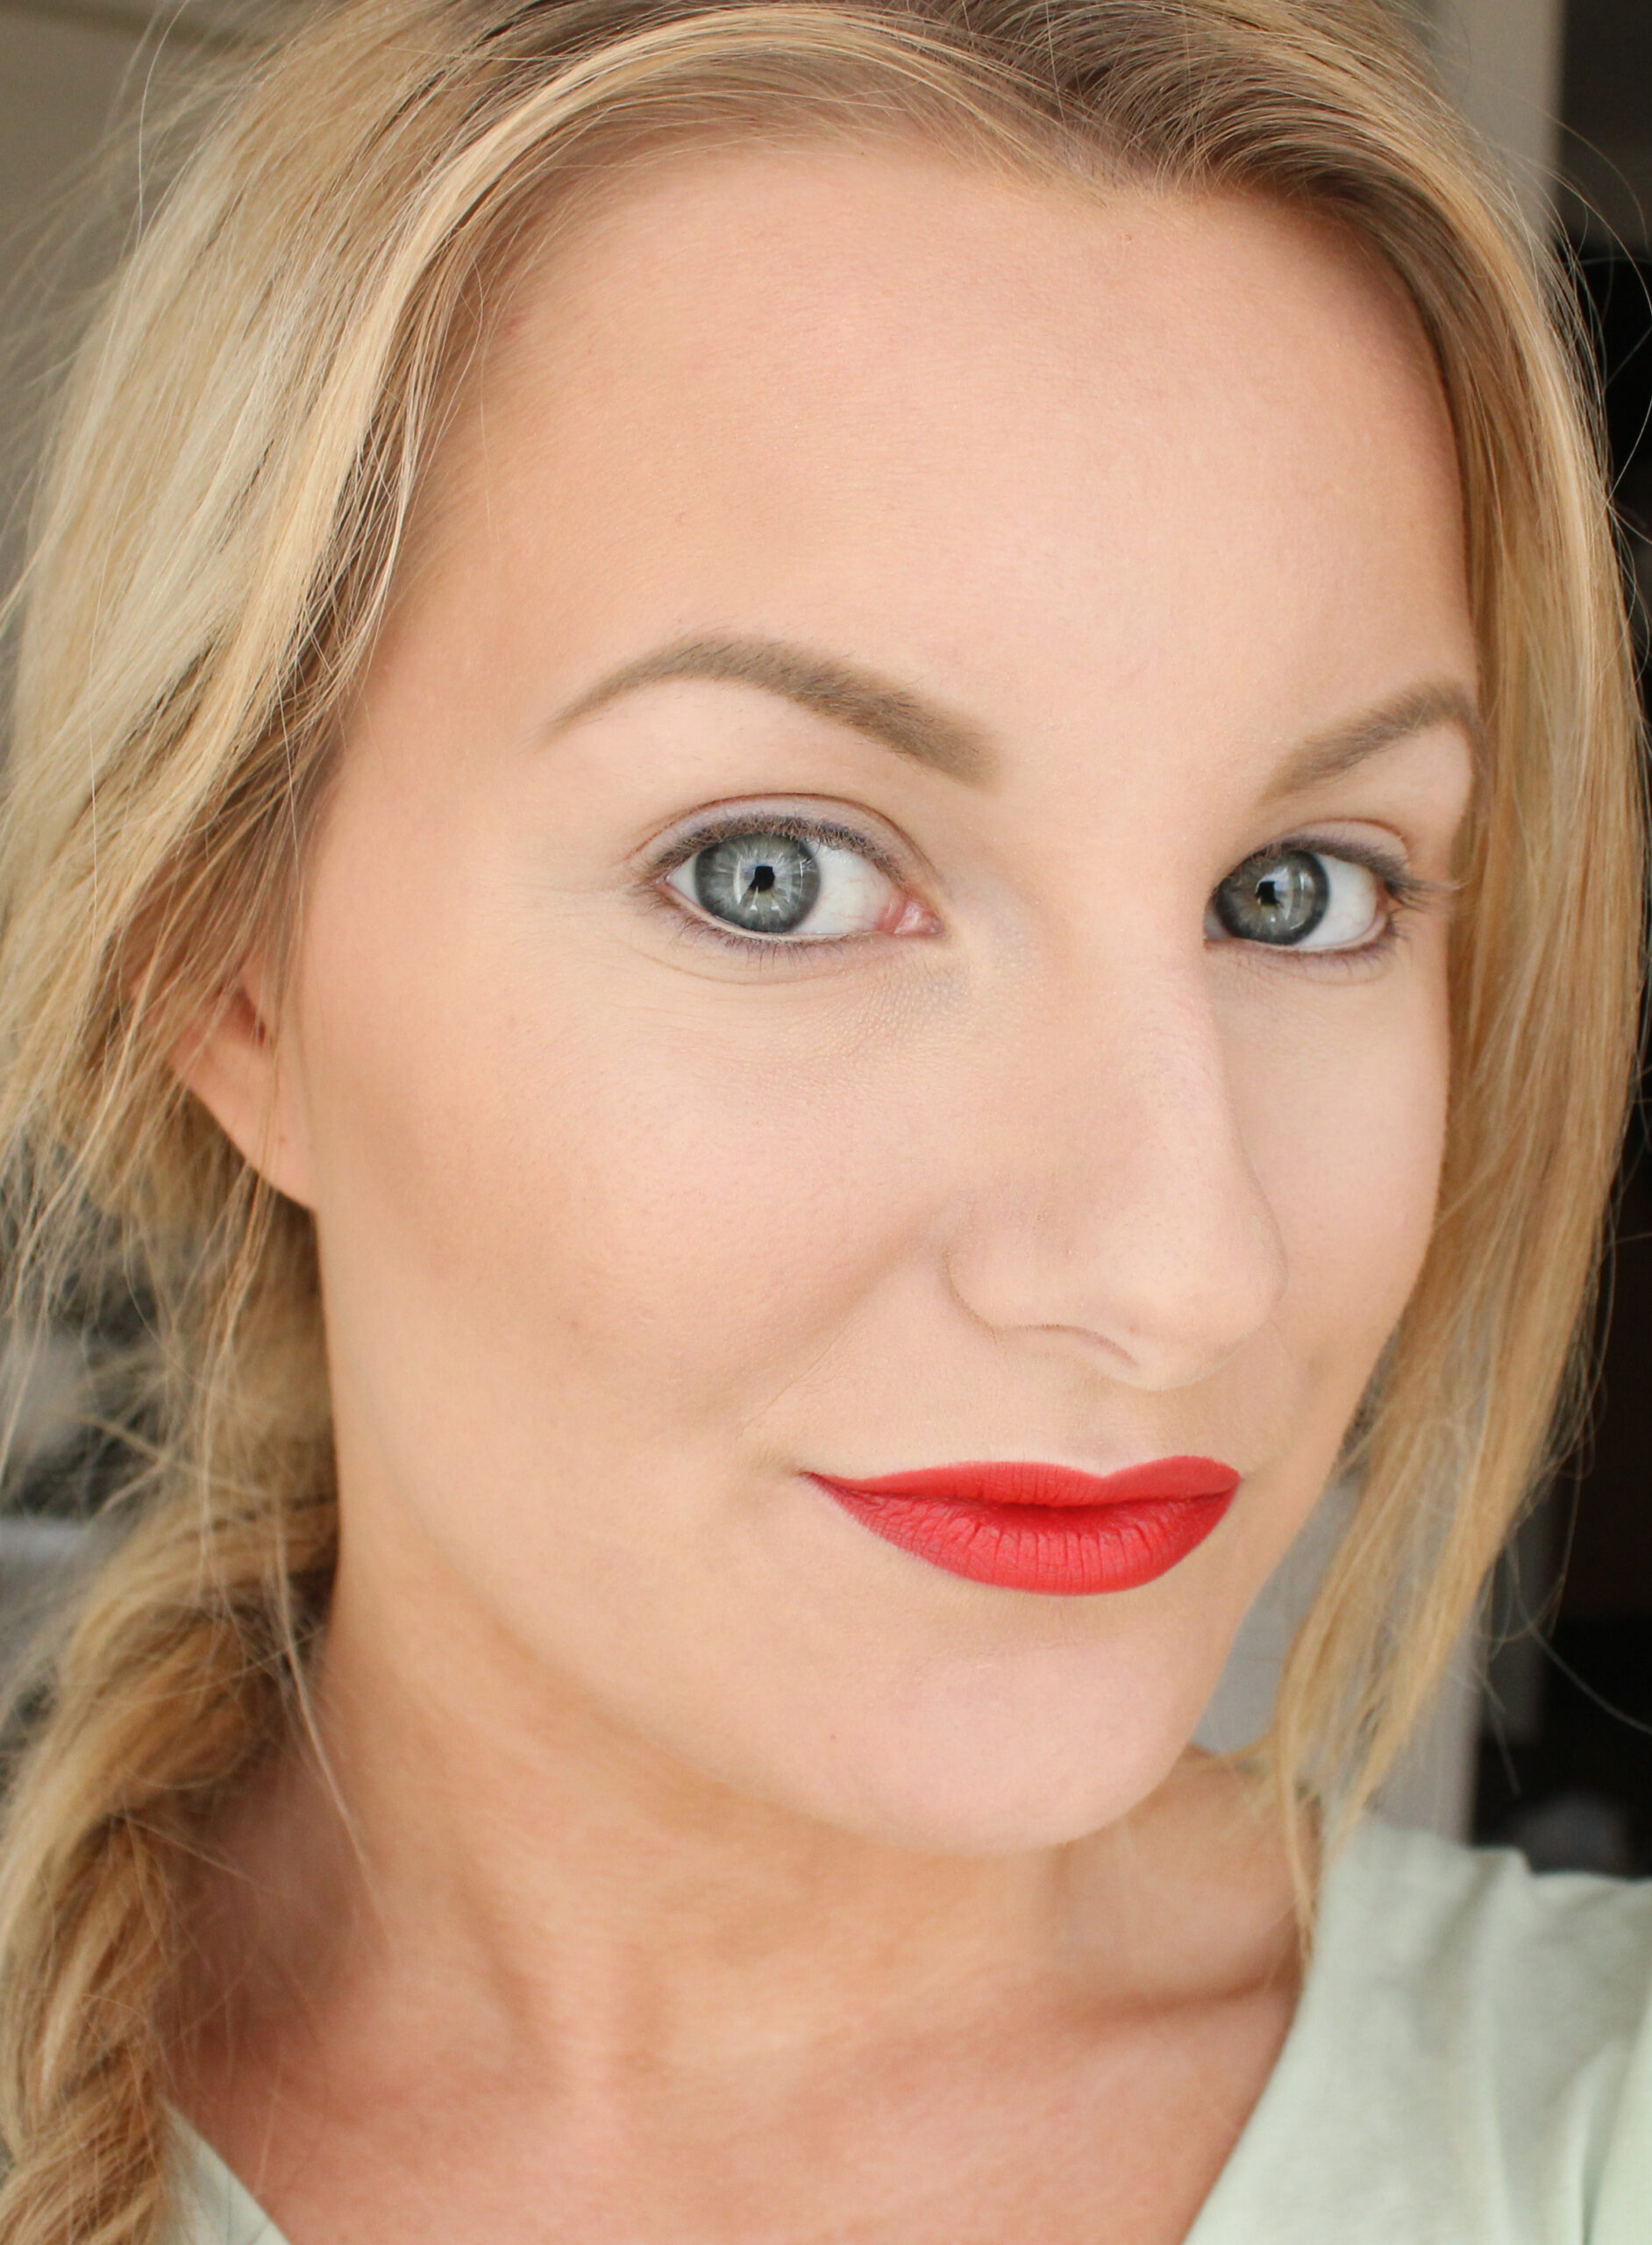
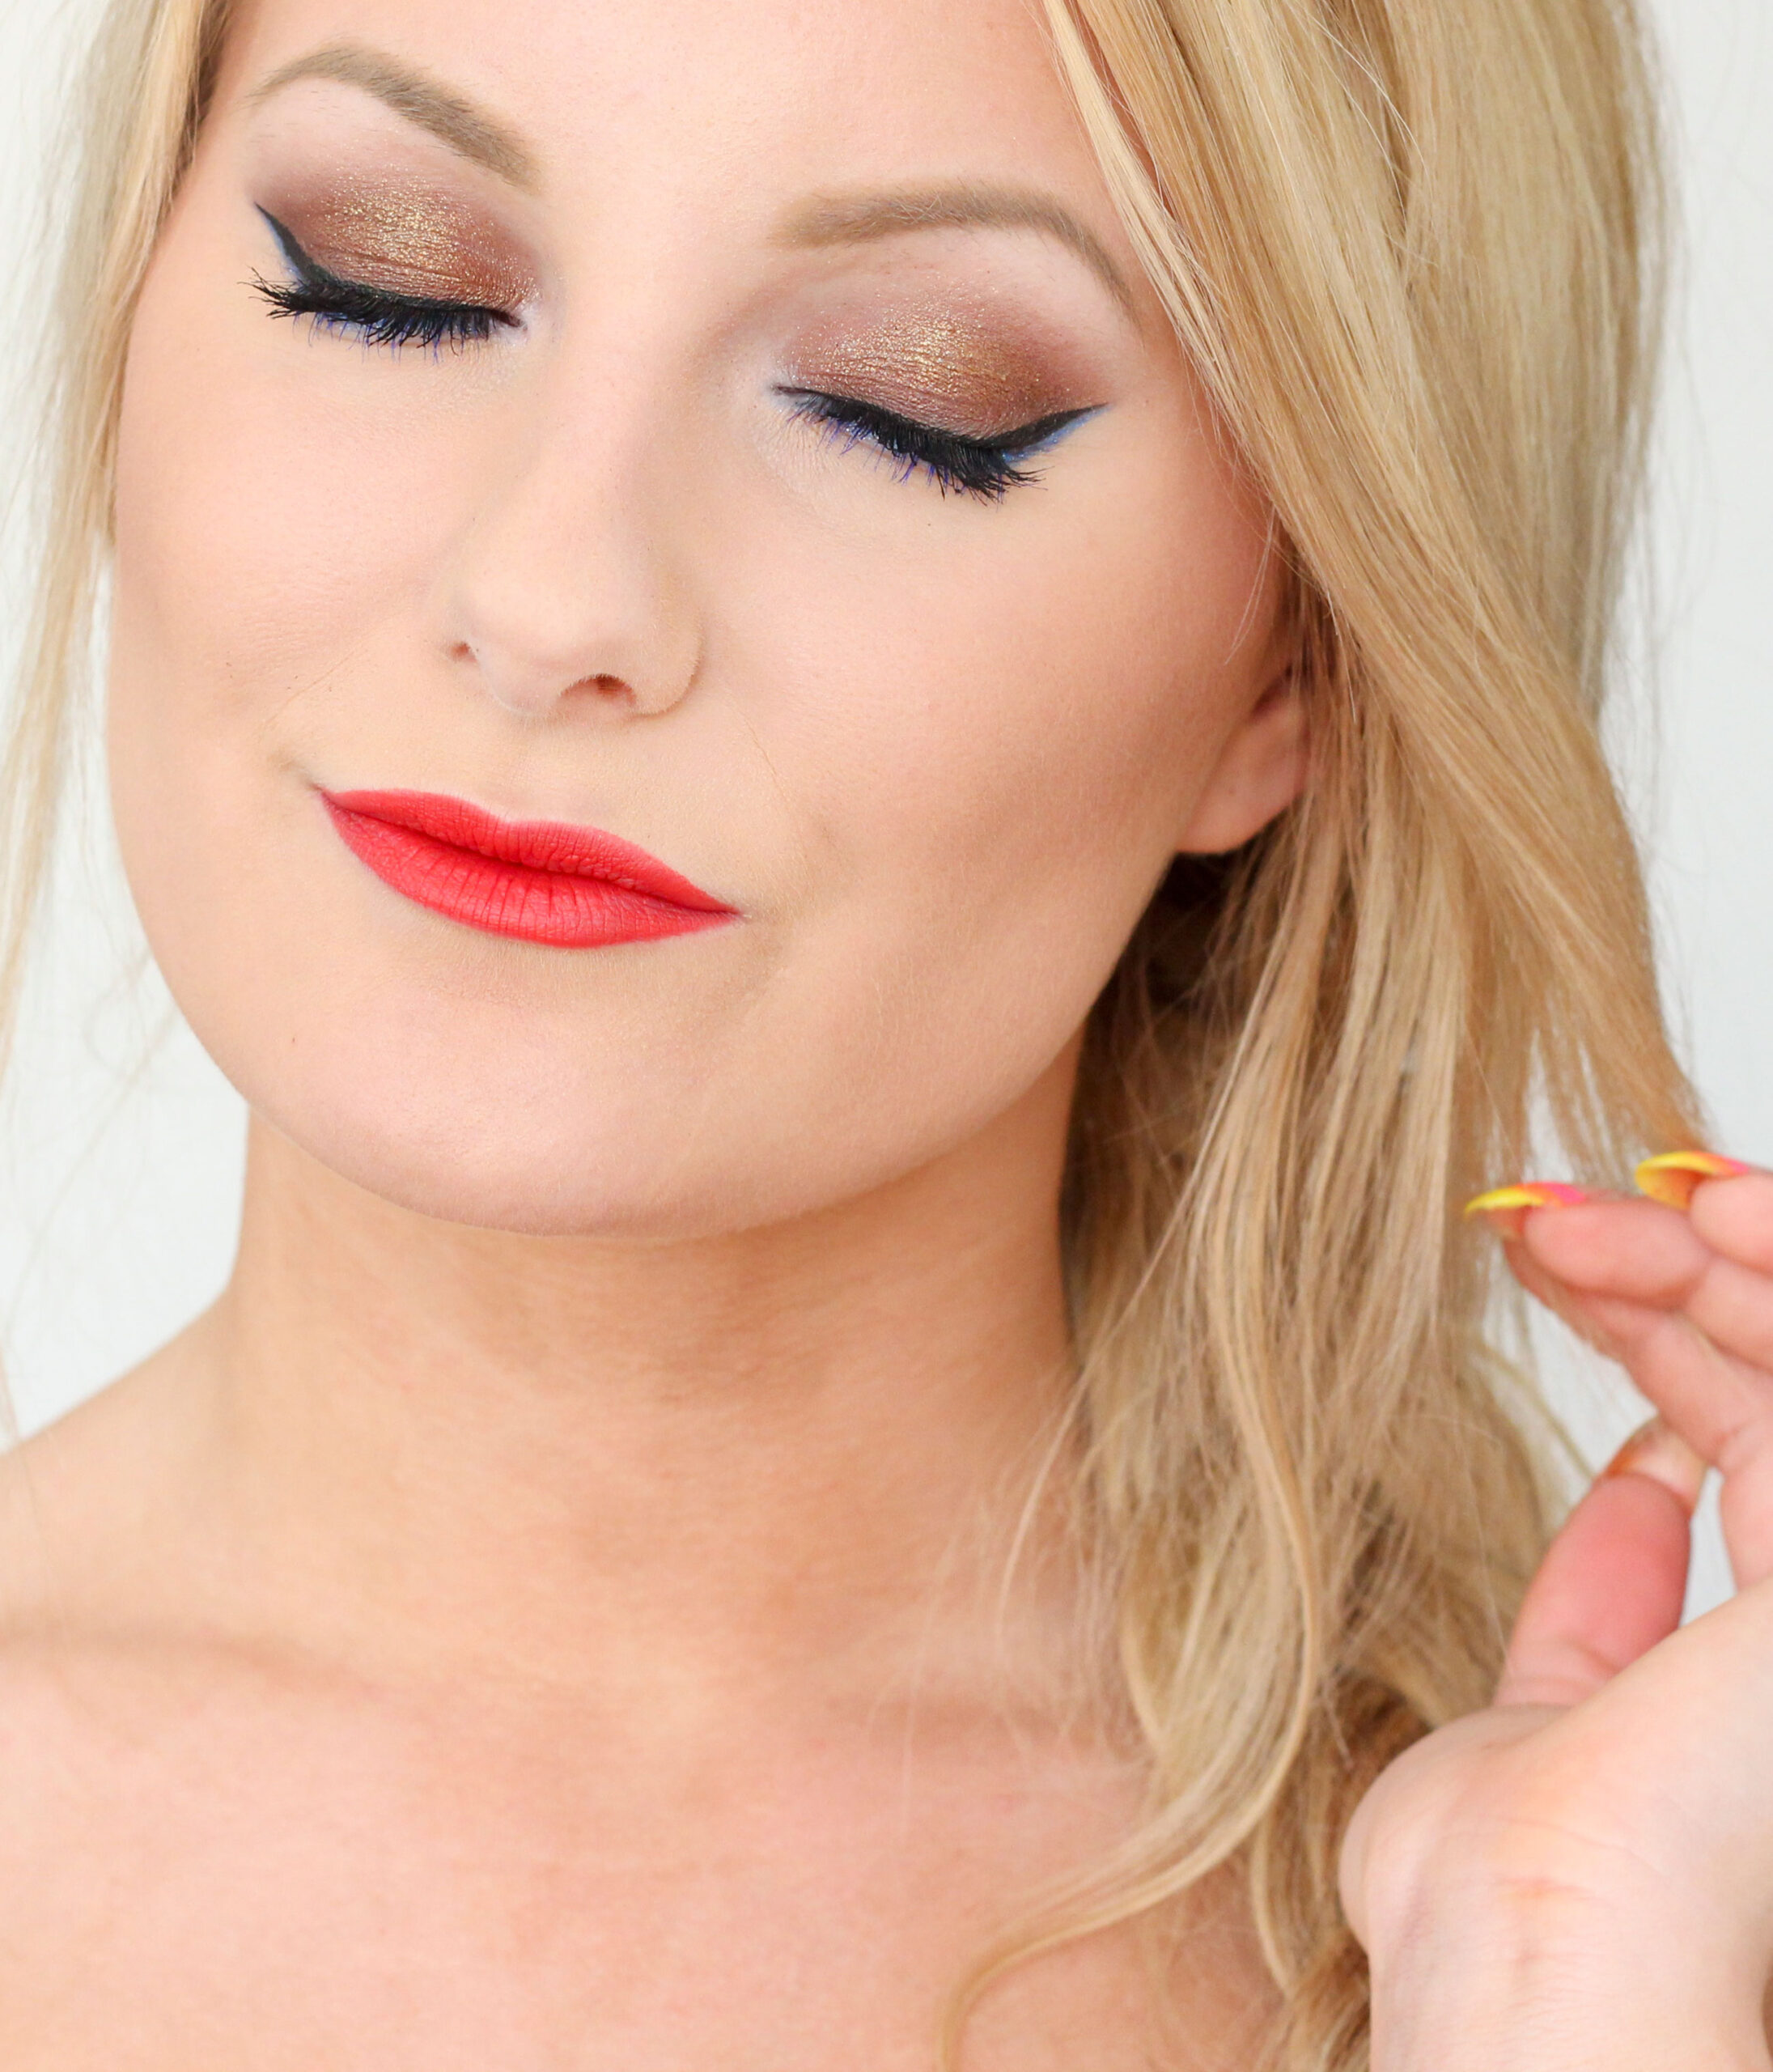
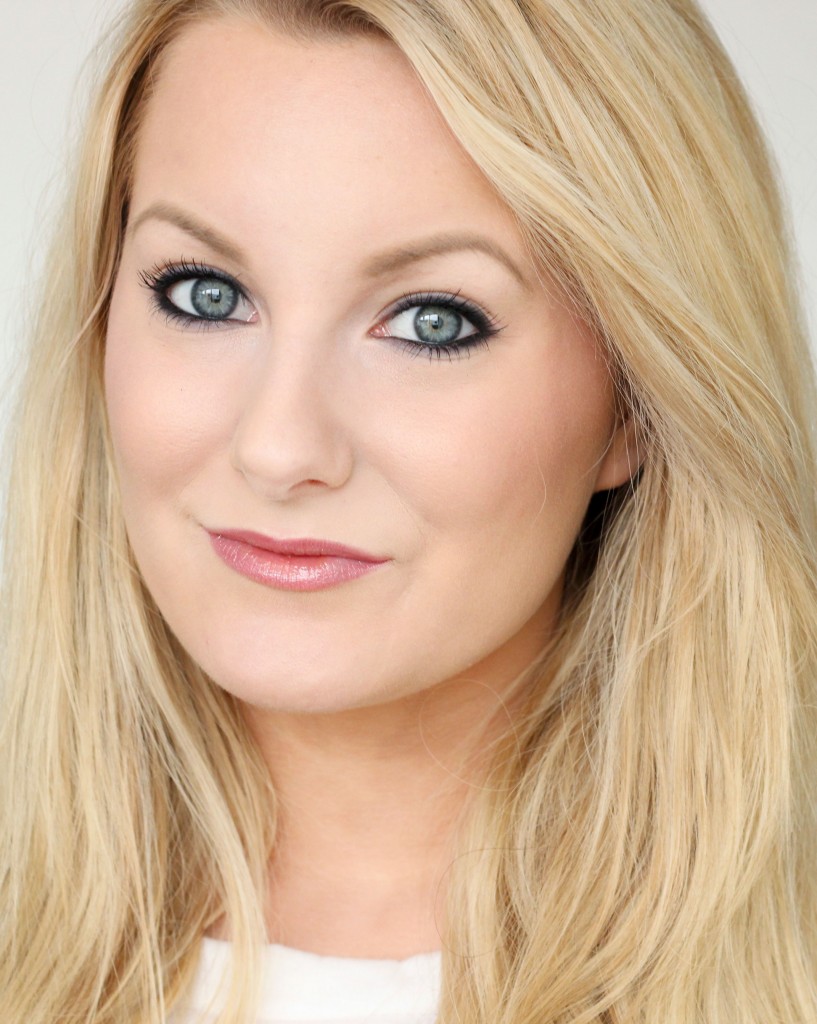 The make-up I was talking about.
A tip when you paint the waterline is to first paint a layer with the pen, then continue to put on make-up as usual. And then when you are done with everything, you can finish with another layer of the eyeliner. Then the first layer has been fixed a bit and the second layer will attach even better and the result will be more durable!
Hugs from me :*
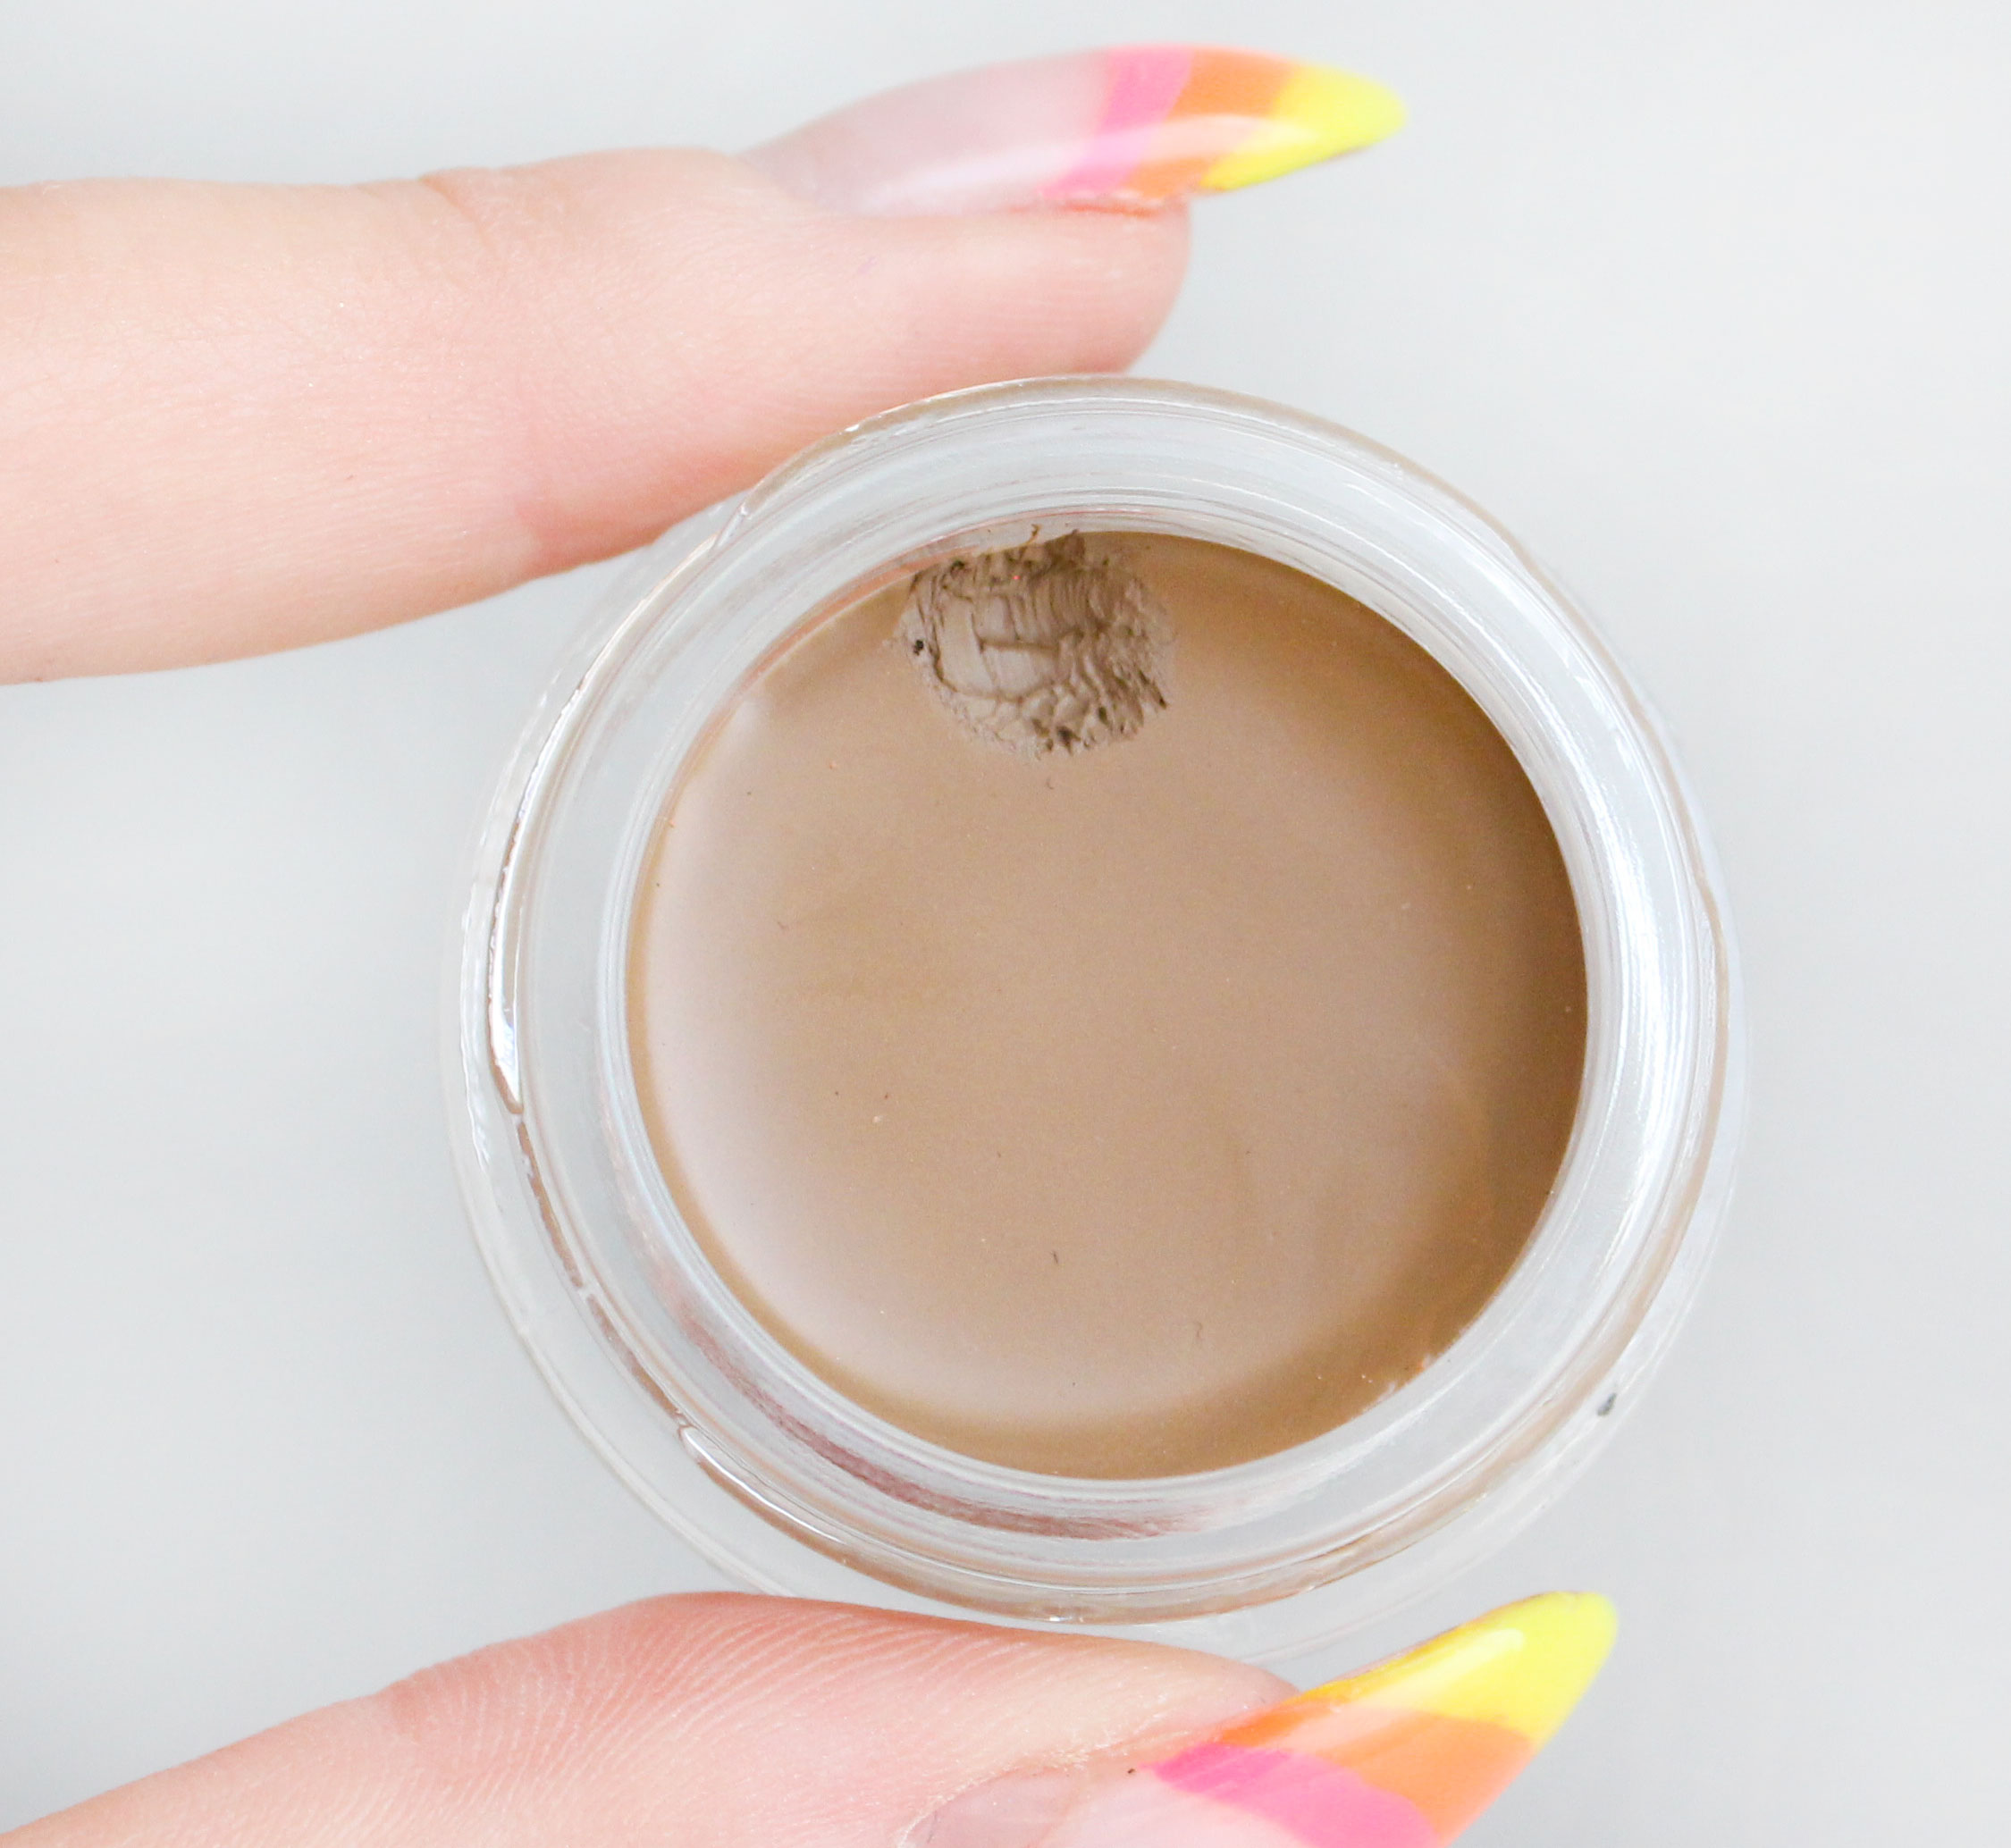
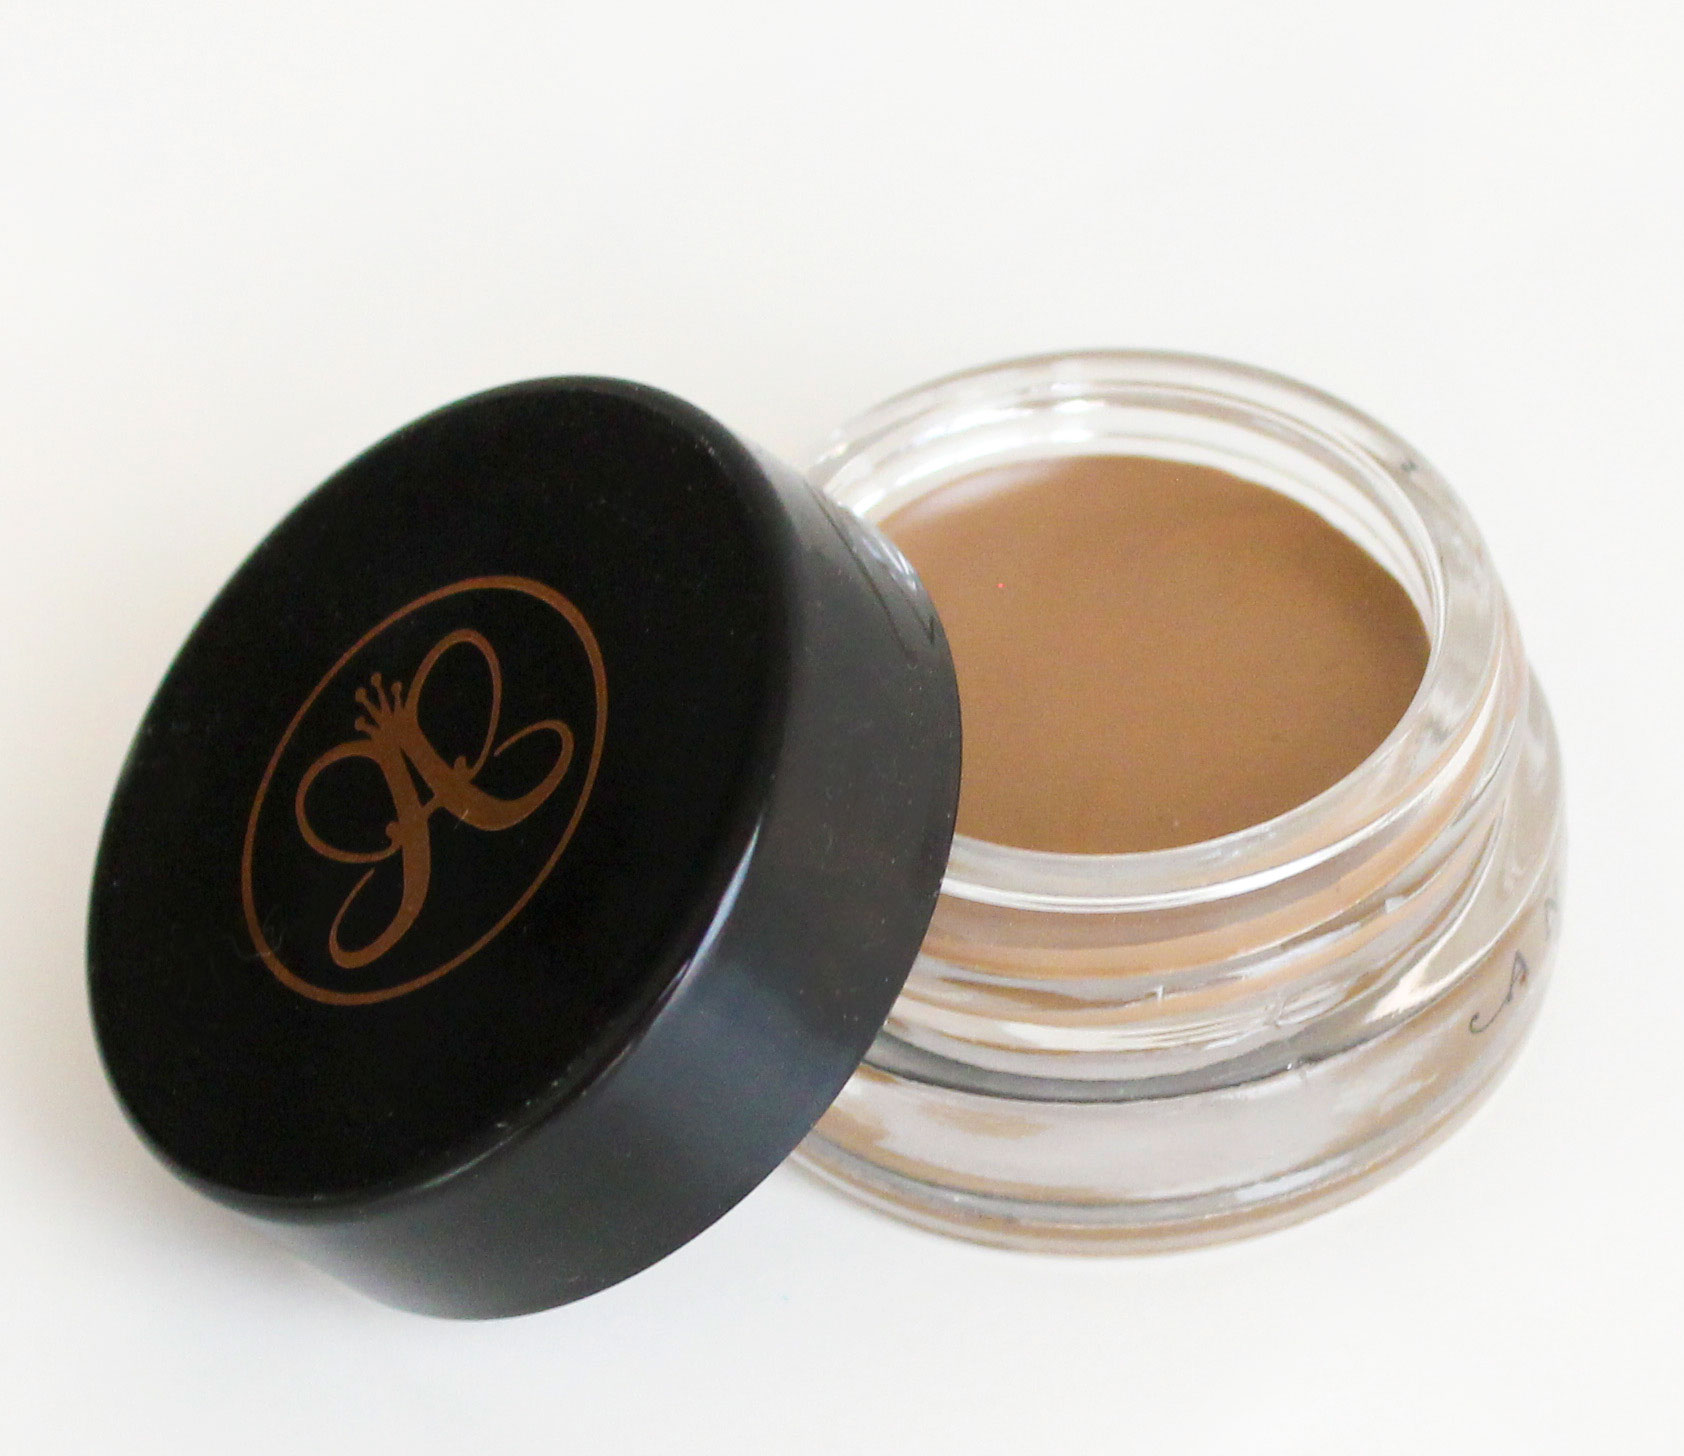 Costs ISK 245 HERE, the jar is quite large so it will probably last a very long time!