Hair styling

4

Our makeup artist Sandra played with my hair styling stuff yesterday. I have a lot, but I myself am not so diligent in using them because I am so bad at hair haha. So it's fun to finally use them!

Oh speaking of that, just got a text from Posten that this month's Glossybox is on its way to me - guess who has not only put on make-up but also done the hair styling for several pictures in Glossy Mag, the magazine that comes with the box 1TP3 heavenly fun to see the result!

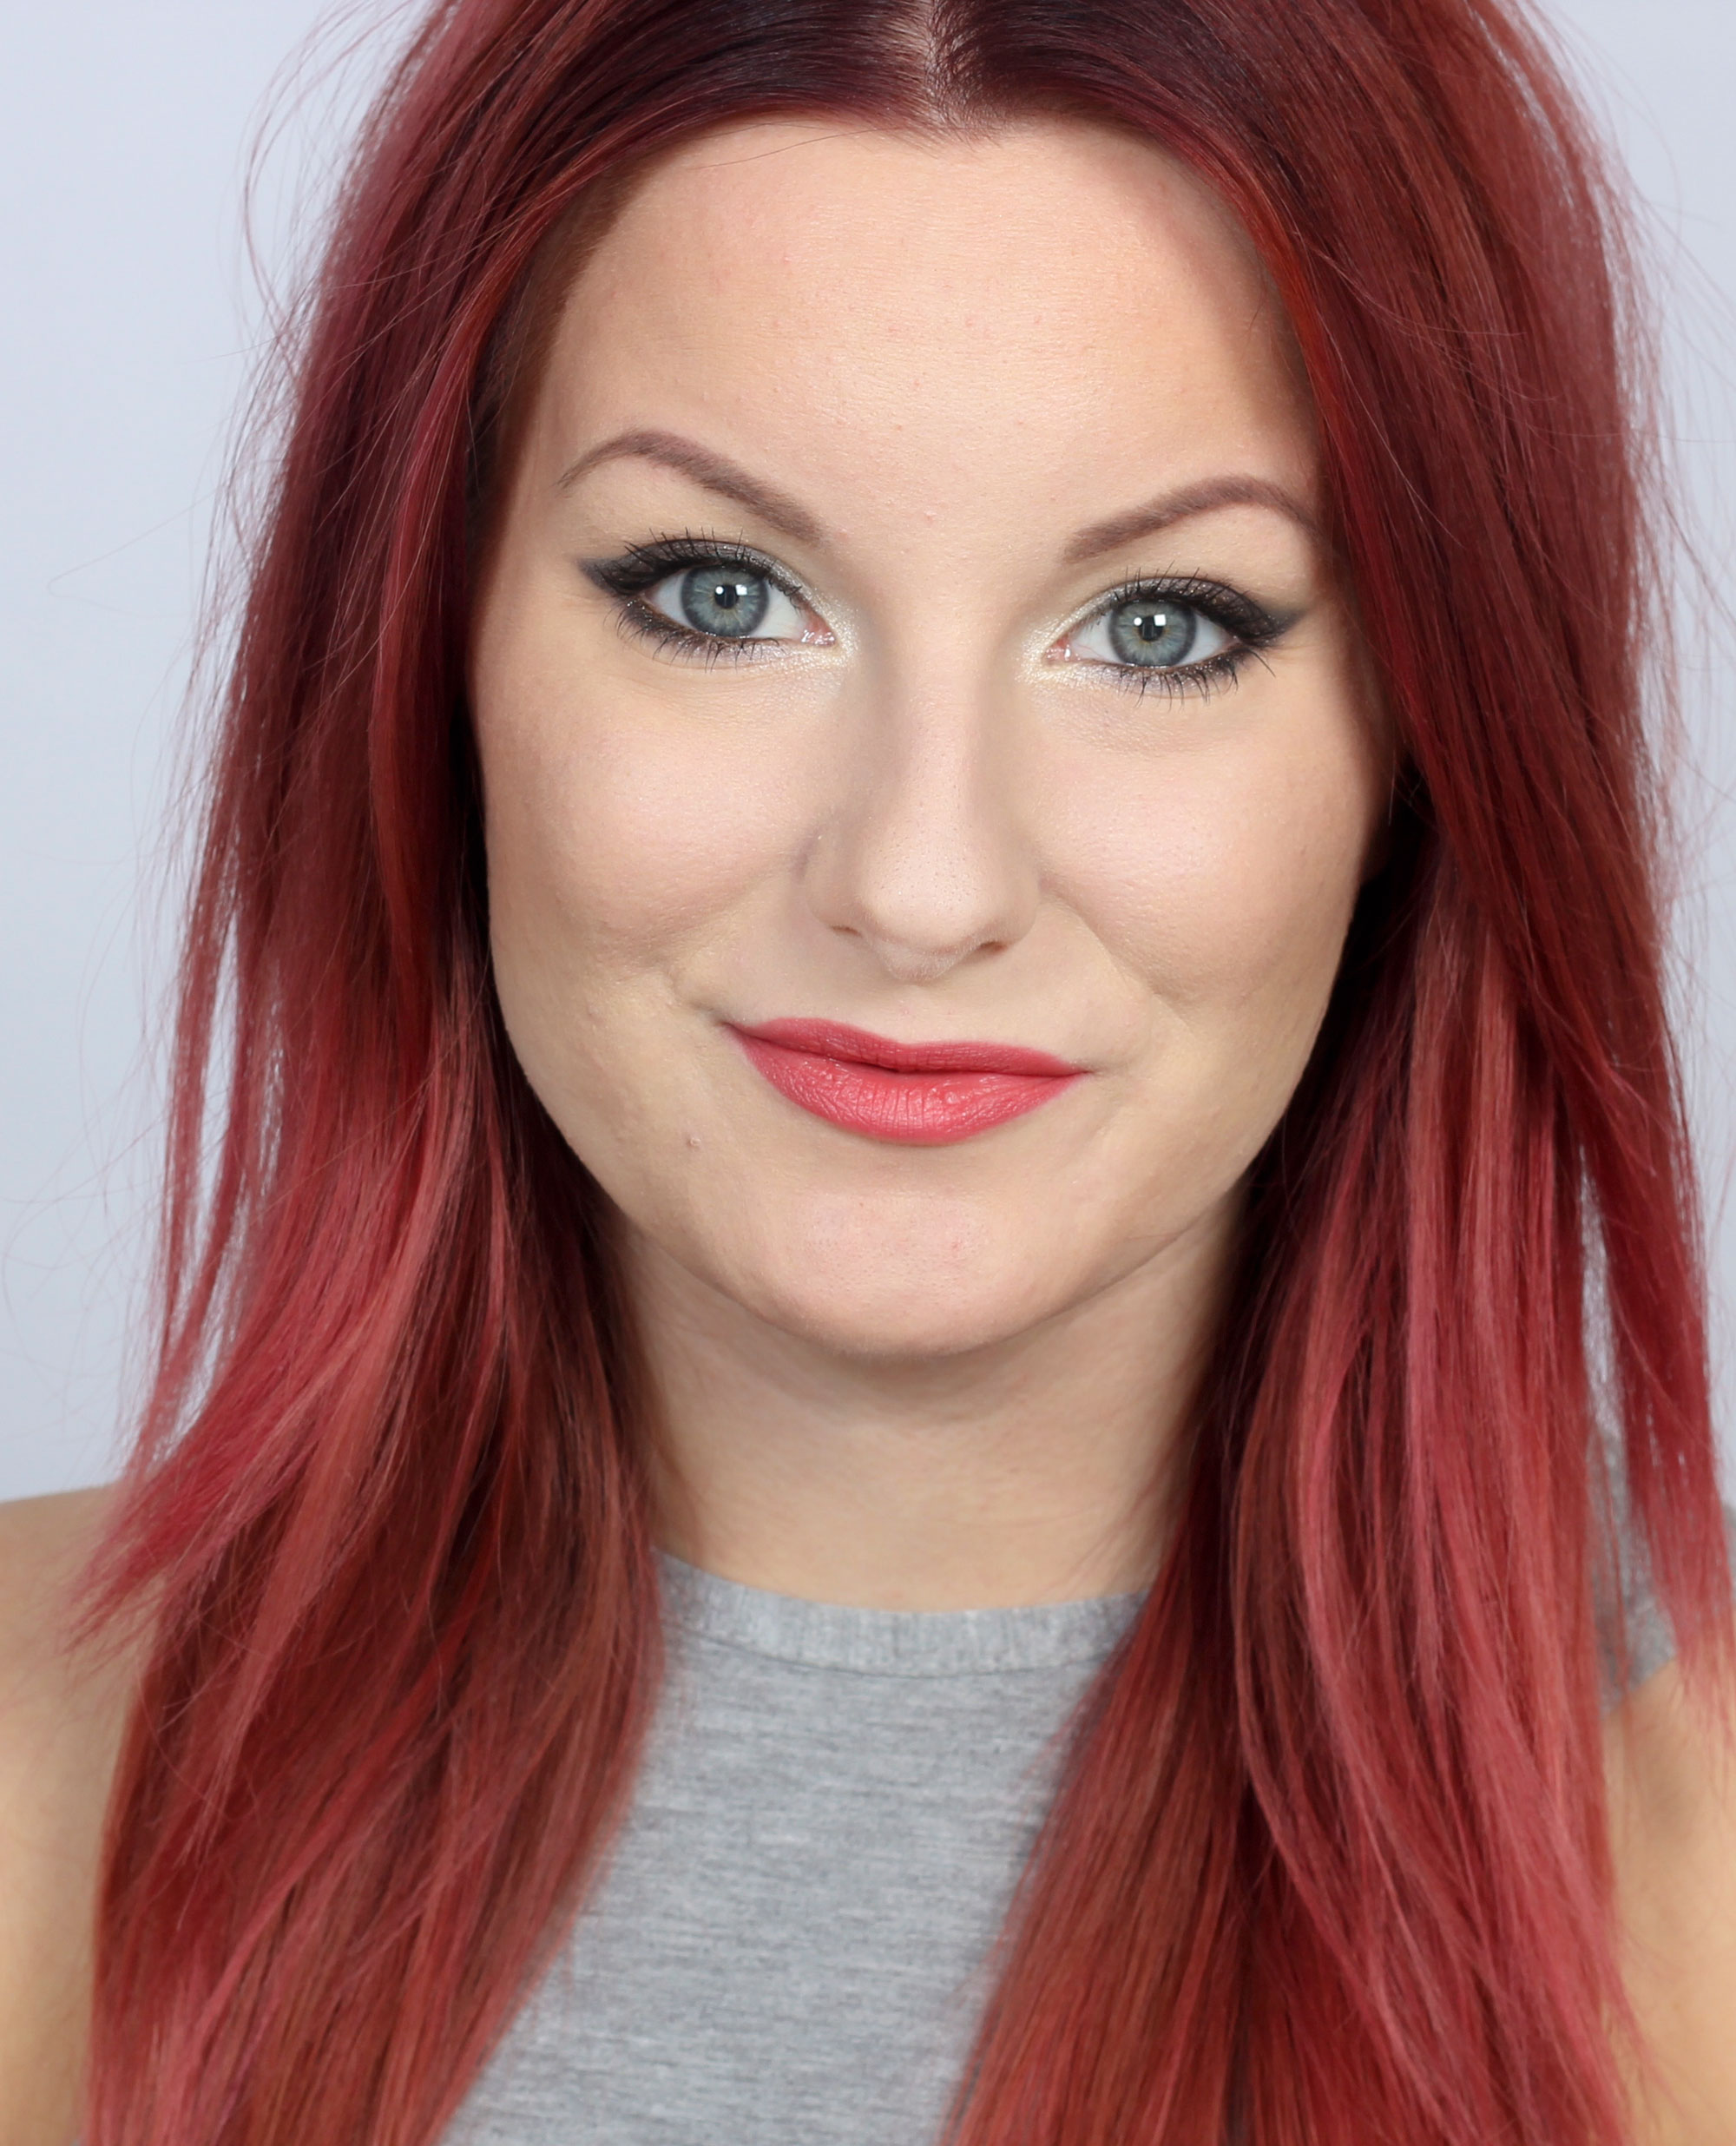
Anyway, since Sandra offers hair styling at the salon as well, I thought it would be fun to show you the pictures from yesterday! :) First, she made discreet everyday curls, perfect for a natural make-up if you want to be nice before a meeting or other daily event. Or if you, like me in this picture, are very made up and want to be nice in your hair without the whole thing looking super-styled.

IMG_8146_111

Fint va? :) A thousand times nicer than what I otherwise look like "brush your hair and in with a little dry shampoo" but still everyday as I said.

Then she made a set too:

IMG_8387_111

Love sets that are so sloppy while looking a bit gala-like.

I usually do a roll like that (like in the middle of the set) at the bottom of the neck, so I have ordered her to test me also in this version :) So nice with a swirl like that (?) over the roll which she has made with the help of a transparent tassel which she has then spun.

So do you keep up with the curves when I talk hair? Roll, swirl, spin, have no idea how to express myself. If not then just ignore me and enjoy the picture instead :)

IMG_8360_111

And this is what it looked like from the side!

As I said, I like hairstyles that are a little more sloppy and imperfect, but did you imagine this set a little more well made as well, with a donut at the bottom and a "smooth roll" above (haha) surely it would also be nice? :)

Now I'm going to stop blabbering on like crazy. But do you have any hairstyle you want Sandra to try on me? Either just to show, or maybe to take pictures step by step? Shout out in such cases!

And if you want to put on make-up and have your hair styled at the same time with us, you know that you can book on Creativemakeup.se! The price for hair styling is fr. 395: - and the price for set is fr. 495: -. There are starting prices because advanced hairstyles that take more time may cost extra, but it is only in some cases most often it will land on dot 395 or 495.

Hug ♥

Pixi Shea Butter Lip Balm

I am completely addicted to lip balm Shea Butter Lip Balm from Pixi, they have exactly what I am looking for in a good lip product.

Absolutely perfect both for everyday (also completely unmade up) and for parties, so soft and lovely on the lips but still pigment-rich and very nice, and also durable on the lips :) I'm in love!

IMG_4339_111

♥ Incredibly caring and moisturizing thanks to natural ingredients such as shea butter, castor oil and vitamin E.
♥ Available in five different shades, from completely transparent to natural cream-colored and bright pink.
♥ Lip balm with color is incredibly pigment-rich, no tit colors.
♥ They are so soft, smooth and beautiful on the lips, like the natural lip but 100 times better.
♥ The soft smooth feeling lasts for a very long time, and the color even longer. Very durable on the lips!
♥ Has a mild taste of vanilla, which comes from natural vanilla.

The lip balm is on Byher.se and costs SEK 139.

IMG_4368_111

Nice colors huh? This is what they look like on the lips:

pixi-shea-butter-lip-balm-swatsh

Honey Nectar is the perfect shade if you want a naturally unmade-up result, which is still finer and smoother than the natural lip color. I use it when I am unmade too, wonderful :)

You have seen the shade Ripe Raspberry before in this make-up, among other things:
IMG_7557_111

Two stooora thumbs up! :)

Nanshy Kabuki brushes

Nanshy's popular kabuki brushes which is perfect for applying mineral foundation has been sold out for a long time on Byher.se, but now we have refilled all Nanshy brushes and finally the kabuki brush is in stock again as well! :)

1423299853-7902

A good brush is a must to get a nice base when applying mineral foundation, this is super soft while it is quite compact, which gives a smoother and finer result than with many other brushes.

If you change from a "bad" kabuki brush to a good one, it can actually make it feel like a completely different foundation! Really difference :)

Nanshy is an English brand and all brushes are vegan.

1423299855-7902

The Kabuki brush costs SEK 149 and is available for purchase here. Nanshy also has really good brushes for other base make-up and eye makeup :) And there are also ready-made brush sets where you get a cheaper unit price if you buy more brushes at the same time.

masterful-collection-pearlescent-white-make-up-brush-set1

You will find all Nanshy's brushes HERE :)

Hug ♥

Cover pimples in the best way

The difficulty with applying make-up over acne and covering pimples is that you have to have such a heavenly thick layer of foundation to get rid of the red tone in the dots, because red has a tendency to shine through regardless of whether you have a good covering foundation. That is why I always work with more products than just foundation for as natural and fine a result as possible.

I have quite a lot of pimples on my cheeks right now and therefore thought I would take the opportunity to show you step by step how to make them off without getting an unnatural and cakey result :)

Because I have shown you before how you can make up a single pimple, with concealer, etc. But it is not as easy when you have many pimples, you do not have time to make up pimple by pimple when you have 100 pieces. Then you have to focus on whole areas instead. But I still think that you should not have the same coverage all over your face, where you do not need as much coverage, it is nicer to have it more natural, and the whole make-up will be more durable then.

Here you see before and after my result of covering pimples in the best way!

Cover pimples in the best way before and after

Difference huh? A little difficult to judge when I have taken full pictures of the face, so here are some real close-ups as well so you can see really well!

Cover pimples green primer

This is how the skin looks completely unmade up.

Cover pimples with green primer:

What I start with then is a green face primer that neutralizes the reddest, Zuii Organic Correcting Primer (adlink).

cover pimples with green face primer

You can take quite a lot of primer, but massage it into the skin thoroughly before continuing to apply make-up. I have not done it in the picture yet just so you can get an idea of how much I have used. But as long as you massage it into the skin properly, you can apply quite generously with primer if it is a smooth area such as the cheeks. Around the nose or eyes where the skin is a little thinner, you should not apply as much :)

2. Mineral foundation

8621-glominerals-glopressed-base-beige-light-raw

Then I use mineral foundation, in these pictures I have used gloMinerals Pressed Base Foundation in the shade Golden Light. Mineral foundation is great for acne skin, purely in terms of skin care, and it is also so good because you can easily apply more where you need more coverage, and then apply a very thin layer on the other areas without the result looking uneven.

cover pimples with mineral foundation

Then it looks like this later! As you can see, the pimples closest to the ears are not completely covered, which is because it is a little difficult to see in the mirror there because it is so far to the side. So it's a tip you can learn from my mistakes, be careful also on the pages so you get all the pimples covered :)

Cover pimples with powder that neutralizes red:

In any case, when you have come this far, it is now that you often use too much foundation, you can cover the pimples even more if you brace yourself, but for as natural and sustainable a result as possible, it is better to use a powder that neutralizes red.

I have tested several powders of this type before, but never really stuck to it for 100%, until I tested gloMinerals  Redness Relief Powder, it's so good! You can either just swipe with the brush over the face for just a little effect, or you can dab on quite a lot in a specific area and then it is extremely effective!

cover pimples with redness relief

I nibble on quite a lot of powder Nanshy foundation brush, and then I use a kabuki brush to massage it more into the skin and brush off excess powder.

Also read my post where I go through all of them makeup brushes from Nanshy. :)

before and after covering pimples / rosacea

And here you see the final result!

You can see the pimples quite clearly in the afterimage, but it's mostly because I have such a good camera, you hardly think about it in reality. That was the first thing our makeup artist Sandra said when I came out of the store again (after starting the work day without make-up) she said straight away ”you have covered it super nice really!”And best of all - the make-up lasted well all day too :)
makeup over rosacea

And with a little contouring, blush and eyebrows (so you look a little alive again) you will be this nice! :)

Summary

It is not one good product that gives the best result, unfortunately, or not as I tested anyway. It is often thought that many products become cake on cake and give an unnatural result because it is "a lot of makeup" but it is rather lots of same product that ultimately gives a make-up and actually uneconomical result in the long run. Use some of several good products that work together instead! And focus on neutralizing the red more than putting a thick skin-colored layer over it.

Hope the post was helpful, shout out if you have any questions. Also read my post about that reduce redness of the face. ♥

Brown Ecorce makeup

Yves Rocher's new eyeliner pencils "Color Eye Pencil" have become a new favorite in my makeup collection! Pigment-rich and available in lots of colors, both brightly colored colors to liven up life and glittery murky tones that are the finishing touch to an evening make-up.

Here is a make-up that I did partly because I love the shade Brown Ecorce* which is a brown shade that goes a little in the khaki direction, and it is very, very glittery!

But I also did it to test the durability of these pencils, I have painted the pen exactly where the eye folds when you blink, which makes it quite a strain on the color. And I have not used eye shadow primer. In addition, I applied the pen along the waterline, which is always an exciting test on products that are not waterproof. So this is a make-up that would not last very many hours with a product that does not measure up to durability - but it did! I put on make-up at 13-14 and in the evening before I washed it off, it was still just as nice :) Two thumbs up!

IMG_7941_111

Fint va?

The lips are the colored lip balm Coral Crush from Pixi Shea Butter Lip Balm.

I will soon blog about the basic make-up in this picture, so it will soon be in a separate post. I have before and after pictures of what I want to show you :)

IMG_7891_111

White shimmery eye shadow In the corner of the eye, Paese Diamond Eyeshadow (7)
Brown glittery eyeliner sooted around the whole eye, Yves Rocher Color Eye Pencil (Brown Ecorce)*
Black mascara on all lashes, Magnetic Lags Mascara (without fibers)

IMG_7913_111

IMG_7910_111

Two thumbs up in other words!

And you know what? From tomorrow (October 27) until November 2 has Yvesrocher.se* a super mega Halloween campaign, if you've craved pencils, wait a day and go shopping tomorrow! You can then choose an optional product from the range at no extra cost. You get the first product you put in the shopping cart!

Now I will drink up my Celsius (have stopped drinking coffee at work and started with Celsius instead haha, better breath when you meet customers you know hihi) and then I will knead out and make the store unsafe;)

Hear a little later today! ♥

en_USEnglish