")
Many people wonder how to make their lips bigger, so now I have made a clear post about everything to think about when you make your lips bigger.
I do not want bigger lips because I think I am nicer in it than my natural narrow shape, but because I want more lipstick! :) My shape is a bit fluffy in the cupid's bow, but on the sides I hardly have any upper lip at all.
The question "how do you make your lips bigger?" or "How to paint lipstick outside the mold?" there is no right answer, because it depends on what your natural lip shape looks like and what you want for results.
But in this post I thought I would show some guidelines that I usually think about and which are a bit general for most people :)
Color choice to make the lips bigger
It's a little easier to cheat out a larger lip shape the more colorful lip makeup you use, e.g. red etc. It does not become as clear where your natural lip contour is.
But it goes with lighter colors too! I show that in this post. But it is a great advantage to choose one a little darker tones in the outer edges in any case, to minimize the visibility of your natural lip contour. But it does not have to be very dark!
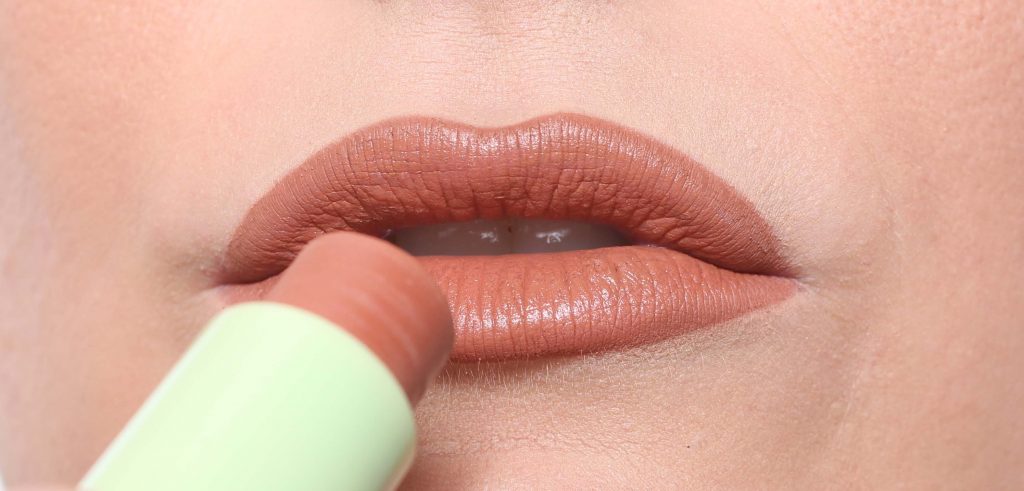
In this post I have used a warm medium dark lip color that becomes quite discreet:
I have tattooed my lips bigger too, so on the role models I have made off the tattoo.
Product choice
I always use a matte product in the contours, e.g. a lip pencil, a matte lipstick or a regular lipstick that is creamy but not super glossy.
Then in the middle of the lips you get a little more "plut" if you apply a glossier product. But you do what you want, I vary!
In this post I use:
- The lip pencil glo Skin Beauty Lip Pencil in the shade Acorn
- Colored lip balm Pixi Shea Butter Lip Balm in the shade Sweet Peach.
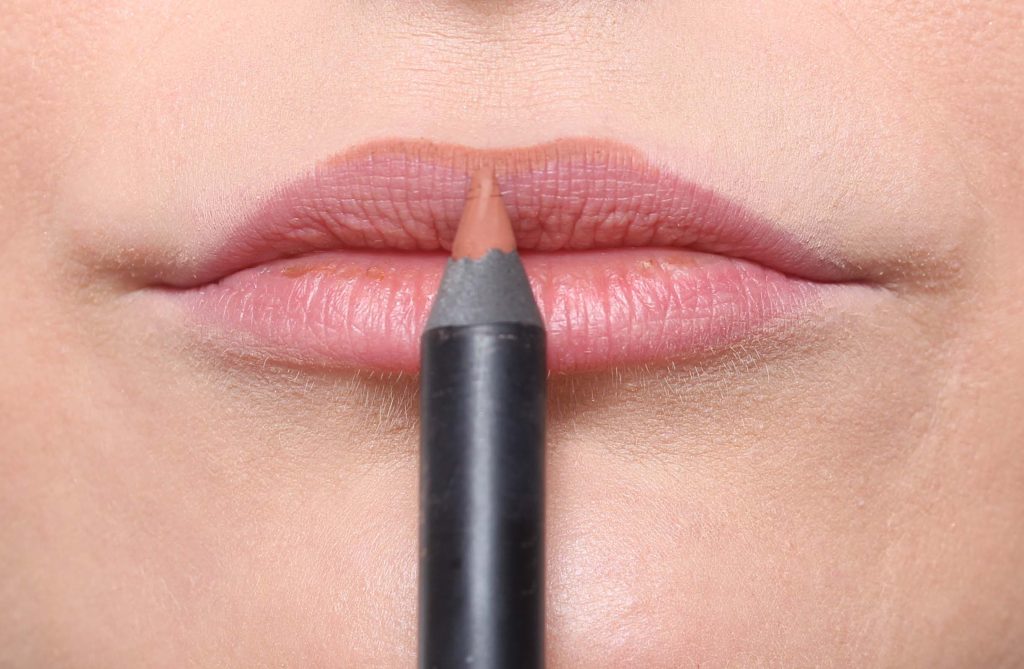
Amorbågen
It is very nice with a very marked and deep cupid's bow, but when you put on make-up as far outside the lip shape as I do, it becomes (on my lip shape) quite clear that I have put on make-up far outside if I do not do it in the cupid's bow as well.
So I make up quite a lot outside the lip contour in the middle of the cupid's arch so that it ends up higher up, in addition I make it a little softer in shape.
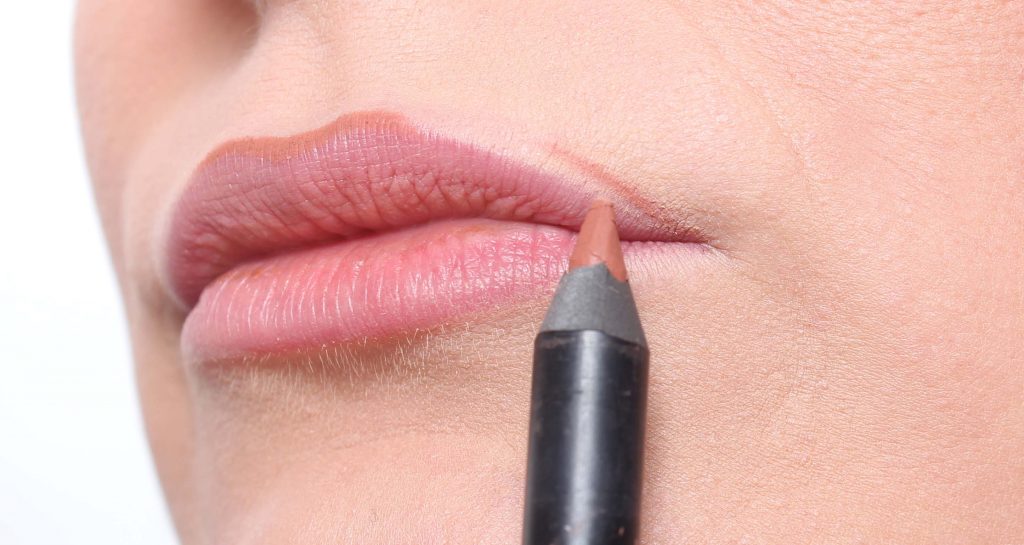
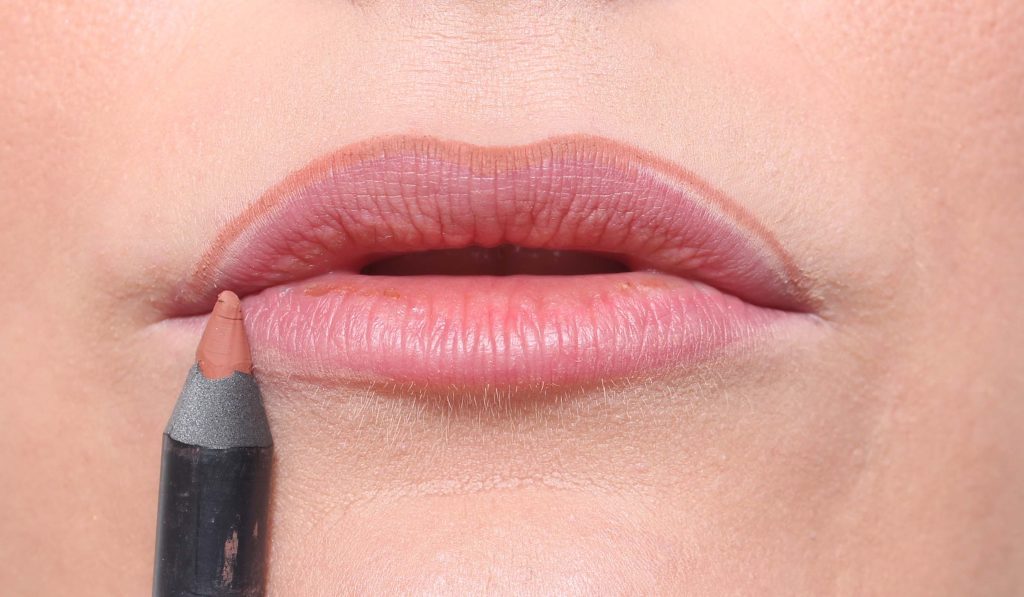
The sides of the lip
This is where (on most lip shapes) you can paint very far outside the lip contour! Why? Well because the area that is often quite flat. As soon as you have a lot of plut, it looks unnatural if you put on make-up outside the plut, but where the transition between lip and skin is flat where you can just drive! :)
Remember to make the line go into the mouth of the mouth so that you do not get the clown mouth effect.
I usually make the line a little rounded, so that it goes towards the cupid's bow in a natural way. If you make it straight but this far outside the contour, it can be difficult to "tie" the line naturally with the cupid's bow.
On the lower lip I can not enlarge so much because there is too much plut in the middle so it becomes too clear.
Symmetry
In this step, I do not care much about symmetry yet, because the natural lip is (on most) not symmetrical anyway so you are easily fooled by the fact that you painted more outside the contour on one side than the other. Then it can look uneven even though it is actually even!
So the last fine grinding with symmetry and exact shape I do only when I have filled in the whole lip in the same color.

Fill in the entire lips
Then just fill it out! Either you can just tint the lip pencil a little and then put a lipstick in a similar tone on in the middle of the lips. But in this post I have the lip pencil on the whole lips and then I dab a colored lip balm in the middle afterwards.

Light up outside the contour
For people who have similar skin tones as me, I really want to recommend the pen glo Skin Beauty Precision Eye Pencil in the shade Peach, what a multiple! I use this around my lips every day!
Brightening up just outside the contour highlights the lips more and when you have put on makeup far beyond your own lip, it looks more natural because you are faking a faint plut.
This also works with a flat brush and concealer or matte highlighter, for those of you who do not fit in / want this pen :)
A little shine in the middle
It is best with a matte product at the edges, because gloss highlights shapes so then your natural contour can be seen in the glitter. But in the middle of the lips you can put a little shine!
Here I have a colored lip balm with it works with anything, a creamy lipstick or lip gloss.
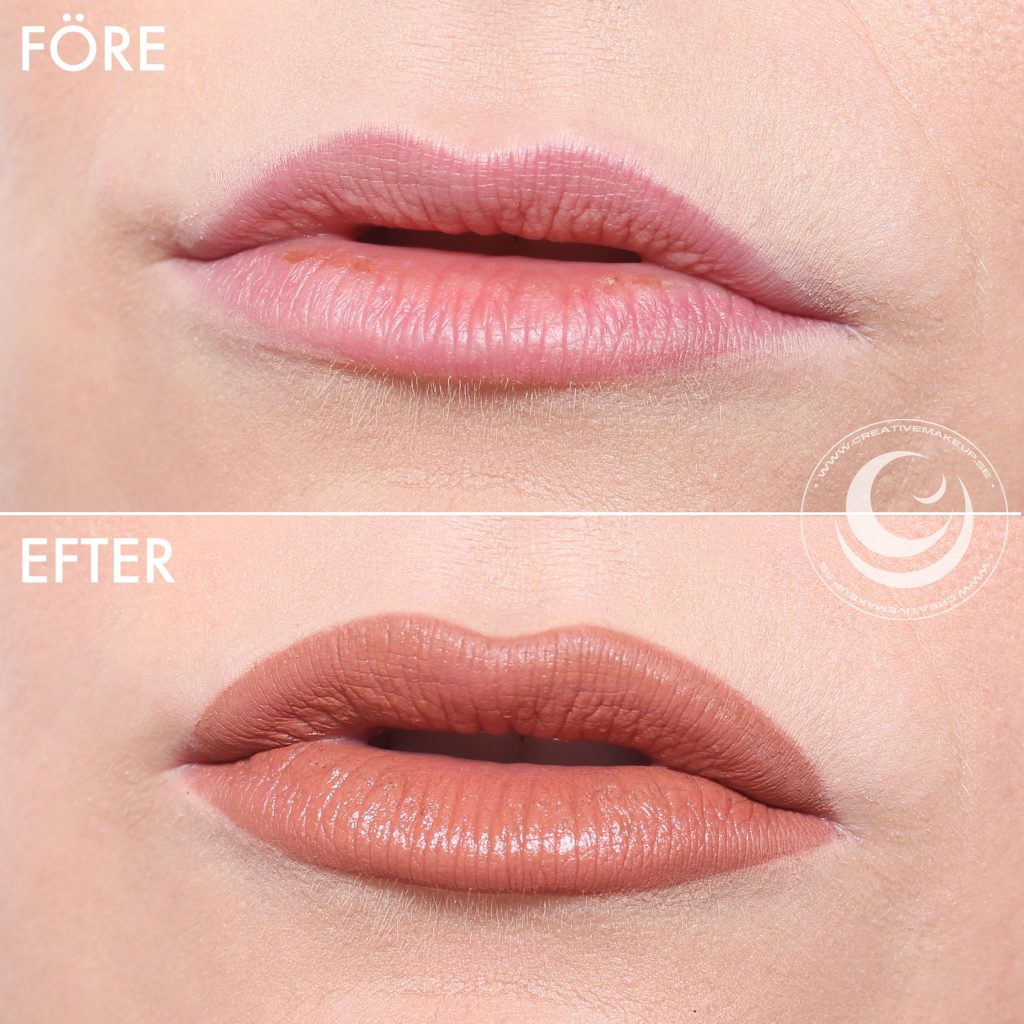
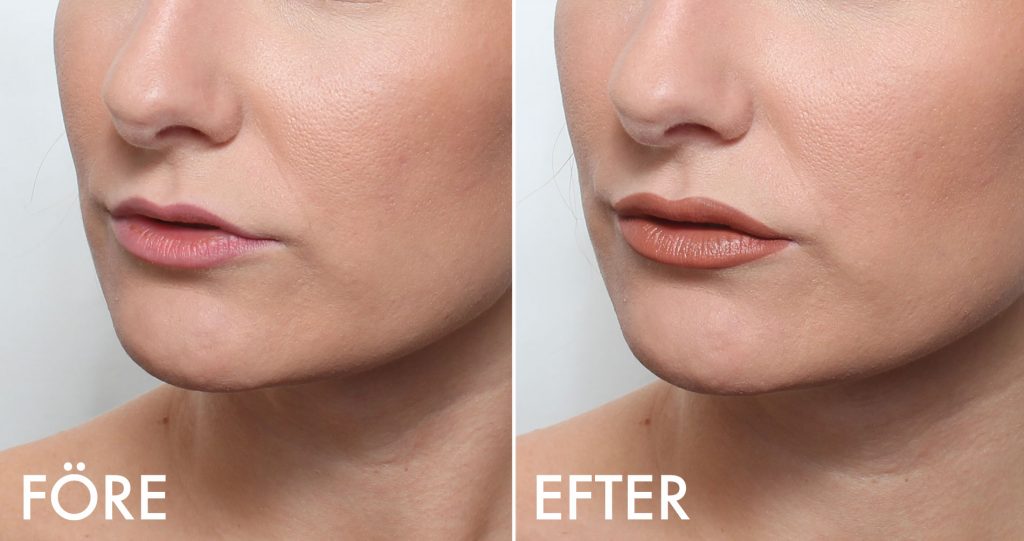
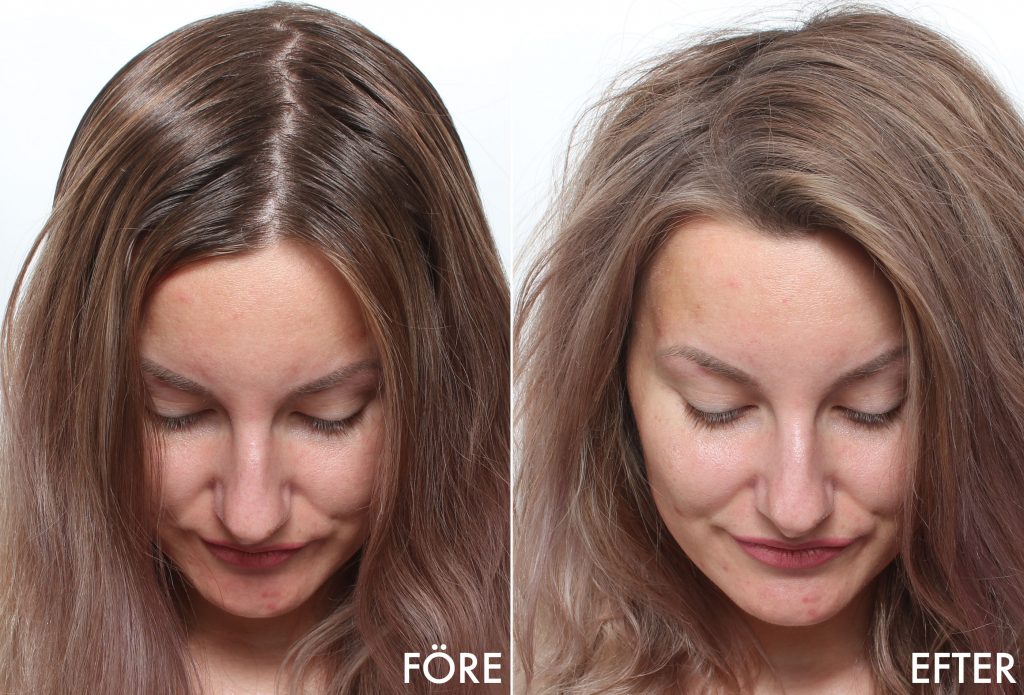
Here you see before and after!

Hope you were inspired and that the post about making your lips bigger was helpful!
Also read:
- 8 simple makeup tips for beginners - Step by step
- Make-up for passport / driver's license / ID / black and white
Hug ♥


")


