Best-selling face primer!

A good face primer can be the savior in the need to get a base that is both even and good-looking, and that lasts from morning to evening. Here is my post about our best selling face primer!

Why use face primer?

There are lots of different face primers, and which one you should choose is partly about what type of skin you have, but also what you want to achieve for results. But the basic properties of a face primer are to even out the skin and make the face a better surface to put on make-up - much like painting undercoat on the nails or sanding a wall before you start painting, the result is nicer and more durable :)

Paese Makeup Base

My favorite primer, and many of my clients' favorite primers, are Paese Makeup Base available in different varieties, I use it for oily skin. Creativemakeup.se has received a full 25 reviews on these primers that you can go in and read, great fun! And we have several repeat customers who buy these primers over and over again, and that is the best response you can get ♥

Best-selling face primer!

What is Paese Makeup Base?

Paese Makeup Base is available in three different variants, Matte, Smoothing and Illuminating. The transparent is dull, the white is good for dry skin and the light pink contains light-reflecting pigments that liven up dull and lifeless skin.

Properties that apply to all three:
♥ Smoothes the skin and fills in pores and fine lines
♥ Make the skin silky smooth, you feel like velvet!
♥ Makes your makeup last longer
♥ Is gentle on the skin and also suitable for sensitive skin

The primer is packaged in hygienic pump bottles, contains 15 ml and costs SEK 169.

IMG_5205_111

IMG_5214_111

The texture is very smooth and incredibly good, one pump is enough for the whole face.
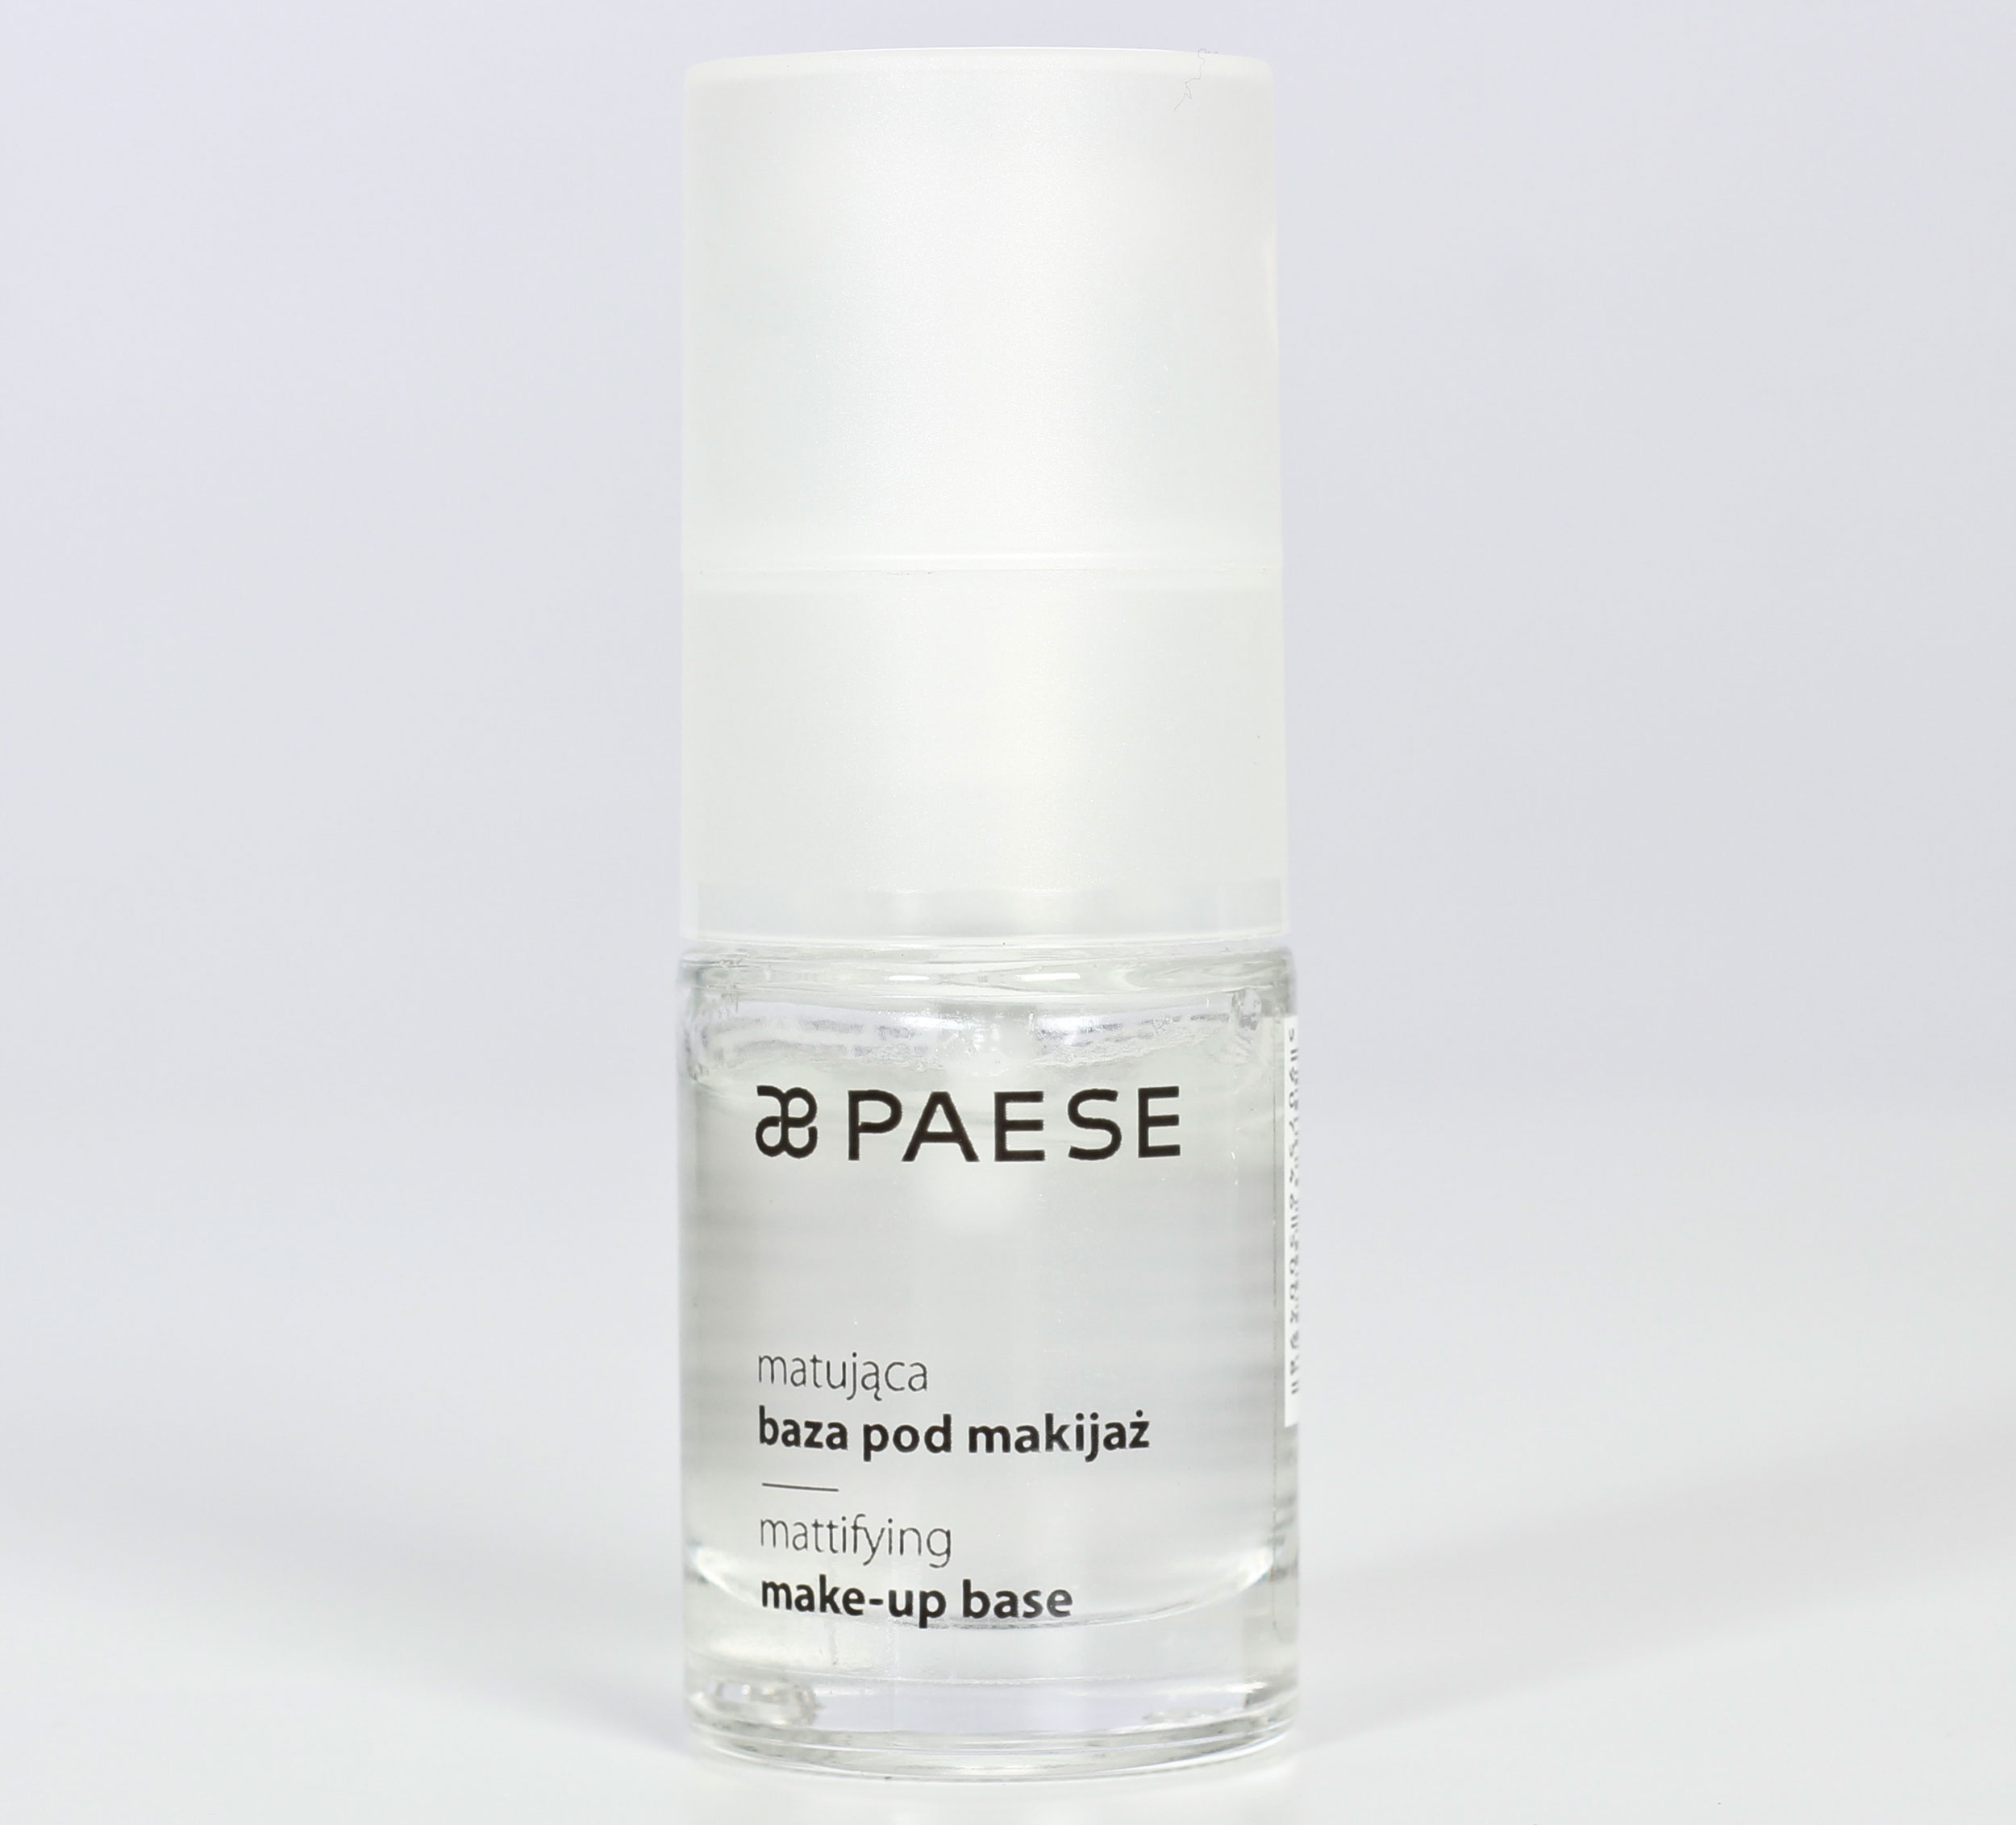
IMG_5223_111

Matte Base:

Is my personal favorite primer and is also the one who has received the most reviews. I have very oily skin, and this primer in combination with Paese Bamboo Silk Powder works wonders! Instead of having to powder myself once an hour, 1-2 times a day is enough. Really wonderful.

The primer is specifically formulated to soothe oily skin, and contains a large dose of vitamin E.

Without this primer, the face becomes shiny much faster, and many people experience that the foundation begins to melt and slide in the face, which often results in it looking a bit cakey after a few hours.
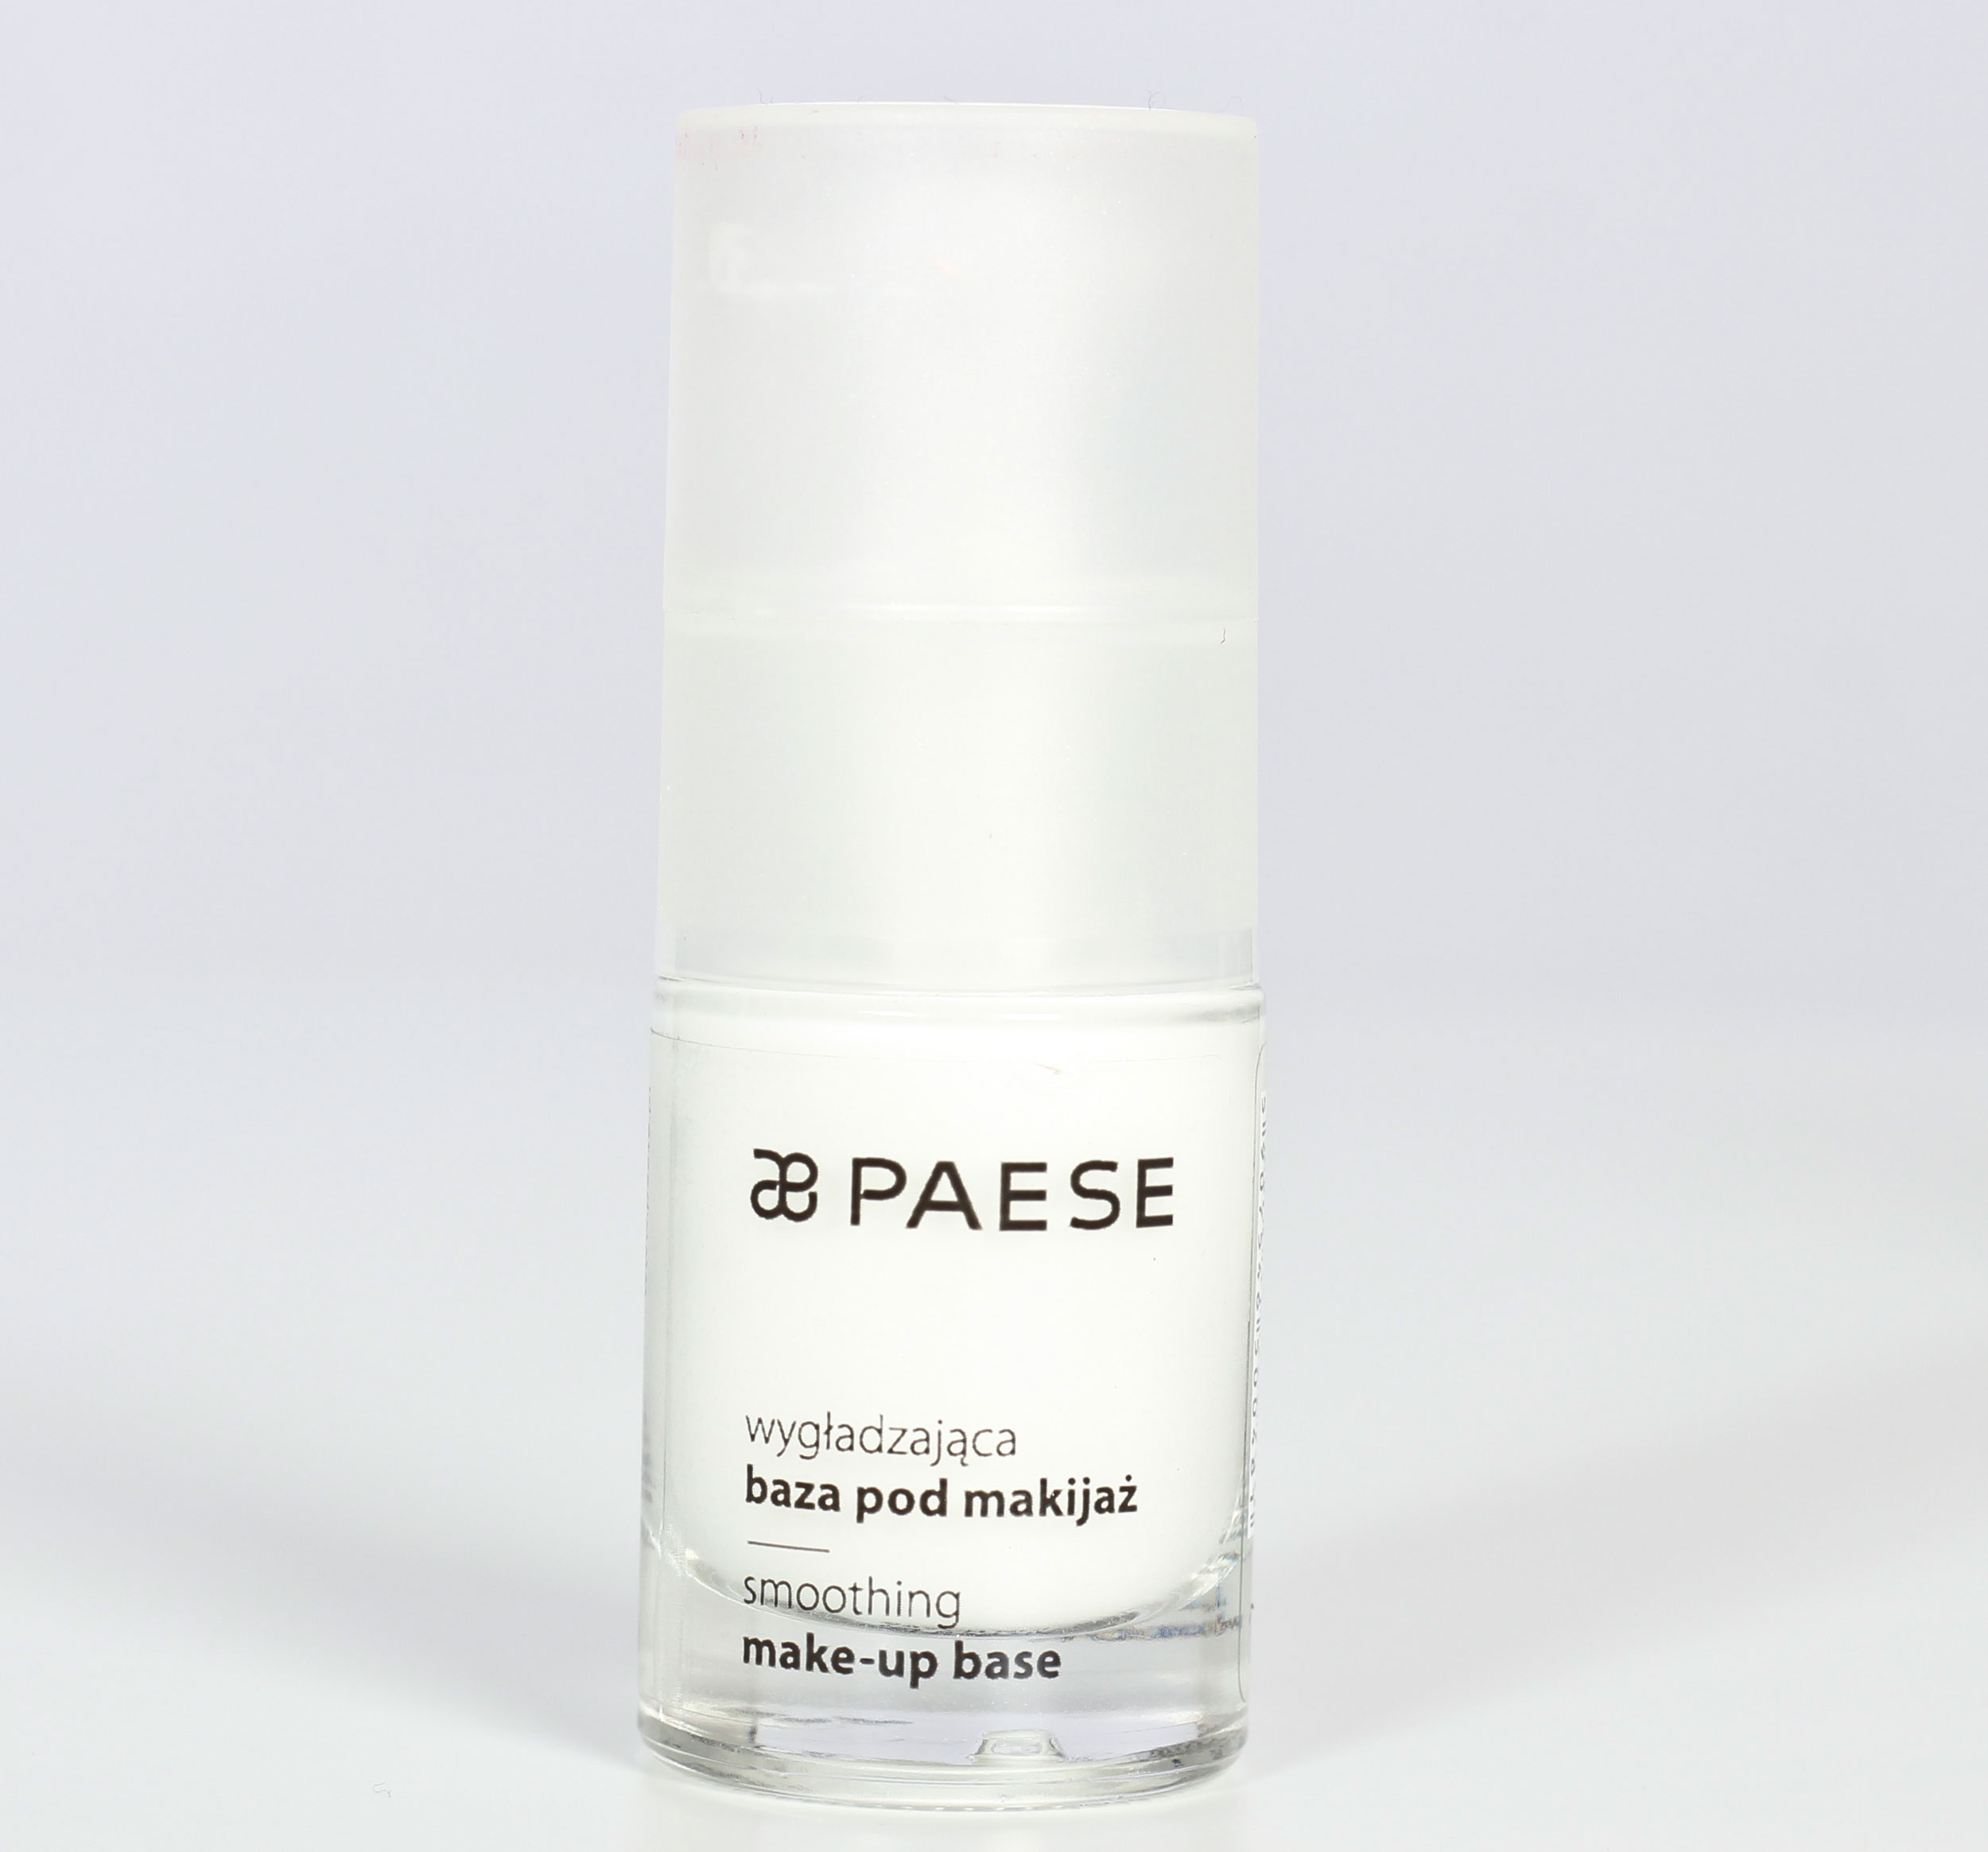
IMG_5226_111

Smoothing Base:

Is moisturizing and specifically adapted for dry to normal skin, it evens out dryness wrinkles and flaky areas, and makes the makeup stick better and stay in place all day. With this primer, it is also easier to apply mineral make-up, as dry on dry otherwise it can be a little harder to get to attach and provide good coverage.

It contains vitamin E and macadamia nut oil which increases the skin's elasticity and has nourishing and rejuvenating properties.

Without this primer, it is a common problem for dry skin that the foundation releases during the day, that irregularities then again and again begin to shine through and at the end of the day it does not feel like you have so much makeup left.

IMG_5229_111

Illuminating Base:

Contains small light-reflecting pigments that lighten up irregularities and make the face look more even. At the same time the skin gets a radiant glow! Great even when you are not wearing make-up. 

Specially developed for dull, tired and dull skin, which is a little extra common now in winter.

Without this primer, you can often experience that the skin looks flat and dull after foundation, a bit like a mask. But this one comes alive! :)

I have mixed skin, both oily and dry, which should I choose?

You can use different primers on different parts of the face, if you e.g. has oily t-zone but very dry cheeks. Then you can put Matte Base in the T-zone and Smoothing in the rest of the face. But for the sake of simplicity, if you do not want two, I recommend Matte Base all over the face, because it is not bad for dry skin but is smoothing and good even in dry areas.

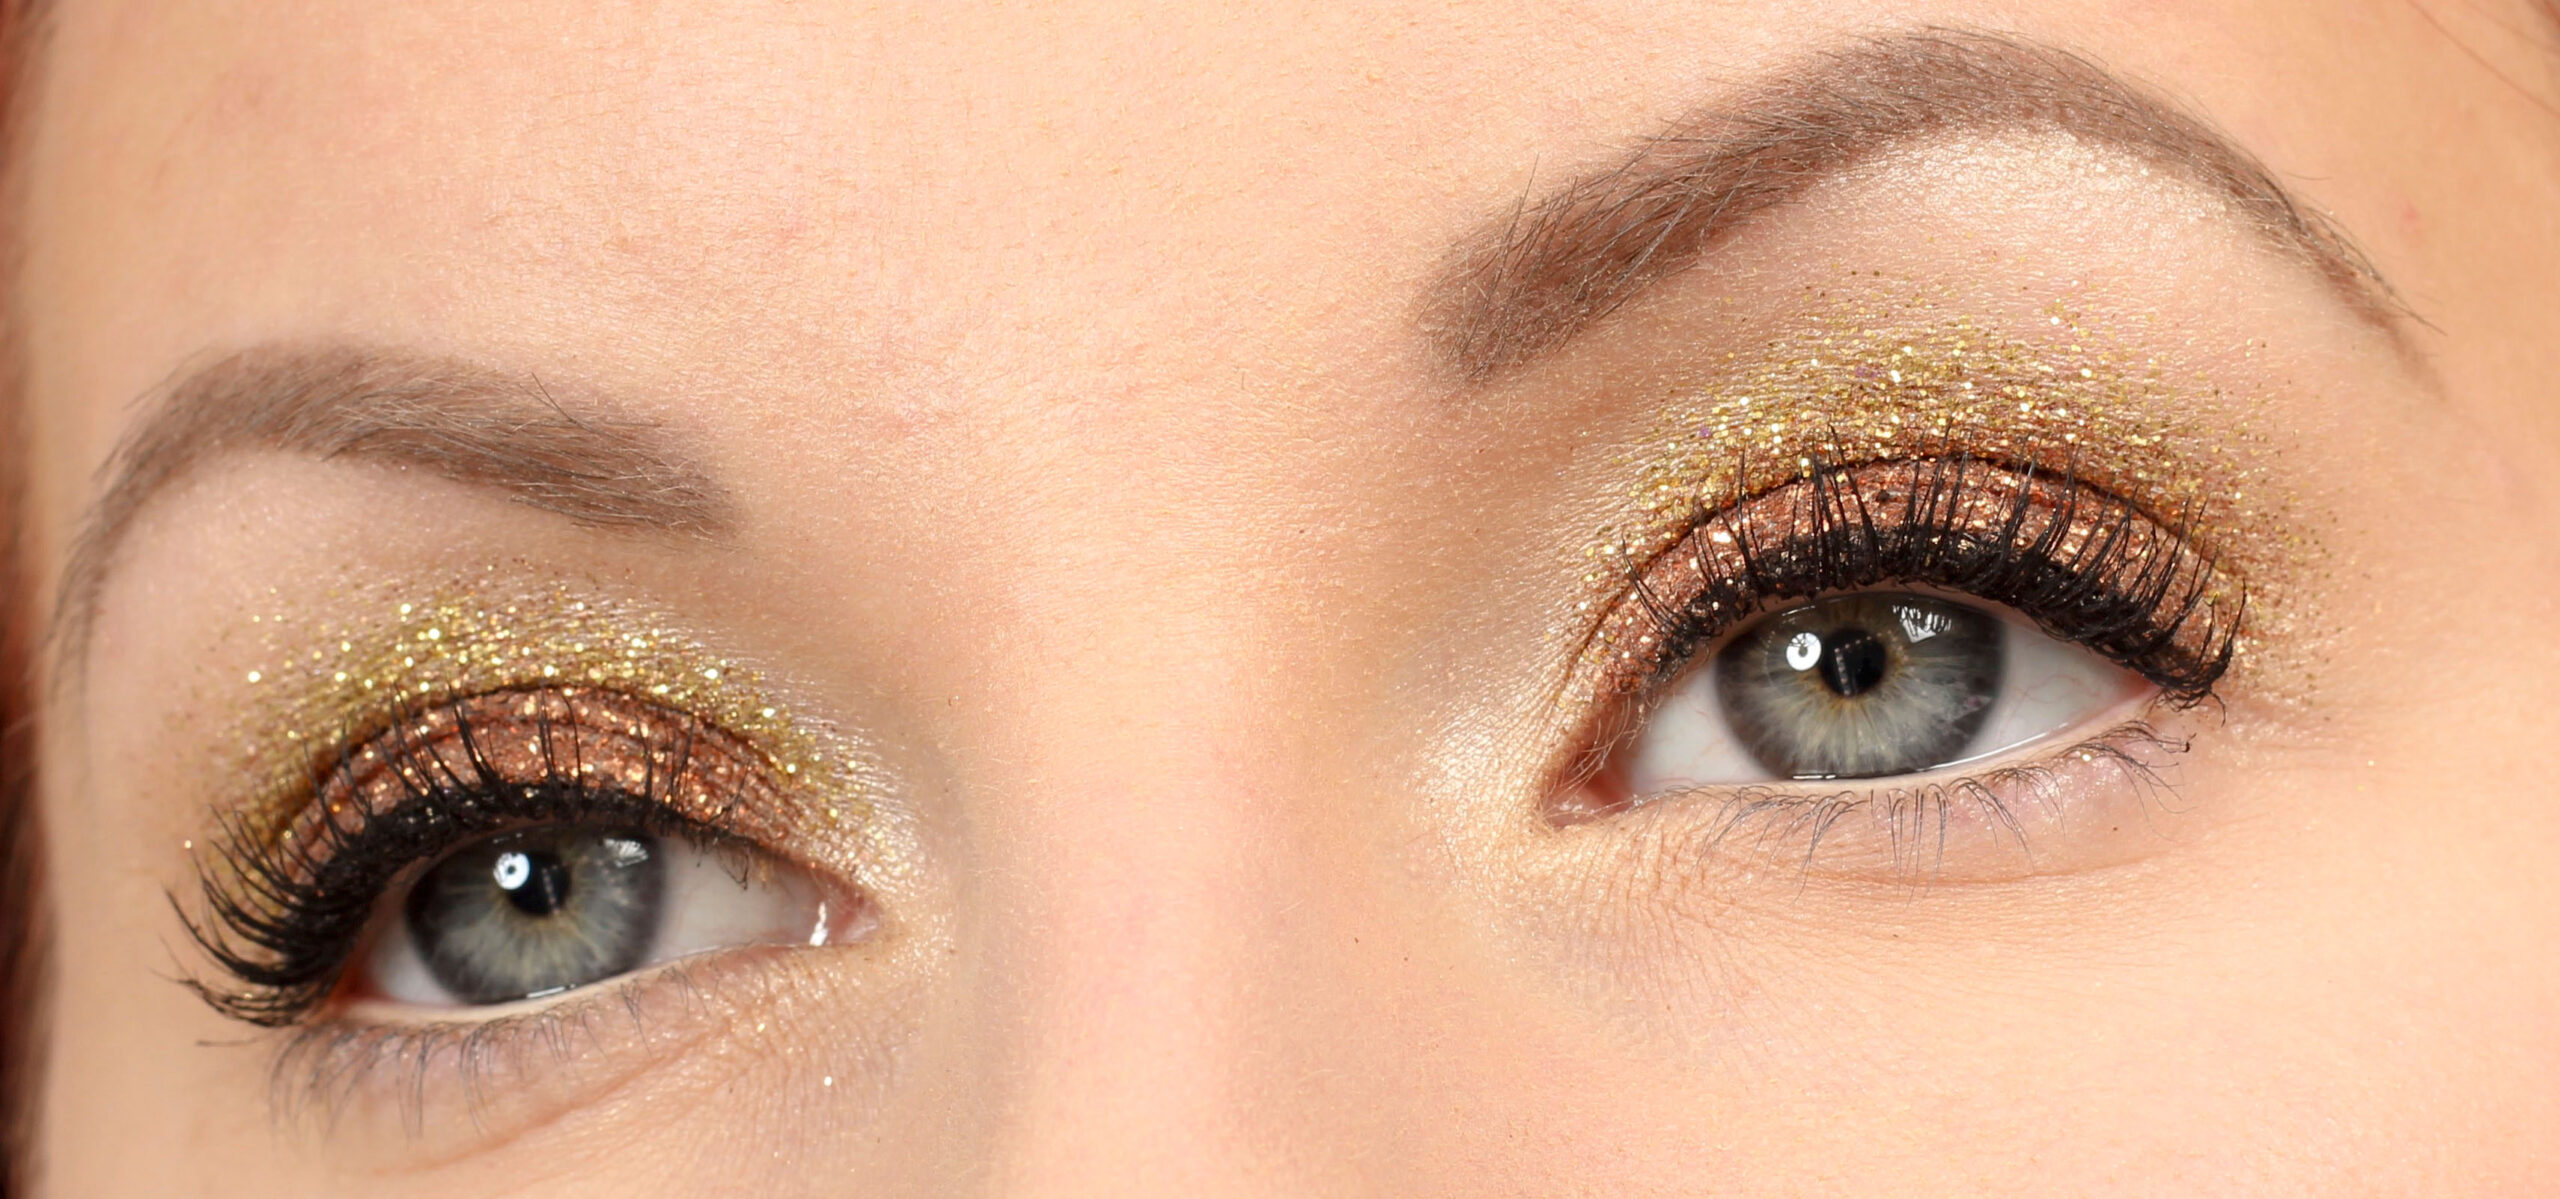
Can I use the primer on the eyes?

I usually apply face primer all over the face and also around the eyes and on the eyelids, because you want a perfect base all over the face with an even skin and skin tone, even if you have to apply more make-up later.

But face primer does not have the same properties as an eyeshadow primer, they are just called primer both because both are a kind of foundation before the makeup you are going to apply later. So face primer is a base before foundation, and eye primer is a base before eye shadow, but the products themselves are completely different.

You get a more durable result for the eye makeup if you have a face primer, if you compare with having nothing at all, but an eye shadow primer works more like an adhesive for eye shadows and makes the shadows more pigment-rich and much, much more durable.

Best-selling face primer!

How to use face primer?

1. Clean your face and apply day cream as usual
Pump out a small click of primer on the finger, on cleaned hands
3. Massage the primer into the entire face, I recommend doing it with your fingers instead of a makeup brush, because then you can more easily work it into the skin so that it blends in properly and does not just lie as a layer on the surface.
4. Then you can start putting on make-up as usual!

Best-selling face primer!

Summary, which face primer is best for me?

Choose a primer based on your skin type and desire for results, massage into the face before you start putting on make-up, and you get a more easy-to-work surface and a base make-up that becomes much more durable.

Paese Makeup Base is available for purchase here!

Get in touch if you have any questions ♥

Gold glitter New Year's make-up

Glitter is our best friend when it comes to New Year's, because it means that any look can become a party party without necessarily having to be very dark or intense if you do not like it.

Here is a New Year's make-up that is very gentle in its colors, perfect for you who like lighter tones in gold and bronze and who generally do not want so much make-up around the eyes, but who are still incredibly festive and shout New Year's Eve! :)

IMG_5023_111

IMG_4973-copy_111

Base:

Face primer - Paese Makeup Base (Matte)
Foundation - gloMinerals Pressed Base Foundation (Golden Light)
Powder that neutralizes red - gloMinerals Redness Relief Powder
Contouring - Pixi Book Of Beauty Contour Creator
Rouge - Pixi Book Of Beauty Blush Palette
Makeup Fixing Mist - Pixi Makeup Fixing Mist
Dehydrating powders - Paese Bamboo Silk Powder

Lipstick - gloMinerals Suede Matte Crayon (Demure)

Untitled-1_111

All glitter is attached with Mixing Liquid from Make Up Store.

  1. Eyeshadow primer, Pixi Eye Bright Primer
    Light metallic eye shadow on the entire eyelid, Paese Diamond Trio (707)
  2. Bronze glitter at the bottom of the eyelid, I applied it with Nanshy Pencil Brush from the set Masterful Collection to get it close to the lash line without smearing the lashes.
  3. Dab more of the same glitter on the entire eyelid
  4. Dab gold glitter over the bronze, take a little less on the brush when you dab the glitter at the edges, so it looks a little thinned.
  5. Black eyeliner, Paese Penliner
  6. Finish with black mascara, Magnetic Lash Mascara


IMG_5001_111IMG_4993_111IMG_5009_111

Hope you were inspired! ♥

Glittery New Year's nails

You do not have to go shopping for an expensive glitter nail polish that you will only use once to get bling-bling on your nails before New Year's Eve, if you do not want to. What many people forget is how extremely simple it is to do yourself at home :)

At hobby shops, there is extremely cheap glitter, and many of you probably have it at home in a box somewhere as well. And that + transparent top coat is all you need to make your favorite nail polish sparkle like a disco ball on New Year's Eve!

And today I thought I would show you a little quickly how I apply glitter in the easiest way, and that is with the help of a makeup brush :)

IMG_4494_111

One of my favorite nail polishes is Paese Nail Polish in shade 318, a purple color that becomes a little metallic on the nails. Very hot! And these pictures were taken today, which is, hear and be amazed, 8 days after I painted my nails. And I even basked on Christmas Eve!

These varnishes + topcoat from Paese give an incredibly durable result, if you have a smooth nail surface underneath :)

And to get my nails nicely glittery, I have simply done this:

nyårsnaglar_111

  1. Paint the top coat on the nail, and let it dry for a little while. It should not be wet but not dry either.
  2. Dip a fluffy brush in glitter, I have used a very fine-grained silver glitter.
  3. Dab the glitter on the nail, I have put more in the tops. And when it has dried, finish with another layer of top coat.

It's not harder than that! Hardly any mess and you are done very quickly :)

Then you can experiment a lot more if you think it's fun, e.g. make patterns with tape, or mix different glitter. But thanks to letting the top coat dry a bit and then dabbing on the glitter with a brush, it's incredibly easy.

IMG_5057_111

Quick, easy and effective, just to my taste;) ♥

New Year's make - up

Hi fine ni!

Here is some inspiration for you before New Year's Eve, I have done hundreds of party make-up over the years so there is a lot in the archive;)

Which make-up is your favorite?

partyparty_1112

You do not miss that you can choose to browse among all party make-up under the tab "browse among make-up" and then choose party make-up? Then you see an overview of all looks and can click on the posts that seem to appeal to you :)

Hugs are!

Attach glitter to your New Year's make-up (5 steps)

Is there anyone more than me who will sparkle on New Year's Eve? :)

Making a glittery party make-up is not super easy if you do not have products that are adapted for it, and the best glitter for a real bling-bling look is ordinary loose glitter (which can be bought in most hobby shops if you do not want to spend so much money on something you will not use often) but it is basically impossible to attach without some product that helps with that bit. If you try to dab on such glitter on a regular dry make-up, it will just fall off.

But here is a post where you can clearly see how I usually do! :)

glittery New Year's makeup

Glitter is great both for an eyeliner or dipped directly on the eyelid, it really gives that little extra to the make-up :)

IMG_4870_111

What you need:
Mixing Liquid from Make Up Store
♥ Glitter in any color
♥ Makeup brush to apply with. I usually use a small narrow if I want to apply the glitter sharply, e.g. to an eyeliner. And then I use a little wider to dab on glitter in larger areas. These brushes come from Nanshy!

IMG_4876_111

1. Pour a small amount of Mixing Liquid into the cap of the bottle. So you can dip in it later, so you do not risk getting makeup into the bottle.

IMG_4877_111

2. Dip the makeup brush into the cap.
(Answer yes it is bite marks you see on the sides haha. What you do not have in the muscles you must have in the head / teeth. Not because it worked either in itself, Miska had to save me then hihi)

IMG_4881_111

Brush a little liquid on your hand, so that the brush is not too wet.

IMG_4883_1111

4. Dip the brush into the glitter.

IMG_4893_111

5. And then just paint! I have used an oblique brush to apply the glitter sharply, it or an eyeliner brush is the best when you want a lot of glitter in a small area.

IMG_4897_111

And in the same way I do if I have to dab on glitter on a make-up where the glitter should be more spread out, but then I use a wider brush and press the glitter with the flat side. Great to do if you want the eye shadow underneath to look good too.

Then the glitter sits like a charm all evening! :) ♥

en_USEnglish