White & Color

Every time I have sat at the make-up mirror lately, my fingers have wandered to the autumn colors yellow, orange, red, brown, etc. But after cleaning the whole garden in the weekend this weekend, I suddenly felt that I wanted to see something else :)

Hope you like the look!

Bassmink:
Face primer - Pixi Flawless & poreless primer
Foundation - glo Skin Beauty Satin Cream Foundation (Natural fair) possibly a news that comes soon, it is under testing :)
Powders for redness - gloMinerals Redness Relief Powder
Contouring & highlighter - Pixi Contour Creator
Rouge - gloMinerals Blush (Papaya)
Fixing mist - Pixi makeup fixing mist
Net matting powder - Paese Bamboo Silk Powder

Brynpenna - gloMinerals Micro Brow Liner (Ash and Dark brown)

Lips - Pixi Shea Butter Lip Balm (Ripe raspberry) on the entire lips and a little bit of the lip pencil Benecos natural lip liner (Red) at the edges.

What do you think? :)

  1. Eyeshadow primer, Pixi eye bright primer
    White eye shadow on the inside of the eyelid, Paese opal eyeshadow trio (Ice queen)
  2. Blue eye shadow at the end of the eyelid, Paese Neo eyeshadow (660)
  3. Rosalila eyeshadow at the beginning of the globe line, Paese Neo eyeshadow (650)
  4. Purple eye shadow at the end of the globe line and at the end of the eyelid, Paese kashmir trio (662)
  5. Black eyeliner with wing, Kryolan HD Cream Liner (Ebony)
  6. Turquoise eyeliner along the waterline, gloMinerals Micro eyeliner (teal)
    Turquoise eye shadow along the lower lash line, Paese Neo eyeshadow (687)
  7. Brown eye shadow under the turquoise, Paese opal eyeshadow (caffe latte)
  8. Black mascara on all lashes, Magnetic lash mascara

Clear!

Feel free to make requests about what you want for make-up this autumn ♥

Hug!

Video tutorial - Golden Brown

The eyeshadow trio Paese Opal Eyeshadow Trio in the shade Golden Brown is one of our best-selling eyeshadows both in the webshop and at the salon, incredibly useful!

Here is a super fast movie, just 1 minute, where I show a simple make-up with these three eye shadows:

The eye shadows cost SEK 99 and are available for purchase here!

Other products I use in the film:
Eyeshadow Primer - Pixi eye bright primer
Brush for application - Nanshy Tapered Crease Brush
Brush to fade out -  Nanshy Blending Brush
Small brush in the corner of the eye - Nanshy pencil Brush

Hug ♥

Halloween Pumpkin Makeup Tutorial

Here's another Halloween make-up! Halloween Pumpkin Makeup Tutorial

Every single product in the make-up is available for purchase in my webshop Creativemakeup.se and the make-up was so sjuuukt durable haha. After min skeletal makeup then I knew it was hard to wash off, then I jumped into the shower and thought my face was clean - but then when I stepped out and looked in the mirror I quickly realized that was not the case haha.

This time I therefore took a make-up mirror with me into the shower to easily see when everything was gone. I took a shower, rinsed my face with the shower at quite a high pressure, checked the mirror and the make-up looked exactly the same, rubbed my hands on my face, and the make-up looked exactly the same haha. Great when you need a durable make-up but damn how unnecessary it felt to me who just put on make-up, took photos and jumped into the shower! I had to wash the bathtub when I was done :)

Halloween Pumpkin Makeup Tutorial

What do you think? :)

Here is my step by step Halloween Pumpkin Makeup Tutorial:

base

Start with a comprehensive base e.g. gloMinerals Pressed Base Foundation.

pixi glow mist

2. I like to work with "regular makeup" on the face as I am much more used to it than e.g. greasy makeup and think it's much easier to get nice without it feeling like a face painting for children haha.

But eye shadows and the like do not adhere as well to dry skin, and you can not apply eye shadow primer all over the face. That's why I sprayed a lot of Pixi Glow Mist all over my face to make the shadows stick better, it worked just fine!

I want to emphasize that this Pixi Glow Mist does not get a bit sticky on the face if you use a normal amount of spray :)

step 2 Halloween Pumpkin Makeup Tutorial

3. Looks almost like I tried to paint a beard haha. I paint the contours of the mouth with one black eye shadow (THIS), because if you start with an eyeliner right away, it is much harder to change if you are not happy with the shape at once.

step 3 Halloween Pumpkin Makeup Tutorial

Fill in with black eye shadow as well.

step 4 Halloween Pumpkin Makeup Tutorial

5. Use a top to draw a few lines towards the eyes

step 5 Halloween Pumpkin Makeup Tutorial

6. Orange eye shadow around the mouth and up towards the eyes, Paese Neo eyeshadow (663)

step 6 Halloween Pumpkin Makeup Tutorial

7. White eye shadow along the cheekbones to brighten up, Paese cashmere eyeshadow (601)

Black cream eyeliner for sharper edges around the mouth, and a little in the filling for a more carbon black and durable result. Kryolan HD Cream Liner (Ebony)

Halloween Pumpkin Makeup Tutorial

8. White eye shadow as details around the mouth, (THIS)

9. Then it's time for eyes and eyebrows!

Halloween Pumpkin Makeup Tutorial step by step

  1. Eyeshadow primer, Pixi eye bright primer
    Form a small triangle in the corner of the eye with black eye shadow, Paese cashmere eyeshadow (602)
  2. Mark the whole shape with black eye shadow (does not necessarily have to be this sharp, I just wanted to show clearly how large an area the shadow should be on for the eyes to feel more triangular like a Halloween pumpkin)
    Black eyeliner along the waterline, Paese Linea Automatic Liner (black glam)
  3. Orange eyeshadow in the middle, Paese Neo eyeshadow (663)
  4. Black eye shadow on the outside and inside of the eyelid
  5. Fade out all black eye shadow
  6. Black eyeliner, Kryolan HD Cream Liner (Ebony)
    And pull the shadow down a little towards the lines under the eye
  7. White eye shadow in the corner of the eye and under the eyeliner, Paese cashmere (601)
  8. Orange details along the crease, out of the corner of the eye and under the eye
  9. Black mascara on all lashes, Magnetic lash mascara

Clear!

10 Put orange eyeshadow in the forehead, a little more intensely over the eyebrows. I left a small space just above the brows as well to emphasize them more. Paese Neo eyeshadow (663)

A little black eye shadow as two lines over the eyebrows as well, so that the face shape becomes even more like a striped pumpkin. (THIS)

Then the whole look is ready! Halloween Pumpkin Makeup Tutorial:

Halloween Pumpkin Makeup Tutorial

I made my nose Kryolan HD Cream Liner (Ebony) also and matte black eye shadow on top, (THIS).

The hair and neck / décolleté are sprayed with Vision Haircare Cover Up (Black) (Adlink) and so I made orange loops in my hair by taking a hair loop, putting it against the orange eyeshadow, putting my thumb against and pulling all the way down to the tops. Very simple indeed!

Hope you were inspired! I think it's fun with Halloween make-up that does not require advanced effect make-up but can be made with regular products you can use all year round :)

Hugs are ♥


My business week

This week has been a week where I really feel like I'm starting to get a return on all the work I put in the company since I started the company about 4 years ago!

I talked to a customer this week who said that sometimes it's lucky that you do not know how hard and how much time a thing will take, because if you had known it, you might never have started haha. We started talking about this through discussions and renovations, but quickly realized that it can be applied to many parts of life - including entrepreneurship.

I have lived in poverty, worked hard and had many hours of stress in various problems that need to be solved and fixed. BUT this week I have benefited from many of the benefits of being an entrepreneur! In the end, the reward comes stealthily! :)

To be able to vary their working hours
In the past, I have been almost provoked when people think that you can be completely free with your working hours just because you have a company. On the contrary, I had it, worked constantly and had to say no to a lot just because I could not be free.

But now I am slowly but surely starting to get a little more freedom with the times! Still working more than 100% but can, as I said, add up the hours as it suits me. It felt not least when I could be free all Wednesday and spend time with my sister who lives in Finland who came and visited ♥

I did work a little on the morning twig anyway haha but only because I could not keep my fingers away and not because I really had to;)
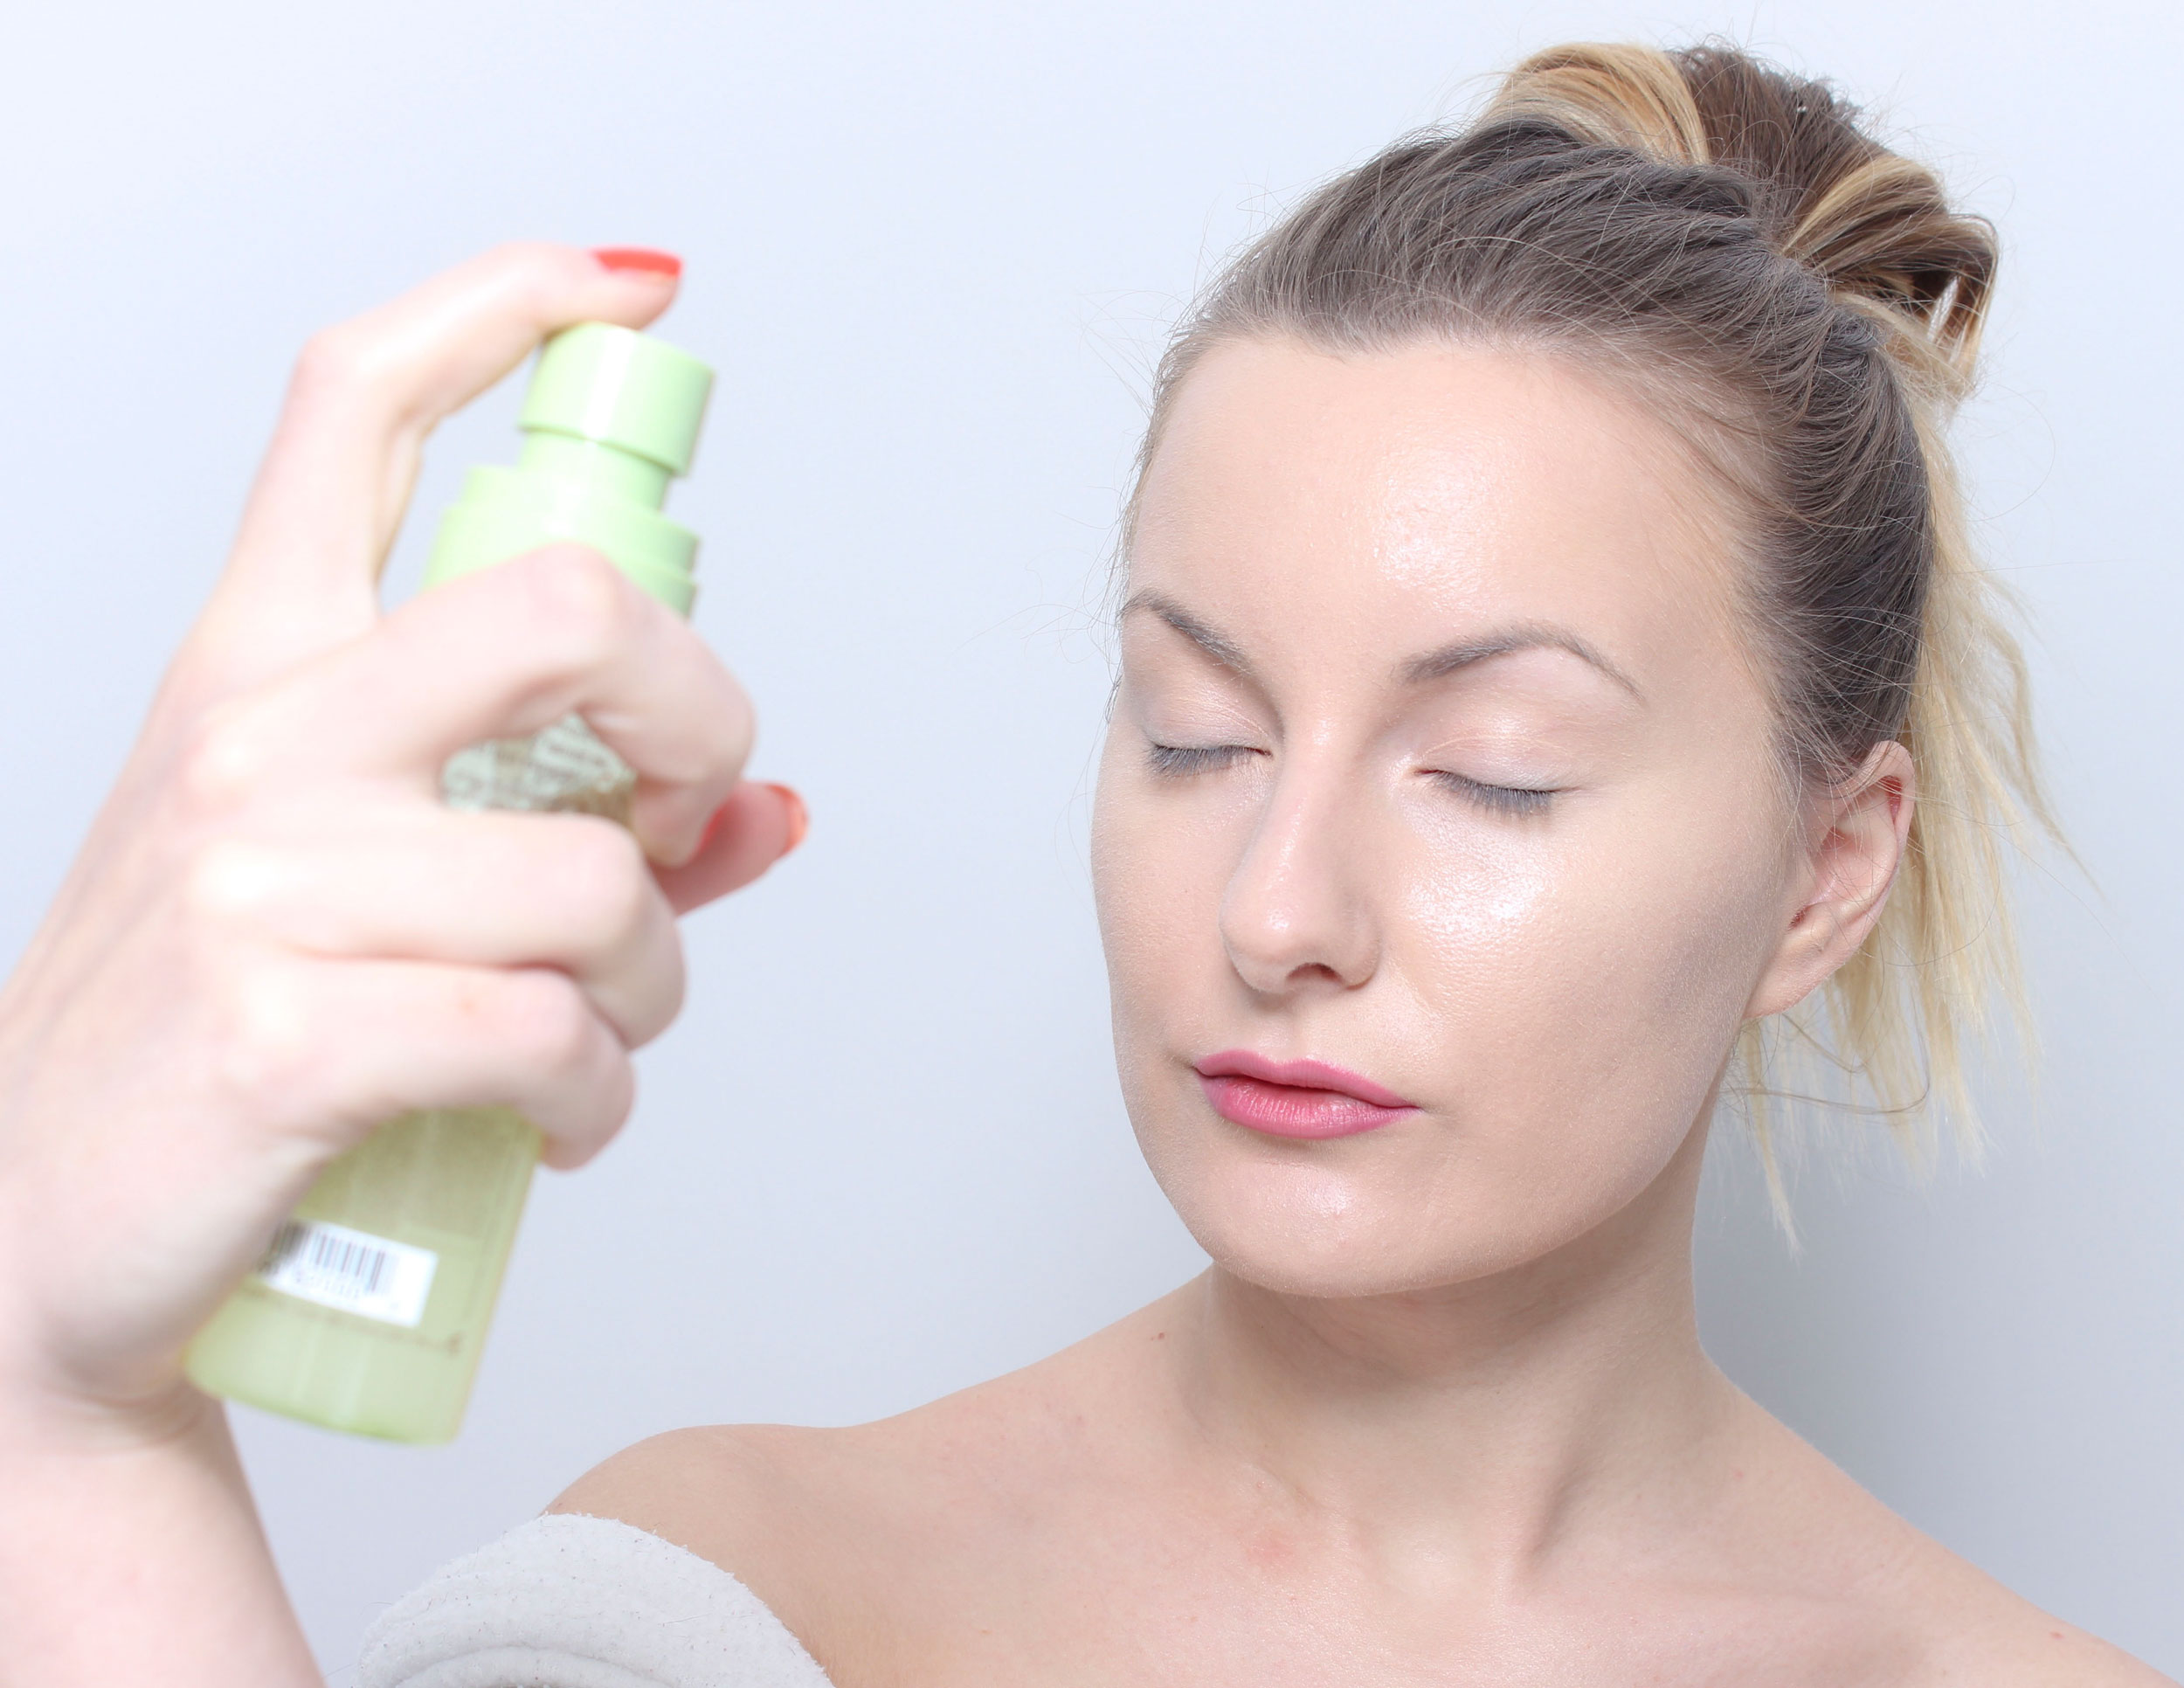
Movie editing
Much of this week has been spent editing the films I wrote about last Sunday. 2 movies with a long and a short version on both so there were 4 movies. It went really well, the films have now been submitted and they were very happy with the result! Pjuh :)

And between the base make-up film and the hair film, I filmed when I also made up my eyes, so there were a total of 5 films to be edited! So I have edited it during the week as well and it will be published shortly.

Here I am editing film on our freshly sanded floor, we are completely renovating and have no furniture haha.

A workplace that provides energy & Saturday jobs
I am so lucky to have managed to build a job that not only takes energy but also ger energy! Usually people love Fridays because it's a weekend soon, while I was bubbly and caffeinated and thought "I'll probably work tomorrow too!" Lol.

And so did I! I woke up early and had a quiet autumn morning with lit candles and breakfast in front of the fire (I know, Miss, I enjoy it!) And then I did a Halloween make-up in the photo studio which you will see step by step soon. Then there was a computer job on the couch with a cat in her arms. Mys ♥

Lots of admin jobs
As I wrote last week, I have started collecting all customer bookings on the same day and it has really given results, I have done so much!

I am planning an autumn event 1 Nov, a major cleaning of our product range and news, purchasing and planning for our barber starting 8 November, I have started fixing with the pictures for our November campaigns, I am planning an internal training for our makeup artists, meeting with a distributor and I am also compiling all the tasks that need to be taught if the salon is to be completely self-propelled without me and Miska being in place.

Self-propelled salon before June 2018
The latter in the last paragraph is one of our goals before June 30, 2018. At present, Miska and I can not be away at the same time without the colleagues getting it super stressful and very many important tasks are not done at all because only we know them. It is not sustainable.

But now I have listed exactly everything that needs to be done for the salon to be self-propelled, the staff has had to go through and give wishes on what they want to learn. Now I am compiling this and luckily there are very scattered bursts of what everyone wants so I think the puzzle goes together perfectly without us having to "force on" someone a task they do not want :) So good!

A quick picture I took last Friday before I went home just before closing. Here are 3 out of 5 makeup artists (Zahra, Ida and Olga) and spice up our Friday customers ♥ Slanted behind me was also Ämma and permanent lashes on a customer. Full house at the salon then!

Can you imagine that feeling, to end the week by seeing their awesome team do the world's best job on satisfied customers and a really nice atmosphere throughout the salon. Magically!

Now I will go out into the garden again and continue with the autumn cleaning that we have been doing all day :)

Hugs are!

Burgundy Red & Golden Glow

This week, a fun press release from IsaDora fell into my mailbox - the new Perfect Eyes collection with 16 different eye shadows!

I immediately fell for the dark red color Burgundy Red, love red colors, and here comes a simple with effective makeup with the matte red color together with the glittery shade Golden Glow :)

Hope you are inspired!

The eyeshadows cost SEK 89 and are available at, among other places HERE (adlink).

Bassmink:
Face primer - Pixi Flawless & poreless primer
Colored day cream and concealer - glo Skin Beauty Satin Cream Foundation (Natural fair) possibly a news that comes soon, it is under testing :)
Powders for redness - gloMinerals Redness Relief Powder
Contouring & highlighter - Pixi Contour Creator
Rouge - gloMinerals Blush (Papaya)
Fixing mist - Pixi makeup fixing mist
Net matting powder - Paese Bamboo Silk Powder

Brynpenna - gloMinerals Micro Brow Liner (Ash and Dark brown)

Lip pencil - glo Skin Beauty Precision Lip Pencil (Soulmate) - possibly a news that will come soon, it is under testing.
Lip Gloss -  glo Skin Beauty Lip Gloss (Cupcake) possibly a news that will come soon, it is under testing.

Surely it's nice with red make-up? :) Many are afraid of red but I think it's so nice!

  1. Eyeshadow primer, Pixi eye bright primer
    Red eye shadow on the entire eyelid, IsaDora Perfect Eyes (Burgundy red) (adlink)
    Applied with Nanshy Tapered Crease Brush
  2. Fade out the sharpest edge of the globe line with the same brush
  3. Use a larger and fluffier brush and fade out the eyeshadow even more, Nanshy Blending Brush
  4. Red eye shadow under the eye, applied with Nanshy pencil Brush
  5. Gold glitter eyeshadow in the corner of the eye and up a little towards the eyelid,  IsaDora Perfect Eyes (Golden glow) (adlink)
  6. Black eyeshadow slightly along the upper and lower lash line, Paese cashmere eyeshadow (602)
  7. Black mascara on all lashes, Magnetic lash mascara

Clear!

Hope you liked the look :)

Hug!

en_USEnglish