Maybelline Master Contour Duo Stick (Test & Review)

Contouring with cream products has never been my favorite, I prefer powder both in terms of work and results. But you can get a much more effective result with cream and with a good product, it is easy to get as soft shadows as with powder contouring.

I have received a press sample Maybelline Master Contour V-Shape Duo Stick (adlink) which is a cream contouring product that will facilitate contouring with a smart pin with both shading and highlighter. Both creams are matte.

I have put this to the test and here is my review:

img_6385_111

Product description
Maybelline Master Contour V-Shape Duo Stick - a 2-in-1 contour stick that has both a highlighter and a shade for shading. With a matte creamy formula on the contour, it makes it easy to apply and create contours and height in your makeup. ”

Award
SEK 99 for 7 grams

img_6389_111

Form
It is a bit cone-shaped and pointed at the top, otherwise quite blunt.

img_6396_111

Shade
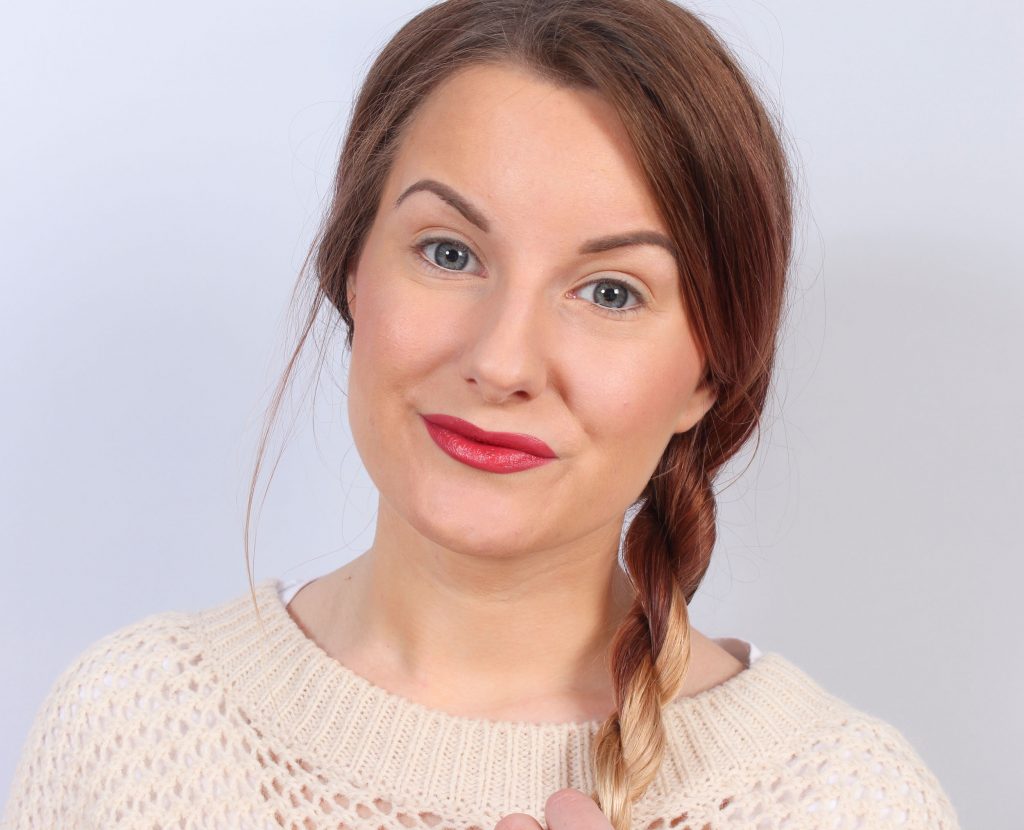
I have the shade Medium in this post, and both colors are nice I think, quite neutral which fits well with contouring.

Application
Apply to the deep parts of the face (which you want to deepen more) with the dark side of the pin.
Then on the high parts of the face (which you want to emphasize more) with the bright side of the pin.

You get very good precision, partly because it is cream so that you make clear lines with it before it fades out, but also because it is a pin. However, you have to be careful not to get light in the dark and vice versa. Certainly easily happened when used a few times.

Fading
Fade all edges either with a brush or beauty blender. I think beauty blender is easiest. The cream glides easily on the skin, but I really do not think it was easy to fade out and get even. There were easily irregularities and then you had to apply more of the pin to even out.

It is as if you were light on the hand, it does not fade out enough and looks uneven, and if you work more, it becomes too mild and gives almost no contouring effect at all and then you have to apply more.

Results
After quite a lot of work with the beauty blender, it was possible to get nice, but I do not think the creams blended very well with the base underneath (maybe depends on what kind of foundation you have as well) and thought that the highlighter made the skin look a little dry. However, it held up well all day.

img_6434_111 img_6439_111 img_6468_111 img_6483_111

Summary - Can be made nice but smart to use as it is difficult to fade out and get even. And the result is not so good that I think it's worth the extra time in front of the makeup mirror. However, I can imagine that if you have a dry skin and an incredibly creamy foundation underneath, it may be easier to fade out. I have used it for liquid foundation but since I have oily skin, it is a rather depressing foundation anyway.

Good price anyway, but I have a hard time imagining that it is easy to use end of the product, what do you do when it is only a little light and a little dark left in the pin? Then you probably get light with light in the dark and vice versa. And the dark one will end much faster than the light one as well.

rating-2
In grades, it only gets 2/5 from me, it is not very bad but I do not understand the point as it neither facilitates contouring nor looks unusually good on the skin, and the purpose of two in one products is that it should make it easier and go faster.

Any of you who tested? What do you think?

Homemade face mask in the video pod

0

It's always hard to decide if your own videos are fun and interesting, but when Miska cut the video from my and Malin's latest video podcast, he laughed hard in the quarter so it was a good review!

In this section, I test the housewife's tip to have honey and baking powder as a face mask, talk about everyday mistakes that make a snoop - for example when you sit on the toilet and have forgotten to open the lid;) And in the end you will see how good I am with toddlers (ironic) haha.

Hope you like this week's episode ♥name logo

Durable soft lips

Creamy and soft lips in a nice neutral shade, which lasts well and does not need to be improved often. Sure sounds good? :) Perfect everyday lips in the winter as many have slightly drier lips that need a lot of moisture.

Today's lips are just that! Incredibly soft lips with caring lipstick with argan oil and really lasting results with lip pencil and lip primer. Here is a tutorial on how I have done with lip makeup from the webshop:

img_1149_111

Fint va? :) Works for all occasions.

today's-notes-before-and-after

Fint va? :) The afterimage looks fuller but it's a bit because I happened to have my mouth more open. I have not painted the lips bigger at all, or yes they are tattooed bigger from the beginning but they are not made up more outside than the tattoo;)

Here's what I did:

img_1116_111

1. Paese Color Adapt Lip Pencil*
This transparent lip pencil is really for just the contours, but I think it is really good as a lip primer on the whole lips! Slightly waxy (but not sticky at all) in consistency and is a perfect base for the lipstick and makes it last longer. Contains caring castor oil, lecithin that regulates moisture and vitamin E.

img_1122_111

2. Benecos Natural Lip Liner (Brown)*
The lip liner always fits super well! Mark the contours with a color that is a little darker than your own color.

img_1131_111

3. Paese Lipstick (25)*
And finish with this super nice lipstick! Nourishes the lips with argan oil and is very soft and comfortable on the lips. Has received an incredible number of 5-star reviews in the webshop :)

Summary:

today's-notes-tutorial

Quick, easy and nice!

img_1158_111

PUSS on is! ♥min-webshop

Colorful make-up in December

I'm so excited to get started with some New Year's make - up! Are you ready? :)

But first I had to live out a little color abstinence in this winter darkness, color is the best way to liven up life! If I had not had a make-up blog, I would have done this make-up every day, so nice and joyful!

You got a small taste of it in yesterday's post where you saw the shirt I matched to as well. It's mom's sweater, so now we sisters share it ♥

Hope you like the look as much as I do!

img_1531_111

Foundation - Pixi H2O Skintint (Nude) *
Concealer - gloMinerals Under Eye Concealer (Beige)*
Powder that neutralizes redness - gloMinerals Redness Relief Powder*
Contouring - Pixi Book of Beauty Contour Creator*
Rouge - gloMinerals Blush (Papaya)*
Dehydrating powders - Paese Bamboo Silk Powder*
Eyebrows - Pixi Natural Brow Duo (Deep Brunette) *

Lipstick - No7 Lip Liner in the contours (do not remember the shade and do not have it nearby at the time of writing, check up and come back)
Lipstick - Maybelline vivid Matte Liquid Lipstick (coral courage 20)

eyeeye

Such beautiful colors!

untitled-111_11111

All colorful eye shadows are Paese NEO Eyeshadow*.

  1. Eyeshadow primer, Pixi eye bright primer*
    Yellow eyeshadow in the corner of the eye (662)
  2. Orange eyeshadow next to the yellow (663)
  3. Turquoise eye shadow along the globe line (687)
  4. Red eyeshadow in the middle of the eyelid (664)
  5. Purple eyeshadow next to the red one (650)
  6. Blue eyeshadow on the outside of the eyelid (661)
  7. Fade the edges
  8. Black eyeshadow at the end of the eyelid and faintly along the globe line, Paese cashmere eyeshadow (602)*
  9. Black eyeliner with wing, Paese Liquid Eyeliner*
  10. Black shadow at the end of the lower lash line
    Turquoise eyeshadow in the middle of the lower lash line (687)
    White eye shadow under the eyeliner, Paese cashmere (601)*
  11. False eyelashes + Magnetic lash mascara*

img_1536_111

img_1523_111

img_1553_111

Hugs are! ♥min-webshop

Match clothes & makeup

I match clothes and eye shadows literally :)

img_2002_111

What dots are on the shirt and what are eye shadows:

img_1988_111

Lol!

img_1961_111 img_1973_111

Paese NEO Eyeshadow* are without a doubt my favorite shadows, love, love, love! Surely they are nice? :)

You will see this make-up step by step soon, tomorrow I think :)

Hug ♥min-webshop

en_USEnglish