Bon Voyage Makeup (Step by Step Makeup)

Today's make-up is a quick look in warm tones on both lips and eyes, the eye shadow and lip pencil were really spotless together :)

Hope you like the look!

Bassmink:
Face primer - Pixi Flawless & poreless primer
Concealer - Pixi Pat Away Concealer (2 Nude)
Foundation - gloMinerals pressed base foundation (Golden medium)
Powders for redness - gloMinerals Redness Relief Powder
Contouring & highlighter - Pixi Contour Creator
Rouge - gloMinerals Blush (Papaya)
Fixing mist - Pixi makeup fixing mist
Net matting powder - Paese Bamboo Silk Powder

Brynpenna - gloMinerals Micro Brow Liner (Ash and Dark brown)

Lip Pencil (New!) - glo Skin Beauty Lip Liner shade Acorn

Love this lip color, it's hard to find a nice neutral tone that is warm, they have succeeded with this!

The eyeshadows are all three from this palette, glo Skin Beauty Shadow Quad in the shade Bon Voyage. I have used all but the light brown.

Got compliments for this make-up from a customer at work who thought the terracotta-colored shade was so heavenly nice, and when she saw in the palette that it is actually the same light color as on the eyelids, she exclaimed "dif are incredibly pigmented!”. She was used to shadows with bad pigment and thought that my color on the eyelids would come from a very bright eyeshadow :)

I just applied a thin eyeliner because I think the eye shadow color is so nice so did not want to take up so much of the eye with black :)

  1. Eyeshadow primer, Pixi eye bright primer
    Light terracotta-colored eyeshadow on the entire eyelid and over the crease line, applied with Nanshy tapered crease brush
  2. Same on the underside of the eye
  3. Brown, matte eye shadow at the end of the eyelid and along the globe line. I put the first shadow on the whole area before so that this dark would not be as intense as if I put it directly on the primer. Just wanted a slightly darker tone.
  4. Black lashliner and thin eyeliner, Kryolan HD Cream Liner (Ebony)
    + a little at the bottom of the lower lash line as well and faded out for a softer effect.
  5. Black mascara on all lashes, Magnetic lash mascara

Clear!

My hair is almost starting to go a little in the mint direction now, I like it!

Hugs are ♥

Swatch on Glo Skin Beauty Palettes!

Today I finally thought of swatching glo Skin Beauty's new palettes for you :)

There are two eyeshadow palettes with 4 colors and a larger palette with 8 colors!

I am completely in love with these palettes, the eye shadows are rich in pigments and easy to both apply and fade.

They contain both matte and shimmery colors, which I also like, I often mix matte and shimmer for more depth in the make-up.

Then the colors are so extremely nice too! Easy-to-wear and useful shades while all colors have that little extra that makes them special :)

The packaging is carpet which I like - avoid float stains haha :) And they all contain large nice mirrors!

First out - glo Skin Beauty Shadow Palette Mixed Metals

It really happens, really not often but when it comes to this palette I feel like this "I could not have done it better myself" haha. Had I been given the task of making a luxurious and useful palette with a good mix of dark, light, warm, cold, matte and shimmery colors that are easy to wear and combine with each other but still a little special (absolutely not boring) with good pigment and which can be varied to thousands of different looks both for everyday and for parties and everything in between. Well then, that palette could have looked like this!

Throw in the fact that two of the eye shadows, the light ones that always end first in all palettes when you use them for every make-up, are larger than all other eye shadows and also work really well as a highlighter for the face :)

Had I not been so interested in makeup and wanted an entire eyeshadow wardrobe for 50 shades of bronze, I would have invested in this palette and then not needed anything else!

Mixed Metals contains:

3 shimmery eye shadows in silver, gold and light beige
3 matte eye shadows in a warm brown, a dark brown that goes a little to burgundy and a gray that goes a little to olive green.
2 light eye shadows with luster (not as shimmery as the three on the far left). These are the two major colors in the palette and work well under the eyebrows, in the corner of the eye and on the cheekbones as well.

So nice!

glo Skin Beauty Shadow Quad in the shade Rebel Angel
Mums I'm just saying! A useful palette in tones that go for peach and burgundy, how nice for winter?

Contains:
A brown, shimmery shade that draws a little to khaki green.
A light, matte beige-pink tone that is a perfect base color on the eye when you want a discreet color on the eyelid.
A peach-golden shimmer shade that is to die for! I think this one is so crazy nice!
A dark brown / burgundy full matte eye shadow.

I say it again, yummy! ;)

glo Skin Beauty Shadow Quad in the shade Bon Voyage
Last but not least, this incredibly useful treat! This is the perfect will-recommend-to-everyone-palette :)

Contains:
A type of terracotta-colored matte eye shadow
An off-white matte eye shadow
A shimmery light brown eye shadow
A matte dark brown eye shadow

Works just as well and I like the terracotta-colored eye shadow so much, I want it around the entire eyelid and nothing more, it is as nice as it is :)

All eye shadows on these swatch images are applied with a dry brush and I have no primer underneath either. So pigment rich!

The formula is mineral based and contains vitamin E and C as well as green tea extract.

The price range for these is not budget but absolutely perfect for those who do not need a plethora of eye shadows but want the best combo in the same box with really high quality!

You will find these HERE :)

If you have any questions, shout out ♥


My business week

This week has been a little calmer than the last few weeks, which has felt necessary. Then you have time to grab the parts that do not scream for your urgent attention and do more creative things! :)

So there has been some work from home in the photo studio and I have also had time to blog every day, woop woop!

It is also during these less stressful periods that you have a little more time for reflection, which is also important so as not to lose focus. I will return to it later in the post.

I have been a bit bad at taking pictures this week though, it ends up on my improve list for next week :)

NYX Master Class & launch event
I took a trip to Stockholm for a fun press event with NYX! The pictures from the event I got from the photographer Emma Burendahl who took photos for NYX during the evening.

NYX presented its product news and the Finnish makeup artist Ida Ekman @ida_elina made a great holliday makeup with an eye makeup in coral tones and red glittery lips on beautiful Felicia Aveklew @feliciaaveklew which is the face of NYX's new Limited Edition kit "Haul-iday Kisses Stockholm"!


Photographer: Emma Burendahl

Here I am and @makeupbyempa, I pose with the incredibly generous goodie bag we brought home which includes both NYX Christmas calendar and the big kit with 36 Mini Soft Matte Lip Creams!


Photographer: Emma Burendahl

Here Ida puts on make-up with the Haul-iday Kisses kit that you see in Felicia's hand :)


Photographer: Emma Burendahl

Here is the result! Fint va?

Last winter I was in another masterclass with NYX (with Iluvsarahii) and then they also showed glittery lips, something I really have to start using now I feel it's so nice!

Felicia's lips are to die for too ♥


Photographer: Emma Burendahl

You also had to write a NYX product on a wish list and hang it on the Christmas tree :)

Photographer: Emma Burendahl

And then decorate the gingerbread kiss mouths haha! Messy worse, but fun!


Photographer: Emma Burendahl

Full focus;) Here I stand and decorate gingerbread cookies with Molkan and Camilla from Beautyandbullshit, a table crammed with artwork!

There was Christmas must, gingerbread and Christmas candy, crazy good! I walked around and nibbled polka dots for basically an hour straight;)

Oriflame 50 years
I was also at an event with Oriflame that celebrates 50 years! It was really well arranged with different activities in each room, spin the wheel, ball sea, competitions, freshly baked pizza and lots of sweets!

I'm so excited to build my own spin the wheel wheel at home! Incredibly useful I think, both for the kids and for me and Miska haha. If you are going to get a massage, eat ice cream or wash dishes after the meal type;)

Met Mattias from, among others makeupbymattis.se where! :)

Bubble and pizza, incredibly good combo indeed!

Before, I went to events regularly, but now I prioritize the funniest brands and those that work well with the almanac. It is very fun with events and often a necessary inspiration both in terms of product and to meet others in the industry, but it must also be financially defensible with the time you spend. It's a balancing act!

More makeup tips in the webshop!
I have blogged a bit more about different make-up tips lately and notice how the mail inbox is filled with questions from readers who have different beauty questions, I think it's great fun! It is precisely products and helping people that I personally think is the most fun with makeup and also what I usually get the most compliments for - my good tips and clear descriptions!

Because it is so in today's situation that beauty products and webshops are plentiful already, but it is not difficult to find something to buy without knowing What to buy and how to use it! Beauty products are not like clothes, just to put them on, of course :)

I will work even more on the make-up tips in the webshop and I am thinking more and more about building up the webshop as a large knowledge bank! There are already lots of tips and inspiration among mine beauty guides on the website but I think even bigger!

Imagine that you click on an eyeliner, partly you get all the important info + reviews directly on the product page, but you can also see a film on how it is used and can easily click your way to posts with how to make a lashliner, eyeliner wing on different eye shapes, how to make an eyeliner last all day, swatch pictures of the eyeliner's different shades AND several make-up step by step where I used the eyeliner in a nice make-up -look.

In addition, I am very much in the process of launching makeup consultations online and have already received a customer via email that I will do this with! Because sometimes you want a personal consultation and not just read makeup tips. I imagine that it can be like in the salon - 895: - including products for the entire sum. So after the consultation you get a gift card to shop for in the webshop :) Good huh?

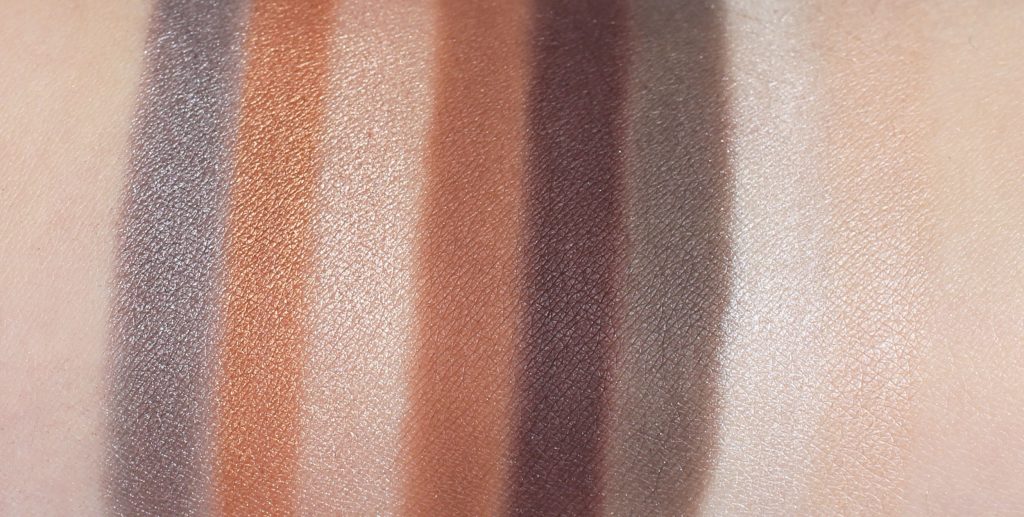
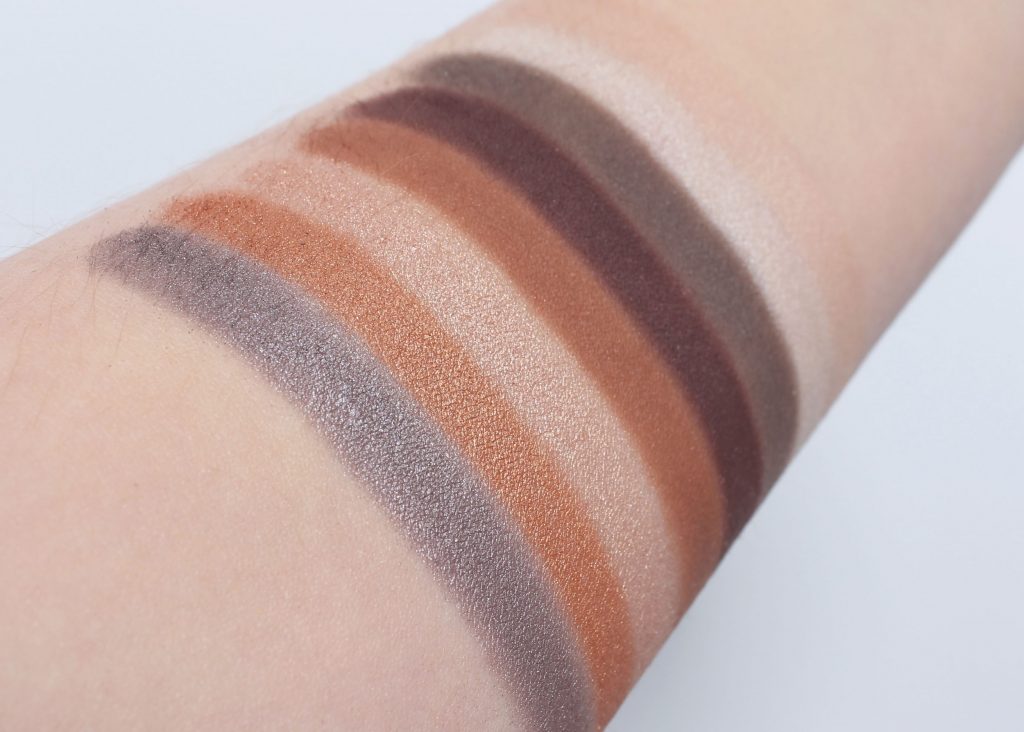
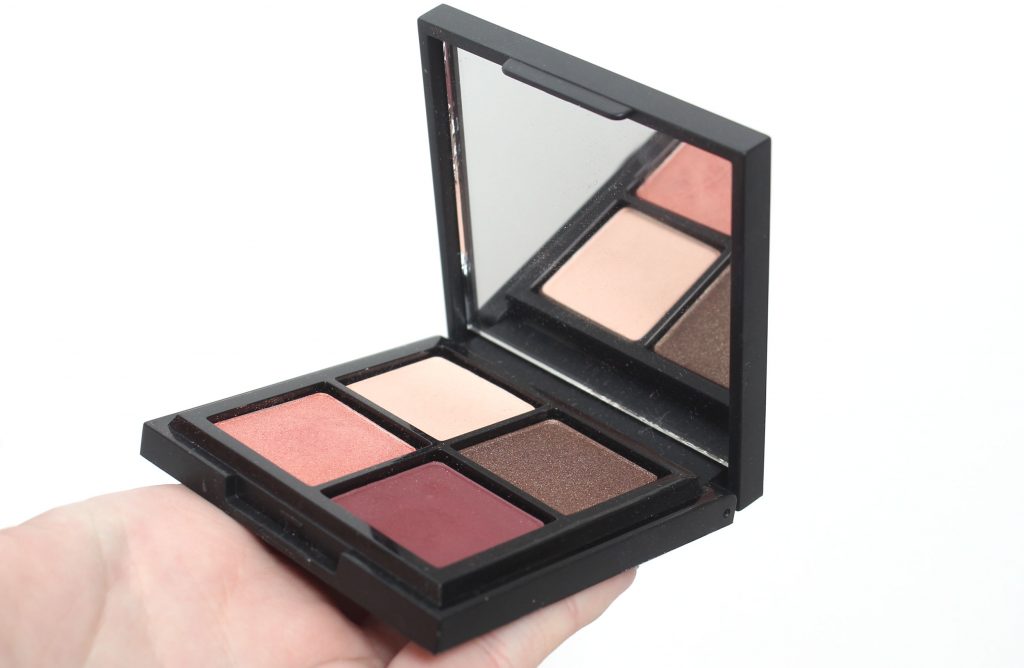
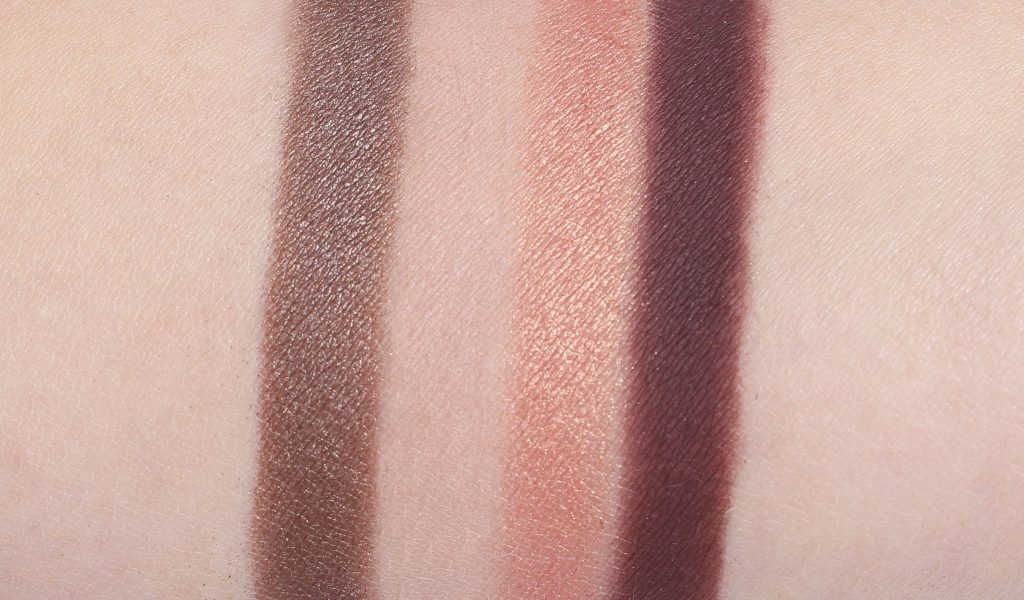
Among other things, the tips from my post about hooded eyes get into the webshop too, the whole make-up is done with products that we sell :)

Focus on what you are good at
Speaking of the above talk about focusing on what you are good at (in my case the make-up tips and developing the webshop), it is really an entrepreneurial tip I want to give to you who are or are considering becoming an entrepreneur. When you are a driven person, it happens so easily that you look around and get so inspired by others that you think "I can do that too, but better!" and sometimes it can make you spread out in different directions because you jump on different balls all the time and want to do EVERYTHING.

But to nerd yourself into a thing and make it really great instead of becoming Pelle's all-service is probably definitely a key to success. As long as you think that what you are super good at is fun of course :)

I myself have had a hard time with this point because I can get so extremely excited by different ideas and have to remind myself to focus a little sometimes and not be a whirlwind that does 8 things at once.

In other words - Focus on what you are good at instead of looking at what everyone else is doing. If you do your own thing, you will always be one step ahead, but if you follow others, you will always be two steps behind them!

Hope your week has been really good too! :) Now the Sunday is over too and I will crawl down next to Miska and our cat Missan who is already lying down next to me.

Hugs are ♥

Makeup tutorial - Pink glitter

I wore this make-up when I was going to two events in Stockholm, one was a "regular" make-up event and the other with a dress code party.

That's what's so good about makeup events overall, you can almost never be for made up when you come as a beauty blogger :) So to fit in with both events, I ran on glittery party eyes and then a pretty simple and comfortable outfit to it with loose-fitting clothes, black top with patterned pants and heels. Relaxed, simple and warm when commuting like me :)

With this make-up, I also want to give some tips for you who want to use more color on the eye makeup but do not really feel comfortable when it becomes too much:

  1. Apply the colorful eye shadow on the eyelid
  2. Make a very wide eyeliner that covers part of the eyelid
  3. Use earthy tones around the colorful color, ie over the globe line and at the end of the eye.

Then you get a make-up that looks earthy and gloomy when you look straight ahead, as the colorful eye shadow is only slightly visible or not at all depending on how big eyelids you have. But when you look in different directions and blink, the color click comes out very nicely!

Perfect way to get used to color :)

Bassmink:
Face primer - Pixi Flawless & poreless primer
Concealer - Pixi Pat Away Concealer (2 Nude)
Foundation - gloMinerals pressed base foundation (Golden medium)
Powders for redness - gloMinerals Redness Relief Powder
Contouring & highlighter - Pixi Contour Creator
Rouge - gloMinerals Blush (Papaya)
Fixing mist - Pixi makeup fixing mist
Net matting powder - Paese Bamboo Silk Powder

Brynpenna - gloMinerals Micro Brow Liner (Ash and Dark brown)

Lip Pencil (New!) - glo Skin Beauty Lip Liner the shade Vino in the edges
Lipstick - gloMinerals Suede Matte Crayon in the shade Trademark on the rest of the lips.

Since I became turquoise-haired, I think it's extra nice with these mlbb colors on the lips (mlbb = my lips but better, love that these colors have been given a name haha). I thought I would be even more hungry for pink, red and purple but "lip color" is the only thing I see in front of me when I have put on the base makeup :) Mums!

In the picture, I think that the lashes disappear if you have a very wide eyeliner, but in reality it will not be the same effect at all, I think because the lashes "stand out".

  1. Eyeshadow primer, Pixi eye bright primer
    Black eye shadow along the lash line, Paese cashmere eyeshadow (602)
  2. Eyeliner with wing with the same shadow
    (I like to make the eyeliner shape with eye shadow if I have not really decided in advance what I want it to look like, then it is easy to change when you have done the rest of the make-up)
  3. White eye shadow on the inside of the eyelid, Paese cashmere eyeshadow (601)
  4. Rosalila eyeshadow in the middle of the eyelid, Paese Neo Eyeshadow
  5. Brown eyeshadow at the end of the eyelid and along the globe line, Paese cashmere eyeshadow (604)
  6. Soot with black eye shadow on the brown for a more smokey effect.
  7. Black eyeliner with wing, Kryolan HD Cream Liner
  8. Pink glitter on the inside of the eyelid, Make Up Store (this shade is no longer available for purchase) and attached with Kryolan Cake Liner Sealer
  9. Brown eye shadow at the end of the lower lash line as well and a little white eye shadow thin in the corner of the eye
  10. Black mascara on all lashes, Magnetic lash mascara

Clear!

Many have wanted an update on my turquoise hair color so I thought I would take a picture of my hair after each wash so you can see step by step how it is washed out later :) At present I have washed my hair once, it disappeared a lot but is still lots left!

Gets almost a little satisfied that it will not release as fast as I expected, I have bleaching time in mid-January and do not want my hairdresser to scold me;) But am at the same time happy that everything did not disappear immediately, then it had would have been an expensive affair if it had only held one wash.

I keep you updated simply! :)

Hug ♥

Pixi Pat Away Concealing Base

Here are before and after pictures, swatch on the shades and the whole review on Pixi Pat Away Concealing Base which is a novelty in my webshop!

Pixi Pat Away Concealing Base has become the new favorite of our makeup artists at the salon! ”Pixi's new concealer is really SO good!Was a standing comment when I came to work after we started putting this to the test :)

I got this as a press test before it came to Sweden because I was at Pixi's event (read about it in this post) and tested it on my hand on the train on the way home and even then I was impressed with the formula and how nice it turned out on the skin!

What is the Pixi Pat Away Concealing Base?
A creamy, liquid concealer in 3 different shades. The formula is incredibly thick, a thin layer gives a high coverage - which makes this an exemplary concealer on the thin skin under the eyes. The result is a natural and smooth skin with high coverage. Contains protective antioxidants. Long shelf life and lasts from morning to evening.

It is difficult to find a concealer that provides such good coverage, smoothes the skin (think the pores look smaller where I put this too!) And at the same time gives a natural result that lasts a long time and is easy to apply. All those properties have this concealer! Full pot in other words! :)

Packaging
The applicator is wide with soft fibers that provide a quick and even coverage both of dark circles under the eyes and in larger areas such as acne scars, blemishes and pigmentation.

Apply, dab with your fingertip, then it's ready!

Which shade to choose?
A liquid concealer is a good and effective way to lighten up under the eyes, then I recommend choosing a shade that is a little lighter than your own skin tone. But if you want to work more with the covering properties such as make-up over pimples, redness and acne scars, it is better to choose a shade that matches your own skin tone.

Cream suitable for people with very light skin (perfect for people who have difficulty finding sufficiently light concealers)
Nude suits you with light skin with a little warmth.
Warm suits you with medium light, warm skin or if you have a medium skin tone and want an enlightening concealer under the eyes.

Application
The principle is simple - just apply and dab with your fingertips! I always recommend fixing all creamy concealers with powder for as lasting a result as possible.

On blemishes: Put a dab of concealer on the pimple, spread with your finger to make the concealer blend in with the skin. Put a little more concealer right in the middle of the pimple for extra coverage and let it dry. Fix with pillows.

Lighten up under the eyes: Apply with the applicator and dab with your fingertip. Quick and easy! If you have a lot of depth under the eyes, I just apply concealer (or thicker layer) right where the skin goes inwards, to lighten the depth. For those of you who just want to lighten up to look more alert, you can instead put on a larger area under the eye and go down a bit like a triangle down to the nostril:

Larger, smoother areas such as redness, pigmentation, acne scars: The wide applicator and the incredibly expensive formula make it super easy to use the concealer even on large areas, which I think is worth its weight in gold. Apply with the applicator and spread with your fingertip, so easy!

Apply before or after foundation?
It is a matter of taste if you like to apply concealer before or after foundation, and also depends a bit on what type of foundation you have.

I recommend applying the concealer before foundation if you:

  • Uses mineral foundation or other foundation with matte texture.
  • Uses a foundation that easily melts into the skin or that can be dabbed over the areas with the concealer (because if you massage in / work into the foundation with sweeping movements, the concealer underneath can be smeared out)

I recommend applying concealer after foundation if you:

  • Want a lightened result under the eyes, otherwise you will darken it again if you put your perfect skin-matching foundation over the light concealer.
  • Easier to want to be able to see exactly how much concealer you need and not happen to take too much. When you apply the concealer before, you can easily stare blindly at the fact that something is shining through and do not think that there will also be a covering foundation over it. An overuse of concealer gives a less natural result and in addition you waste product so it is also an economic issue.
  • Has a foundation that needs to be worked into the skin a lot. Then you can easily accidentally smear / pull off the concealer you put in while you work in your foundation. Then it is better to work in the foundation first and then dab on the concealer afterwards.

Results
In the picture above you see my skin after just the concealer, but then I have to apply on a fairly large area on the jaw part where I have a lot of small pimples and acne scars and then on both pimples and under the eyes. So I hardly needed to have foundation afterwards!

As you can see, the result is very natural. The concealer melts into the skin and becomes even and fine - and at the same time really good coverage.

Here you see close-up under the eyes, I do not have much darkness under the eye but want to show you before and after anyway to show how naturally the concealer settles even on the thin skin under the eyes.

And if you want to brighten up even more under the eyes and get a comprehensive result, it also works great! Choose a lighter shade than your own skin tone and apply a little thicker layer (a thin layer is still enough for a lot of coverage, by thick I mean "less thin" really). With foundation and the rest of the base make-up in place then it will be great.

I have the shade Cream in the pictures in this post.

Summary - For SEK 249, you get an incredibly easy-to-apply, liquid concealer that provides a high degree of coverage and a natural result that works on all areas of the face. Available for purchase at Creativemakeup.se!

Hug ♥

en_USEnglish