An eyeliner that works for all types. Sooty, sharp, wing and even to smokey eyes!
Incredibly useful simply :)
Watch in best quality: Click on the gear (settings) - Quality - change to 1080p HD.
In the video I show lots of ways to use eyeliner:
Lashliner / fringe marking
Thin smoky eyeliner
Wider smoky eyeliner
Sooted eyeliner with wing
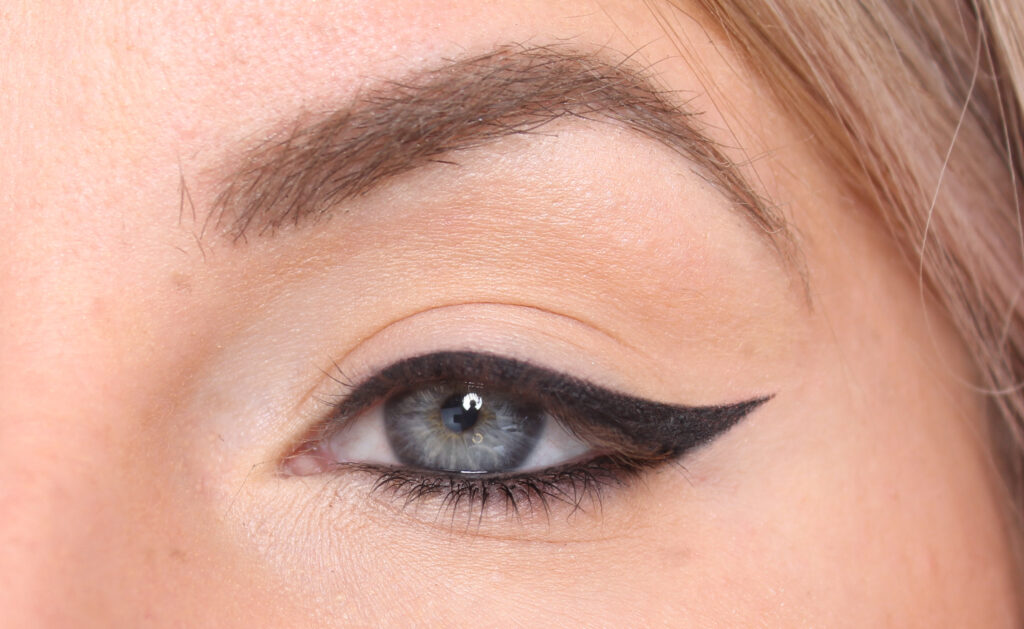
Sharp eyeliner
Sharp eyeliner with wing
Under the eye
Along the waterline (under the eye)
Smokey eyes!
A very useful video in other words :) Despite only being 6.5 minutes long! However, it took over an hour to film and even longer to cut it haha.
Lashliner, also called lash marking, makes the lashes look fuller and has a number of other positive properties as well! If you want to see a whole video about just this (lots of tips and tricks) then you can check out my previous post about it here!
In the video I show both a narrow smoky eyeliner (only a little wider than a lashliner) which is supernice to everyday because it goes so fast. As well as a wider soot, as in this picture. I forgot to shoot the narrow version before I made it wider :)
Sooted eyeliner wing is my best looking! Think it's so heavenly nice!
Sharp eyeliner can also be made with this cream eyeliner, it will not be as razor sharp as a completely liquid but enough for me :)
A sharp wing too! What I like about cream eyeliner is that you can "build up" the wing with a little eyeliner at a time. You kind of not only have one chance to make a straight line, but can do a little at a time :)
In the video, I show two different ways to put this under the eye, but only photographed one - that you put both along the waterline, which gives a very intense look and along the lower lashes. But you can of course do just along the lower lashes as well, and leave the waterline light.
And smokey eyes! NICE! I'm not saying that it is necessarily easier or better to make a smokey eye with a cream liner compared to eye shadow. But it works! :)
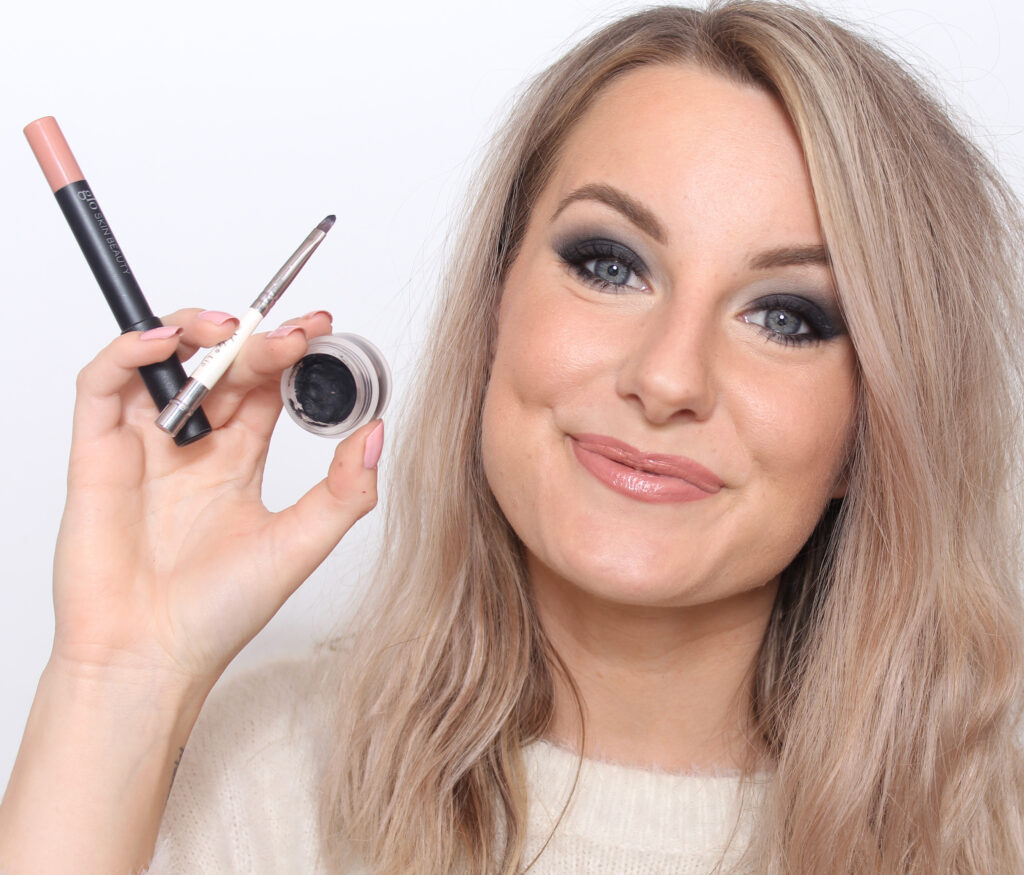
The brushes in the video are Lip Pencil (which I use for the eyeliner), Angled details (which I also usually use for the eyeliner), Tapered Crease (which I use for smokey eye) and all are from the Nanshy brand.
Kryolan HD Cream Liner is available for purchase here! I have used the black shade Ebony but it is also available in brown! A really good eyeliner that works!
And the lipstick I have at the end of the video is glo Skin Beauty Cream Glaze Crayon in the shade Chiffon. At the beginning of the movie it's just my lip tattoo :)
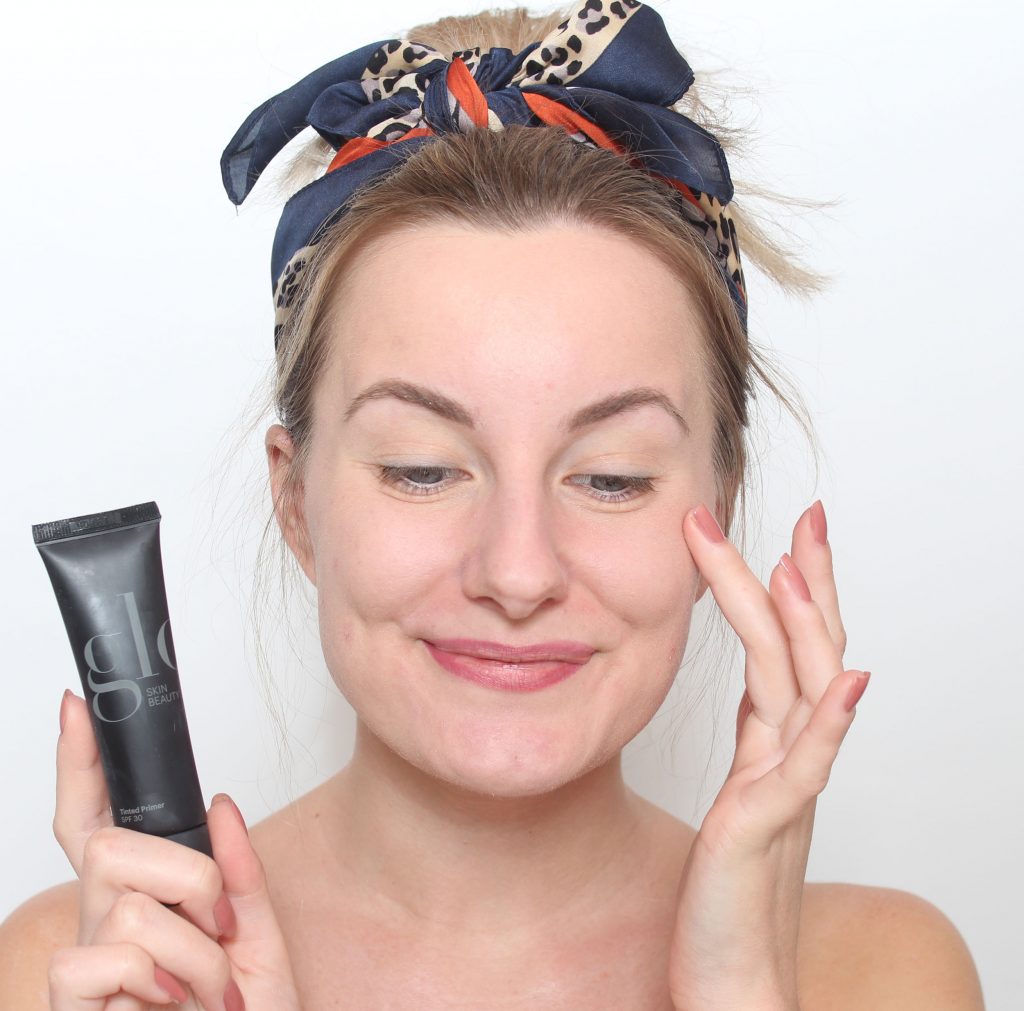
A while ago I did a quick Insta Story where I showed a colored face primer from glo Skin Beauty Tinted Primer as a spring tip, I got a lot of comments and questions about it then (great fun !!) so now I have made a more proper video where you see the tips in a little better quality than mobile filming.
Click on the gear (settings) and change the quality to 1080HD and you will see even better!
4 products in 1 - in what way?
glo Skin Beauty Tinted Primer is a colored face primer that is available in several shades. That there are 4 products in 1 is not something that glo themselves market the one but it is something that I myself realized! :)
1. Sunscreen
The primer has SPF 30 (!) So with this on you do not need to have sunscreen on your face!
2. Colored face primer
As the product it is intended to be (a colored face primer), you get a smoother skin structure! So the skin looks super smooth and nice and the pores become much less visible!
Close up of my pores immediately after applying only glow Skin Beauty Tinted Primer.
3. Foundation / colored day cream / bb or cc cream
As mentioned, the primer has pigments in it and provides a light coverage as well. Either you can use it as extra coverage under another foundation or as I usually do - just use this.
I have to say that thanks to the smoothing skin structure, I do not think I need so much more coverage, when the skin becomes even in structure and skin tone at the same time, it becomes 1 + 1 = 3. Had I had this little coverage with a regular colored day cream, I would have felt that I needed to cover more.
For those of you who do not have as clear pimples and redness (or other irregularities) or who just think that this coverage is enough - well then you just need this product! ♥
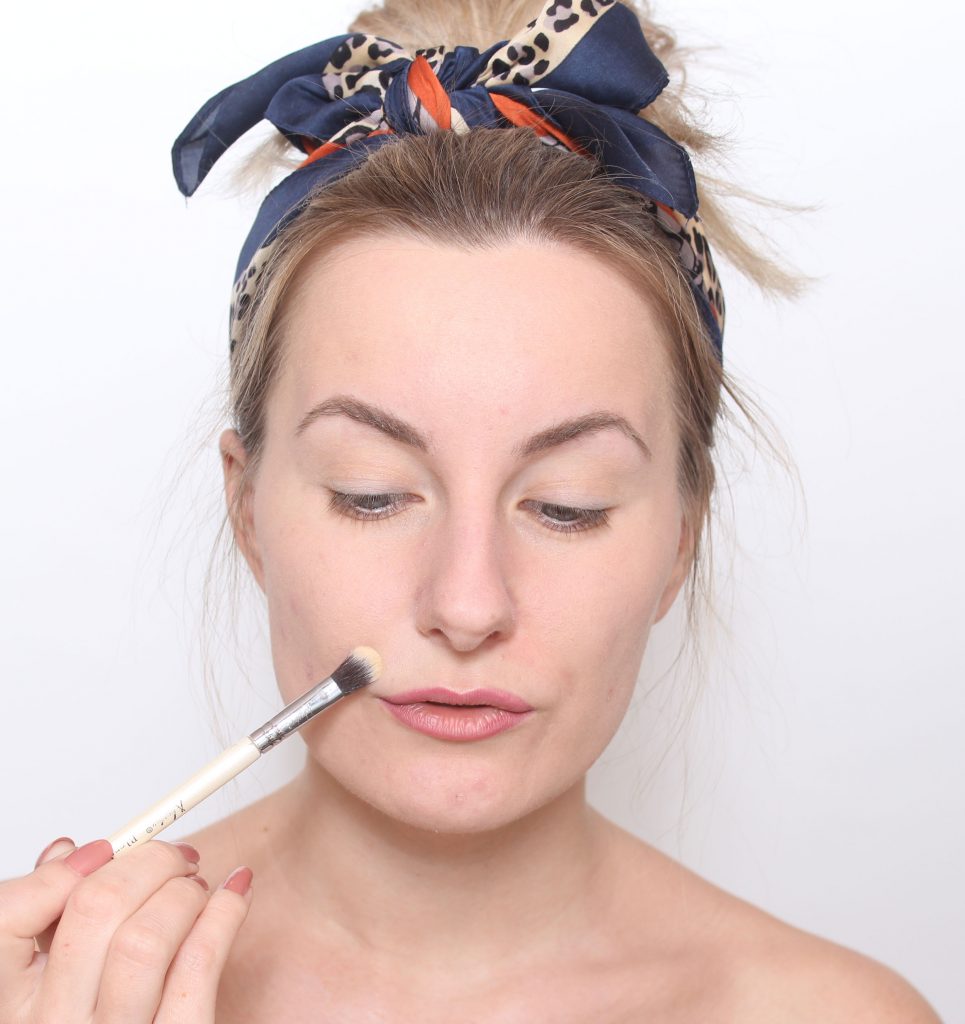
I myself love the light and natural degree of coverage in the entire face and then spot-make away details such as pimples and redness afterwards. Shows it further down in the post. It will be so natural and nice!
Here is before and after only glo Skin Beauty Tinted Primer. As you can see, pimples and redness shine through - but the difference is still big!
4. Pillows
The finish is matte so you do not need to apply powder. It becomes matte in a very nice way, not a dry or powdery way but more "velvet matte".
And if you do not want a dull result, it is of course super easy to spray a mist over or swipe on a little highlighter quickly. However, I myself get glossy quickly if I skip powder so I get "natural luster" after a while anyway :)
It is a powder that is not opaque but only color correcting and removes red tones. Because when I make a natural base, it does not matter that the pimples shine through and look a little dark, it's just nice that the skin looks a little unmade up, I think. But I do not want the redness to shine on the face and then there are only a few dabs with this powder and the redness is enchanted!
My redness under the nose is very intense so I put quite a lot of powder there. You see the difference on one side of the nose compared to others :)
I use a small fluffy brush, because I use this powder more as a quick powder concealer than a regular powder that is swept thinly all over the face.
The powder has a new packaging and I must be completely honest and say that the new packaging is not so good, because it is a built-in brush with powder in the shaft. But the content is so incredibly good (!) So we have decided to continue selling it anyway. Because if you turn the new packaging, you can screw the lid up at the bottom, like a regular jar, so you can use it as usual with a separate brush instead of using the built-in brush.
I myself, however, still have the old jar so I pour all the powder into it. And keep nagging that they should change back to the jar again!
But so you know :)
And then dab on pimples! They do not disappear completely as I said because it does not have coverage, but the redness disappears after just a quick dab! You can clearly see that in the video as well.
My God, how red I am without make-up haha. It becomes so clear every time I take before and after pictures! What if I only had pimples but otherwise an even skin tone, how nice it would have been :)
Bonus tips!
Two tips I do not say in the video are:
Fake the burn with a darker shade!
If you still feel a little winter pale, you can choose a slightly darker shade than you really are and put some make-up on your neck as well (so that it blends in). Because these have such light coverage, you do not need to color match exactly as with a full-coverage foundation as the result is a mixture of your own skin tone.
It is also a good tip for those of you who have already gotten some color from the spring sun on a walk or coffee in the garden. If you have make-up on your face, you only get color in the décolleté, but the face continues to be bright - then choose a shade that suits the décolleté instead of the face.
I have shades of Light in this post, but in everyday I usually use Medium and sweep sun powder in the décolleté.
2. Fake freckles on pimples
I have become less and less careful about putting off pimples completely, instead I just reduce the redness and then I make up the pimples for beauty spots or freckles!
If I have a little time, there will only be a few beauty spots, but now this spring and summer it's so nice with freckles, so I also make some fake freckles and "embed" the finn freckles so it looks very natural :)
This is what I looked like with the same base, but much browner and with fake freckles, of which many freckles are pimples in disguise;)
In other words: Natural coverage, great skin and incredibly fast application with only 1-2 products depending on whether you want to conjure away extra redness or not. So good!
Like every season, some make-up trends are recurring and some are new / changed!
I also usually divide make-up trends into two different types, 1. The ones you see in the media / catwalks etc. and 2. what become make-up trends "for real" and are used by private individuals.
In this post, I have focused mostly on the details that I actually see in reality and not just in the media! :)
1. Natural skin with fresh glow
As little coverage as possible is what the majority of our customers want right now! A little extra coverage in some areas only, such as acne, rings under the eyes etc.
Preferably with a nice glow as well, either subtly all over the face or in selected areas with a highlighter.
As the example in this picture. There is a big difference on the skin as a whole: pimples are enchanted and the redness is minimized, but my natural skin still shines through and the skin has a nice glow!
How do you get that skin? The smartest thing is Pixi Illuminating Tint & Conceal which is a day cream, SPF 20 and a concealer in the same product!
So you get all these qualities at once. A light coverage all over the face, full coverage on selected areas (eg concealer on pimples) as well as caring ingredients and a skin with a nice glow.
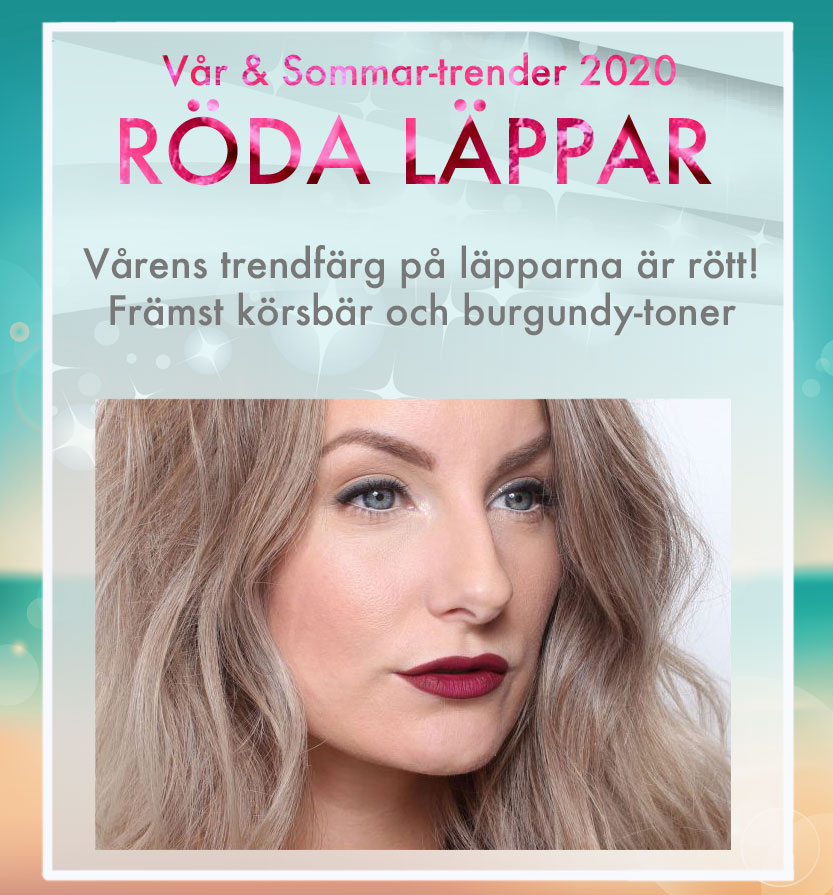
2. Red lips
Makeup trends no.2 are red lips! Both gloomier burgundy tones and burgundy shades, or a more classic cherry red.
I have been pushing for red lips ever since I started blogging about makeup, it is so nice and does so much for the whole look! But so many red tones we have sold now only in the last six months, in fact we have probably never sold :)
The best seller is without a doubt Glo Skin Beauty Suede Matte Crayon in the shade Bombshell. It is super nice in tone, completely matte (but comfortable) and fits super well! Because that's what you want mainly with red lips - avoid getting better on the make-up drop in the quarter;)
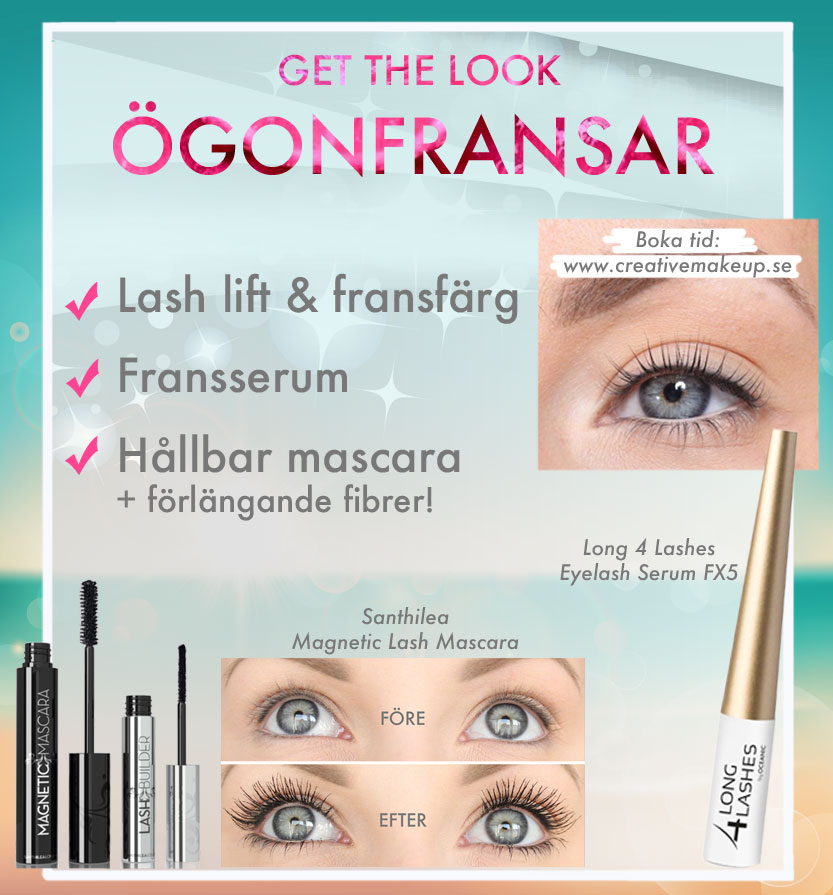
3. Eyelashes!
It has long been a make-up trend with maximized lashes, rocking eyelash extensions that you have to keep in when it blows and maxed out volume mascaras.
Now the trend is starting to get a little more subtle, still a lot of focus on the lashes, but more length and separation is required rather than a lot of volume. Besides, it has not escaped anyone how poppis lash lift has become?
We have been performing lash lifts at the salon for any number of years (when they still said eyelash permanent) but it exploded in 2018 and is only increasing and increasing. Now you hardly see lash extensions anymore as so many people have discovered the benefits of lash lift and preserving their natural lashes instead.
There are several ways to get separated, long and beautiful lashes:
Lash lift and / or lash color. Book an appointment online here!
We have taken in the eyelash room Long4Lashes FX5 which is the first product that my colleagues tested before me (I'm working on it now and I notice a difference already but it's not time for before and after pictures yet). Olga who comes from Poland has used it for a long time as it is very large in Poland, she tipped her colleagues who also ordered one and now we have it in our Swedish range as everyone loves it! Really efficient and at a good price :)
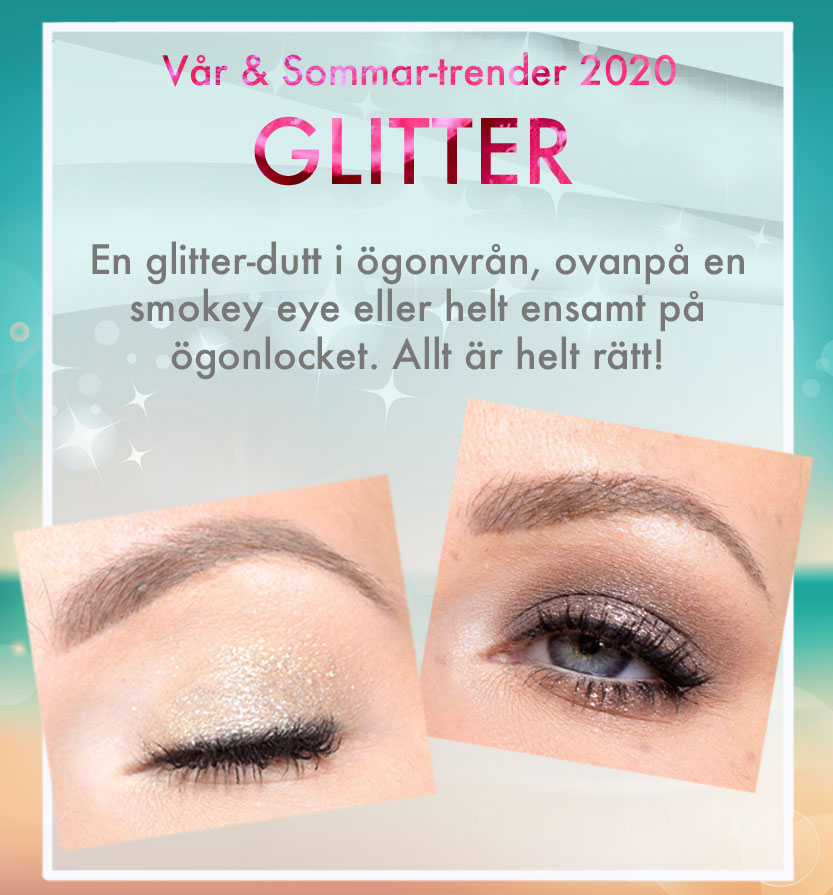
4. Glitter!
I have never seen so many used glitter, not only for parties but also for everyday!
That's what's so fun about glitter - you can do a light and discreet make-up but which still livens up and gives the eyes lots of focus thanks to glitter details!
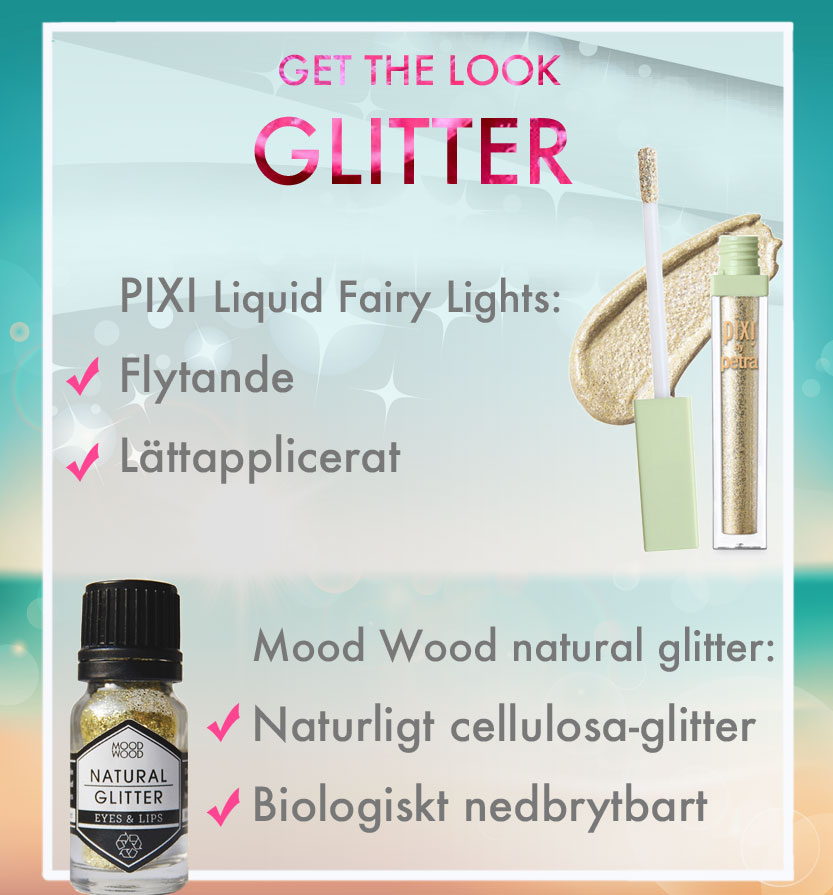
Pixi Liquid Fairy Lights are extra easy to apply as it is a liquid glitter that dries instantly and feels comfortable around the eyes. Easy to dab on the whole eye (with or without eye shadow before). Or just a dab in the corner of the eye, like a glitter eyeliner or why not on the eyebrows? :) Available in several colors!
Mood Wood Natural Glitter is also easy to apply but requires a fastening liquid, we use Kryolan Cake Liner Sealer which works gallantly! click here for step by step. What is wonderful about these is that they are made of cellulose from wood and are biodegradable in nature! ♥ No plastic particles in nature!
5. Natural eyebrows
Yes, less is more is one of the bigger makeup trends, now not only skin and eyelashes but also eyebrows apply.
It was not long ago that you were overwhelmed with comprehensive foundations, extreme contouring (when you were completely striped before it was evened out) and so-called "insta brows" with completely sharp edges and blurred ombre in the inner part.
It did not take long before a little less filled eyebrows became more trendy and now at the beginning of the year the trend took the step further and became even more fluffy and natural with the brow lift trend!
Ideally, the straws should be highlighted along the entire edge and preferably combed up as much as possible to bring out the "straw technique" and a slightly more fluffy appearance. A nice filled-in shape anyway, but not so much that you make up the straws.
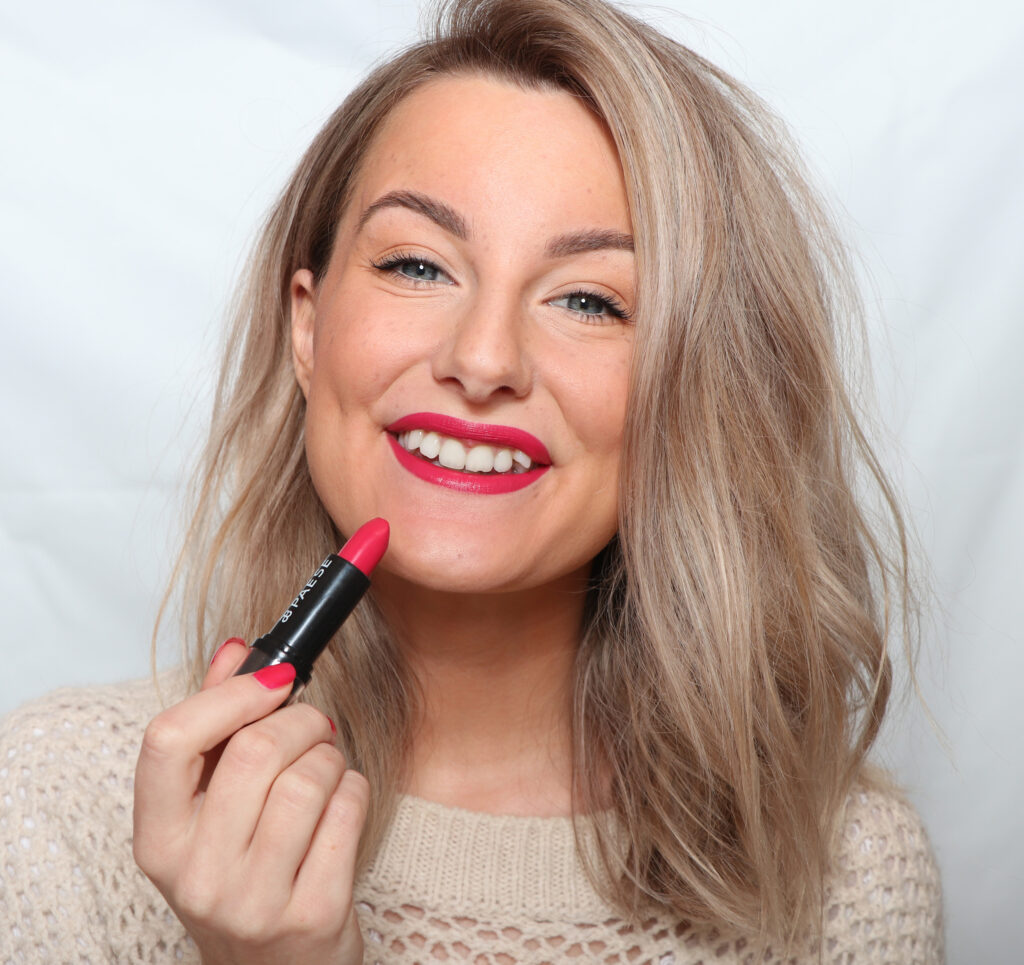
Are you looking for the perfect pink lipstick this summer? Then I have a tip for you!
Do you miss my Sunday posts by the way? :) I have skipped them for a while now because I work mostly from home, so even though I do a lot of different things, it will not be so interesting content as I basically sit on the same chair all day haha.
Today's make-up, or "the perfect pink lipstick this summer" maybe I should say instead it is basically all the make-up is about today - focus on the incredibly beautiful lipstick in shade 29 from Paese Argan Oil Lipstick!
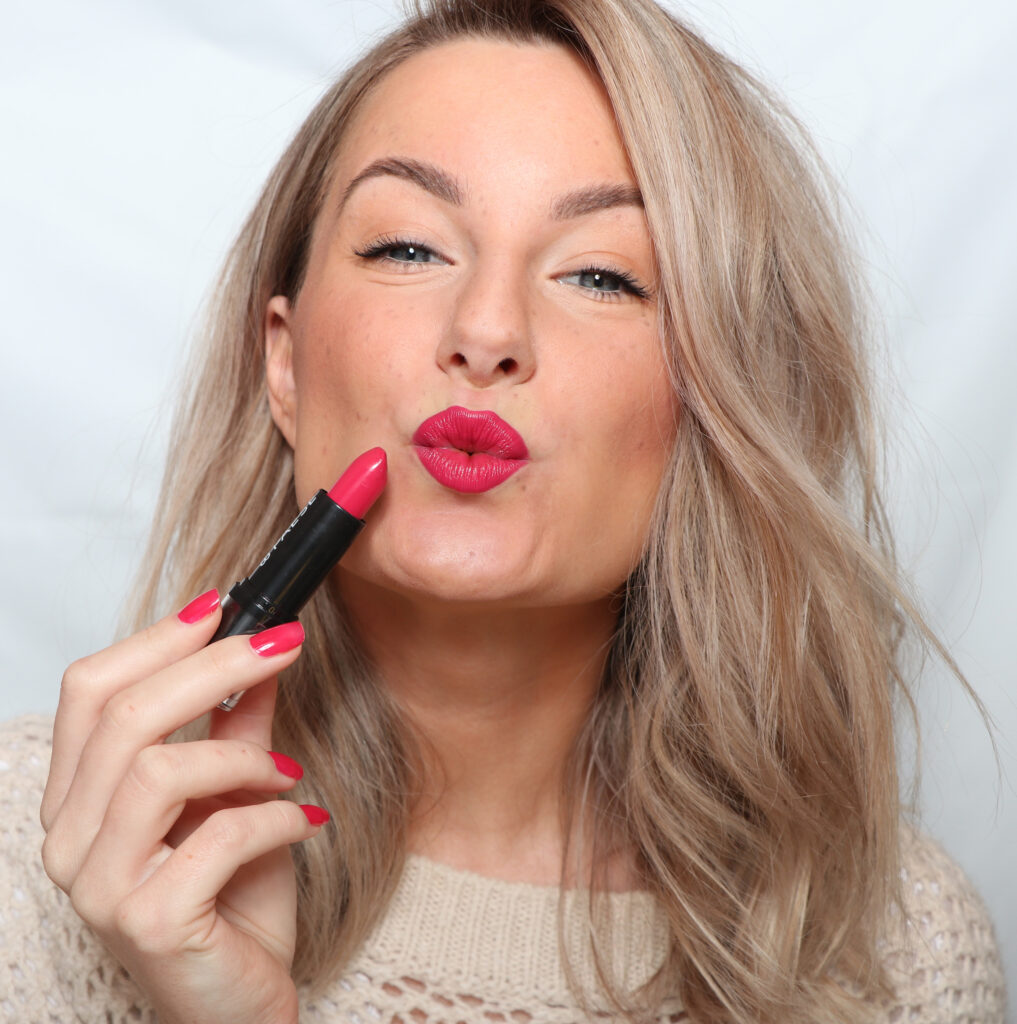
How summery was this with lots of bronzer (I'm super pale now really), fake freckles made with a brow pencil and then this dark pink lipstick together with nail polish in the same color.
My waterline is tattooed light. So for exactly the same eyes, you can supplement with glo Skin Beauty Eye Pencil (Peach) too.
Nail polish - The nail polish is IsaDora Nail Polish in the shade 554 Pink Colada, but it has unfortunately expired now. But IsaDora probably has something similar! :)
I like this color a lot because it is very strong and vibrant but still feels quite soft in some way?
What did you think? Is this the perfect pink lipstick this summer? Or what colors do you prefer in the summer?
Here is a long awaited video with the best mascara Magnetic Lash from the brand Santhilea London!
I had to google myself to find info on how long I have been using this mascara now, the answer is since March 2014! Geez! That if anything must be proof that it is the best mascara! :)
I found this old post where I write that I am going to the press event and remember that I tested the mascara right when I got home!
Gulle I, I was 20 years old then and did not have a faintest idea how much this mascara would mean, both for myself and for my regular customers who buy it regularly :) ♥
When you buy mascara, you get a sleeve with black fibers! These are used to lengthen the lashes, they kind of lay as a small extension on top of each eyelash.
But it's not mainly because the fibers are so good that it sells so much, but because the mascara itself is so heavenly AWESOME! So the fibers are a bonus, some use the fibers only on special days and others do not use them at all but only buy it for mascara!
Is water resistant (almost completely waterproof in my opinion)
Still easy to wash off = perfect everyday mascara!
This combo, meaning that it should last well without staining the brow bone (the most common problem for me with oily skin) and be so water-resistant that it can withstand both tears and rain - AT THE SAME TIME as it is quick to wash it off in the evening. That combo is not very easy to find :)
There is a balance between having to sit rock hard all day, but letting go very easily when you want to get rid of it haha. Magnetic Lash comes off as in small pieces as long as you have hot water or a good cleaning. I usually wash it off with my usual facial cleanser and hot water, works great!
This mascara is the best mascara that does not fall off!
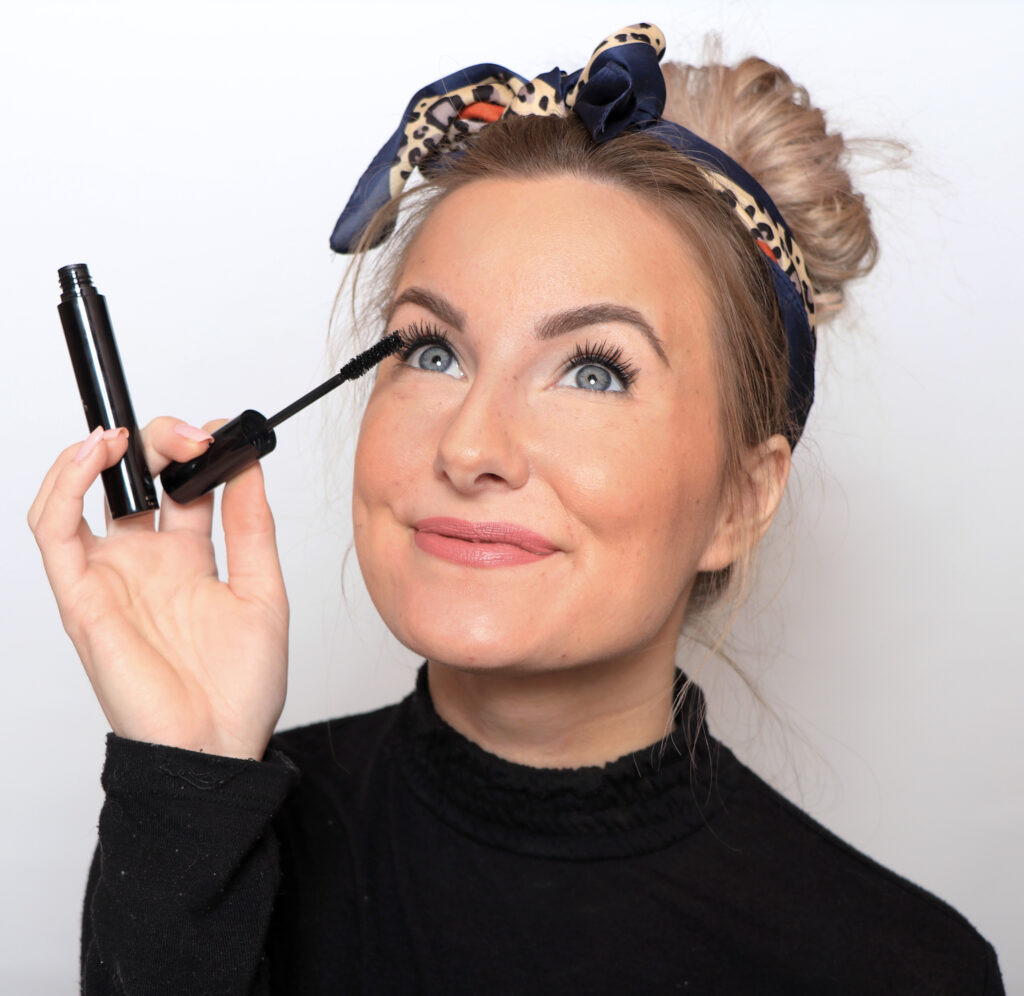
So I do not have such long eyelashes naturally, but the tops are these black fibers.
Paint the mascara as usual, doing one eye at a time
Pull the fiber brush from the center of the lashes to the tops. Be fairly quick so that the mascara does not have time to dry.
Paint another layer of mascara, apply firmly so that no fibers are loose.
The best thing is to watch the video at the top of the post because it is a bit difficult to take a nice step-by-step photo, because as I said, you have to be fast from painting the mascara to laying the fibers. So if the mascara has time to dry, it does not attach as much fiber.
But here is a picture I took earlier that I think shows very well:
Here I put the fibers in two steps because it did not stick so much as the lashes had time to dry a bit while I took the just-mascara picture :) But in the video above I just add a layer of fibers and it makes a big difference too!
The first years when I used the mascara, it was the only product they had launched, it's like no big makeup brand, but Santhilea (who is the founder) put all her focus on producing the very best mascara!
Will be very happy for response to my videos! :) Would be fun to find out if you have any wishes on any product or makeup tips you want me to show!


")


")